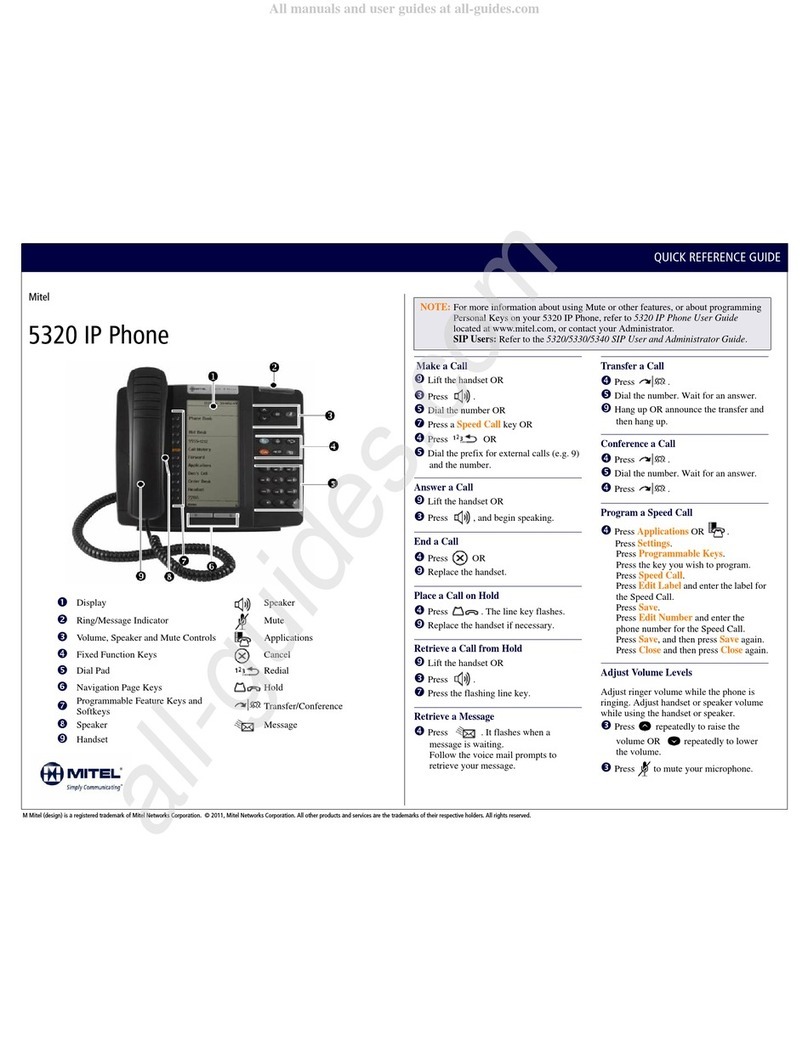
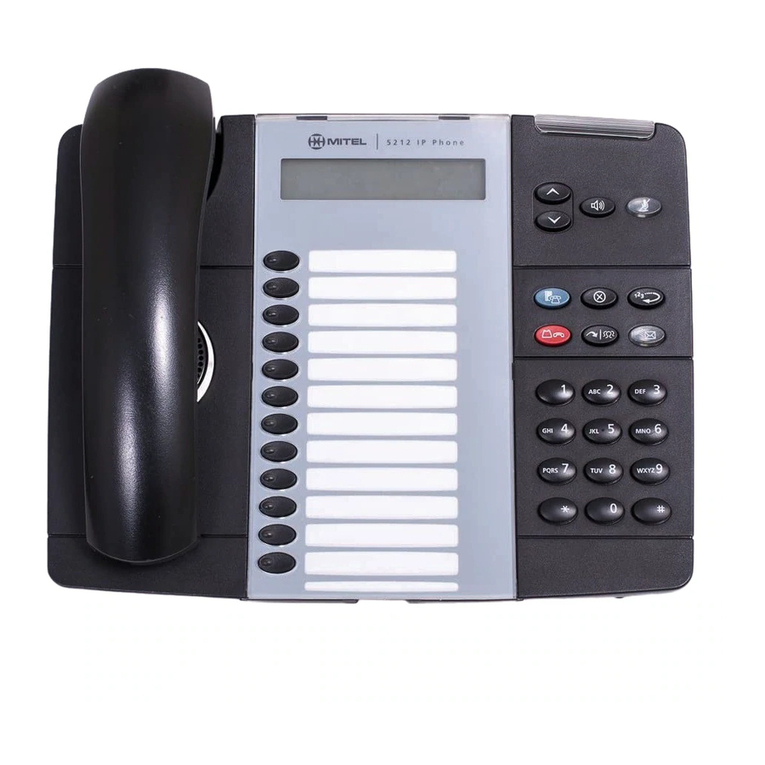
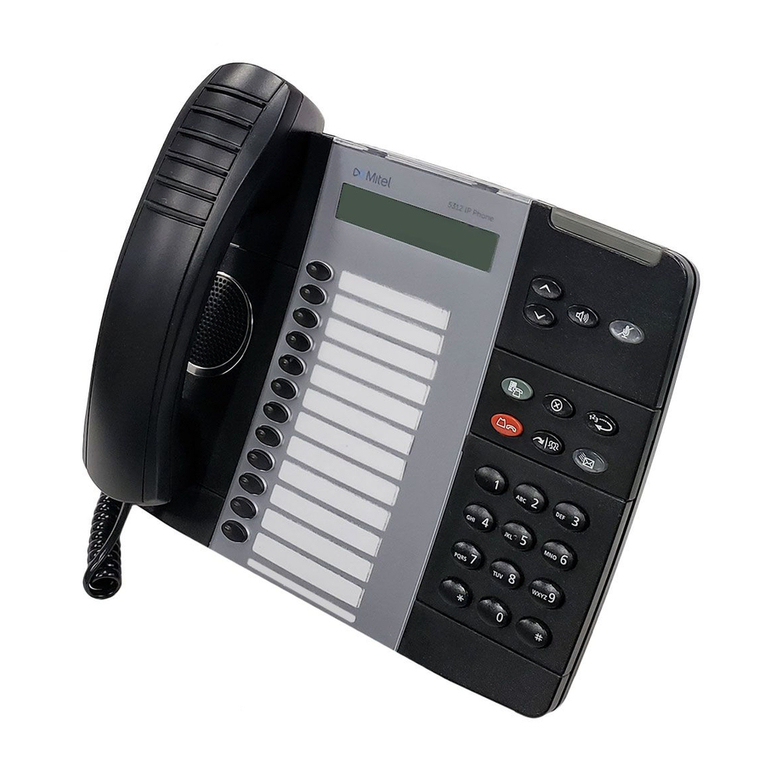
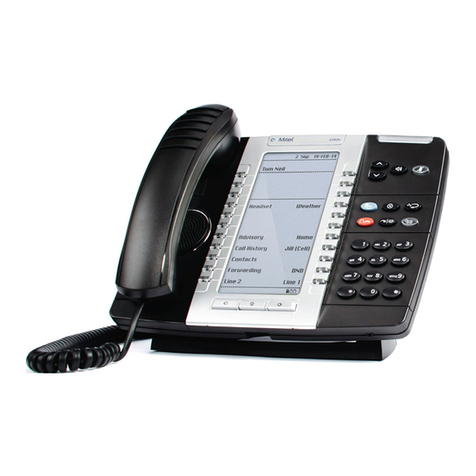
Mitel 5320 Owner's manual

Page 1 7/29/2010
Mitel 5320 User Information Guide
Intercom Calls – Calls made between stations:
To place a call to an available station:
Lift the handset and dial the extension number
Or, with the handset in the cradle, dial the extension number
Receiving Intercom Calls:
To answer an intercom call that comes through the speaker on your phone:
Respond hands-free OR lift the handset for privacy
To answer a ringing intercom call:
Lift the handset or press the SPEAKER button
Placing a call to a Busy Station:
Lift the handset and dial the extension number OR
While the handset is in the cradle, dial the extension number
Depending upon the urgency of the intercom call:
a. Wait (CAMP ON). Do not hang up; you will hear the phone ring about every 8
seconds until answered.
b. Dial feature code 6 (Queue). When the busy phone is available, your phone will ring
(to cancel the call back, dial feature code 6 (Queue) again.
c.
How to place an Outgoing Call:
Lift the handset and press the OUTGOING button
Dial the phone number
How to place a call on Hold:
Press the RED HOLD button
Either hang up or place another call
To return to the call on HOLD, lift the handset and press the CALL KEY button
How to Make an Emergency Call:
Lift the handset and dial 911 (you do not have to press the OUTGOING button first)
Redialing an Outside Call:
Lift the handset and press the REDIAL button

Page 2 7/29/2010
Answering Incoming Calls:
When you hear a repeating long ring tone:
oLift the handset OR press the SPEAKER button
How to Transfer Calls to an Extension (Ringing Transfer):
While on the call, press the TRANSFER button
Dial the extension number
If desired, wait for an answer and announce the call
To complete the transfer, hang up
How to Transfer Calls to Hold (Non-ringing Transfer):
While on the call, press the TRANSFER button
Dial the extension number
Press the RED HOLD button
To complete the transfer, hang up
Reverse Transfer (Picking up a ringing or holding call from another
extension):
Lift the handset dial feature code 4
Dial the extension number where the call is ringing
How to Transfer Calls to an Outside Number:
While on the call, press the TRANSFER button
Press the OUTGOING button and dial the phone number
Wait until your party answers then hang up to complete the transfer
How to Transfer Calls to Voice Mail:
While on the call, press the Voice Mail button
Dial the mailbox number of the person
Hang up to complete the transfer
Advanced Features:
Do-Not-Disturb
Press the DO NOT DISTURB button
Press the DO NOT DISTURB button again
To cancel, press the DO NOT DISTURB button and hang up

Page 3 7/29/2010
Changing Ring Tones
With the handset in the cradle:
oDial feature code 398
oUse your VOLUME CONTROL bar to scroll through the ring types.
oPress in the middle of the VOLUME CONTROL bar to save your ring type.
How to Place a Conference Call:
To place a conference call with up to four (4) parties, including you:
1. While on the first call, press the Conference button this immediately places
your first caller on hold
2. Place another intercom or outside call
3. Press the Conference button to put the second call on hold.
4. Repeat these steps to place a third call on hold
5. Press the Conference button twice to join all party’s together in the
conference
To drop out of the conference:
Press the Conference button and hang up. (You have to be the person who initiated
the conference call to use this method). The conference call will terminate when all
callers hang up
Setting Up Personal Speed Dial Numbers:
Press feature code 383
Screen will prompt (0-9) or scroll using your VOLUME CONTROL button
Pick a bin number (0-9)
Enter a name using the keypad, to go forward press the FORWARD button
Press the #key when you have finished entering a name
Enter the speed dial number (8+1+Area Code + Number) Example: 815867746000
After entering the number press #
Repeat these steps for each speed dial you wish to store
Using your Personal Speed Dial Numbers:
Dial feature code 382
Enter the speed dial bin number or use your VOLUME CONTROL button to scroll
through the numbers
Press the #button
The number is then dialed
Using System Speed Dial Numbers and Directory Look Up:
Press the SYSTEM SPEED button
Select Directory Type (IC=1; Outside=2; Features=3)
Press 2 for the Outside System Speed Dial Directory

Page 4 7/29/2010
Enter the first letter(s) of the name using the telephone keypad
Use the VOLUME CONTROL bar to scroll the desired name
Press #to place the call
Using Record-a-Call Feature
While on a call, dial the feature code 385. If you wish to record the conversation into someone
else’s voice mailbox, enter that voice mail box number (extension). To end the Record-a-Call
feature, either hang up your phone or dial the feature code 385 again to disconnect from
recording.
Call Logging
While the receiver is in the cradle, dial 333 to view missed, incoming or outgoing calls to your
Endpoint. Press 1 to view missed messages, press 2 for incoming or press 3 for outgoing. After
making your selection, use your VOLUME CONTROL bar and select the number. To call the
person, press the POUND SIGN to make the return call.
Frequently Used Feature Codes
Queue 6
Speed dial 383 (to set up)
Speed dial 382 (to choose bin)
Headset On/Off 317

Page 5 7/29/2010
VOICE MAIL
How to Set Up Your New Voice Mail Box:
The first time you use your mailbox, you must first initialize the mailbox (set up). The system
prompts will instruct you to do the following:
1. Change the default password to a personal password
2. Record your name for the directory
3. Listen to the voice mail application introduction (you can skip this introduction by
pressing #, if desired)
4. Record your primary greeting
To setup your mailbox:
Changing your Default Password:
1. Dial voice mail extension 2500
2. Press the star (*) button to identify yourself as a voice mail subscriber
3. Enter your mailbox number
4. Press pound (#) when asked for a password
5. Enter a new password, up to 12 digits
6. Press # (pound) (The voice mail system will then read back your new password)
7. If you do not want a password Press # (pound)
8. Press # (pound) to accept new password (or press 3 to re-enter your password)
Recording Your Name:
1. The system will prompt you to record your name for the company directory
2. Record your first and last name
3. Press # (pound)
4. Press 1 to listen to your recording; press 2 to add to your recording or press 3 to
erase and rerecord
5. Press # (pound) to accept your recording
The voice mail introduction will now play. (Press # (pound) if you do not want to listen to the
voice mail introduction.)
Recording your Greeting:
After the voice mail introduction is finished:
1. Press 4for Personal Options
2. Press 1for Personal Greeting
3. Press 1for Primary Greeting

Page 6 7/29/2010
4. Record your greeting (at the tone…record your greeting)
SAMPLE GREETING
“Hello, this is ___________________. I am currently away from my desk. Please
leave your name, telephone number and a detailed message and I will return your
call as soon as possible. If you need to speak to someone immediately, please press
zero now.”
5. Press # (pound) to accept your greeting. Or Press 1to replay your greeting, press
2to add to the greeting; press 3to erase and rerecord the greeting)
HANG UP! Your mailbox is now set up!
Accessing Voice Mail:
1. Lift the handset or while on hook, dial the voice mail extension 2500
2. Press the star (*) button
3. Enter your Mailbox number
4. Enter your password
5. Press 1to listen to new messages
6. Press 2to record a message for someone on the voice mail system
7. Press 3to listen to saved messages
8. Press 4for Personal Options
9. Press 5for Message Options (undelete messages or cancel unheard sent
messages)
Accessing Voice Mail from Outside of the Office:
Dial the backdoor number (number reserved for employees only, main number or private
DID number) if one has been provided; otherwise dial your main phone number
You will hear “Welcome to the Voice Messaging System….”
Immediately during the message:
oPress *star
oEnter your mailbox number
oEnter your password
Press 1 For New Messages
Press 2To record a message
Press 3To listen to saved messages
Press 4Personal Options (changing greetings, password)
Press 5Message Options
Listening to NEW Voice Mail Messages:
Dial into the voice mail system as instructed above, or lift the handset
1. Press the MESSAGE button on your telephone

Page 7 7/29/2010
2. Enter your password
3. Press # (pound)
4. Press 1to listen to new messages
5. The Message Envelope will play time, date, length of message and source of
message
6. The new messages will play
Press 9 Save your message
Press 7 Delete your message
Press 3 Forward the message to another user
Press 2Reply to a message
Sending Voice Mail Messages:
NOTE: Always use your mailbox to leave a message for someone; the system recognizes you as
a user and allows for more options.
1. Lift handset, dial the voice mail extension 2500
2. Press *(star)
3. Enter your mailbox number
4. Enter your password
5. Press 2to record a message (to leave a message for another user)
6. Enter the mailbox or group list number
7. Press #(pound)
8. Record a message
9. Press #(pound)
10. To use Special Delivery Options, press 9 (see Voice Mail guide for further instructions)
Changing Your Message Envelope:
1. Choose Option 4(personal options)
2. Press option 4(message envelope options)
3. You can change the following:
Press 1Enable/disable time and date stamp
Press 2Enable/disable message source
Press 3Enable/disable the message length
Press 4Enable/disable all options and return to the Personal Options Menu
Press 5Enable/disable the entire envelope and return to Personal Options Menu
Recovering Deleted Messages:
1. Choose Option 5for message options
2. Press 2to access the UNDELETED option
3. Press 1to listen to deleted messages
4. Press 2to recover all deleted messages
5. Press 3to purge all messages
Other manuals for 5320
25
Table of contents
Other Mitel IP Phone manuals

Mitel
Mitel 5005 User manual

Mitel
Mitel MIVOICE OFFICE 400 6940 SIP User manual

Mitel
Mitel 5201 User manual

Mitel
Mitel SX-200 User manual

Mitel
Mitel 5230 User manual

Mitel
Mitel 5140 User manual

Mitel
Mitel 6800 Series How to use

Mitel
Mitel 6869i User manual

Mitel
Mitel 5005 User manual

Mitel
Mitel MiVoice 5340e User manual

Mitel
Mitel 5215 Instruction Manual

Mitel
Mitel 600 User manual

Mitel
Mitel MiVoice 5312 User manual

Mitel
Mitel MiVoice Connect IP420 User manual

Mitel
Mitel networks 5240 User manual

Mitel
Mitel MiVoice 6910 User manual

Mitel
Mitel MiVoice Office 5370 Instruction manual

Mitel
Mitel 5205 User manual

Mitel
Mitel OfficeConnect 5212 User manual

Mitel
Mitel 5215 Service manual