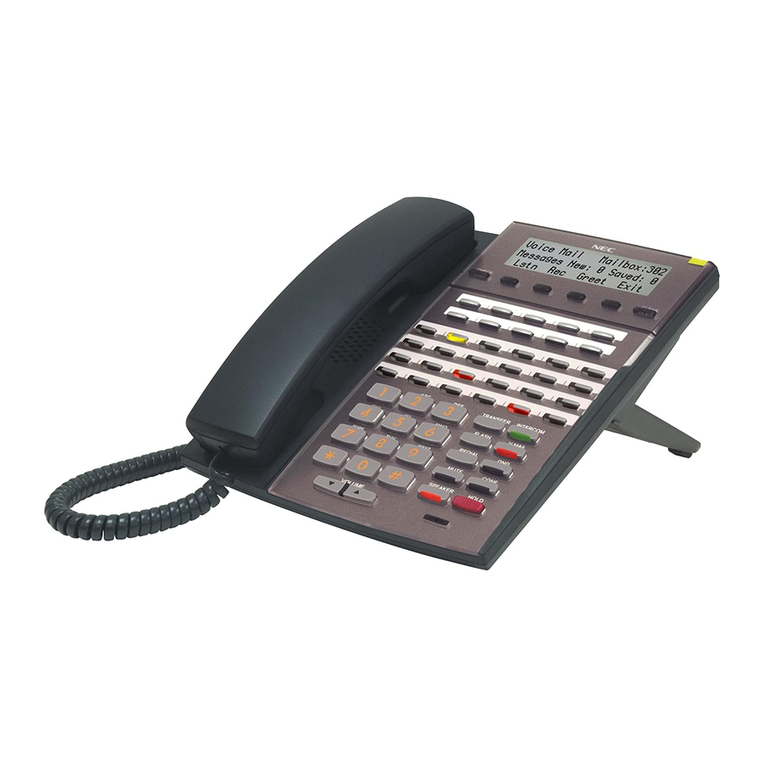
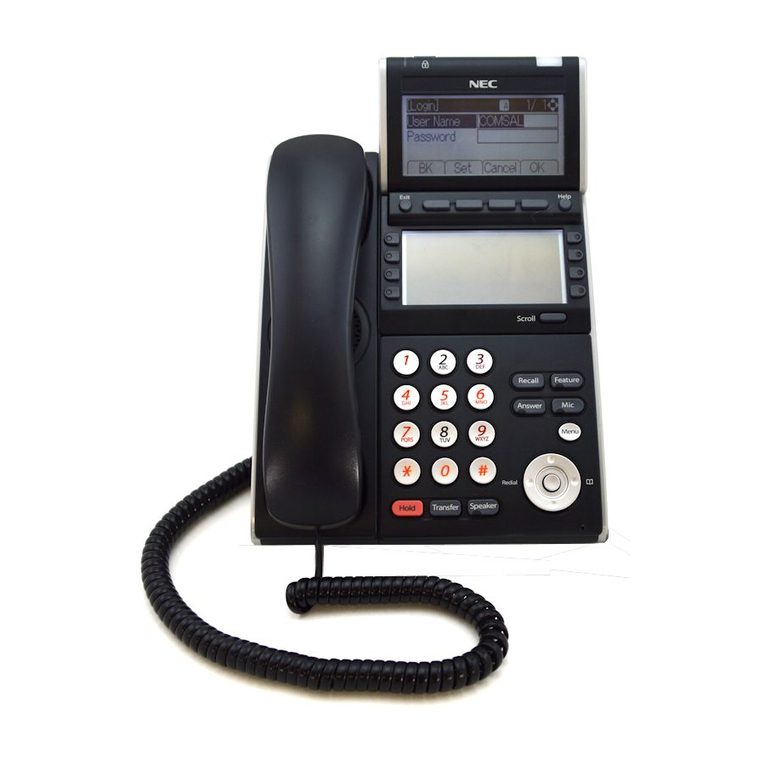
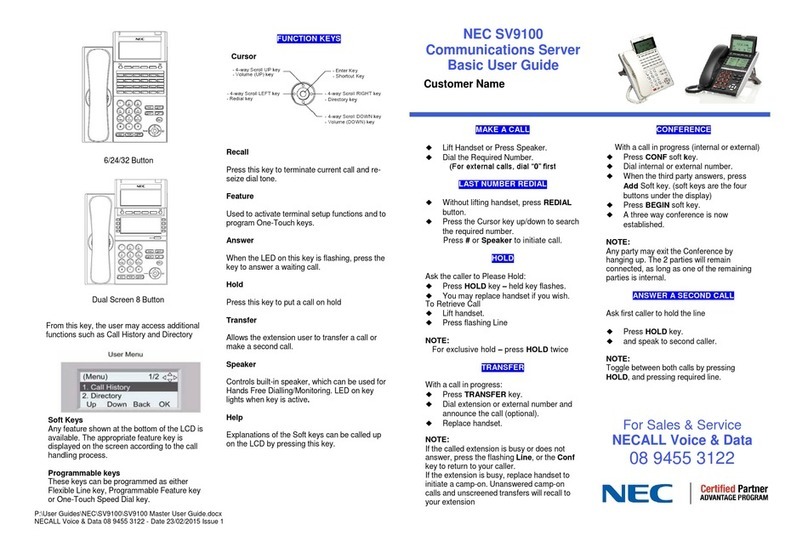
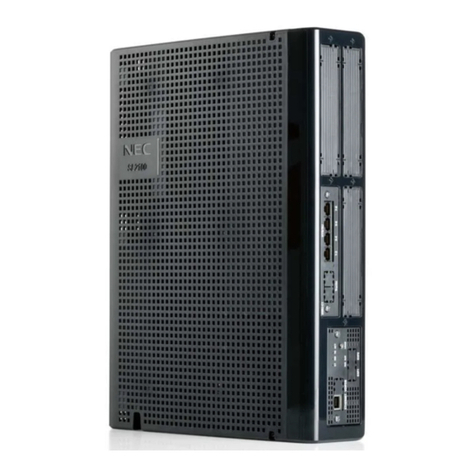
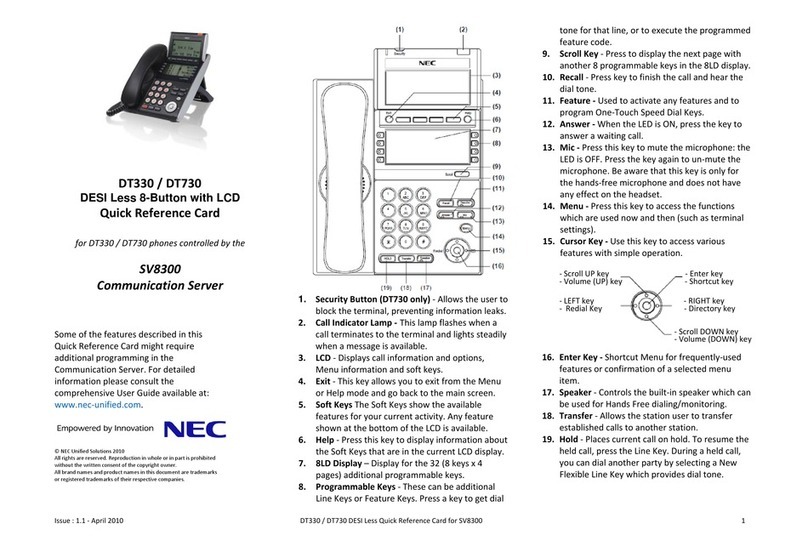
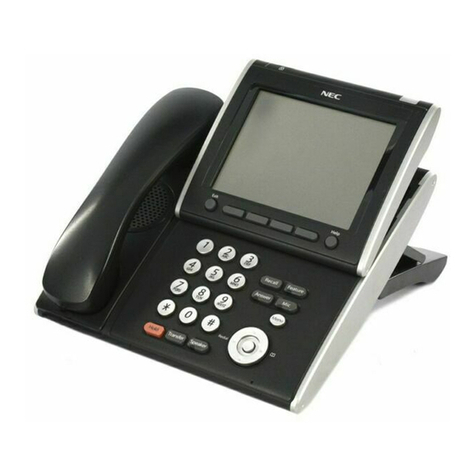
NEC DT730G (CG): ITL-12CG-3 User manual

DT730G (ITL-12CG/DG)
NEC Corporation of America
April, 2014
INT-31425 (UNIV)
ISSUE 1.0
USER GUIDE
®


NEC Corporation of America reserves the right to change the specifications, functions, or
features at any time without notice.
NEC Corporation of America has prepared this document for use by its employees and
customers. The information contained herein is the property of NEC Corporation of
America and shall not be reproduced without prior written approval of NEC Corporation
of America.
Dterm, NEAX and UNIVERGE are registered trademarks of NEC Corporation. Windows
is a registered trademark of Microsoft Corporation.
Copyright 2014
NEC Corporation of America
6535 N. State Highway 161
Irving, TX 75039-2402
Communications Technology Group


i
TABLE OF CONTENTS
1.INTRODUCTION
General ....................................................................................................................1
Face Layout .............................................................................................................2
Technical Specifications ........................................................................................3
Keys And Parts ........................................................................................................5
Installation Procedure ..............................................................................................7
Wall Mounting ........................................................................................................12
Phone Start Up and Menu Screen.........................................................................15
Shortcut Menu .......................................................................................................20
Soft Keys ...............................................................................................................22
Multi-Window .........................................................................................................24
Pop-up Windows....................................................................................................30
2.TERMINAL SETUP
Setup With Up/Down Key ......................................................................................33
Setup With Feature Key.........................................................................................33
Setup with Menu Key.............................................................................................34
3.BASIC OPERATION
To Login.................................................................................................................89
To Logout...............................................................................................................89
To Make an External Call ......................................................................................90
To Make an Internal Call........................................................................................90
To Answer an External Call ...................................................................................91
To Answer an Internal Call ....................................................................................91
To Hold a Call ........................................................................................................91
To Transfer a Call ..................................................................................................92
One-Touch Speed Calling Keys ............................................................................92
ii
TABLE OF CONTENTS
Speed Dialing – Station/Group ..............................................................................93
Last Number Redial ...............................................................................................93
Redial.....................................................................................................................94
Voice Call...............................................................................................................95
Three-Party Conference ........................................................................................95
Voice Mail System .................................................................................................95
Do Not Disturb .......................................................................................................96
How to Input Characters ........................................................................................97
Security Mode......................................................................................................110
Phonebook...........................................................................................................113
4.DIRECTORY OPERATION
To Add New Data ................................................................................................115
To Find Registered Data......................................................................................116
To Make a Call from Directory .............................................................................117
To Add Prefix Number .........................................................................................117
To Delete All Data................................................................................................119
To Delete Specific Directory Data........................................................................119
5.CALL HISTORY OPERATION
To View Call History ............................................................................................121
To Make a Call from Call History .........................................................................121
Store Call History data to Speed Dial ..................................................................122
To Delete Call History Data .................................................................................122

iii
TABLE OF CONTENTS
APPENDIX: PHOTO FRAME APPLICATION
To Launch Photo Frame Application ...................................................................123
Display Sample and Key Operations ...................................................................123
How to Use the Photo Frame Application Using USB Memory ...........................124
MENU LIST
Menu List: DT730G (ITL-12CG-3) .......................................................................131
Menu List: DT730G (ITL-12DG-3) .......................................................................136
WEB PROGRAMMING
To Login...............................................................................................................141
To Logout.............................................................................................................143
How to Operate....................................................................................................144

iv
TABLE OF CONTENTS
THIS PAGE INTENTIONALLY LEFT BLANK

1
1.
1. INTRODUCTION
General
This guide explains how to operate DT 730G
Series under the following headings.
CHAPTER 1 INTRODUCTION
Explains the configuration of this guide and
contains the following information.
• Face layout of DT Series
• Keys and Parts of DT Series
• Icon Display
• Menu List
CHAPTER 2 TERMINAL SETUP
Explains the operating procedures for terminal
settings of the DT Series.
CHAPTER 3 BASIC OPERATION
Explains the basic operation of DT Series.
CHAPTER 4 DIRECTORY OPERATION
Explains operating procedures for Directory
function.
CHAPTER 5 CALL HISTORY OPERATION
Explains operating procedures for Call History.

2
1.
Face Layout
DT730G (CG): ITL-12CG-3
(For North America) DT730G (DG): ITL-12DG-3
(For North America)

3
1.
Technical Specifications
Item ITL-12CG-3
Display LCD 4.3 inch Color (16777216 colors) TFT, with Backlight
Programmable Key 12 Keys
Fixed Feature Key 10 keys (including Menu button and Cursor key)
Backlight Display and Digit Key (lit for 10 seconds when operating)
Soft Key 4 Keys
Directory 500 Records
Call History Outgoing Call: 50 records, Incoming Call: 50 records
XML Browser Available
Hands-free Standard equipment (Full-duplex)), Wide-band
Headset Available (HW251N-A10-NE: optional)
USB Interface USB Host 1-port (Supporting USB 2.0, Power Supply = 5V/500mA)
Overcurrent Level = approximately 500mA
LAN Interface 2-port, 10BASE-T/100BASE-TX/1000BASE-T, Full-duplex/Half-duplex, Auto
Negotiation/Fixed (Except 1000BASE-T)
Voice CODEC G.711(µ-law, A-law), G.729a, G.722
IP Address Setting Sets via DHCP server/Sets Statically
QoS ToS (IP Precedence, Diffserv)
VLAN Tag VLAN (IEEE802.1Q/p)
Security IEEE802.1x authentication (EAP-MD5, EAPOL Forwarding), SIP&RTP Encryption
Power Supply Central Power Supply = IEEE802.3at Type 1 (Compatible with IEEE802.3af),
Local Power Supply = AC adapter (AC-L UNIT/AC-2R UNIT: optional)
Power Consumption Approximately 4.9 W (without optional connection)
Download Program/Configuration data/Ringing Tone/
Music on Hold/Directory data/Wallpaper
Adapter (Optional) Recording Unit/Analog PSTN Adapter (PSA) Unit/60 Button DSS Console (DCL-60-1)/8
Button Unit (8LK-L)
Terminal Color Black
Dimension (WxDxH) 179(W) 278(D) 112(H) [mm]
Weight 1.2 kg
Environmental Operational Temperature range = 0 to 40 ℃(Storage temperature range = -20 to 60 ℃)
Humidity = 10 to 90% RH (not condensing)

4
1.
Item ITL-12DG-3
Display LCD 3.8 inch Gray Scale FSTN, with Backlight
LCD Color Gray Scale (8 scales)
Programmable Key 12 Keys
Fixed Feature Key 9 keys (including Menu button and Cursor key)
Backlight LCD and Digit Key (lit for 10 seconds when operating)
Soft Key 4 Keys
Directory 20,000 records per system
Call History Outgoing Call: 10 records (Fixed) per terminal
Incoming Call: Maximum 50 records (Initial value 10 records) per terminal
XML Browser Available
Hands-free Available (Full-duplex), Wide-band
Headset Available
USEB Interface USB Host 1-port (USB 2.0, Power Supply = 5V/500mA)
Overcurrent Level = approximately 500mA or more
LAN Interface 2-port, 10BASE-T/100BASE-TX/1000BASE-T, Full-duplex/Half-duplex, Auto
Negotiation/Fixed (Except 1000BASE-T)
Voice CODEC G.711(µ-law, A-law), G.729a, G.722
IP Address Setting Sets via DHCP server/Sets Statically
QoS ToS (IP Precedence, Diffserv)
VLAN Tag VLAN (IEEE802.1Q/p)
Security IEEE802.1x authentication (EAP-MD5, EAPOL Forwarding), SIP&RTP Encryption
Power Supply Central Power Supply = IEEE802.3at Type 1 (Compatible with IEEE802.3af compatible),
Local Power Supply = AC adapter (AC-LE UNIT: optional)
Power Consumption Approximately 4.9 W (without USB and optional connection)
Download Ringing Tone/
Music on Hold/
Adapter (Optional) Ancillary Device Adapter (ADA-L) / Power Save Adapter (PSA-L) / 60 Button DSS
Console (DCL-60-1)/8 Button Line Key Unit (8LK-L) / 16-button Line Key Unit (16LK-L)
Dimension (WxDxH) 179(W) 258(D) 112(H) [mm]
Weight 1.15 kg
Environmental Operational Temperature range = 0 to 40 ℃(Ambient temperature range = -20 to 60 ℃)
Humidity = 10 to 90% RH (not condensing)

5
1.
Keys And Parts
DT730G
(1) Security Button
To activate security features for preventing
unauthorized access or data leakage.
(2) Handset
Used for sending/receiving voice.
(3) Exit Button
To exit the Menu or Help mode and go back to the
time display.
(4) Speaker
Used when originating a handsfree call.
(5) Dial Keypad
Dial the called party number or feature access
code.
(6) Hold Key
To place an internal or external call on hold.
(7) Transfer Key
Allows the station user to transfer established calls
to another station, without attendant assistance.
(8) Speaker Key
To control the built-in speaker which can be used
for:
Hands-Free dialing/monitoring.
LED on key lights when the key is active.
* All standard IP versions include support for full
duplex hands-free mode. All TDM and IP enabled
versions are half duplex hands-free mode.
(9) Cursor Key
By using this key, you can access various features
with simple operation.
Details on Cursor Key
(Four-way Scroll UP key)
(Four-way Scroll LEFT key)
Redial key
Volume (UP) key
(a)
(b)
Enter Key
(d)
(Four-way Scroll RIGHT key)
Directory key
(c)
(Four-way Scroll DOWN key)
Volume (DOWN) key
(a)

6
1.
(a) Up/Down
(DOWN UP)
Used to adjust speaker/receiver volume, and
ringer volume.
• Speaker/Receiver Volume:
Press ( ) or ( ) key during conversation.
• Ringer Volume:
Press ( ) or ( ) key during ringing.
(b) Redial
(Last Number Call, Speed Calling-Station/
Group) Press this key to activate redial
feature. Press Redial and scroll back through
numbers that have been dialed. When the
desired number is displayed, press or # to
activate dialing.
Note: A-law Countries [Europe, Australia, Russia, Latin
America, Middle near East, other Asian nations]: #
µ-law Countries [North America]: .
(c) Directory
Pressing this key opens Directory menu. For
details on Directory service, see
4.DIRECTORY OPERATION.
(d) Enter
DT730G has shortcut menu for frequently-
used features. Use this key to display the
shortcut menu (see Multi-Window) and
determine the selected item in the menu.
Also, this key is used as cursor-movement key
on the local menu of the telephone.
(10) Menu Key
To access the local menu of the DT730G.
(11) Mic Key
To respond handsfree. LED lights during
speakerphone operation.
(12) Feature Key
To activate features such as terminal setup, and to
program One-Touch Speed Dial Keys.
(13) Answer Key
When LED on this key is lit, press this key to
answer a waiting call.
(14) Recall Key
To finish a call and hear the dial tone.
(15) Programmable Keys
These keys can be programmed as Flexible line
key/Programmable feature key by System
Administrator.
Up Move the highlighted area one line up
the screen.
Down Move the highlighted area one line
down the screen.
Left Go back to the previous screen.
Right Go to the screen which corresponds
to the highlighted menu item.
Enter Go to the screen which corresponds
to the highlighted menu item.

7
1.
(16) Soft Keys
Any feature shown at the bottom of the LCD is
available. The appropriate feature key is displayed
on the screen according to the call handling
process.
(17) Help Key
To call up explanations of the Soft Keys on the
LCD.
Note: Not all Help contents are displayed. For details, contact
the System Administrator.
(18) USB Port
To mount saved data on USB device into the
terminal. USB port is on the backside of the
terminal.
(19) LCD (Liquid Crystal Display)
Color LCD (ITL-12CG-3) and gray scale LCD
(ITL-12DG-3).
(20) Call Indicator Lamp
The lamp at the top corner of DT730G Display
flashes when a call terminates to the terminal.
Also, when you use Voice Mail service, the Lamp
lights when a message has been left.
Installation Procedure
• Attaching Handset
STEP 1: Insert the modular jack of curled code into
the [HANDSET] connector on the backside
of the terminal until “click” is heard.
STEP 2: Fit the curled cord into the groove shown.

8
1.
• Attaching or Removing Faceplate and
DESI Printer Sheet
Removing Faceplate and DESI Printer Sheet
Remove DESI Printer Sheet using the following:
STEP 1: Use the small notch at the lower right
corner of the terminal to lift the Faceplate
up.
STEP 2: Remove the Faceplate.
STEP 1: Remove the DESI Printer Sheet.
Attaching Faceplate and DESI Printer Sheet
STEP 1: After replacing the DESI Printer Sheet on
the terminal, attach the Faceplate.
STEP 2: At each corner, press the locking pin back
into place.

9
1.
• Adjusting Angle of Tilt Legs
The height can be adjusted by moving the legs
attached to the bottom of the terminal.
Raising Tilt Legs
STEP 1: Turn the terminal over (key side down).
STEP 2: Raise Tilt Legs to desired height.
STEP 3: Turn the terminal over (key side up).
Lowering Tilt Legs
STEP 1: Turn the terminal over (key side down).
STEP 2: Lower Tilt Legs to desired height.
STEP 3: Turn the terminal over (key side up).
Attach the Faceplate securely. If not, the terminal will
not operate correctly because a key is being pushed by
the Faceplate.

10
1.
• Removing or Attaching Tilt Legs
Removing Tilt Legs
STEP 1: Turn the terminal over (key side down).
STEP 2: Lower the Tilt Legs to first position.
For details refer to Lowering Tilt Legs.
STEP 3: Remove stopper protrusion (a, b) from the
groove of the Tilt Legs (A, B) and place
them flat against the terminal.
STEP 4: Push downward (c, d) and slide downward.
Attaching Tilt Legs
STEP 1: Turn the terminal over (key side down).
STEP 2: Lay the adjustable Tilt Legs on top of the
terminal.
STEP 3: Push the Tilt Legs upward until they snap
into place.

11
1.
STEP 4: Lift both ends of Tilt Legs until they come
together.
• Connecting LAN Cable
Connect the LAN cable to the terminal using the
following:
STEP 1: Plug the power cable into the AC adapter
connector when power is supplied with AC
adapter. This step is not required when PoE
hub is used.
STEP 2: Gently press the cable into the grooved
cutout.
STEP 3: Connect LAN cable to LAN cable connector
(LAN (=)) of the terminal.
STEP 4: Press the LAN cable into the groove.
An ILPA-R UNIT is required when PoE Hub supports
NEC Proprietary Protocol (The ILPA-R UNIT converts
IEEE802.3af to NEC Proprietary Protocol). When an
ILPA-R UNIT is used, the 1000BASE-T is not available.
For details, contact the System Administrator.

12
1.
Note: When disconnecting the AC adapter, remove the LAN
cable, then disconnect the adapter.
• Attaching Directory Card
The Directory Card can be used to record numbers
dialed often or other information.
Note: Directory Card (VAL DIRECTORY CARD UNIT) is
optional.
STEP 1: Attach the Directory Card to the Directory
Card Holder.
STEP 2: Take the protective sheet off from the
plastic cover.
The surface of the plastic cover is put out.
STEP 3: Push the Directory Card Holder into the
grooves on the terminal until they snap into
place.
Wall Mounting
Wall mounting the terminal requires the Wall
Mount Unit (WM-L UNIT).
• Required Space
Before drilling, refer to the template below for
required spacing.
This manual suits for next models
4
Table of contents
Other NEC Telephone manuals

NEC
NEC Ranger DK-824 User manual

NEC
NEC DSX Owner's manual

NEC
NEC AT-35 User manual

NEC
NEC XN120 Vision User manual

NEC
NEC Univerge DT820 User manual

NEC
NEC AT-55 User manual

NEC
NEC DT930 Series Instruction manual

NEC
NEC Univerge SV8100 User manual

NEC
NEC Univerge SV9100 Instruction manual

NEC
NEC UNIVERGE SV810 User manual