manuals.online logo
Brands
  1. Home
  2. •
  3. Brands
  4. •
  5. Nibe
  6. •
  7. Control Unit
  8. •
  9. Nibe SMO 20 User manual

Nibe SMO 20 User manual

USER GUIDE
1
evoecohomes.co.uk
Use this basic guide to set hot water and heating temperatures, heating
schedules, and to remedy simple faults including resets and repressuring
the system.
CONTENTS
The heat pump system operates in a more sophisticated way to most traditional
heating systems, and as a result the way it heats will dier slightly for what we
have grown accustomed to with traditional boilers.
The new heat pump systems operates on the principles of conserving and
maintaining a comfortable heating temperature throughout the day, rather than
emitting large amounts of heat at certain points in the day, like older heating
systems.
The sophisticated system is also Weather Compensating, meaning that it measures
the outside temperature and accommodates your indoor heating accordingly.
Please remember, the more you ask the system to uctuate, the harder it has to
work, and therefore the more inecient its performance will be. We recommend
for the most ecient performance and consistent comfort experience, that you
leave the system to operate at the settings we have programmed.
A key thing to remember is that this system operates on a gradual basis, and
this is how it maintains an ecient performance. Please allow some time for the
system to respond to any changes.
Occasionally you may notice that your heating is set to be on, but you will feel
no heat coming out of the radiators. The reasons for this will often be that the
system has measured the temperature of the room/indoor environment and if
the temperature is already met there is no need for the radiators to be running.
The system does this to retain its energy and maintain eciency. In this instance,
it is best to check what the temperature of the room feels like to you. If you do feel
cold, you can always turn the temperature up on the thermostat for a temporary
boost (please refer to p3 of this guide).
Some Basic Principles
2 - Introducing NIBE SMO 20; Navigation; Main Display
3 - Adjusting Heating; Setting Hot Water Capacity
5 - Scheduling
7 - Disruptions to Comfort & Troubleshooting:
8 - Pressure
9 - Inconsistent Radiator Heat; Full Reset
USER GUIDE
2
evoecohomes.co.uk
Display
(Main Menu)
Outdoor
temperature Indoor
temperature
Hot water temp.
Estimated
amount of
hot water
Temporary lux (if activated)
NIBE SMO 20
Control Module
Back button (back/
undo/exit)
Navigation
Control knob
(move/increase/
reduce)
Ok button (conrm/
select)
Display
Status Lamp
Green - Operation normal
Yellow - Emergency Mode
Red - Fault
Navigation
Switch
Emergency Mode /
Standby / On
USB Port
USER GUIDE
3
evoecohomes.co.uk
Heating
Select ‘Indoor Climate’ by pressing ‘OK’ from the Main Menu.
N.B. After resetting temperature please wait 24 hours for room temperature
to stabilise before changing settings again.
To change the room temperature, use the control knob to set a new value.
Conrm the new setting by pressing the OK button.
For systems that are controlled by a room sensor, the value in the display
appears as a temperture in °C:
Setting range: 5°C - 30°C
Setting range: -10 to +10
Default value: 0
Default Value: 20°C
To change the room temperature, use the control knob to set the desired
temperature in the display. Conrm new temperature by pressing “OK”.
Setting Hot Water Capacity
To set the hot water capacity, from the main menu scroll down to the “HOT
WATER” option and press “OK”.
USER GUIDE
4
evoecohomes.co.uk
To temporarily increase hot water select “temporary lux”. From there you
can navigate through a selection (see next page):
Temporary lux
To permanently increase hot water volume, select ‘Comfort Mode’ from
the HOT WATER Menu. The comfort mode has 4 options depending on the
size and usage requirements of your home.
The default setting is “o’. Scroll through the options to nd the best
extra heating option for your requirements. Press “OK” to tick the circle.
When you return to the “HOT WATER” menu, your selection will appear
on the right side of the temporary lux tab.
If a time period has been selected (3/6/12hrs), a timer will appear
showing time remaining in temporary lux mode.
N.B. This setting cannot produce any extra hot water if comfort modecomfort mode is
already set to “luxury”. See below for more info on comfort modecomfort mode.
Comfort Mode
USER GUIDE
5
evoecohomes.co.uk
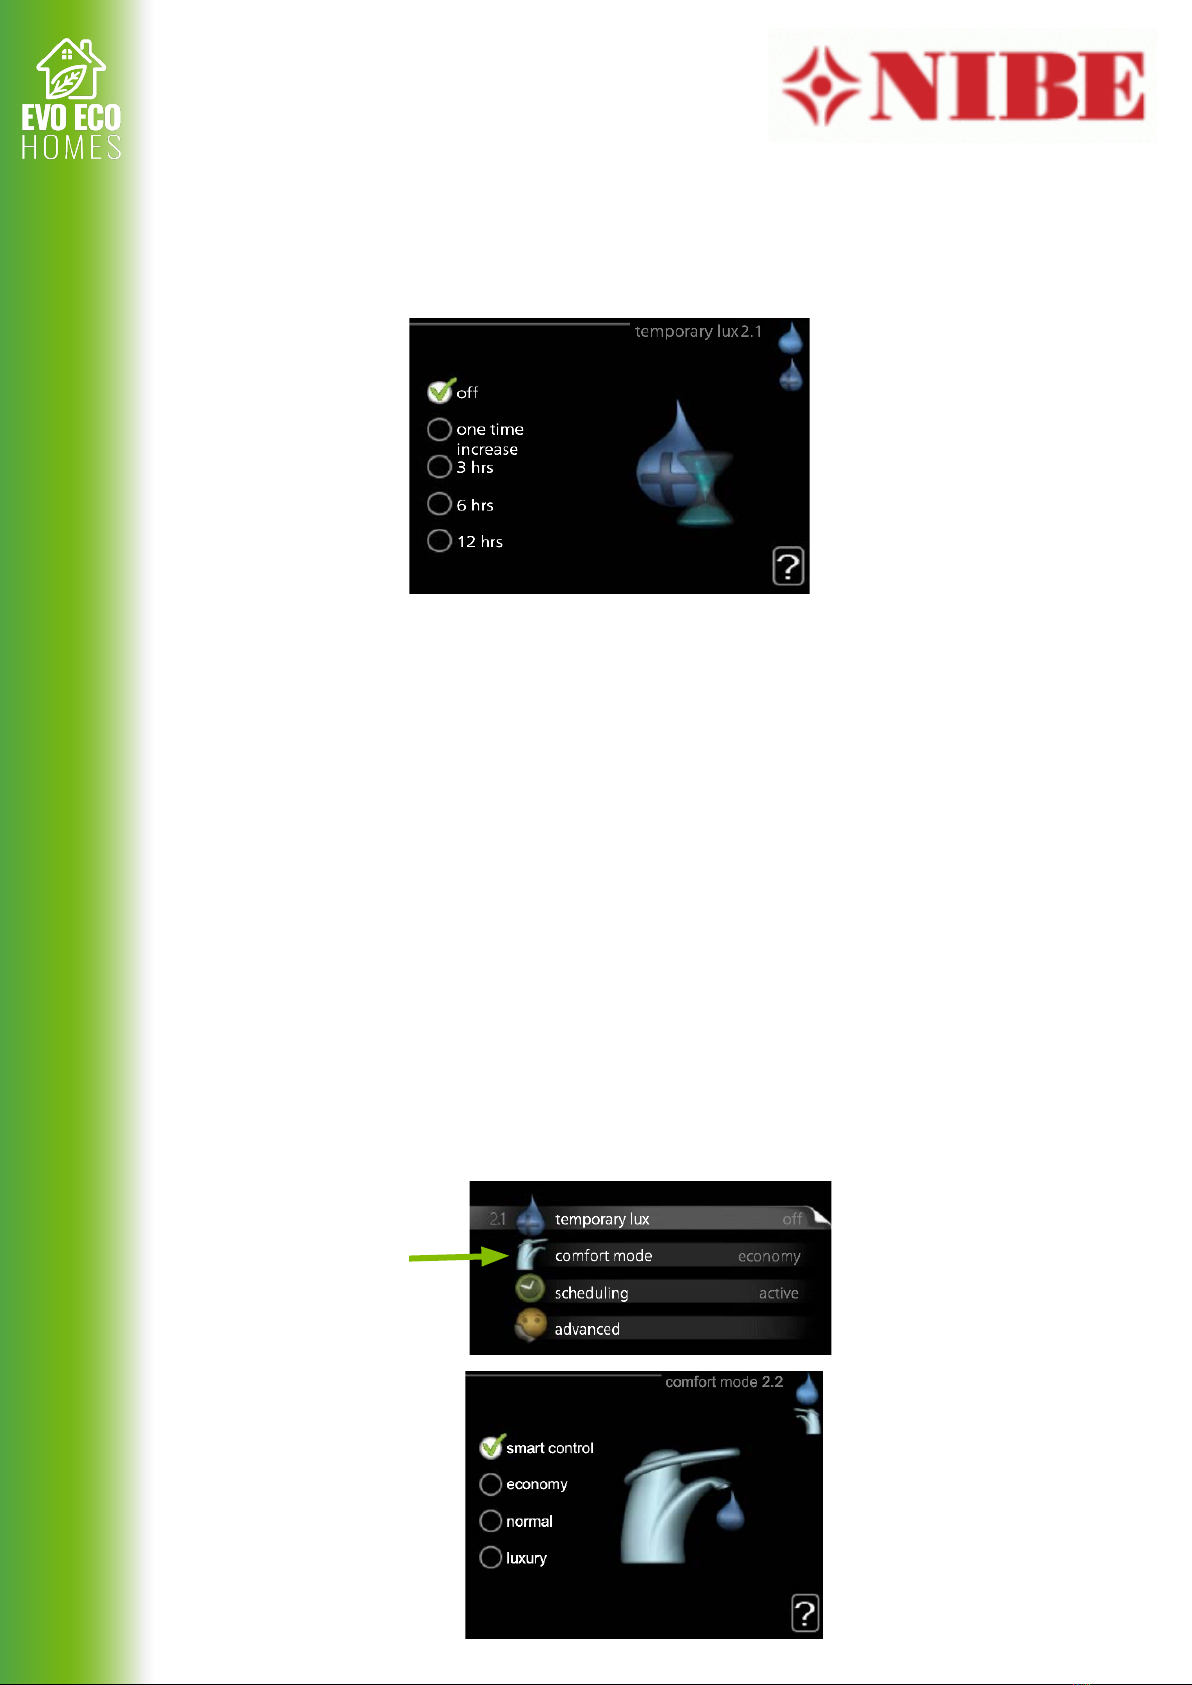
Smart ControlSmart Control: N/A
EconomyEconomy: This mode produces less hot water, but is more economical.
This mode is useful in smaller households with a small hot water
requirement. Heats your hot water to 48°C and reheats
when the temperature drops to 42°C.
NormalNormal: This gives more hot water than economy mode, and is suitable
for most households. Heats your hot water to 50°C and reheats when the
temperature drops to 46°C.
LuxuryLuxury: This produces the greatest possible amount of hot water. The
compressor and immersion heater are used in this mode, which may
incur higher operating costs. Heats your hot water to 50°C and reheats
when the temperature drops to 49°C.
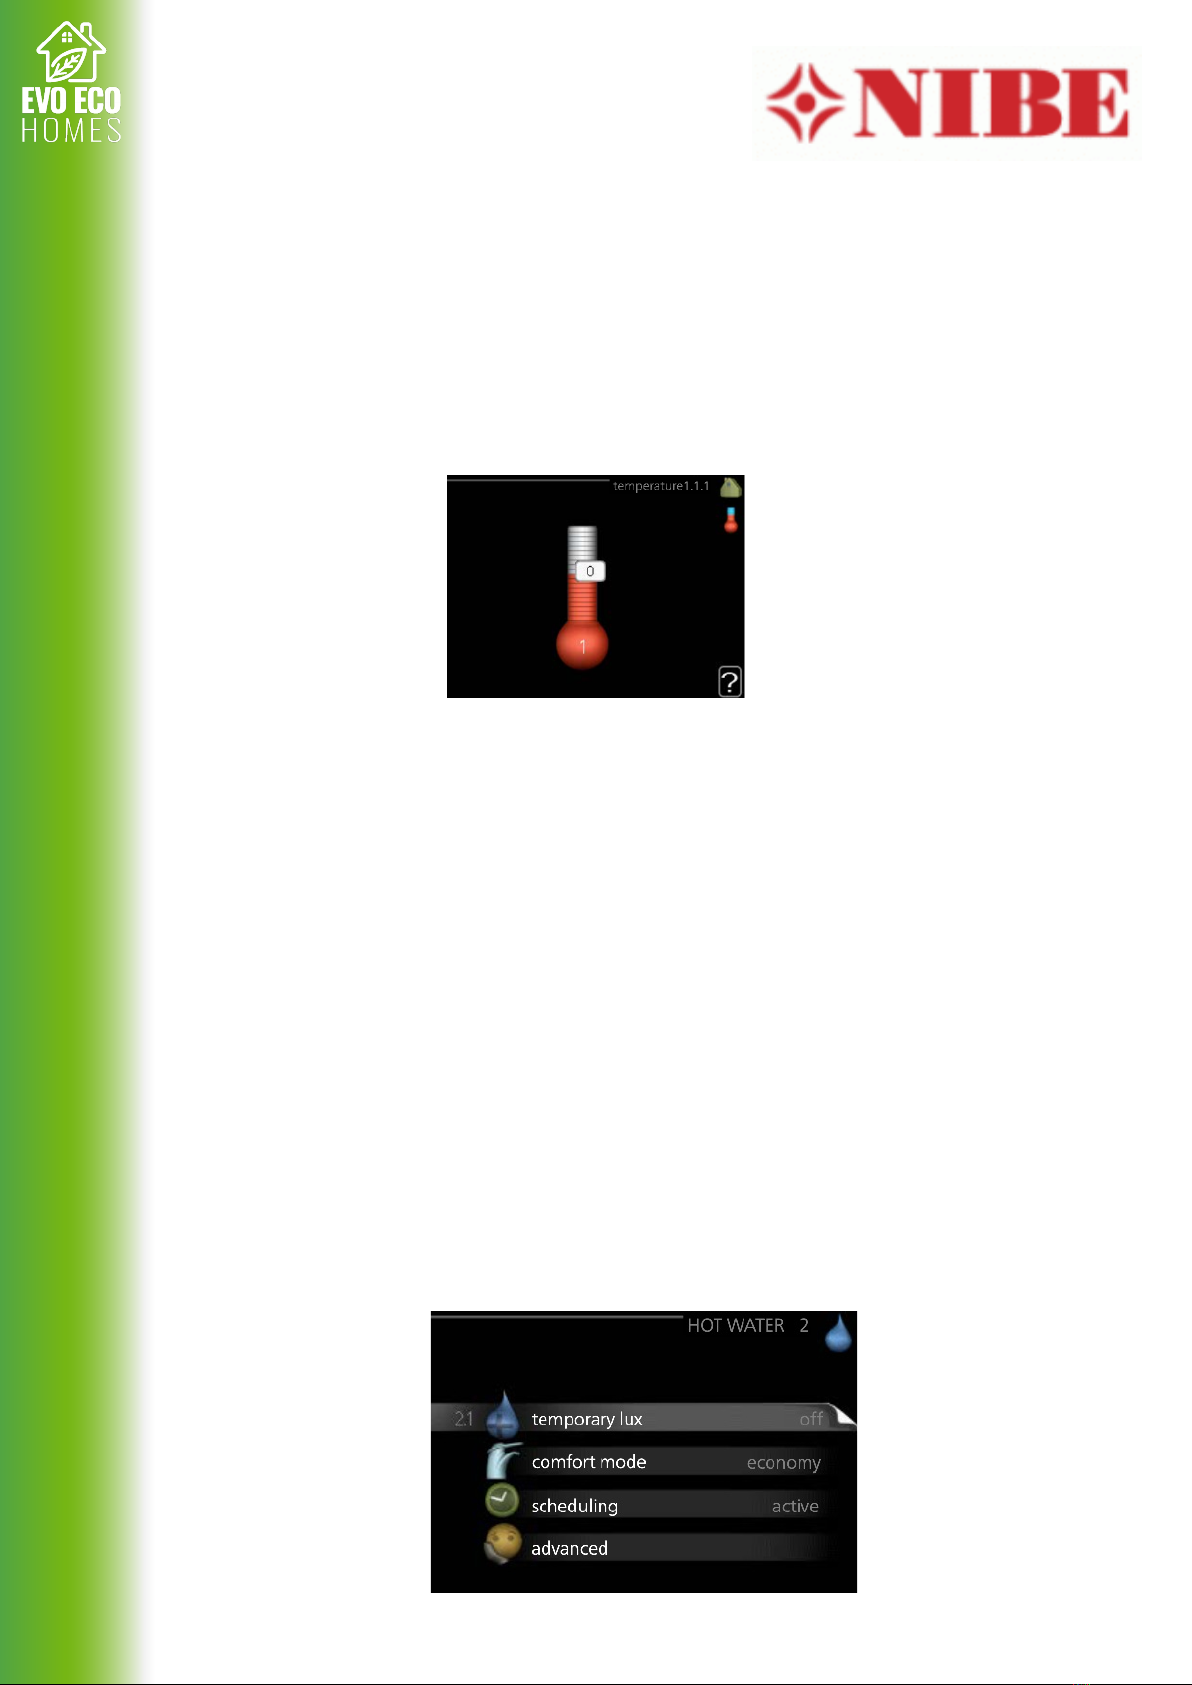
Highlight the comfort level you require, select OK. This is now selected.
Press ‘Back’ twice to return to the Main Menu.
Scheduling Heating
Our recommendation is to leave your heating system in comfort mode
instead of setting a scheduling time. The heat pump is designed to produce
and sustain heat throughout the day, compared to traditional heating
systems that emit large volumes of heat at set times of day to heat your
home quickly but ineciently.
Should you wish to set, for example, a nighttime schedule, there are a few
things to consider:
For a night time schedule, we would recommend only reducing the
nighttime temperature by 3°C. For example, if you like your room
temperature to be at 20°C during the day, we would recommend setting
a night time schedule of 17°C. Set this any lower and you may nd your
house is too cold to wake up to!
Also remember, the schedule will tell the system when to initiate the set
temperature, please allow time for the system to reach this temperature.
E.g. if you want your system to revert back to 20°C for 7am, you may wish
to set the schedule to initiate at 6am, to allow the system to achieve your
desired temperature of 20°C by 7am.
USER GUIDE
6
evoecohomes.co.uk
You can schedule when you would like your heat pump to heat waterYou can schedule when you would like your heat pump to heat water
throughout the week by selecting “scheduling” in the “HOT WATER” menu. throughout the week by selecting “scheduling” in the “HOT WATER” menu.
N.B Please bear in mind if you set a schedule that any gaps in your schedule
will revert back to comfort mode, and WILL NOTWILL NOT turn the heating o.
For example, if you set a schedule from 08:00 – 17:00, the system would
revert back to comfort mode between the hours 00:00 - 08:00 and 17:00
– 00:00. If you would like set a schedule without the system reverting to
comfort mode, you can activate both Schedules 1 & 2 and set their times
so that every hour in the week is accounted for, and by setting diering
temperatures for Schedule 1 and Schedule 2.
See the next page for an explanation of what each of the labelled elements
refers to.
USER GUIDE
7
evoecohomes.co.uk
ScheduleSchedule: You can set two dierent schedules.
ActivatedActivated: a green tick in the white circle indicates the schedule is
activated.
DayDay: Set on and o times for each day. If you do not want a timer to run
for any given day, make sure your start and end times are the same. e.g.
00:00 - 00:00
*Tip*: if you wish to set similar scheduling for each day of the week, start
by lling in ‘all’ (found above ‘mon’ in the diagram) and then making any
desired changes for each day accordingly.
AdjustingAdjusting: set the hot water comfort level to be applied during your
scheduling e.g. smart control / economy / normal / luxury. This will appear
next to the time period.
ConictConict: a red exclamation mark will appear if you select times which
conict with each other, e.g. selecting an end time that occurs before the
start time, such as 01:00 - 00:15.
Disruptions to Comfort & Troubleshooting
If there are disruptions to comfort levels in heating or hot water, there are
some steps you can take that may resolve the issue without needing to
contact us.
If you require more hot water, please follow steps on p4 to activate
‘temporary lux’. Instructions for adjusting heating temperature are on p3.
Usually, the control module will note a malfunction and will indicate this
with alarms and show instructions of how to rectify it in the display.
Alarm Reset
In the event of an alarm with a red status lamp, a malfunction has
occured that the heatpump/module cannot remedy itself.
USER GUIDE
8
evoecohomes.co.uk
Low Pressure Warning
If you receive a low pressure warning, this can be remedied by repressurising If you receive a low pressure warning, this can be remedied by repressurising
the system.the system.
Check the pressure gauge. This can usually be found in the same placeCheck the pressure gauge. This can usually be found in the same place
where your WPM unit is tted or Hot Water Cylinder. where your WPM unit is tted or Hot Water Cylinder.
The pressure should be at the 1.5 bar mark, and if it has lowered to below The pressure should be at the 1.5 bar mark, and if it has lowered to below
1, you will need to open the TWO valves either side of the lling loop by 1, you will need to open the TWO valves either side of the lling loop by
ipping the switches by 90ipping the switches by 90°C.
This will allow fresh water into the system to repressurise it. Keep an eye This will allow fresh water into the system to repressurise it. Keep an eye
on the gauge and close both valves after the gauge is reading 1.5 bar. on the gauge and close both valves after the gauge is reading 1.5 bar.
Note: In some installations there is only one valve.
Pressure gauge:
N.B. the black arrow indicates
the current pressure, whilst
the red arrow indicates
where the pressure needs to
be (1.5 bar).
Valve closed: Valve open:
Filling Loop
You can read what the alarm is indicating by selecting “info/action”.
In many cases, you can resolve the issue by selecting “reset alarm”. If a
green light comes on after doing this, the system has remedied itself. If
there is a red light and the display remains with the alarm menu up, the
system has not remedied itself and you may need to contact us.
USER GUIDE
9
evoecohomes.co.uk
Full Reset
In some cases, e.g. following a power cut and your heat pump has not
recoverred automatically, your system may need a full reset.
To do this, turn the power supply to your indoor unit o.
Next, turn the power supply to your outdoor unit o using the rotary
isolator, which is a switch next to the heat pump and looks like this:
Leave them both o for 5-10 minutes. Then turn the outdoor unit back on
rst followed by the indoor unit. Your system will now be reset.
If your radiators are not heating to the required temperature, or are not If your radiators are not heating to the required temperature, or are not
heating across its whole surface, you may need to bleed them. This can beheating across its whole surface, you may need to bleed them. This can be
done in exactly the same way as you would bleed radiators previously to done in exactly the same way as you would bleed radiators previously to
installing your heat pump.installing your heat pump.
The key thing to remember after bleeding your radiator is that you will need toThe key thing to remember after bleeding your radiator is that you will need to
check the pressure on the system after doing so. If the pressure has dropped check the pressure on the system after doing so. If the pressure has dropped
you will need to repressurise as shown on previous page.you will need to repressurise as shown on previous page.
Inconsistent Radiator Heat
Rotary Isolator:
For Further Assistance Please Call 01329 288118

Other manuals for SMO 20

9

Other Nibe Control Unit manuals

Nibe ACS 45 User guide

Nibe

Nibe ACS 45 User guide

Nibe SMO 20 User guide

Nibe

Nibe SMO 20 User guide

Nibe VVM 320 User guide

Nibe

Nibe VVM 320 User guide

Nibe DEH 500 User guide

Nibe

Nibe DEH 500 User guide

Nibe SMO 40 User manual

Nibe

Nibe SMO 40 User manual

Nibe MODBUS 40 User guide

Nibe

Nibe MODBUS 40 User guide

Nibe MODBUS 40 User guide

Nibe

Nibe MODBUS 40 User guide

Nibe CMR26 User guide

Nibe

Nibe CMR26 User guide

Nibe SMO S40 User manual

Nibe

Nibe SMO S40 User manual

Nibe SMO 40 User guide

Nibe

Nibe SMO 40 User guide

Nibe DEH 310 User guide

Nibe

Nibe DEH 310 User guide

Nibe OPT 10 User guide

Nibe

Nibe OPT 10 User guide

Nibe SCU 10 User manual

Nibe

Nibe SCU 10 User manual

Nibe VCC 22 User manual

Nibe

Nibe VCC 22 User manual

Nibe VVM 320 User manual

Nibe

Nibe VVM 320 User manual

Nibe POOL 500 User guide

Nibe

Nibe POOL 500 User guide

Nibe CMO 11 Original operating manual

Nibe

Nibe CMO 11 Original operating manual

Nibe S135 User manual

Nibe

Nibe S135 User manual

Nibe VVM S320 User manual

Nibe

Nibe VVM S320 User manual

Nibe SMO 05 User guide

Nibe

Nibe SMO 05 User guide

Nibe PKM 05 User manual

Nibe

Nibe PKM 05 User manual

Nibe MODBUS 40 User guide

Nibe

Nibe MODBUS 40 User guide

Nibe FLM User guide

Nibe

Nibe FLM User guide

Nibe MODBUS 40 User guide

Nibe

Nibe MODBUS 40 User guide

Popular Control Unit manuals by other brands

Siemens SIMATIC ET 200SP CM 1xDALI manual

Siemens

Siemens SIMATIC ET 200SP CM 1xDALI manual

ICP DAS USA I-7063D quick start guide

ICP DAS USA

ICP DAS USA I-7063D quick start guide

Bose Sub1 manual

Bose

Bose Sub1 manual

Helm HM-1734-WM instruction manual

Helm

Helm HM-1734-WM instruction manual

PEHA PHC 940 JRM diag Installation and operating instructions

PEHA

PEHA PHC 940 JRM diag Installation and operating instructions

Kessel Aqualift Mono manual

Kessel

Kessel Aqualift Mono manual

Fisher EZ easy-e instruction manual

Fisher

Fisher EZ easy-e instruction manual

Honeywell VR8205 installation instructions

Honeywell

Honeywell VR8205 installation instructions

Silicon Radar SiRad Easy manual

Silicon Radar

Silicon Radar SiRad Easy manual

CAC / BDP 76CR owner's manual

CAC / BDP

CAC / BDP 76CR owner's manual

Sentiotec A2 Instructions for installation and use

Sentiotec

Sentiotec A2 Instructions for installation and use

EDS SPM-010 user guide

EDS

EDS SPM-010 user guide

WAGO 750-640 manual

WAGO

WAGO 750-640 manual

IV Produkt EcoHeater Climatix Quick start manual

IV Produkt

IV Produkt EcoHeater Climatix Quick start manual

OWL Intuition TSE220-120 Getting started

OWL

OWL Intuition TSE220-120 Getting started

JS Automation MPC3024A user manual

JS Automation

JS Automation MPC3024A user manual

Thermotech ICR1 Installation instruction

Thermotech

Thermotech ICR1 Installation instruction

Digi Connect ME Hardware reference

Digi

Digi Connect ME Hardware reference

manuals.online logo
manuals.online logoBrands
  • About & Mission
  • Contact us
  • Privacy Policy
  • Terms and Conditions

Copyright 2025 Manuals.Online. All Rights Reserved.