manuals.online logo
Brands
  1. Home
  2. •
  3. Brands
  4. •
  5. Phonocar
  6. •
  7. Automobile Accessories
  8. •
  9. Phonocar 6/946 User manual

Phonocar 6/946 User manual

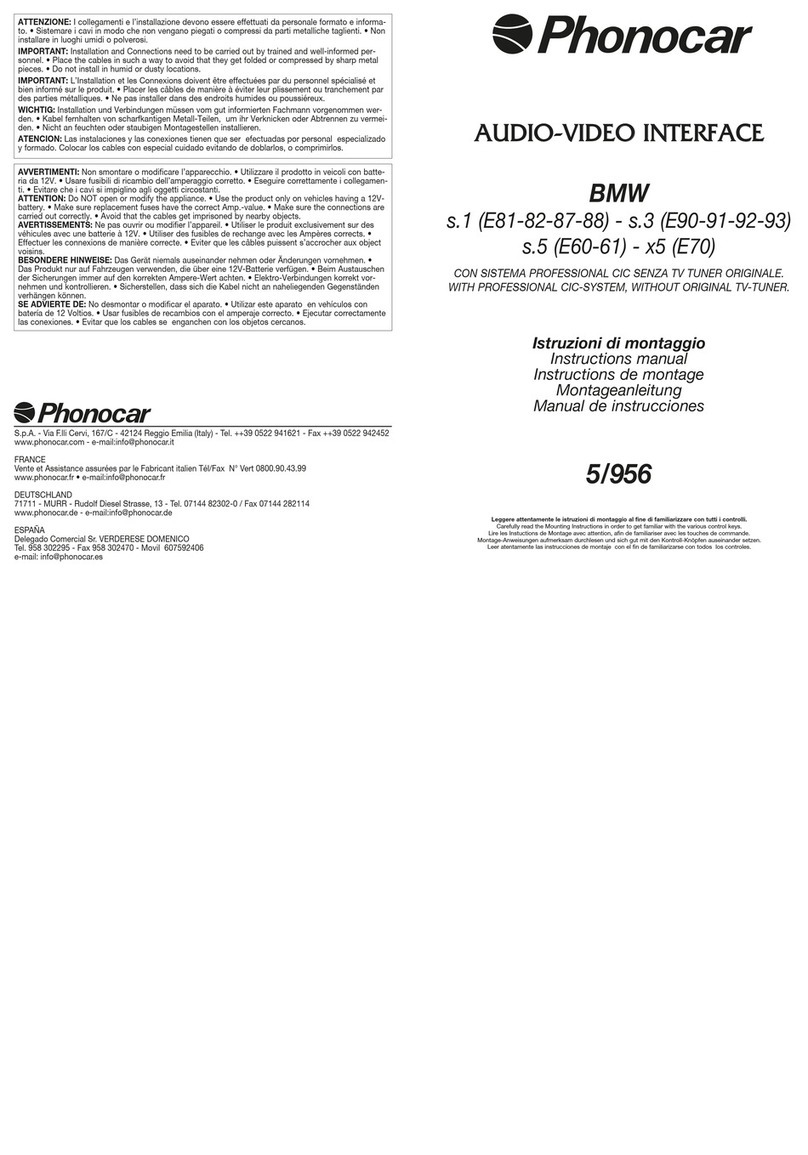
INTERFACCIA PER SENSORI DI PARCHEGGIO ORIGINALI
INTERFACE FOR ORIGINAL PARKING-SENSORS
INTERFACE POUR CAPTEURS DE RECUL D’ORIGINE
INTERFACE FÜR ORIGINAL-PARKSENSOREN
INTERFAZ POR SENSORES DE APARCAMIENTOS ORIGINALS
Istruzioni di montaggio
Instructions manual
Instructions de montage
Montageanleitung
Instrucciones para el montaje
6/946
PEUGEOT 207 - 307 - 407 - 807 ‘05> - 3008 - 5008
CITROEN C4 - C5 ‘05> - C8 - C4 Picasso
BMW s. 1 (E82-E87-E88) - s. 3 (E90-E91-E92-E93)
s. 5 (E60-E61) - s. 7 (E65-E66) - x1
LAND ROVER Freelander II
Leggere attentamente le istruzioni al fine di familiarizzare con tutti i controlli.
Carefully read the Instructions in order to get familiar with the various control keys.
Lire les Instuctions avec attention, afin de familiariser avec les touches de commande.
Anweisungen aufmerksam durchlesen und sich gut mit den Kontroll-Knöpfen auseinander setzen.
Leer atentamente las instrucciones con el fin de familiarizarse con todos los controles.
SW SC07
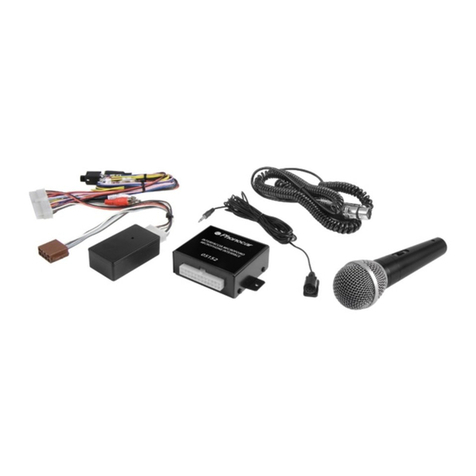
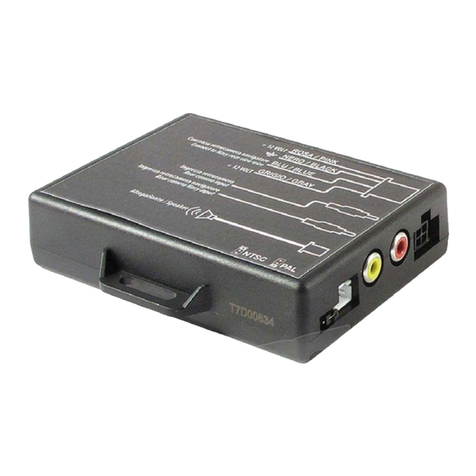
I Dispositivo elettronico che permette di mantenere i sensori di parcheggio posteriori originali, quando
si sostituisce l’autoradio originale.
GB This Electronic device allows to maintain the original rear parking-sensors when the original car-radio
is replaced.
FR Ce dispositif électronique permet de garder les avertisseurs arrière de recul d’origine quand
l’autoradio d’origine est remplacé.
D Mit Hilfe dieses elektronischen Geräts lassen sich die rückwärtigen Original-Parksensoren beibehalten,
selbst wenn das Original-Autoradio entfernt wird.
EDispositivo electrónico que permite mantener la funcionalidad de los sensores de estacionamiento
traseros de origen, cuando se sustituye la autoradio de origen del coche.
I 1) Togliere le chiavi dal quadro e smontare la autoradio.
2) Effettuare i collegamenti, con l’inserimento del connettore nella centralina il led lampeggerà con
colore rosso. Un programma ad auto apprendimento eseguirà la selezione del corretto protocollo.
A selezione avvenuta, il led si illuminerà di colore verde.
3) Individuare e posizionare il buzzer all’interno della vetture.
RESET DISPOSITIVO - Premere il tasto PRG fino a quando led verde si spegnerà. Il dispositivo sarà
pronto per la nuova programmazione.
GB 1) Take ignition-key away from dashboard and demount the car-radio.
2) Effect the connections by introducing the connector into the Central-Unit; the Led will flash RED.
A self-teaching programme will select the necessary protocol. Once the protocol has been set,
the Led will turn GREEN.
3) Find and position the Buzzer inside the car.
RE-SETTING - Press the PRG-key until the GREEN Led switches-off. The device is now ready for a
new programmation-process.
FR 1) Eliminer la clé de démarrage du tableau de bord et démonter l’autoradio.
2) Effectuer les raccordements en insérant le connecteur dans l’unité centrale, le Led clignotera en
rouge. Un programme d’auto apprentissage fera la sélection du protocole correcte. Une fois la
sélection terminée, le Led s’illuminera en vert.
3) Trouver et positionner le Buzzer à l’intérieur de la voiture.
RESET DISPOSITIF - Faire pression sur la touche PRG jusqu’à l’extinction du led vert.
Le dispositif est prêt pour la nouvelle programmation.
D1) Zündschlüssel vom Armaturenbrett entfernen und autoradio ausbauen.
2) Die Verbindung wird hergestellt, indem man den Verbinder in die Zentral-Einheit einsteckt. Das Led
with nun ROT blinken. Ein selbst-lernendes Programm wird nun das notwendige Protokoll wählen.
Sobald dieses Protokoll feststeht, schaltet das Led auf GRÜN.
3) Buzzer ausfindig machen und im Wagen-Innenraum verstauen.
RESET - PRG-Taste so lange gedrückt halten, bis das GRÜNE Led erlischt. Das Gerät ist nun für eine
neue Programmierung bereit.
E1) Quitar la llave del cuadro y desmontar la autoradio.
2) Efectuar las conexiones. Introduciendo el conector en la centralita el Led parpadeará de color rojo.
Un programa de auto aprendizaje ejecutará la adquisición de los datos del correcto protocolo.
Si la selección ha tenido éxito, el Led se pondrá de color verde.
3) Ubicar el zumbador en el interior del coche.
RESET - Pulse la PRG hasta verde llevado se apagarán. El dispositivo estará listo para el nuevo
período de programación.
ISTRUZIONI DI MONTAGGIO - MOUNTING INSTRUCTIONS - INSTRUCTIONS DE MONTAGE
MONTAGE-ANWEISUNGEN - INSTRUCCIONES PARA EL MONTAJE
SCHEMA DI COLLEGAMENTO - CONNECTION SChEME – SChéMA DE BRANChEMENT
ANSChLUSS-PLAN - ESqUEMA DE CONExION
BMW
NERO / BLACK
ROSSO / RED
BIANCO / WhITE
BUZZER
VERDE / GREEN CAN-h
CAN-L
NON COLLEGARE
DO NOT CONNECT
CITROËN
PEUGEOT
NERO / BLACK
ROSSO / RED
BIANCO / WhITE
BUZZER
VERDE / GREEN CAN-h
CAN-L
NON COLLEGARE
DO NOT CONNECT
LAND ROVER
FREELANDER II
NERO / BLACK
ROSSO / RED
BIANCO / WhITE
BUZZER
VERDE / GREEN CAN-h
CAN-L
NON COLLEGARE
DO NOT CONNECT
12 V
6/946
6/946
6/946
12 V
12 V
ROSA / PINK
ROSA / PINK
ROSA / PINK
Via F.lli Cervi, 167/C - 42124 REGGIO EMILIA (RE) - Tel. 0522.941.621 - Fax 0522.942.452
www.phonocar.com • e-mail:info@phonocar.it
ATTENZIONE: I collegamenti e l’installazione devono essere effettuati da personale formato e infor-
mato. • Sistemare i cavi in modo che non vengano piegati o compressi da parti metalliche taglienti.
• Non installare in luoghi umidi o polverosi.
IMPORTANT: Installation and Connections need to be carried out by trained and well-informed person-
nel. • Place the cables in such a way to avoid that they get folded or compressed by sharp metal pieces.
• Do not install in humid or dusty locations.
IMPORTANT: L’Installation et les Connexions doivent être effectuées par du personnel spécialisé et
bien informé sur le produit. • Placer les câbles de manière à éviter leur plissement ou tranchement par
des parties métalliques. • Ne pas installer dans des endroits humides ou poussiéreux.
WICHTIG: Installation und Verbindungen müssen vom gut informierten Fachmann vorgenommen wer-
den. • Kabel fernhalten von scharfkantigen Metall-Teilen, um ihr Verknicken oder Abtrennen zu vermei-
den. • Nicht an feuchten oder staubigen Montagestellen installieren.
ATENCION: Las instalaciones y las conexiones tienen que ser efectuadas por personal especializado y
formado. Colocar los cables con especial cuidado evitando de doblarlos, o comprimirlos.
AVVERTIMENTI: Non smontare o modificare l’apparecchio. • Utilizzare il prodotto in veicoli con batteria
da 12V. • Usare fusibili di ricambio dell’amperaggio corretto. • Eseguire correttamente i collegamenti.
• Evitare che i cavi si impiglino agli oggetti circostanti.
ATTENTION: Do NOT open or modify the appliance. • Use the product only on vehicles having a 12V-
battery. • Make sure replacement fuses have the correct Amp.-value. • Make sure the connections are
carried out correctly. • Avoid that the cables get imprisoned by nearby objects.
AVERTISSEMENTS: Ne pas ouvrir ou modifier l’appareil. • Utiliser le produit exclusivement sur des
véhicules avec une batterie à 12V. • Utiliser des fusibles de rechange avec les Ampères corrects. •
Effectuer les connexions de manière correcte. • Eviter que les câbles puissent s’accrocher aux object
voisins.
BESONDERE HINWEISE: Das Gerät niemals auseinander nehmen oder Änderungen vornehmen. • Das
Produkt nur auf Fahrzeugen verwenden, die über eine 12V-Batterie verfügen. • Beim Austauschen der
Sicherungen immer auf den korrekten Ampere-Wert achten. • Elektro-Verbindungen korrekt vornehmen
und kontrollieren. • Sicherstellen, dass sich die Kabel nicht an naheliegenden Gegenständen verhängen
können.
SE ADVIERTE DE: No desmontar o modificar el aparato. • Utilizar este aparato en vehículos con ba-
tería de 12 Voltios. • Usar fusibles de recambios con el amperaje correcto. • Ejecutar correctamente las
conexiones. • Evitar que los cables se enganchen con los objetos cercanos.

Other Phonocar Automobile Accessories manuals

Phonocar VM257 User manual

Phonocar

Phonocar VM257 User manual

Phonocar 06940 User manual

Phonocar

Phonocar 06940 User manual

Phonocar 7/285 User manual

Phonocar

Phonocar 7/285 User manual

Phonocar VM390 User manual

Phonocar

Phonocar VM390 User manual

Phonocar 04994 User manual

Phonocar

Phonocar 04994 User manual

Phonocar 6/851 User manual

Phonocar

Phonocar 6/851 User manual

Phonocar VM341 User manual

Phonocar

Phonocar VM341 User manual

Phonocar Lightline L.E.D. UNDER CAR KIT Million Colors 378... User manual

Phonocar

Phonocar Lightline L.E.D. UNDER CAR KIT Million Colors 378... User manual

Phonocar 03603 User manual

Phonocar

Phonocar 03603 User manual

Phonocar 05153 User manual

Phonocar

Phonocar 05153 User manual

Phonocar 4/084 User manual

Phonocar

Phonocar 4/084 User manual

Phonocar 4/130 User manual

Phonocar

Phonocar 4/130 User manual

Phonocar VM363 User manual

Phonocar

Phonocar VM363 User manual

Phonocar VM545 User manual

Phonocar

Phonocar VM545 User manual

Phonocar VM 031 User manual

Phonocar

Phonocar VM 031 User manual

Phonocar VM248 User manual

Phonocar

Phonocar VM248 User manual

Phonocar 06855 User manual

Phonocar

Phonocar 06855 User manual

Phonocar 4/030 User manual

Phonocar

Phonocar 4/030 User manual

Phonocar 03585 User manual

Phonocar

Phonocar 03585 User manual

Phonocar VM334 User manual

Phonocar

Phonocar VM334 User manual

Phonocar Hi-Tech Series Installation guide

Phonocar

Phonocar Hi-Tech Series Installation guide

Phonocar 3/706 User manual

Phonocar

Phonocar 3/706 User manual

Phonocar VM497 User manual

Phonocar

Phonocar VM497 User manual

Phonocar 05971 User manual

Phonocar

Phonocar 05971 User manual

Popular Automobile Accessories manuals by other brands

Cruz 922-411 Assembly instructions

Cruz

Cruz 922-411 Assembly instructions

HUSKY LINERS 5777 installation instructions

HUSKY LINERS

HUSKY LINERS 5777 installation instructions

Maretron TLM150 user manual

Maretron

Maretron TLM150 user manual

Aries AdvantEDGE installation manual

Aries

Aries AdvantEDGE installation manual

LXE VX3Plus reference guide

LXE

LXE VX3Plus reference guide

Menabo MIZAR Fitting instructions

Menabo

Menabo MIZAR Fitting instructions

NORDRIDE C107 manual

NORDRIDE

NORDRIDE C107 manual

Clarion BLT433 owner's manual

Clarion

Clarion BLT433 owner's manual

enphase ClipperCreek TESLA installation guide

enphase

enphase ClipperCreek TESLA installation guide

Directed Directechs DB3 installation guide

Directed

Directed Directechs DB3 installation guide

Whispbar K413W Fitting instructions

Whispbar

Whispbar K413W Fitting instructions

iArmor EDGE IA-W084 quick start guide

iArmor

iArmor EDGE IA-W084 quick start guide

Whispbar K649W Fitting instructions

Whispbar

Whispbar K649W Fitting instructions

Metra Electronics TYTO-01 installation guide

Metra Electronics

Metra Electronics TYTO-01 installation guide

RapidX Dashio user guide

RapidX

RapidX Dashio user guide

ULTRA-LINK UL-FMBTT01 manual

ULTRA-LINK

ULTRA-LINK UL-FMBTT01 manual

Crux Sightline VIMGM-94 quick start guide

Crux

Crux Sightline VIMGM-94 quick start guide

Bestop 17182 installation instructions

Bestop

Bestop 17182 installation instructions

manuals.online logo
manuals.online logoBrands
  • About & Mission
  • Contact us
  • Privacy Policy
  • Terms and Conditions

Copyright 2025 Manuals.Online. All Rights Reserved.