manuals.online logo
Brands
  1. Home
  2. •
  3. Brands
  4. •
  5. Regency
  6. •
  7. Indoor Furnishing
  8. •
  9. Regency LSC7236 User manual

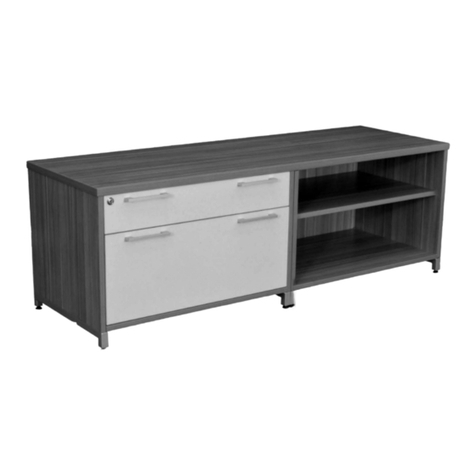
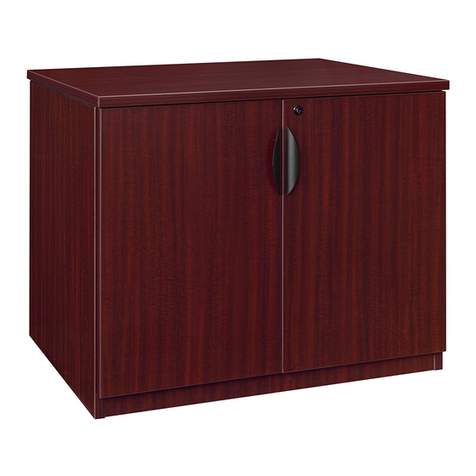
Regency LSC7236 User manual

Any problems or questions call Regency O󰀩ce Furniture at 1-866-816-9822 or email [email protected]
IMPORTANT NOTICE:
● Place all wooden parts on a clean and smooth surface such as a rug or carpet to avoid the parts from being scratched.
● Check to be sure that you have all parts and hardware.
● Remove all wrapping materials, including staples & packing straps before you start to assemble.
● Do not tighten all screws/bolts until completely assembled.
● Keep all hardware parts out of reach of children.
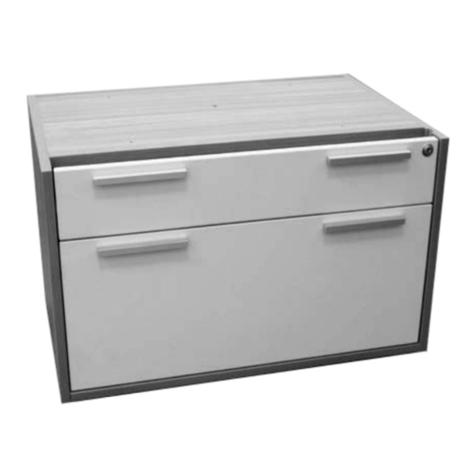
LEGACY STORAGE CABINET • LSC7236 • INSTRUCTIONS
Organize your parts and hardware. You will need a Phillips head and at head screw driver and rubber mallet.
Hardware :
A: Mounting Bracket(8) • C: Hinge(8) D: Lock Lip(2) • E: Small Screw(4)
F: Cam Pins(20) • G: Medium Screws(56) • H: Shelf Pins(16) • I: Adjustable Glides(6) J: Large Screws(8)
K: Door Handles(4) • L: Keys(2)
A C DEFGH
Parts :
M: Back • N: Front support • O: Middle Support• P: Bottom • Q: Left Side • R: Right Side • S: Shelves (4)
T: Top • U: Right side Door(2) • V: Left side Door(2) • W: Center wall
T
SQ
P
O
NU
IJKL
M
V
Figure 1: To open Cam, point
arrow toward Cam Pin hole.
To lock Cam, turn clockwise.
R
W
Any problems or questions call Regency O󰀩ce Furniture at 1-866-816-9822 or email [email protected]
IMPORTANT NOTICE:
● Place all wooden parts on a clean and smooth surface such as a rug or carpet to avoid the parts from being scratched.
● Check to be sure that you have all parts and hardware.
● Remove all wrapping materials, including staples & packing straps before you start to assemble.
● Do not tighten all screws/bolts until completely assembled.
● Keep all hardware parts out of reach of children.
STEP 1 : Attach front
support(N) to middle
support(O) by inserting
the dowel rod on the
end of(O) into
the middle of(N).
STEP 2 : Connect dowel rods on
Front support(N)
and Middle support(O)
to the bottom(P).
STEP 3 : Insert 2 cam pins(F) into back(M)
and connect(M) to bottom(P) by inserting and
locking cams (Fig1). STEP 4 : Insert 4 cam pins(F) into both
left(Q) and right(R) side.
LEGACY STORAGE CABINET • LSC7236 • INSTRUCTIONS
N
O
N
O
P
Cam locks on(P) facing (N)
F
F
MM
P
R
F
F F
F
F
F
F
Q
STEP 5 : Attach left(Q) and right(R) side to
back(M) and bottom(P) by inserting and lock-
ing cams located on (Fig1)
QR
M
P
Any problems or questions call Regency O󰀩ce Furniture at 1-866-816-9822 or email [email protected]
IMPORTANT NOTICE:
● Place all wooden parts on a clean and smooth surface such as a rug or carpet to avoid the parts from being scratched.
● Check to be sure that you have all parts and hardware.
● Remove all wrapping materials, including staples & packing straps before you start to assemble.
● Do not tighten all screws/bolts until completely assembled.
● Keep all hardware parts out of reach of children.
LEGACY STORAGE CABINET • LSC7236 • INSTRUCTIONS
STEP 6 : Screw in 6 adjustable glides(I) in
the locations shown below with 4 medium
screws(G) each.
P
F
V
STEP 7 : Place 2 cam pins(F) in bottom(P)
and attach center wall(W) with banded edge
facing out by inserting and locking cams (Fig1).
P
F
W
I
I
I
I
I
IF
STEP 8a : Screw 8 cam pins(F) into top(T). Use 2 small screws(E) each to attach locking lips(D).
STEP 8b : Attach top by inserting and locking cams (Fig1).
F
FF F
F
FF
F
DD
D
E E
STEP 9 : Attach 8 mounting brackets(A) to the pre drilled holes in the sides(Q,R) and center wall(W) with
the open end facing out. Mount the inner hinges to(W) and outer hinges to(Q,R) by sliding the bolt on the
underside of the hinges into the open end of the mount while sliding the screw on the mount into the open
end of the hinge. Tighten the screw on the back to lock into place.
A/C A/C
A/C A/C A/C
A/C
A/C
A/C
D
E E
T
Any problems or questions call Regency O󰀩ce Furniture at 1-866-816-9822 or email [email protected]
IMPORTANT NOTICE:
● Place all wooden parts on a clean and smooth surface such as a rug or carpet to avoid the parts from being scratched.
● Check to be sure that you have all parts and hardware.
● Remove all wrapping materials, including staples & packing straps before you start to assemble.
● Do not tighten all screws/bolts until completely assembled.
● Keep all hardware parts out of reach of children.
STEP 10 : Mount the right side doors(U) to the sides(Q,R) with 2 medium screws(G) each hinge. Also
mount the left side doors(V) to the center wall(W) in the same manner.
G
G
STEP 10a : Use 2 Large screws(J)
per handle(K) and attach (K) to
doors(T,U) using the 2 pre drilled
holes per door. J
J
K
LEGACY STORAGE CABINET • LSC7236 • INSTRUCTIONS

Other Regency Indoor Furnishing manuals
Regency ONCSSP7124 User manual

Regency

Regency ONCSSP7124 User manual

Regency LWMS3015 User manual

Regency

Regency LWMS3015 User manual

Regency Mia 2000 User manual

Regency

Regency Mia 2000 User manual

Regency ONBFLF3020 User manual

Regency

Regency ONBFLF3020 User manual

Regency MKTBX22 User manual

Regency

Regency MKTBX22 User manual

Regency LDS4224 User manual

Regency

Regency LDS4224 User manual

Regency BCTRC12048 User manual

Regency

Regency BCTRC12048 User manual

Regency LWD6524 User manual

Regency

Regency LWD6524 User manual

Regency ONRT3624 User manual

Regency

Regency ONRT3624 User manual

Regency Kee Post MTBP27 User manual

Regency

Regency Kee Post MTBP27 User manual

Regency ONCSLFBK7124 User manual

Regency

Regency ONCSLFBK7124 User manual

Regency MADET2540 User manual

Regency

Regency MADET2540 User manual

Regency LPFS2121 User manual

Regency

Regency LPFS2121 User manual

Regency ONHD3033 User manual

Regency

Regency ONHD3033 User manual

Regency LRT4724 User manual

Regency

Regency LRT4724 User manual

Regency Legacy LCTRT12047 User manual

Regency

Regency Legacy LCTRT12047 User manual

Regency LADSR7130 User manual

Regency

Regency LADSR7130 User manual

Regency Legacy LBC3020 User manual

Regency

Regency Legacy LBC3020 User manual

Regency TTRC4824 User manual

Regency

Regency TTRC4824 User manual

Regency ONCSBKBK7124 User manual

Regency

Regency ONCSBKBK7124 User manual

Regency TVRD7236 User manual

Regency

Regency TVRD7236 User manual

Regency TVCTRC12048 User manual

Regency

Regency TVCTRC12048 User manual

Regency Legacy LCTRT14452 User manual

Regency

Regency Legacy LCTRT14452 User manual

Regency 72” STORAGE CABINET LSC7236 User manual

Regency

Regency 72” STORAGE CABINET LSC7236 User manual

Popular Indoor Furnishing manuals by other brands

Rauch M2094 Assembly instructions

Rauch

Rauch M2094 Assembly instructions

Habitat ALTO-TA-SS15-A Assembly instructions

Habitat

Habitat ALTO-TA-SS15-A Assembly instructions

Homewell 174643 Assembly instructions

Homewell

Homewell 174643 Assembly instructions

ricoo WM083 Assembly instructions

ricoo

ricoo WM083 Assembly instructions

Artesano 24801 Assembling instructions

Artesano

Artesano 24801 Assembling instructions

Next BRONX 425622 Assembly instructions

Next

Next BRONX 425622 Assembly instructions

Stellar Works BL-SC110 Assembly instructions

Stellar Works

Stellar Works BL-SC110 Assembly instructions

U-Line Н-4989 quick start guide

U-Line

U-Line Н-4989 quick start guide

IKEA SÄLLSKAP manual

IKEA

IKEA SÄLLSKAP manual

IKEA FLÄRKE TV UNIT 25X17" instructions

IKEA

IKEA FLÄRKE TV UNIT 25X17" instructions

Poliman Moveis Cozinha Lara Armário Nicho Assembling instructions

Poliman Moveis

Poliman Moveis Cozinha Lara Armário Nicho Assembling instructions

Dimensions Furniture MōDRN Marni Barrel Accent Chair 1214 Assembly instructions

Dimensions Furniture

Dimensions Furniture MōDRN Marni Barrel Accent Chair 1214 Assembly instructions

IKEA KÅSEBERGA manual

IKEA

IKEA KÅSEBERGA manual

Eurotech LAU1 Assembly instructions

Eurotech

Eurotech LAU1 Assembly instructions

Steelcase Series 9000 Pedestal manual

Steelcase

Steelcase Series 9000 Pedestal manual

Costway HU10481-T manual

Costway

Costway HU10481-T manual

Comfort Products 50-2401WN Operation manual

Comfort Products

Comfort Products 50-2401WN Operation manual

JSI SWISH installation instructions

JSI

JSI SWISH installation instructions

manuals.online logo
manuals.online logoBrands
  • About & Mission
  • Contact us
  • Privacy Policy
  • Terms and Conditions

Copyright 2025 Manuals.Online. All Rights Reserved.