manuals.online logo
Brands
  1. Home
  2. •
  3. Brands
  4. •
  5. Regency
  6. •
  7. Indoor Furnishing
  8. •
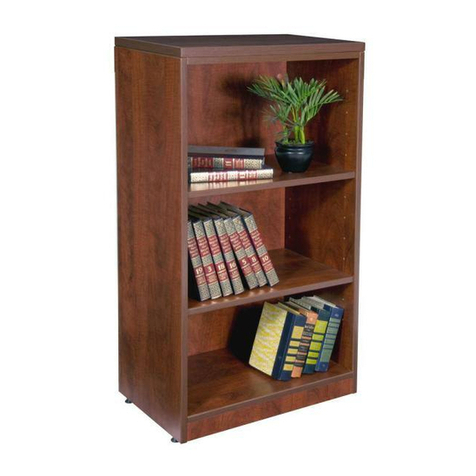
  9. Regency LWD6524 User manual

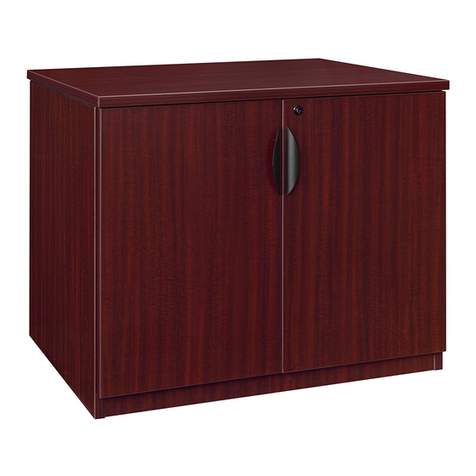
Regency LWD6524 User manual

Any problems or questions call Regency Ofce Furniture at 1-866-816-9822
IMPORTANT NOTICE:
● Place all wooden parts on a clean and smooth surface such as a rug or carpet to avoid the parts from being scratched.
● Check to be sure that you have all parts and hardware.
● Remove all wrapping materials, including staples & packing straps before you start to assemble.
● Do not tighten all screws/bolts until completely assembled.
● Keep all hardware parts out of reach of children.
LWD6524- INSTRUCTIONS
You will need a Phillips Head screwdriver and a rubber mallet to assemble.
Hardware :
A: Locking shelf pins(4) • B: Pole Support(2) • C: Hinges(3) • D: Brackets(3) • E: Shelf Pins(4)
F: Long Screws(2) • G: Cam pins(19) • H: Adjustable Glides(4) • I: Cam lock covers(19)
J: Hole Covers(3) • K: Small Screws(34) • L: Handle • M: Pole • N: Door stopper(2) • O: feet(4)
B C D E F G H I J K L M N O
PQ
A
Parts :
P: Front Runner • Q: Adjustable shelf • R: Fixed shelf • S: Door • T: Top • U: Left side • V: Right Side
W: Back • X: Bottom Y: Support Shelf
RST U V W X Y
STEP 1 : Lay Back(W) down with cam locks facing
up and screw in one cam pin(G). Connect bottom(X)
to back(W) by inserting the cam pin on the back into
the lock on the bottom and Tighten(See Fig 1). Be sure
the cam locks on the bottom are facing away from
the back.
STEP 2 : Attach 3 brackets(D) with 2 screws(K)
each to the right side(V) and 7 cam pins(G) to each
side(U&V).
W
G
WX
V
D
U
D
D
G
G
G
GG
G
G
GG
G
G
G
G
G
Fig 1
Any problems or questions call Regency Ofce Furniture at 1-866-816-9822
LWD6524- INSTRUCTIONS
You will need a Phillips Head screwdriver and a rubber mallet to assemble.
STEP 3 : Attach right side(V) to back(W) and
bottom(X) by inserting cam pins into locks. Do not
tighten locks until instructed.
STEP 5 : Attach left side(U) to back(W), support
shelf(Y),bottom(X) and front runner(P) by inserting
cam locks and tightening.
STEP 7 : Insert 4 cam pins(G) into the top(T) and
connect to unit by standing the unit upright and
inserting and tightening the cam pins into the locks
on the back(W) and sides(U,V). The top overhang
should be facing forward.
STEP 4 : Attach support shelf(Y) to the back(W)
and right side(V) with cam locks facing the bottom.
Also attach front runner(P) to the bottom(X) and right
side(V). Then tighten all cam locks from this step and
from step 3.
STEP 6 : Using 4 small screws(K) attach each
glide(H) to the unit by using the screws to secure the
glide to the sides(U,V) so the adjusting control of the
glide ts in the holes in the bottom(X).
STEP 8 : Insert 4 adjustable shelf pins(E) evenly in
the holes you choose in the lower shelf area of the
unit and insert adjustable shelf(Q). Screw in 4 lock-
ing shelf pins(A) evenly into the upper shelf area and
lock in the xed shelf(R) by placing the shelf in place
and tightening the locks built into the bottom of the
shelf with a phillips head screwdriver.
V
WX
V
W
X
Y
P
V
W
X
YP
U
E
A
adjusting control
R
Any problems or questions call Regency Ofce Furniture at 1-866-816-9822
LWD6524- INSTRUCTIONS
You will need a Phillips Head screwdriver and a rubber mallet to assemble.
STEP 9 : Attach 3 hinges(C) to door(S) with 2
screws(K) each hinge. Do not screw hinge into posi-
tion until perpendicular with the ground.
STEP 11 : Use the 2 long screws(F) to attach the
handle(L) to the door(S) by inserting the screws
through the back of the pre drilled holes in the
door(S) and tightening the handle to the front of the
door as the photo shows below.
OPTIONAL STEP
STEP 13 : Use 3 small screws(K) to attach the
pole supports(B) to the sides. There is a pre drilled
hole on each side(U,V) that lines up the bottom
screw(K) of the pole support(B). Screw that screw
in rst to ensure a level pole, then screw the top 2
screws in place and insert pole(M).
STEP 10 : Attach door(S) to unit by inserting the
protruding screw (2a) from the brackets(D) into the
open end of the hinges(C) and tightening. The screw
that is located on the hinges(C) (3a) is used for align-
ment of the door(S).
STEP 12 : Find where the long screw(F) on the
back of the door(S) touches the left side(U) and
place the 2 door stoppers(N) in between the two.
S
C
C
C
S
D
C
2a 3a
L
F
F
N
N
BB
M

Other Regency Indoor Furnishing manuals
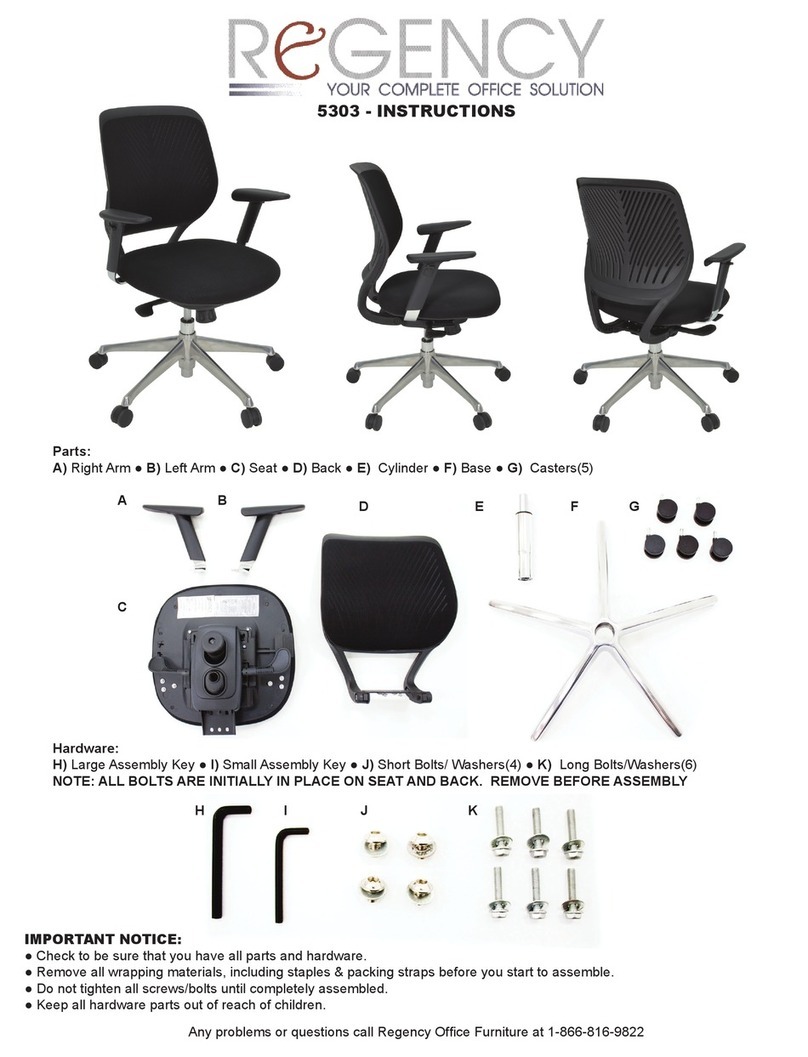
Regency ONRTSP4224 User manual

Regency

Regency ONRTSP4224 User manual

Regency SRDRT2BF User manual

Regency

Regency SRDRT2BF User manual

Regency BCTRC12048 User manual

Regency

Regency BCTRC12048 User manual

Regency LEGACY STORAGE CABINET LSC2935 User manual

Regency

Regency LEGACY STORAGE CABINET LSC2935 User manual

Regency Mia 2000 User manual

Regency

Regency Mia 2000 User manual

Regency 9476 User manual

Regency

Regency 9476 User manual

Regency ONRT6224 User manual

Regency

Regency ONRT6224 User manual

Regency MKTBX22 User manual

Regency

Regency MKTBX22 User manual

Regency ONHD3033 User manual

Regency

Regency ONHD3033 User manual
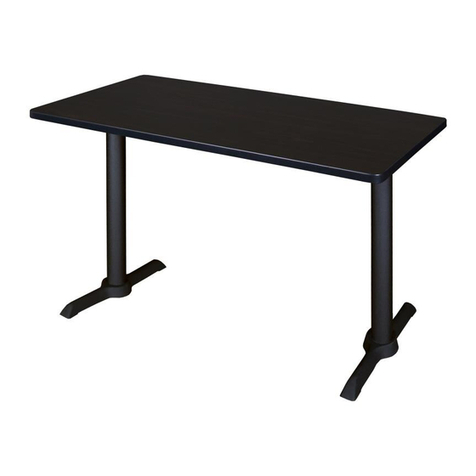
Regency MADET2540 User manual

Regency

Regency MADET2540 User manual

Regency LSC7236 User manual

Regency

Regency LSC7236 User manual

Regency ONCSLF7124 User manual

Regency

Regency ONCSLF7124 User manual

Regency ONRT4224 User manual

Regency

Regency ONRT4224 User manual

Regency ONDSSP6630 User manual

Regency

Regency ONDSSP6630 User manual

Regency TT6224 User manual

Regency

Regency TT6224 User manual
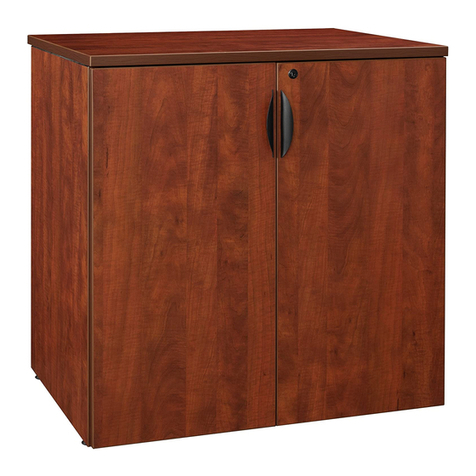
Regency ONRT3624 User manual

Regency

Regency ONRT3624 User manual

Regency ONRTSCD6224 User manual

Regency

Regency ONRTSCD6224 User manual

Regency Legacy LBC3020 User manual

Regency

Regency Legacy LBC3020 User manual

Regency 72” STORAGE CABINET LSC7236 User manual

Regency

Regency 72” STORAGE CABINET LSC7236 User manual

Regency TVRD7236 User manual

Regency

Regency TVRD7236 User manual

Regency ONSCD3624 User manual

Regency

Regency ONSCD3624 User manual
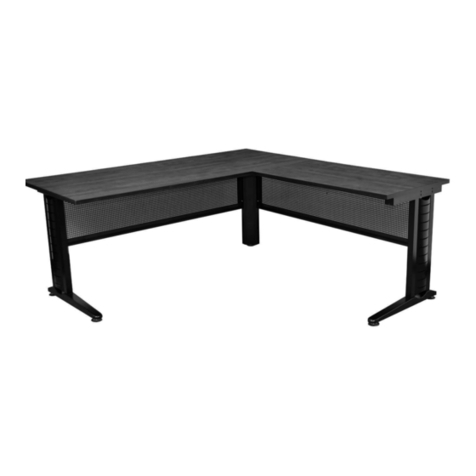
Regency BBNCH2148 User manual

Regency

Regency BBNCH2148 User manual

Regency ONSC3020 User manual

Regency

Regency ONSC3020 User manual

Regency BCTRC12048 User manual

Regency

Regency BCTRC12048 User manual

Popular Indoor Furnishing manuals by other brands

Steve Silver Yukon YU3636NT manual

Steve Silver

Steve Silver Yukon YU3636NT manual

Coaster 193491 Assembly instructions

Coaster

Coaster 193491 Assembly instructions

Safavieh Furniture ACC5721 manual

Safavieh Furniture

Safavieh Furniture ACC5721 manual

EURO-RITE VSD30-2 Assembly instructions

EURO-RITE

EURO-RITE VSD30-2 Assembly instructions

LDI Safco Scoot 1600 Assembly instructions

LDI

LDI Safco Scoot 1600 Assembly instructions

Dorel DA7509 Assembly instruction

Dorel

Dorel DA7509 Assembly instruction

Compel Pivit Perch Assembly instructions

Compel

Compel Pivit Perch Assembly instructions

BLACK RED WHITE NIKA FANTAZJA 260 FRONTY MELOS Assembly manual

BLACK RED WHITE

BLACK RED WHITE NIKA FANTAZJA 260 FRONTY MELOS Assembly manual

VITRA Workbays Meet Assembly instructions

VITRA

VITRA Workbays Meet Assembly instructions

Riverside Furniture Aberdeen Dining Room 21251 Assembly instructions

Riverside Furniture

Riverside Furniture Aberdeen Dining Room 21251 Assembly instructions

TIMBER ART DESIGN SR 930064 Assembly instructions

TIMBER ART DESIGN

TIMBER ART DESIGN SR 930064 Assembly instructions

Naomi Home Emery Assembly instructions

Naomi Home

Naomi Home Emery Assembly instructions

Pitarch 5075 Assembly instructions

Pitarch

Pitarch 5075 Assembly instructions

Fleurco Halo MC04 installation manual

Fleurco

Fleurco Halo MC04 installation manual

LDI Safco 6110 Mounting instructions

LDI

LDI Safco 6110 Mounting instructions

Home affaire Royal 52 Assembly instructions

Home affaire

Home affaire Royal 52 Assembly instructions

Safavieh Furniture FOX5529A manual

Safavieh Furniture

Safavieh Furniture FOX5529A manual

DITALIA MF-15 Assembling instructions

DITALIA

DITALIA MF-15 Assembling instructions

manuals.online logo
manuals.online logoBrands
  • About & Mission
  • Contact us
  • Privacy Policy
  • Terms and Conditions

Copyright 2025 Manuals.Online. All Rights Reserved.