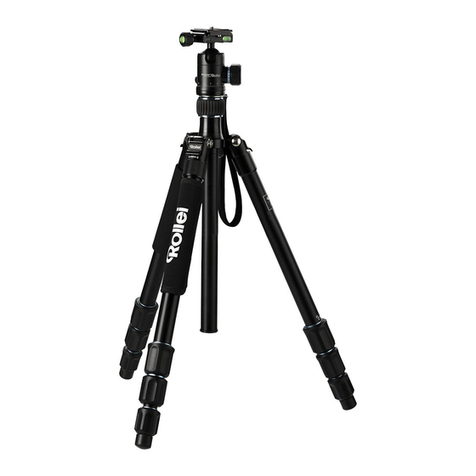
Rollei Star S3 Makro User manual
Other Rollei Camera Accessories manuals

Rollei
Rollei HS Freeze Portable Pro User manual

Rollei
Rollei ePano II 360 DSLR User manual

Rollei
Rollei Pro Actioncam Gimbal User manual

Rollei
Rollei C5i Carbon User manual

Rollei
Rollei Smartphone Tripod Traveler User manual
Rollei
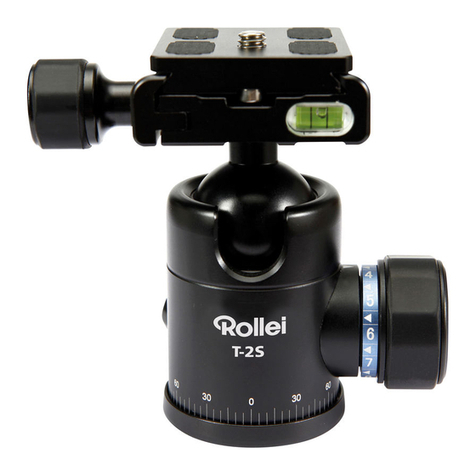
Rollei T-2S User manual

Rollei
Rollei Pro Transmitter Mark IIs User manual
Rollei
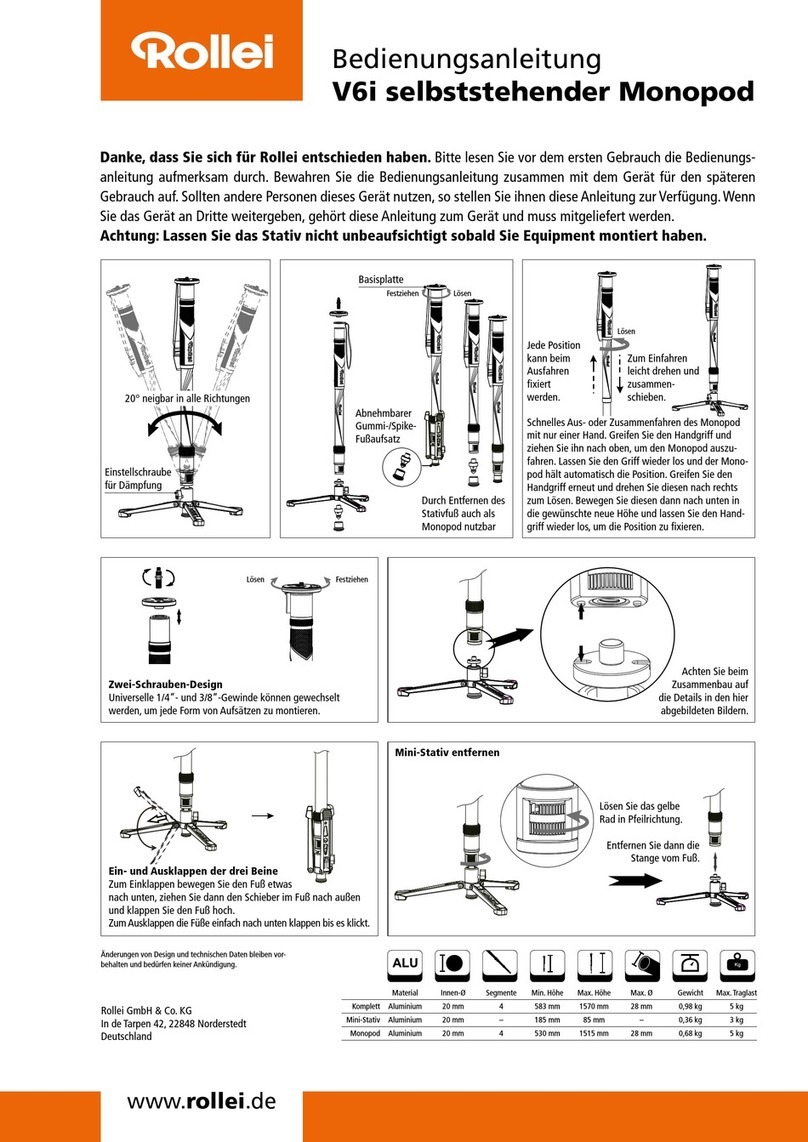
Rollei V6i User manual

Rollei
Rollei Compact Traveler Star S3 Plus User manual

Rollei
Rollei Smart Traveler Video User manual

Rollei
Rollei HS Freeze 1s User manual

Rollei
Rollei Easy Traveler Video User manual

Rollei
Rollei eGimbal G4 Plus User manual

Rollei
Rollei Lion Rock 25 Mark II User manual

Rollei
Rollei Steady Butler Mobile 2 User manual

Rollei
Rollei Pro Transmitter Mark II User manual

Rollei
Rollei Fotopro FPH-53P User manual

Rollei
Rollei GO! User manual

Rollei
Rollei Pro Smartphone Gimbal User manual

Rollei
Rollei Lion Rock 20 User manual
Popular Camera Accessories manuals by other brands

Viltrox
Viltrox EF-NEX Mount instructions

Calumet
Calumet 7100 Series CK7114 operating instructions

Ropox
Ropox 4Single Series User manual and installation instructions

Cambo
Cambo Wide DS Digital Series Main operating instructions

Samsung
Samsung SHG-120 Specification sheet

Ryobi
Ryobi BPL-1820 Owner's operating manual
