manuals.online logo
Brands
  1. Home
  2. •
  3. Brands
  4. •
  5. Sauder
  6. •
  7. Indoor Furnishing
  8. •
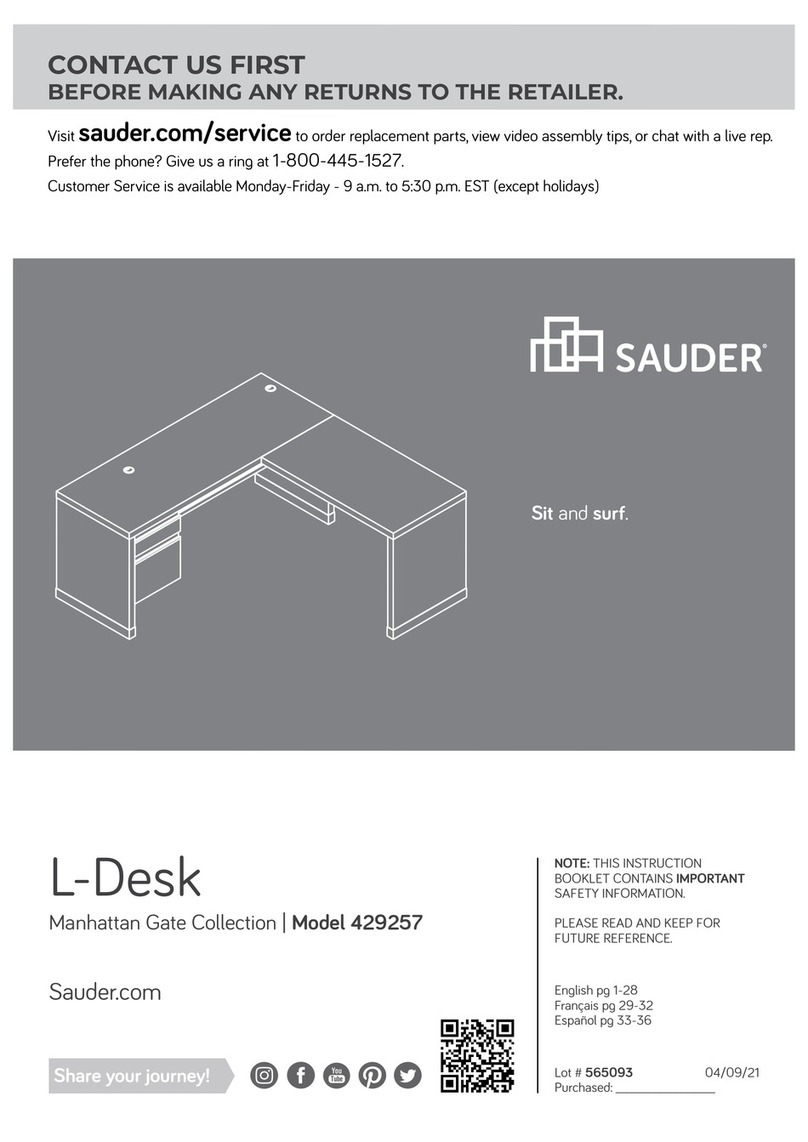
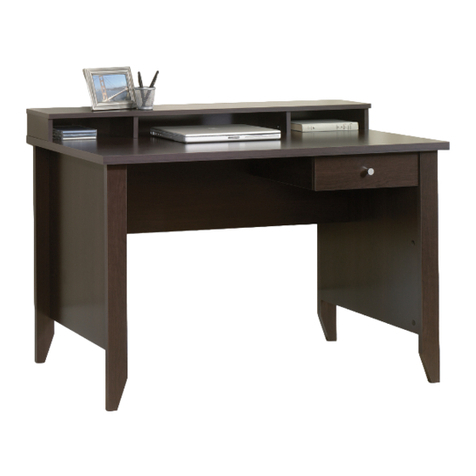
  9. Sauder OfficeWorks AFFIRM 427413 User manual

Sauder OfficeWorks AFFIRM 427413 User manual

sauder.com
NOTE: THIS INSTRUCTION
BOOKLET CONTAINS IMPORTANT
SAFETY INFORMATION.
PLEASE READ AND KEEP FOR
FUTURE REFERENCE.
sauder.com
CONTACT US FIRST
BEFORE MAKING ANY RETURNS TO THE STORE.
sauder.com
CONTACT US FIRST
BEFORE MAKING ANY RETURNS TO THE RETAILER.
Sauder.com
Share your journey!
How can we help you? To reach our customer service, visit
sauder.com/oceservice
to chat with a
live rep or email us.
Prefer the phone? Give us a ring at
877-996-7539
.
Our award-winning team is available Monday-Friday - 9 a.m. to 5:30 p.m. EST (except holidays).
English pg 1-46
Français pg 47-53
Español pg 54-60
Lot # 566772 08/23/21
Purchased: __________________
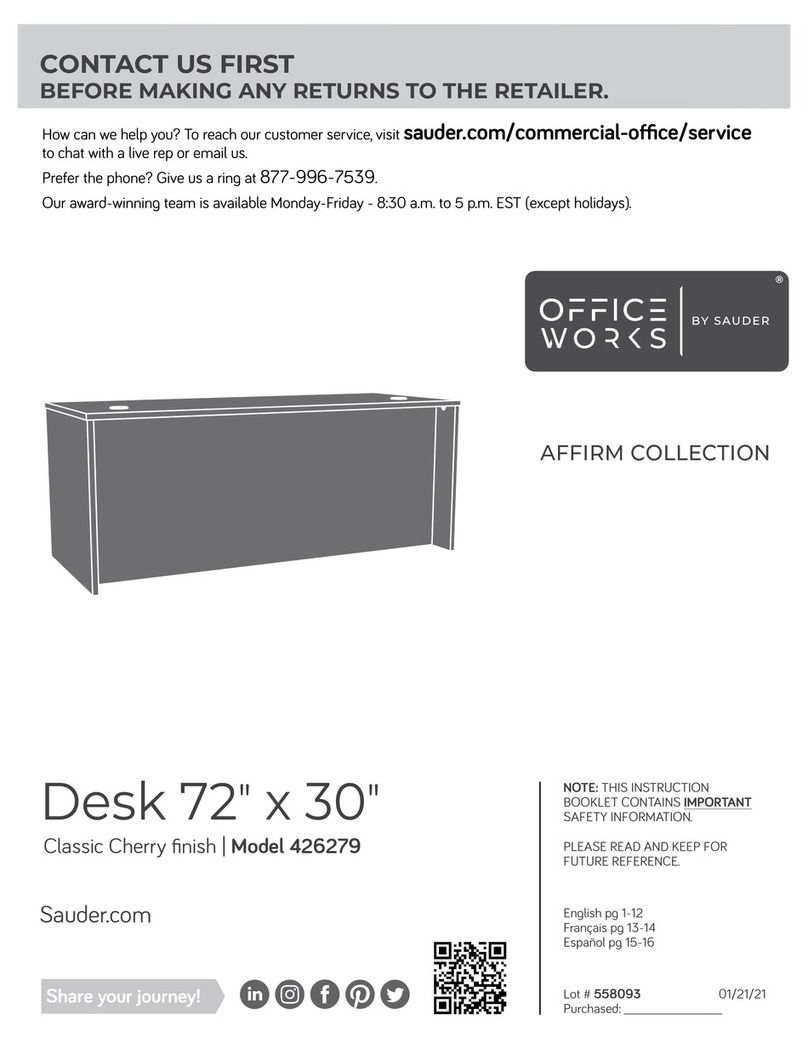
Desk Return 42"
Hudson Elm finish | Model 427413
AFFIRM COLLECTION
Table of Contents Assembly Tools Required
Part Identification
Hardware Identification
Hardware Usage Guide
Assembly Steps
Français
Español
Safety
Warranty
Hammer
Not actual size
No. 2 Phillips Screwdriver
Tip Shown Actual Size
3
4
8, 28
5-46
47-53
54-60
61-62
63
427413 www.sauder.com/oceservicePage 2
Part Identification
åWhile not all parts are labeled, some of the parts will have a label or an inked letter on the edge
to help distinguish similar parts from each other. Use this part identification to help identify similar parts.
Now you know
our ABCs.
A SMALL RIGHT END (1)
B SMALL LEFT END (1)
C LARGE END (1)
D TOP (1)
E MODESTY PANEL (1)
A
B
C
D
E
427413www.sauder.com/oceservice Page 3
Hardware Identification
åScrews are shown actual size. You may receive extra hardware with your unit.
GROMMET CAP- 1
3P
CORD CLIP - 2
9P
LEVELER - 6
46E
GROMMET - 1
2P
PLATE - 2
41G
WOOD DOWEL - 8
42F
LARGE HOLE
PLUG - 3
98P
37F TWIST-LOCK®FASTENER - 8
427413 www.sauder.com/oceservicePage 4
BLACK 9/16" LARGE HEAD SCREW - 8
1S
TWIST-LOCK®
FASTENER COVER - 19
105P SMALL HOLE
PLUG - 2
107P
427413www.sauder.com/oceservice Page 5
Optional Accessories (sold separately)
å This piece of furniture accommodates one or more of the following optional accessories (sold separately).
å Powered Grommet (Item 427829)
The Powered Grommet is designed to replace any existing grommet provided with your furniture.
å To purchase the Powered Grommet, scan this QR code. (Or go to sauder.com)
å Articulating Keyboard Shelf (Item 426468)
The Articulating Keyboard Shelf is designed to be fastened to the underside of your desk, desk return, or credenza top.
å To purchase the Articulating Keyboard Shelf, scan this QR code. (Or go to sauder.com)
å LED Light (Item 426494)
The LED Light is designed to be fastened to the underside of a hutch.
å To purchase the LED Light, scan this QR code. (Or go to sauder.com)
Step 1 Look for this icon. It means a video assembly tip is
available at www.sauder.com/service/tips
Find the numbered video or scan the QR code. 0
å You have the option to assemble the Return to connect
on the LEFT or RIGHT. If you want the Return to connect
to the left side, go to Step 2. If you want the Return to
connect to the right side, go to Step 22.
STEP 2
CONNECTING RETURN TO LEFT SIDE
STEP 22
CONNECTING RETURN TO RIGHT SIDE
427413 www.sauder.com/oceservicePage 6
å Assemble your unit on a carpeted floor or on the empty
carton to avoid scratching your unit or the floor.
å Using your hammer, gently tap two LEVELERS (46E)
completely into the holes in the LARGE END (C).
å NOTE: Adjustments to the LEVELERS will be made later in
assembly once your unit is standing upright.
Step 2
C
46E
427413www.sauder.com/oceservice Page 7
å Insert two WOOD DOWELS (42F) into the
LARGE END (C).
å NOTE: You may need to gently tap the
WOOD DOWELS in with your hammer.
å Fasten the LARGE END (C) to the
MODESTY PANEL (E). Tighten three
TWIST-LOCK® FASTENERS.
å NOTE: Be sure the WOOD DOWELS in
the LARGE END insert into the
MODESTY PANEL.
Step 3
42F
C
E
42F
2
Surface with TWIST-LOCK® FASTENERS
Surface with
TWIST-LOCK®
FASTENERS
Edge with
TWIST-LOCK®
FASTENERS
Edge with
TWIST-LOCK®
FASTENERS
Hardware Usage Guide
1. Insert the dowel end of the FASTENER into the
hole of the adjoining part.
NOTE: The dowel end of the FASTENER must
remain fully inserted in the hole of the adjoining
part while locking the FASTENER.
2. Tighten the FASTENER with a Phillips
screwdriver as tight as possible.
Dowel end
2.
Push a TWIST-LOCK® FASTENER
into the large hole in the part.
1.
HOW TO USE A TWIST-LOCK®FASTENER
If the TWIST-LOCK® FASTENER
is already inserted in the part,
be sure both the dowel end and
fastener edge are straight.
427413 www.sauder.com/oceservicePage 8
For support, place packing
foam or books here.
å Push two SAUDER TWIST-LOCK® FASTENERS (37F) into
the large holes in the SMALL RIGHT END (A).
å Using your hammer, gently tap two LEVELERS (46E)
completely into the holes in the SMALL RIGHT END (A).
å NOTE: Adjustments to the LEVELERS will be made later in
assembly once your unit is standing upright.
Step 4
A
2
37F
Do not tighten the TWIST-LOCK® FASTENERS in this step.
46E
Just think. The sooner
you do this, the sooner
you do something else.
427413www.sauder.com/oceservice Page 9
å Insert two WOOD DOWELS (42F) into the TOP (D).
å NOTE: You may need to gently tap the WOOD DOWELS in
with your hammer.
å Push two CORD CLIPS (9P) into the holes in the TOP (D).
Step 5
D
42F
9P
427413 www.sauder.com/oceservicePage 10
Pilot hole to be used only if
you purchased the optional
426468 Articulating
Keyboard Shelf.
å You have the option to assemble the Return to connect to the following
desks: 427468, 427422, and 427427.
å If you are fastening the Return to the 427468 Desk, go to Step 7.
å If you are fastening the Return to the 427422 Desk, go to Step 12.
å If you are fastening the Return to the 427427 Desk, go to Step 17.
Step 6
427468
STEP 7
427413www.sauder.com/oceservice Page 11
427427
427431
STEP 17
427422
STEP 12
CONNECTING RETURN
TO LEFT SIDE
å Insert the dowel end of two TWIST-LOCK® FASTENERS (37F) into the 427468 Left End as shown in the enlarged diagram.
å NOTE: If you already pushed TWIST-LOCK® FASTENERS into the holes in the long edge of the SMALL RIGHT END (A), pull
the FASTENERS back out of the holes. Pull at the front and back edges, slowly working the FASTENERS out of the holes.
å Insert the TWIST-LOCK® FASTENERS in the short edge of the SMALL RIGHT END (A) into the 427468 Desk Top, and
push the SMALL RIGHT END (A) onto the TWIST-LOCK® FASTENERS in the 427468 Left End. Fasten the SMALL RIGHT
END (A) to the Desk Top and Left End. Tighten four TWIST-LOCK® FASTENERS.
Step 7 2
A
427468 Desk Top
427468
Left End
427413 www.sauder.com/oceservicePage 12
Surface with
TWIST-LOCK®
FASTENERS
Short edge with
TWIST-LOCK®
FASTENERS
37F
å NOTE: You will need someone's help in this step.
å Insert two WOOD DOWELS (42F) into the SMALL RIGHT END (A).
å NOTE: You may need to gently tap the WOOD DOWELS in with
your hammer.
å Fasten the MODESTY PANEL (E) to the SMALL RIGHT END (A).
Tighten three TWIST-LOCK® FASTENERS.
å NOTE: Be sure the WOOD DOWELS in the SMALL RIGHT END
insert into the MODESTY PANEL.
Step 8
42F
A
E
42F
427413www.sauder.com/oceservice Page 13
For support, place packing
foam or books here.
å Fasten the PLATES (41G) to the 427468 Desk Top. Use
four BLACK 9/16" LARGE HEAD SCREWS (1S).
Step 9
427468 Desk Top
41G
BLACK 9/16" LARGE HEAD SCREW
(4 used in this step)
1S
427413 www.sauder.com/oceservicePage 14
å Fasten the TOP (D) to the LARGE END (C) and MODESTY
PANEL (E). Tighten five TWIST-LOCK® FASTENERS.
å NOTE: Be sure the WOOD DOWELS in the TOP insert
into the LARGE END.
å Fasten the TOP (D) to the 427468 Desk Top. Use four
BLACK 9/16" LARGE HEAD SCREWS (1S).
Step 10
D
C
E
427468 Desk Top
2
If you're doing this to
help a friend, don't
leave without a bite.
427413www.sauder.com/oceservice Page 15
BLACK 9/16" LARGE HEAD SCREW
(4 used in this step)
1S
Step 11
å Insert the GROMMET (2P) and GROMMET CAP (3P) into the large hole in the TOP (D).
å Insert the HOLE PLUGS (98P and 107P) into any unused holes.
å Using your hammer, gently tap a TWIST-LOCK® FASTENER COVER (105P) onto each visible TWIST-LOCK® FASTENER.
å Your unit may need leveling. To raise a corner of your unit, rotate the LEVELER downward. To lower a corner of your unit,
rotate the LEVELER upward.
å NOTE: Please read the back pages of the instruction booklet for important safety information.
å This completes assembly. Clean with a damp cloth. Wipe dry.
3P
2P
50 lbs.
To raise a corner of your unit,
rotate the LEVELER downward.
To lower a corner of your unit,
rotate the LEVELER upward.
D
427413 www.sauder.com/oceservicePage 16
And to celebrate, why not share your success story at sauder.com or
107P
(2 used)
98P
(3 used)
105P
Step 12
427422 Desk Top
427422
Left End
2
427413www.sauder.com/oceservice Page 17
å Insert the dowel end of two TWIST-LOCK® FASTENERS (37F) into the 427422 Left End as shown in the enlarged diagram.
å NOTE: If you already pushed TWIST-LOCK® FASTENERS into the holes in the long edge of the SMALL RIGHT END (A), pull
the FASTENERS back out of the holes. Pull at the front and back edges, slowly working the FASTENERS out of the holes.
å Insert the TWIST-LOCK® FASTENERS in the short edge of the SMALL RIGHT END (A) into the 427422 Desk Top, and
push the SMALL RIGHT END (A) onto the TWIST-LOCK® FASTENERS in the 427422 Left End. Fasten the SMALL RIGHT
END (A) to the Desk Top and Left End. Tighten four TWIST-LOCK® FASTENERS.
A
37F
Surface with
TWIST-LOCK®
FASTENERS
Short edge with
TWIST-LOCK®
FASTENERS
å NOTE: You will need someone's help in this step.
å Insert two WOOD DOWELS (42F) into the SMALL RIGHT END (A).
å NOTE: You may need to gently tap the WOOD DOWELS in with
your hammer.
å Fasten the MODESTY PANEL (E) to the SMALL RIGHT END (A).
Tighten three TWIST-LOCK® FASTENERS.
å NOTE: Be sure the WOOD DOWELS in the SMALL RIGHT END
insert into the MODESTY PANEL.
Step 13
A
42F
E
42F
2
427413 www.sauder.com/oceservicePage 18
For support, place packing
foam or books here.
å Fasten the PLATES (41G) to the 427422 Desk Top. Use
four BLACK 9/16" LARGE HEAD SCREWS (1S).
Step 14
427422 Desk Top
41G
427413www.sauder.com/oceservice Page 19
BLACK 9/16" LARGE HEAD SCREW
(4 used in this step)
1S
å Fasten the TOP (D) to the LARGE END (C) and MODESTY
PANEL (E). Tighten five TWIST-LOCK® FASTENERS.
å NOTE: Be sure the WOOD DOWELS in the TOP insert into
the LARGE END.
å Fasten the TOP (D) to the 427422 Desk Top. Use four
BLACK 9/16" LARGE HEAD SCREWS (1S).
Step 15 2
D
C
E
427422 Desk Top
If you're doing this to
help a friend, don't
leave without a bite.
427413 www.sauder.com/oceservicePage 20
BLACK 9/16" LARGE HEAD SCREW
(4 used in this step)
1S

Other Sauder Indoor Furnishing manuals
Sauder Storage Cabinet 419496 User manual

Sauder

Sauder Storage Cabinet 419496 User manual

Sauder Via 419613 User manual

Sauder

Sauder Via 419613 User manual

Sauder Moderna 5427968 User manual

Sauder

Sauder Moderna 5427968 User manual

Sauder Cannery Bridge 424192 User manual

Sauder

Sauder Cannery Bridge 424192 User manual

Sauder Costa 419961 User manual

Sauder

Sauder Costa 419961 User manual

Sauder OFFICE WORKS AFFIRM 427868 User manual

Sauder

Sauder OFFICE WORKS AFFIRM 427868 User manual

Sauder 408951 User manual

Sauder

Sauder 408951 User manual

Sauder Clifford Place 433360 User manual

Sauder

Sauder Clifford Place 433360 User manual

Sauder Rollingwood 431433 User manual

Sauder

Sauder Rollingwood 431433 User manual

Sauder OfficeWorks AFFIRM 427427 User manual

Sauder

Sauder OfficeWorks AFFIRM 427427 User manual

Sauder Palladia 411861 User manual

Sauder

Sauder Palladia 411861 User manual

Sauder 423731 User manual

Sauder

Sauder 423731 User manual

Sauder HomePlus Collection 411967 User manual

Sauder

Sauder HomePlus Collection 411967 User manual

Sauder worksense BERGEN CIRCLE 426290 User manual

Sauder

Sauder worksense BERGEN CIRCLE 426290 User manual

Sauder North Avenue 422313 User manual

Sauder

Sauder North Avenue 422313 User manual

Sauder Entertainment Credenza 403891 User manual

Sauder

Sauder Entertainment Credenza 403891 User manual

Sauder International Lux 430877 User manual

Sauder

Sauder International Lux 430877 User manual

Sauder Shoal Creek 418658 User manual

Sauder

Sauder Shoal Creek 418658 User manual

Sauder 412267 User manual

Sauder

Sauder 412267 User manual

Sauder Harbor View 415802 User manual

Sauder

Sauder Harbor View 415802 User manual

Sauder 430628 User manual

Sauder

Sauder 430628 User manual

Sauder Harbor View 402905 User manual

Sauder

Sauder Harbor View 402905 User manual

Sauder Whitaker Point 429372 User manual

Sauder

Sauder Whitaker Point 429372 User manual

Sauder 411606 User manual

Sauder

Sauder 411606 User manual

Popular Indoor Furnishing manuals by other brands

Easy 3665 Assembly instruction

Easy

Easy 3665 Assembly instruction

INR CIRC Installation instruction

INR

INR CIRC Installation instruction

Granberg Baselift Corner 6313H installation instructions

Granberg

Granberg Baselift Corner 6313H installation instructions

Next 699358 Assembly instructions

Next

Next 699358 Assembly instructions

UBERHAUS DESIGN 77735041 Assembly instructions

UBERHAUS DESIGN

UBERHAUS DESIGN 77735041 Assembly instructions

GrainWood Shaker SH0401 Assembly instructions

GrainWood

GrainWood Shaker SH0401 Assembly instructions

Castleton Home JR-5648 Hall Tree manual

Castleton Home

Castleton Home JR-5648 Hall Tree manual

GFW MORITZ Assembly instructions

GFW

GFW MORITZ Assembly instructions

Rize Home Contemporary IV owner's manual

Rize Home

Rize Home Contemporary IV owner's manual

Whittier Wood 1500GACb Assembly instructions

Whittier Wood

Whittier Wood 1500GACb Assembly instructions

emob ELINE SALONTAFEL TABLE BASSE 120 Assembly instruction

emob

emob ELINE SALONTAFEL TABLE BASSE 120 Assembly instruction

Little Folks Furniture SBD008 quick start guide

Little Folks Furniture

Little Folks Furniture SBD008 quick start guide

Modern Office Y11364 Assembly instructions

Modern Office

Modern Office Y11364 Assembly instructions

Office Star Products AVE SIX LANE LAN25ES Assembly instructions

Office Star Products

Office Star Products AVE SIX LANE LAN25ES Assembly instructions

Ercol Pero 2360 quick start guide

Ercol

Ercol Pero 2360 quick start guide

Signature Design by Ashley Alwyndale A4000541 Assembly instructions

Signature Design by Ashley

Signature Design by Ashley Alwyndale A4000541 Assembly instructions

Pike & Main 1435367 Assembly instructions

Pike & Main

Pike & Main 1435367 Assembly instructions

Walker Edison C38B5 Assembly instructions

Walker Edison

Walker Edison C38B5 Assembly instructions

manuals.online logo
manuals.online logoBrands
  • About & Mission
  • Contact us
  • Privacy Policy
  • Terms and Conditions

Copyright 2025 Manuals.Online. All Rights Reserved.