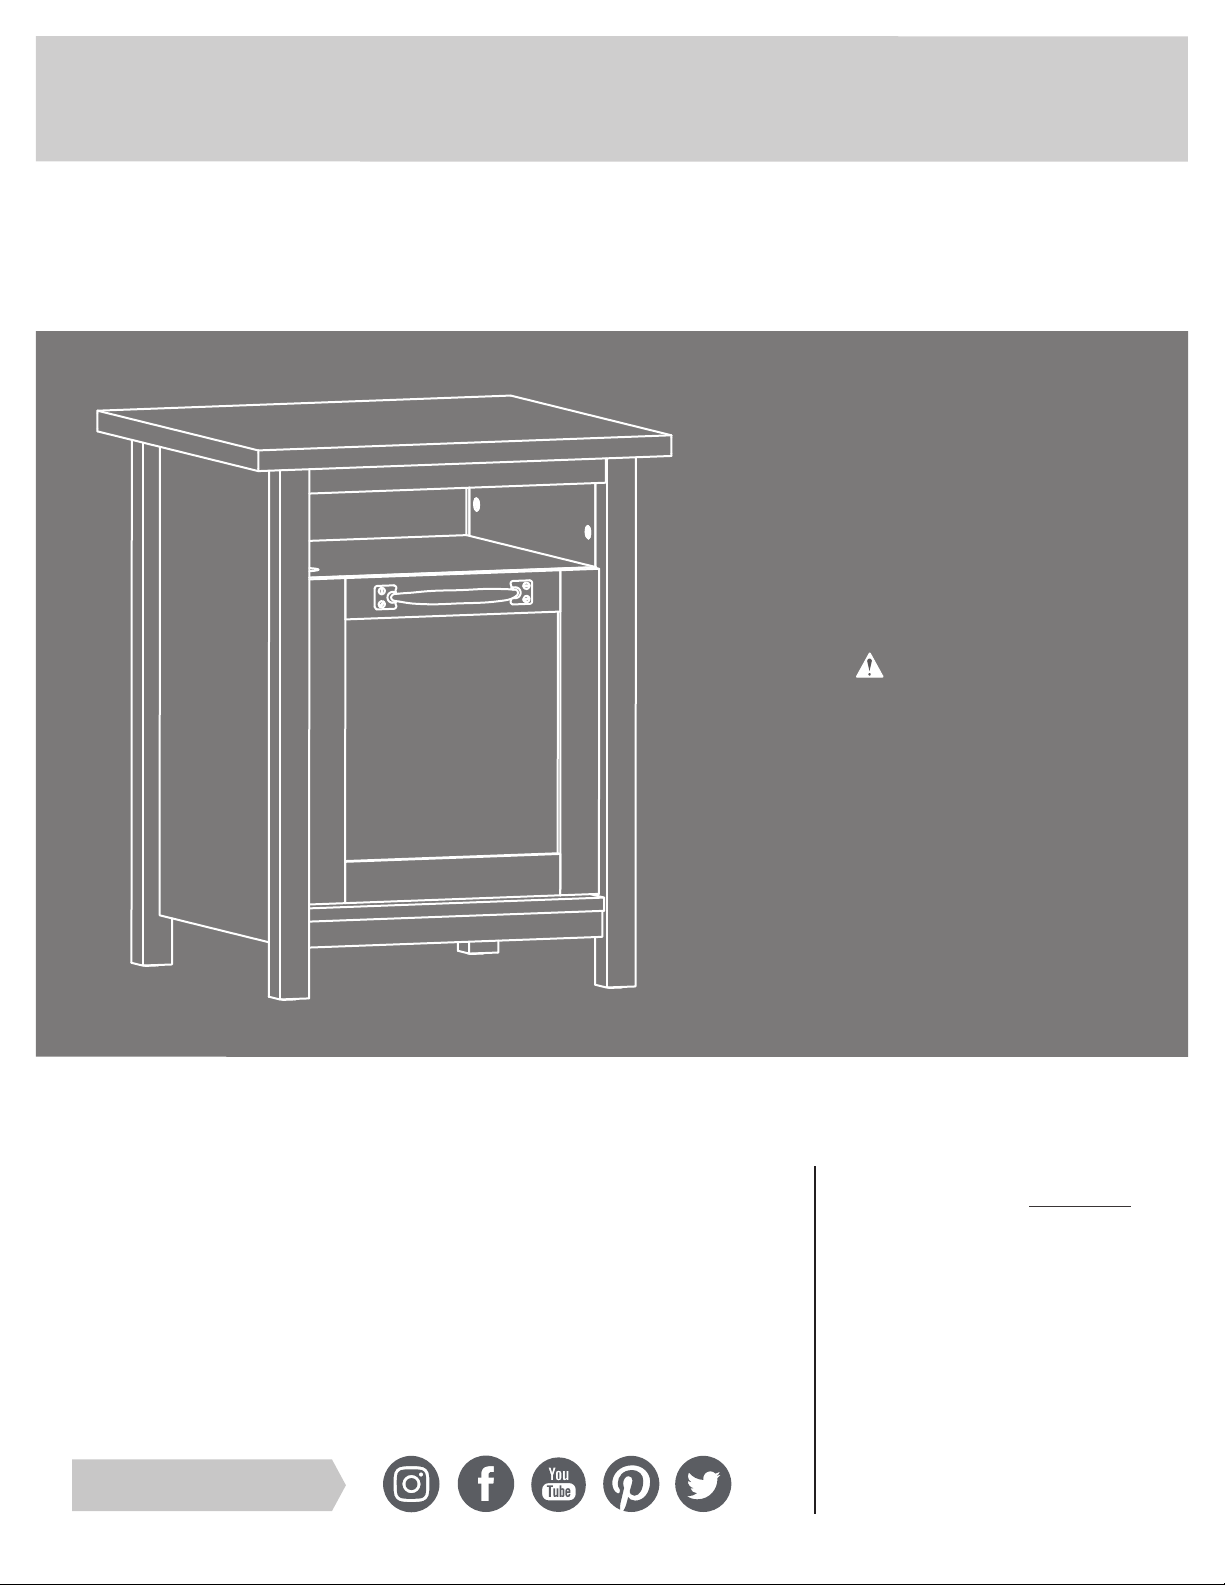
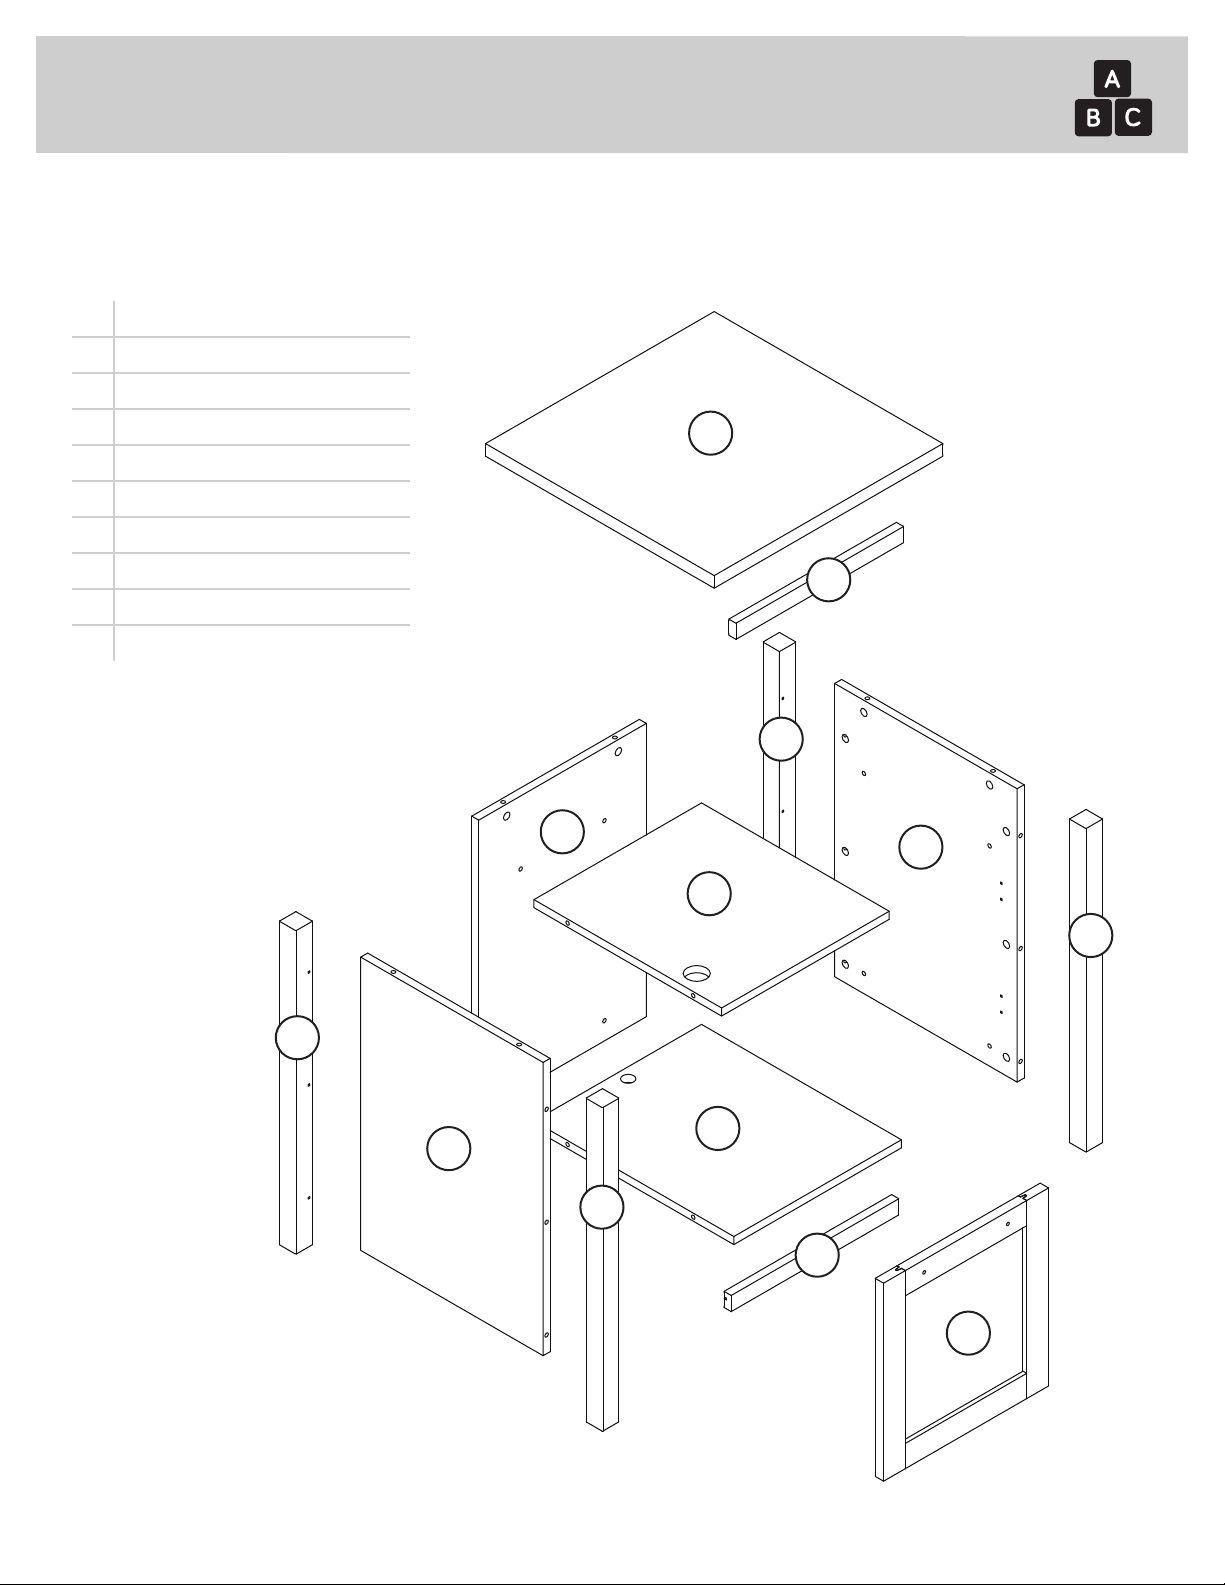
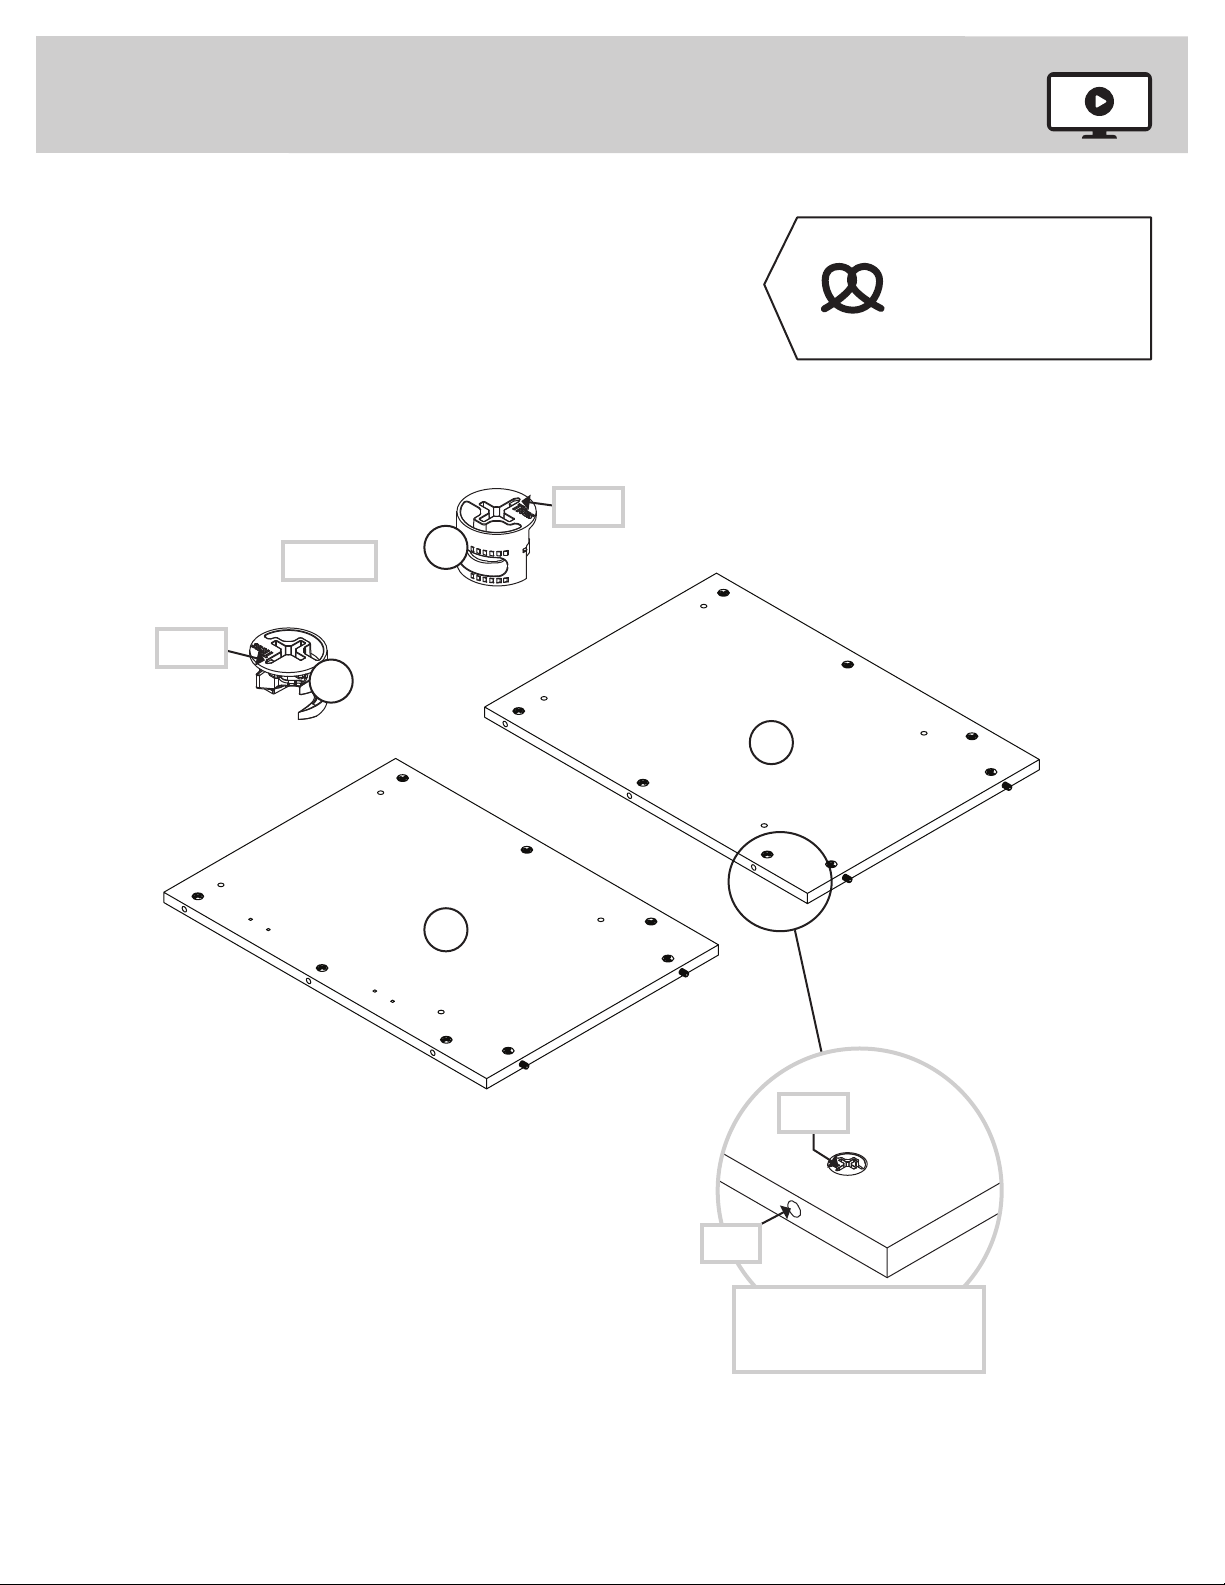
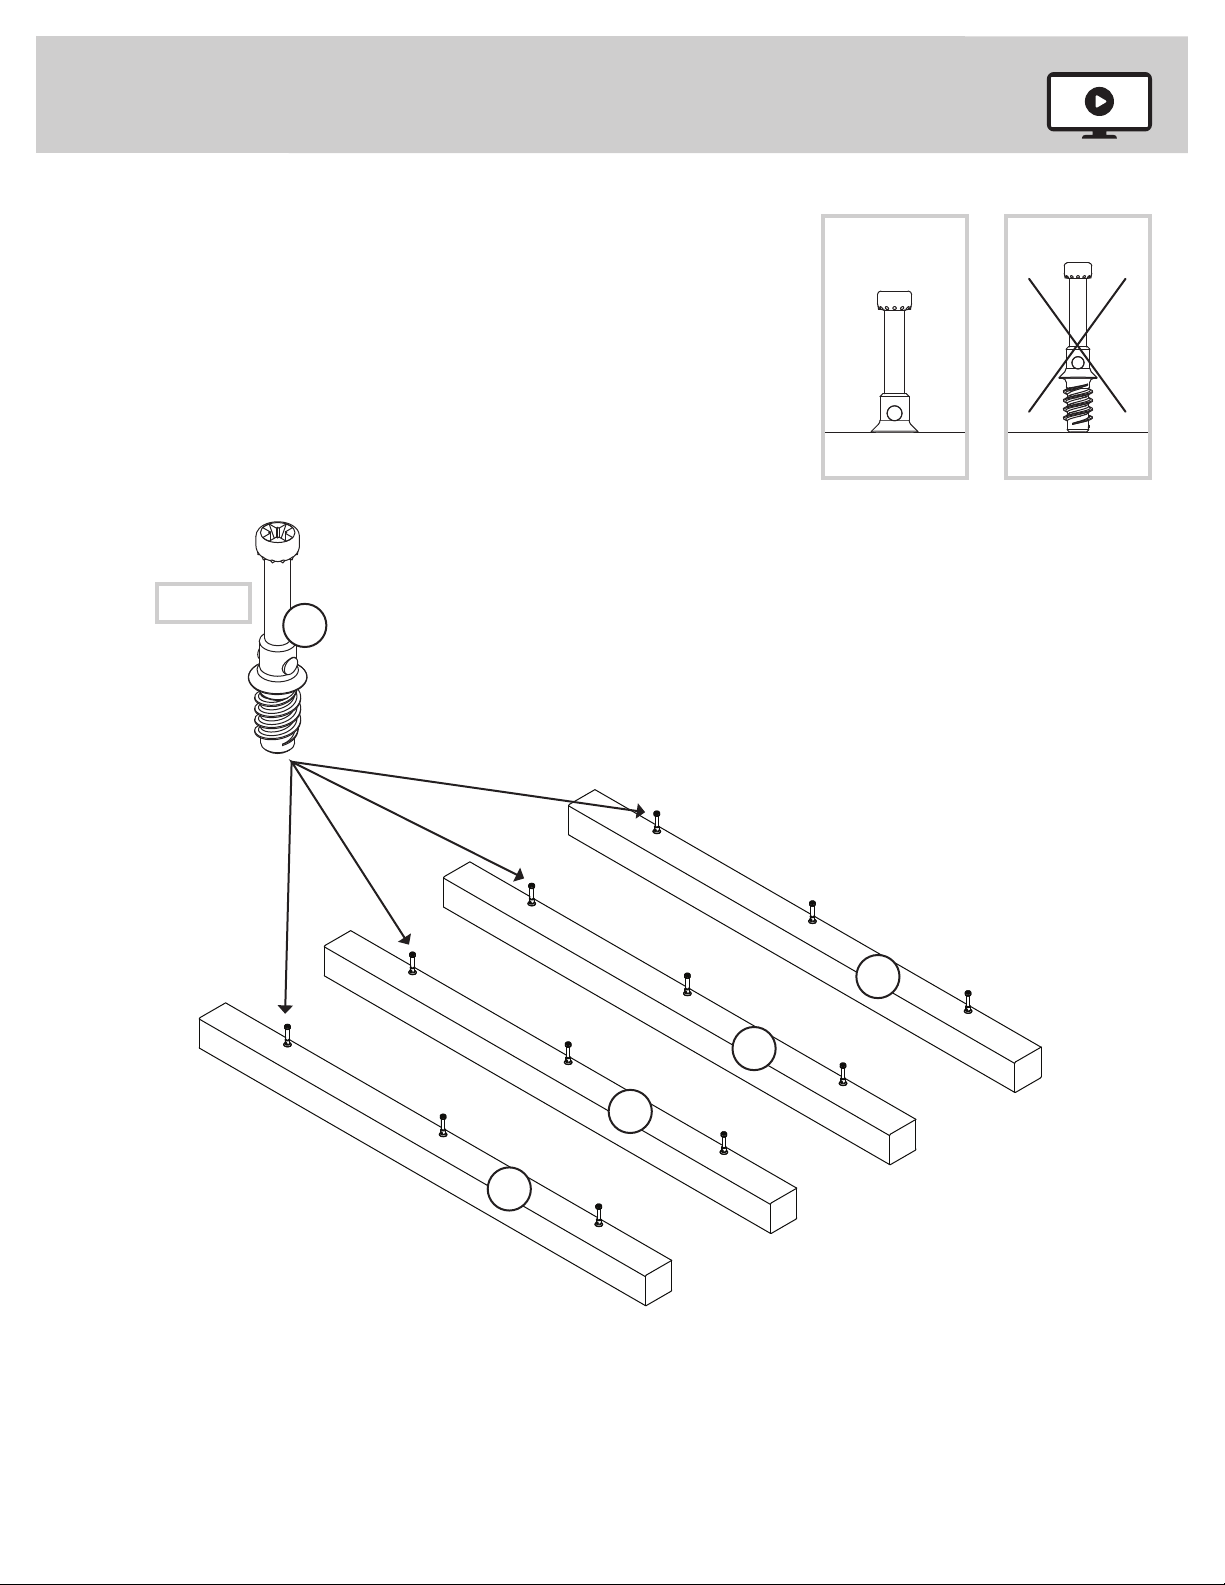
Sauder Night Stand 423434 User manual
Other Sauder Indoor Furnishing manuals

Sauder
Sauder Cottage Road 418072 User manual

Sauder
Sauder Harbor View 415002 User manual

Sauder
Sauder Hammond 431249 User manual

Sauder
Sauder Office Port Library Return 408363 User manual

Sauder
Sauder International Lux 430877 User manual

Sauder
Sauder Shoal Creek 408750 User manual

Sauder
Sauder Carson Forge 412920 User manual

Sauder
Sauder Carson Forge 416969 User manual

Sauder
Sauder 433242 User manual

Sauder
Sauder Credenza 420723 User manual

Sauder
Sauder Via 419610 User manual

Sauder
Sauder OfficeWorks AFFIRM 427058 User manual

Sauder
Sauder Credenza Soft Modern 414986 User manual

Sauder
Sauder Adept 418085 User manual

Sauder
Sauder 426927 User manual

Sauder
Sauder Whitaker Point 429372 User manual

Sauder
Sauder Clifford Place 433360 User manual

Sauder
Sauder Pacific View 427044 User manual

Sauder
Sauder 408726 User manual

Sauder
Sauder Boulevard Cafe 422420 User manual


Popular Indoor Furnishing manuals by other brands

Regency
Regency LWMS3015 Assembly instructions

Furniture of America
Furniture of America CM7751C Assembly instructions

Safavieh Furniture
Safavieh Furniture Estella CNS5731 manual

PLACES OF STYLE
PLACES OF STYLE Ovalfuss Assembly instruction

Trasman
Trasman 1138 Bo1 Assembly manual

Costway
Costway JV10856 manual