manuals.online logo
Brands
  1. Home
  2. •
  3. Brands
  4. •
  5. Sealey
  6. •
  7. Tools Storage
  8. •
  9. Sealey AP12600 User manual

Sealey AP12600 User manual

Other Sealey Tools Storage manuals
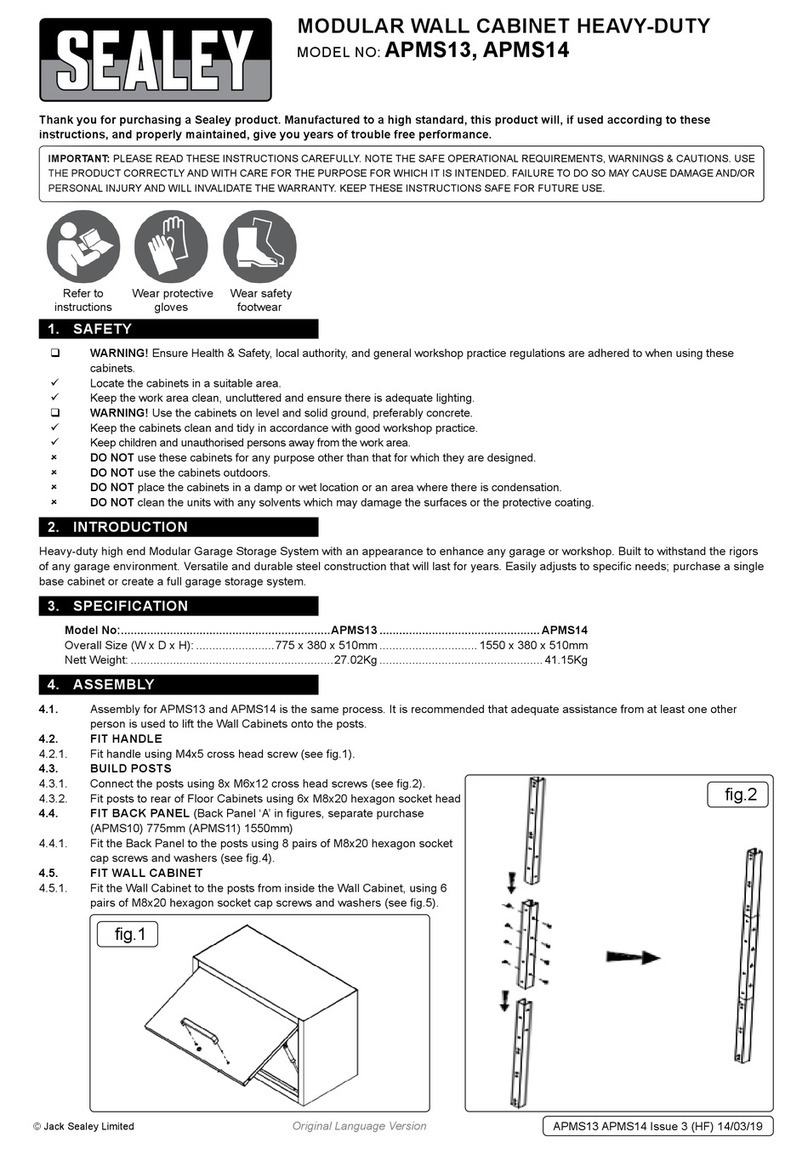
Sealey AP7210SS User manual

Sealey

Sealey AP7210SS User manual

Sealey AP335M User manual

Sealey

Sealey AP335M User manual

Sealey CX1042D User manual

Sealey

Sealey CX1042D User manual

Sealey AP1200M User manual

Sealey

Sealey AP1200M User manual

Sealey AP4206BE.V2 User manual

Sealey

Sealey AP4206BE.V2 User manual

Sealey AP2200BB.V2 User manual

Sealey

Sealey AP2200BB.V2 User manual

Sealey AP165WB User manual

Sealey

Sealey AP165WB User manual

Sealey AP22DFC User manual

Sealey

Sealey AP22DFC User manual

Sealey AP26479TBRG User manual

Sealey

Sealey AP26479TBRG User manual

Sealey Power Products API1500 User manual

Sealey

Sealey Power Products API1500 User manual

Sealey AP2010.V2 User manual

Sealey

Sealey AP2010.V2 User manual

Sealey AP0618 User manual

Sealey

Sealey AP0618 User manual

Sealey AP12160 User manual

Sealey

Sealey AP12160 User manual

Sealey TS01 User manual

Sealey

Sealey TS01 User manual

Sealey API16 User manual

Sealey

Sealey API16 User manual

Sealey AP0618.V4 User manual

Sealey

Sealey AP0618.V4 User manual

Sealey AP6115BE User manual

Sealey

Sealey AP6115BE User manual

Sealey PTB104008 User manual

Sealey

Sealey PTB104008 User manual

Sealey SCR90 User manual

Sealey

Sealey SCR90 User manual

Sealey AP0618.V3 User manual

Sealey

Sealey AP0618.V3 User manual

Sealey AP3020 User manual

Sealey

Sealey AP3020 User manual

Sealey AP5520SS User manual

Sealey

Sealey AP5520SS User manual

Sealey PTB104008 User manual

Sealey

Sealey PTB104008 User manual

Sealey PTSR2 User manual

Sealey

Sealey PTSR2 User manual

Popular Tools Storage manuals by other brands

Vestil WT-2424 owner's manual

Vestil

Vestil WT-2424 owner's manual

Kendall Howard ESDW-9630-1000 owner's manual

Kendall Howard

Kendall Howard ESDW-9630-1000 owner's manual

Ryobi RWB03 Original instructions

Ryobi

Ryobi RWB03 Original instructions

Husky H27CH5TR4BGK Use and care guide

Husky

Husky H27CH5TR4BGK Use and care guide

Scheppach ts 2100 Translation from original manual

Scheppach

Scheppach ts 2100 Translation from original manual

DIVERSIFIED WOODCRAFTS SHAIN GSB-6024 Assembly instruction

DIVERSIFIED WOODCRAFTS

DIVERSIFIED WOODCRAFTS SHAIN GSB-6024 Assembly instruction

Cassese CS200 CART user & parts manual

Cassese

Cassese CS200 CART user & parts manual

Cornwell Tools CTB360AKBK Assembly instructions

Cornwell Tools

Cornwell Tools CTB360AKBK Assembly instructions

Workzone 99609 Assembly instructions

Workzone

Workzone 99609 Assembly instructions

Stanley STST83800-1 instruction manual

Stanley

Stanley STST83800-1 instruction manual

Perel ROLLER SHUTTER STORAGE CABINET Assembly instructions
Perel

Perel ROLLER SHUTTER STORAGE CABINET Assembly instructions
BGS technic 4107 manual

BGS technic

BGS technic 4107 manual

Tennsco RXHS-962484 Assembly Instructions/Parts Manual

Tennsco

Tennsco RXHS-962484 Assembly Instructions/Parts Manual

Grizzly T1240 owner's manual

Grizzly

Grizzly T1240 owner's manual

Rubi 66924 manual

Rubi

Rubi 66924 manual

Draper 77020 instructions

Draper

Draper 77020 instructions

Batavia CROC LOCK COMPACT Translation of the original instructions

Batavia

Batavia CROC LOCK COMPACT Translation of the original instructions

Pinnacle GOS196 quick start guide

Pinnacle

Pinnacle GOS196 quick start guide

manuals.online logo
manuals.online logoBrands
  • About & Mission
  • Contact us
  • Privacy Policy
  • Terms and Conditions

Copyright 2025 Manuals.Online. All Rights Reserved.

INSTRUCTIONS FOR:
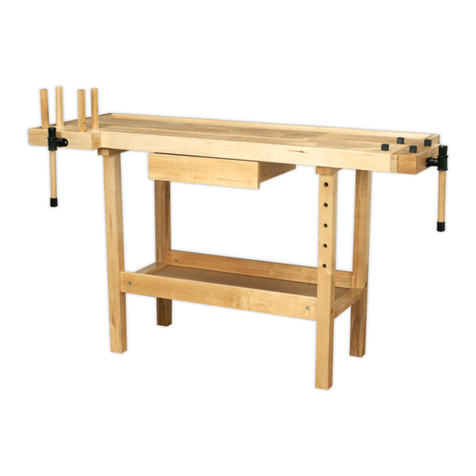
1.2 METRE WORKBENCH WITH DRAWER
MODEL:AP12600
Thank you for purchasing a Sealey product. Manufactured to a high standard this product will, if used according to these instructions and
properly maintained, give you years of trouble free performance.
1. SAFETY INSTRUCTIONS
IMPORTANT: PLEASE READ THESE INSTRUCTIONS CAREFULLY. NOTE THE SAFE OPERATIONAL REQUIREMENTS, WARNINGS & CAUTIONS.
USE THE PRODUCT CORRECTLY AND WITH CARE FOR THE PURPOSE FOR WHICH IT IS INTENDED. FAILURE TO DO SO MAY CAUSE
DAMAGE AND/OR PERSONAL INJURY, AND WILL INVALIDATE THE WARRANTY. PLEASE KEEP INSTRUCTIONS SAFE FOR FUTURE USE.
2. CONTENTS
1.1 GENERAL SAFETY
!WARNING! Ensure Health & Safety, local authority, and general workshop practice
regulations are adhered to when using this bench.
"Locate bench in a suitable work area.
"Keep the work area clean, uncluttered and ensure there is adequate lighting.
!WARNING! Use bench on level and solid ground, preferably concrete.
"Keep the bench clean and tidy in accordance with good workshop practice.
"Keep children and unauthorised persons away from the work area.
#DO NOT use the bench for any purpose other than that for which it is designed.
#DO NOT undertake work on the bench without the workpiece being adequately secured. Use
clamps or a vice (not included) to secure the workpiece. Available from your Sealey dealer.
#DO NOT use the bench outdoors.
#DO NOT get the bench wet or use in damp or wet locations or areas where there is
condensation.
#DO NOT clean the bench with any solvents which may damage the surface or the protective
coating on the worktop.
2.1 Carefully unpack the product and check the contents against the diagrams below. Should any items be missing or damaged make
immediate contact with your Sealey dealer.
Please Note: These numbers relate to the parts
as packed in the box.
A. Bottom plate (1200 x 600 x 9mm)
B. Table top (1200 x 600 x 18mm)
C. Holed plate (1200 x 606 x 6mm)
D. Top plate (1196 x 220 x 6mm)
1. Bolt M6 x 15mm (x6)
2. Bolt M6 x 10mm (x54)
3. Nut M6 (x60)
4. Washer M6 (x120)
5. Wood screw (x4)
6. Tool hooks for holed plate (x30)
10. Top rail 1198mm (x1)
11. Cross member 1200mm (x5)
12. Left holed plate support (x1)
13. Right holed plate support (x1)
14. Left top cantilever arm 220mm (x1)
15. Right top cantilever arm 220mm (x1)
16. Side rail 600mm (x4)
17. Left rear leg 1000mm (x1)
18. Right rear leg 1000mm (x1)
19. Left front leg 900mm (x1)
20. Right front leg 900mm (x1)
21. Left guide rail 602mm (x1)
22. Right guide rail 602mm (x1)
23. Drawer 450mm x 1115mm (x1)
AP12600 - 2 - 161006
3. ASSEMBLY
STEP 1. Place the left and right plate supports (12 and 13) on a level surface
and then mount a cross member (11) across the top of these keeping the
ledge to the top, using only one M6 10mm bolt per side in the top holes.
STEP 2. Mount the holed plate (C) inside this frame and secure at the
top using one M6 15mm bolt per side.
STEP 3. Position and fix the left and right cantilever arms (14 and 15) to the
corners at the top of the frame.
STEP 4. Mount the top rail (10) between the two cantilever arms with the
smaller ledge towards the top.
AP12600 - 2 - 161006
3
12
4
Please note: Unless otherwise stated in the following instructions, use M6 x 10mm bolts (Part No.2), two M6 washers (4) per bolt and one
M6 nut (3) per bolt.
STEP 5. Mount the top plate (D) onto this framework, securing using the four
wood screws (5) through the cantilever arms.
STEP 6. Place the left and right rear legs (17 and 18) on a level surface
and attach two cross members (11) between them.
5 6
7 8
STEP 7. Attach the four side rails (16) to the rear legs. STEP 8. Mount the left and right guide rails (21 and 22) onto the rear
legs.
STEP 9. Mount and fix the left and right front legs (19 and 20) onto the
side rails.
STEP 11. Attach and fix the last cross member (11) between the front legs. STEP 12. Place the workbench upright onto its legs. Slide the pre-
assembled drawer into place along the guide rails.
STEP 10. Mount a cross member (11) between the top of the front legs
keeping the small ledge towards the top of the bench.
9
14
STEP 13. Place the bottom plate (A) onto the lower part of the workbench
and table top (B) onto the top of the workbench.
STEP 14. Position the assembled tool plate from STEP 6, inside the rear
brackets and attach onto the workbench by using four M6 x 15mm bolts
through the holed plate at the back and four M6 x 10mm bolts through the
side holes.
AP12600 - 2 - 161006
01284 757500
01284 703534 sales@sealey.co.uk
Sole UK Distributor
Sealey Group,
Bury St. Edmunds, Suffolk.
www.sealey.co.uk
Web
email
11 12
10
13
NOTE: It is our policy to continually improve products and as such we reserve the right to alter data, specifications and component parts without prior notice.
IMPORTANT: No liability is accepted for incorrect use of this product.
WARRANTY: Guarantee is 12 months from purchase date, proof of which will be required for any claim.
INFORMATION: For a copy of our catalogue and latest promotions call us on 01284 757525 and leave your full name, address and postcode.