10
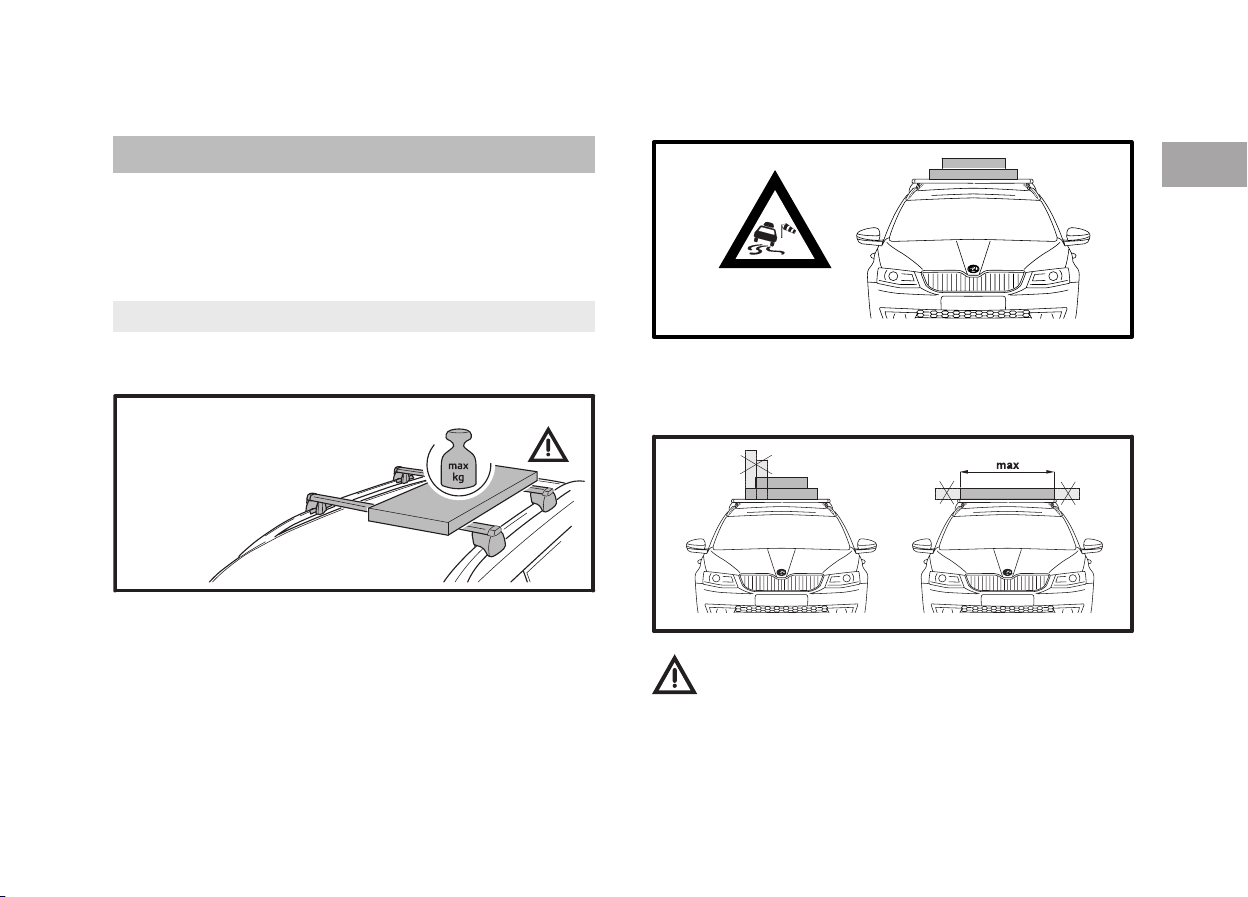
Loading - fastening the load.
Never tighten the cross racks against each other.
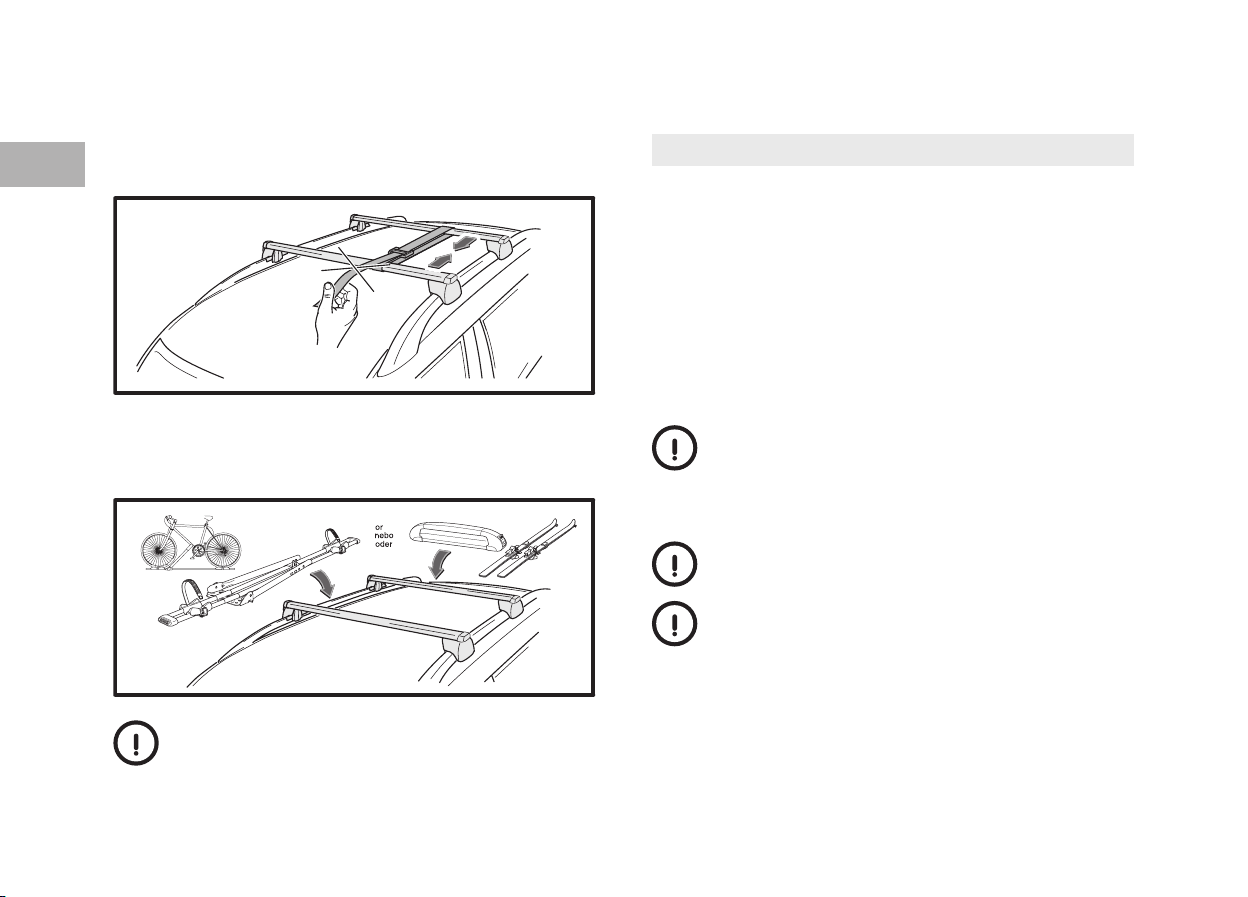
Loading - attachment of extension parts.
First, install the cross bar on the roof rails. Then attach additional attachments
(e.g. bicycle racks, ski holders, roof box etc.; refer to the respective attachment
instructions).
Notice. We recommend using T-slot holders mounted only
(with T-screw). Mounting with a U-shaped metal sleeve can
damage the surface protection of the crossbar support profiles.
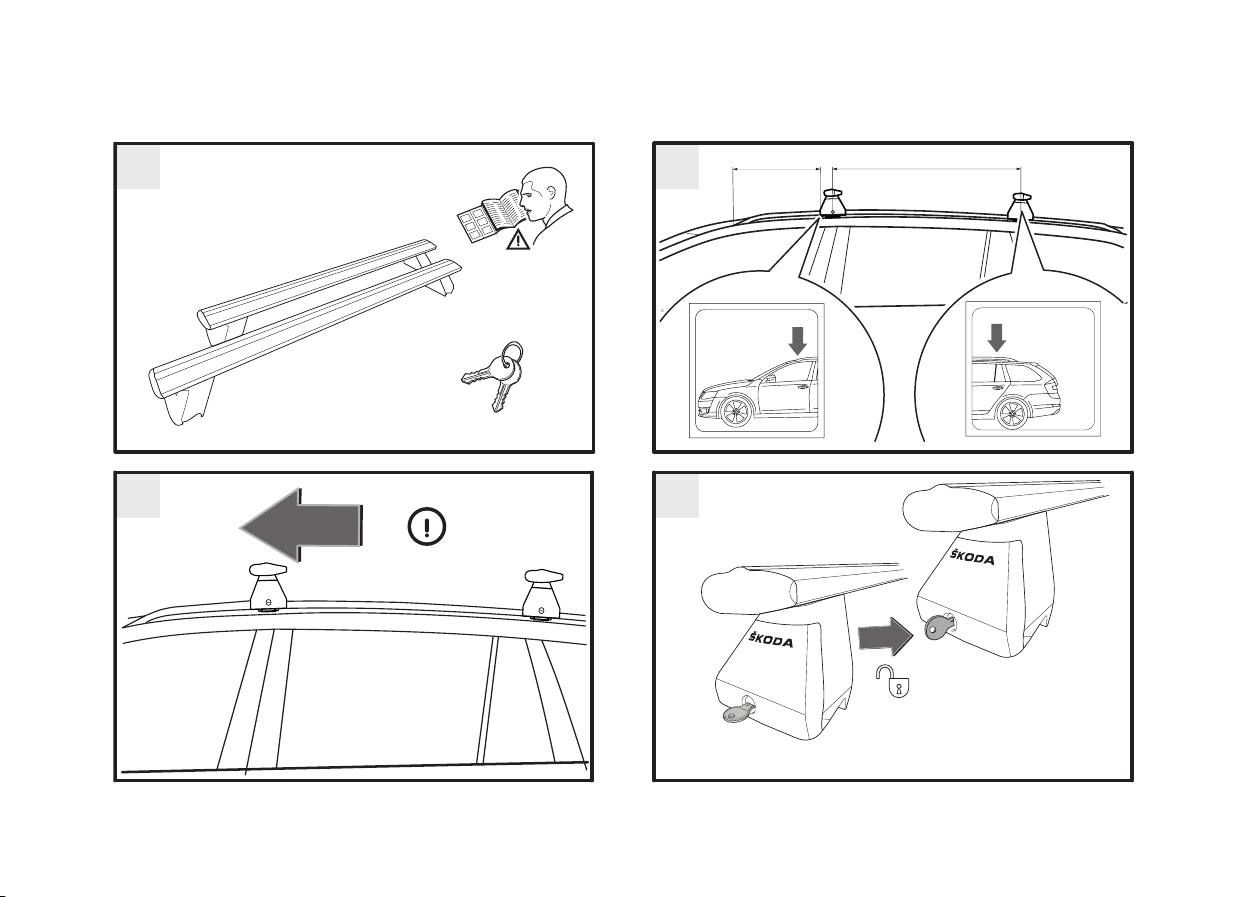
Assembly procedure
- 2, 3 -
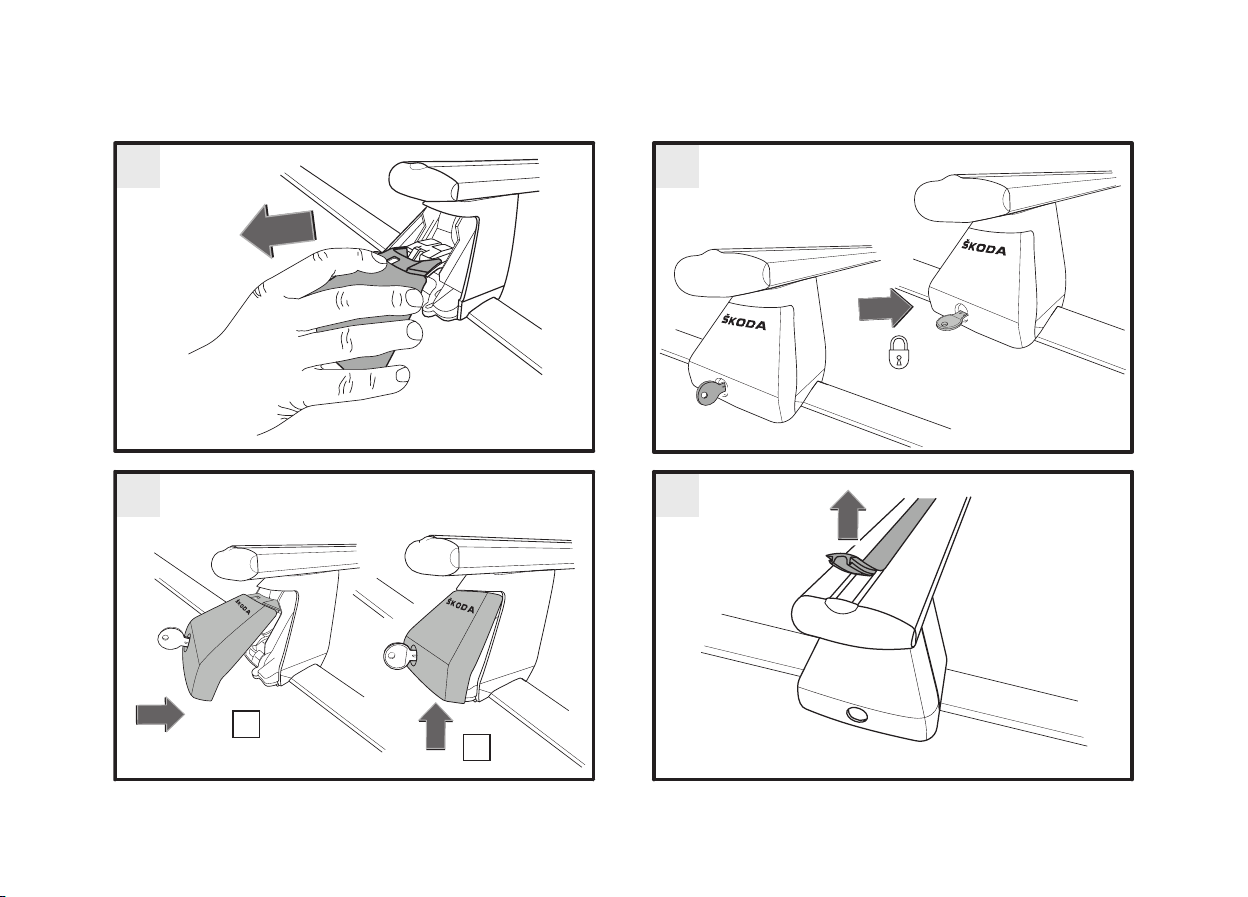
- Turn the key to the vertical (unlocked) position and remove the cover. The
cover is used to control the red clamping mechanism.
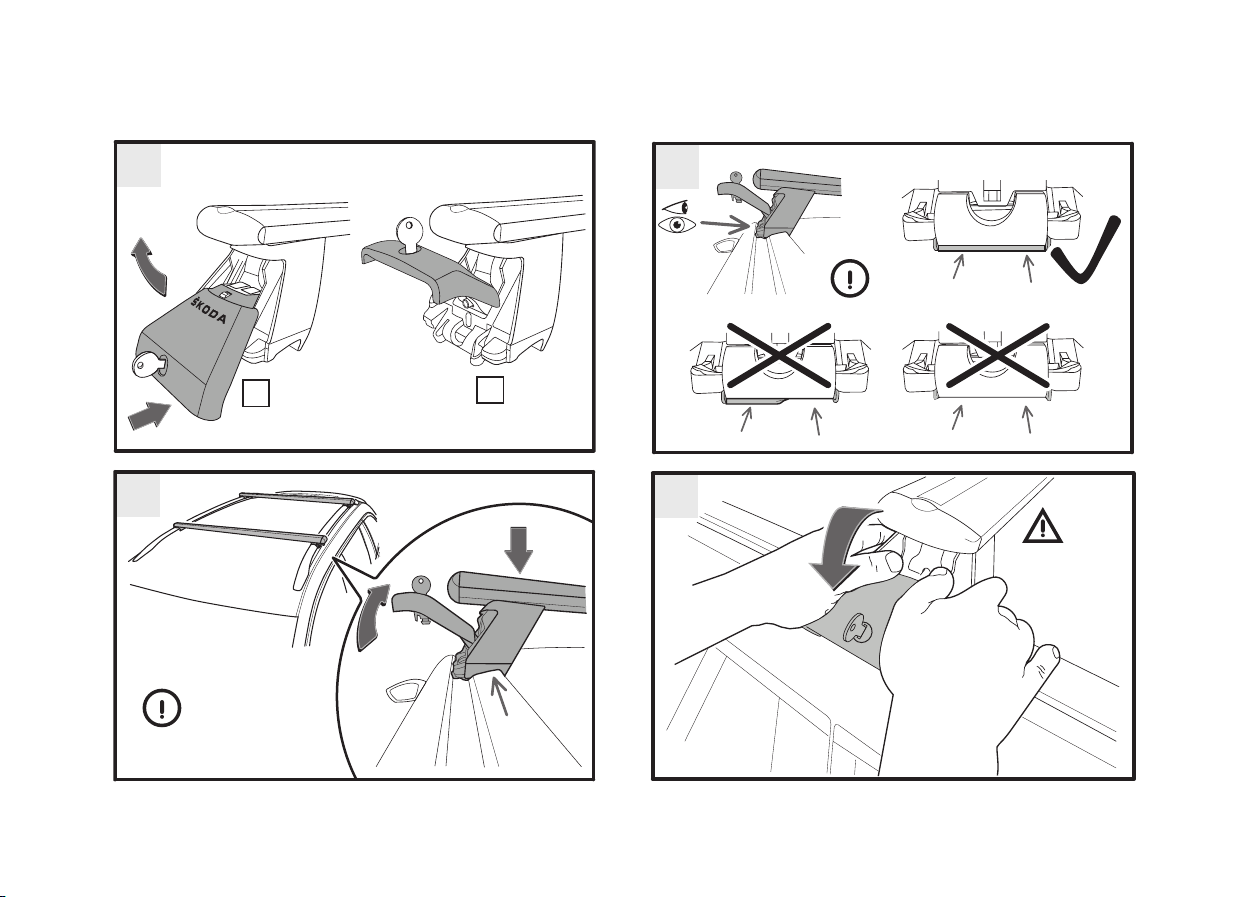
- 4 -
- Check the position of the red mechanism before sliding the cover into the
red mechanism in the cross rack foot.
- If the red mechanism is in the wrong position, push it downwards until it
returns to the correct position (this is only possible with the rack removed).
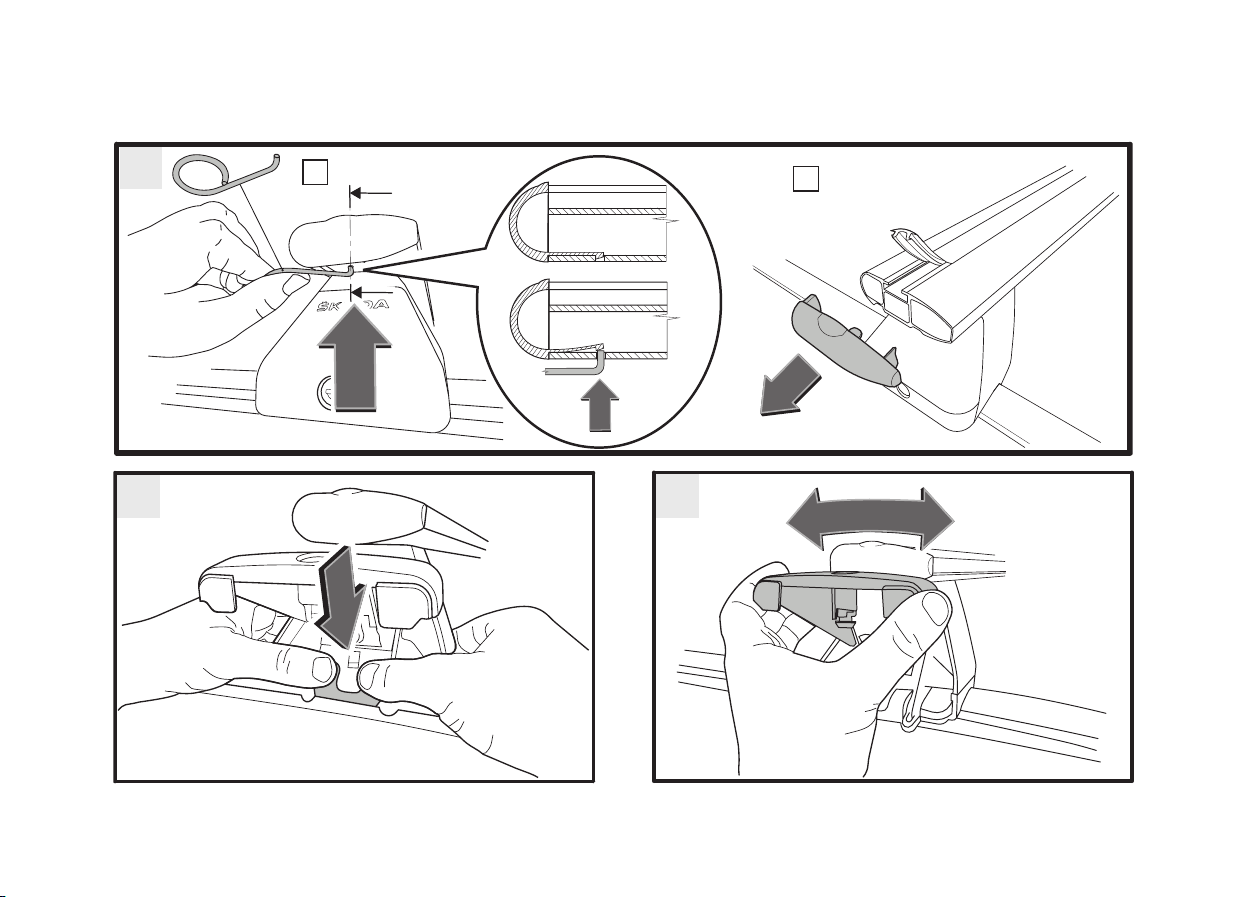
- 5 -
- Insert the cover by rocking in the direction of arrow 2A into the red mecha-
nism at the foot of the cross rack. Press the cap until it clicks into the red
mechanism (see arrow 2B) so that the red mechanism catch is in the cap
window - arrow 3A.
Notice. Be careful not to insert the cap under the red mecha-
nism tab - arrow 2C.
- 6 -
- Then tilt the cover upwards to release the red mechanism at the foot of the
cross rack.
Make sure that the red mechanism catch is always in the cover
window (Fig. 5 - arrow 3A) when manipulating.
Notice. Always use the cap to release the red mechanism in the
cross rack foot. There is a risk of damaging the red mechanism
when opening by hand or using another tool.
- Perform the previous steps on the second foot of the cross rack.
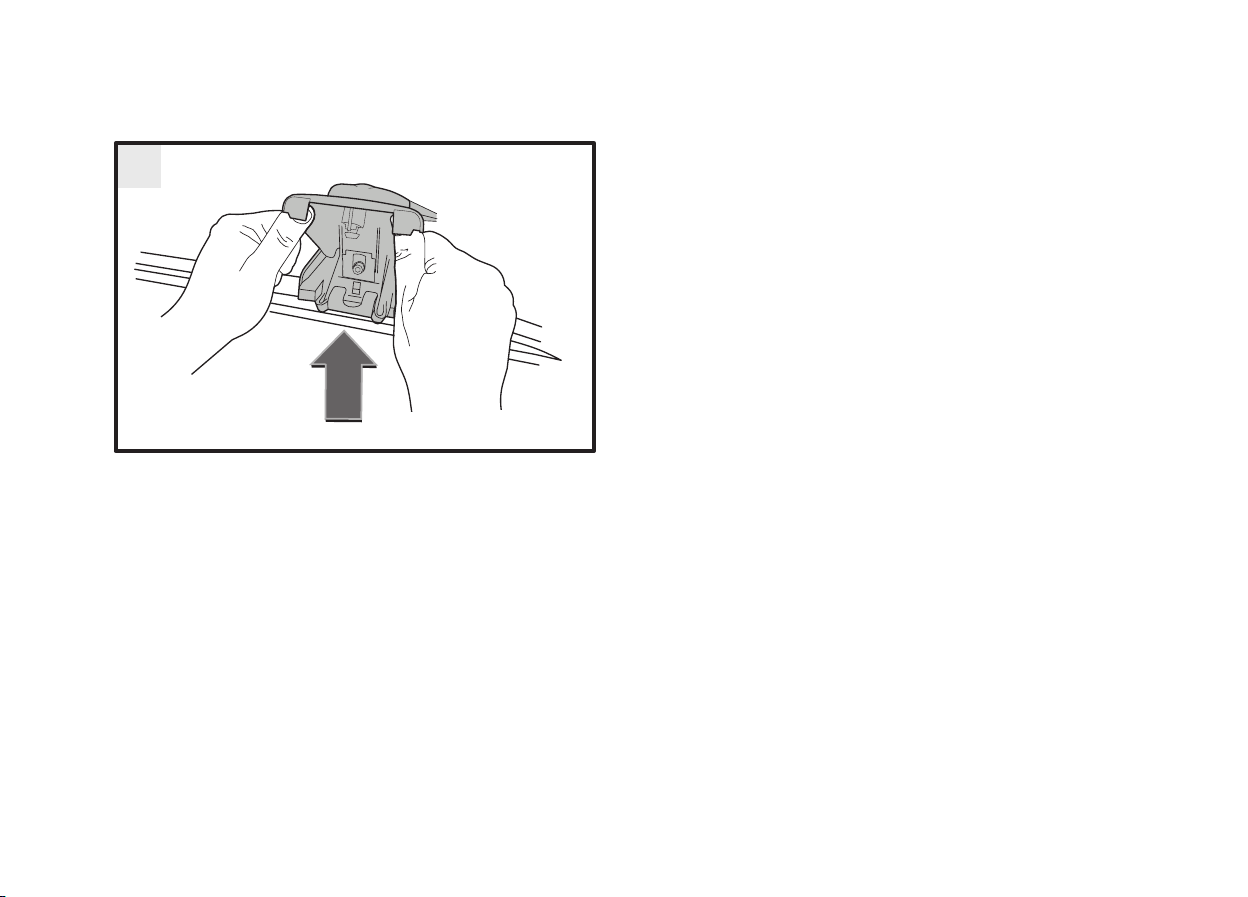
- 7 -
- Clean the roof rails of the vehicle before attaching the cross racks.
- Attach the cross racks to the roof rails.
- When attaching the cross rack to the roof rail, it is important to raise the
cover so that the hook moves away from the roof rail.
EN