manuals.online logo
Brands
  1. Home
  2. •
  3. Brands
  4. •
  5. Target
  6. •
  7. Indoor Furnishing
  8. •
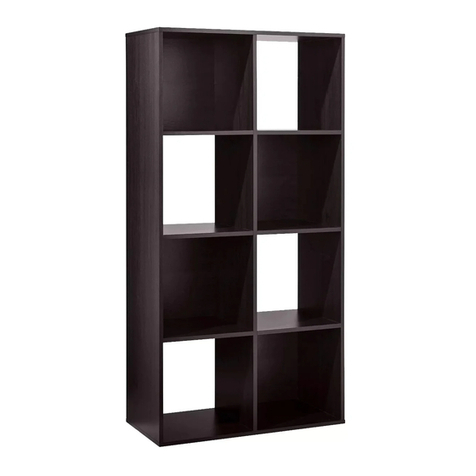
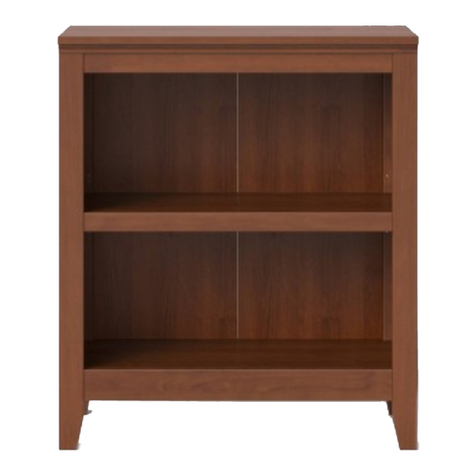
  9. Target 5 Shelf bookcase with doors BK5SHFWDEB User manual

Target 5 Shelf bookcase with doors BK5SHFWDEB User manual

>> assembly instructions
5 shelf bookcase with doors
ebony
style # BK5SHFWDEB
dpci # 249-14-0043
espresso
style # BK5SHFWDES
dpci # 249-14-0042
rustic
style # BK5SHFWDBR
dpci # 249-14-1413
2
Congratulations on your latest Target purchase.
Now what? Don’t start sweating over this box of parts. This will be easy. We did the hard work for you.
All you need to do is follow our simple instructions and you’ll be on your way to transforming your
room in no time. Good luck—though we’re condent you won’t need it.
tools required
before you begin
1. Check for damaged or missing parts. Call 1-855-MYTGTHOME (855-698-4846) for parts and service.
2. Use the carton as a working surface to prevent product damage during assembly.
3. Gather all tools prior to assembly.
3QUESTIONS? Just call 1-855-MYTGTHOME (855-698-4846) for parts and service. For faster service, have the style number and DPCI number ready when calling.
table of contents
introduction
hardware
parts list
how to use the cam lock system
assembly
2
4
5
6
7-17
4
hardware
(H1) x 31
wooden dowel
(H2) x 25
cam bolt
(H3) x 25
cam
(H5) x 45
5/8’’ pan-head screw
(H10) x 1
19mm pan head screw
(H6) x 12
shelf support
(H4) x 4
1’’ at-head screw
(H7) x 2
knob
(H8) x 2
knob bolt
(H9) x 8
short at-head
screw
(H12) x 2
5/8” washer
(H13) x 1
wall anchor
(H14) x 1
38mm wall screw
(H11) x 1
wall strap
5
ITEM DESCRIPTION QUANTITY
top panel
left side panel
right side panel
adjustable shelf
bottom panel
middle xed shelf
middle xed back rail
inner adjustable shelf
middle xed front rail
left door
right door
lower back panel
back panel
decorative molding
top front rail
bottom front rail
adjustable shelf rail
Z
Y
X
W
V
U
T
S
R
Q
P
K2
K
J
I
H
E
1
1
1
2
1
1
1
1
1
1
1
1
1
1
1
1
2
U
K2
Z
Y
S
W
W
HV
X
Q
P
E
R
E
J
I
T
K
6
how to use the cam lock system
1. 2. 3.
4. 5.
180º
7
1. Carefully tap small wooden dowels into place. Leave 1/2’’ of the dowels sticking out.
2. Screw-In cam bolts must be screwed down ush with wood panel.
3. Refer to page 6 for instructions on how to use the cam lock system.
step 1.
(H1) x 6
wooden dowel
(H2) x 4
cam bolt
(H3) x 4
cam
E
W
x2
8
1. Carefully tap small wooden dowels into place. Leave 1/2’’ of the dowels sticking out.
2. Screw-In cam bolts must be screwed down ush with wood panel.
3. Refer to page 6 for instructions on how to use the cam lock system.
step 2.
(H1) x 6
wooden dowel
(H2) x 4
cam bolt
(H3) x 4
cam
R
T
U
9
1. Carefully tap small wooden dowels into place. Leave 1/2’’ of the dowels sticking out.
2. Screw-In cam bolts must be screwed down ush with wood panel.
3. Refer to page 6 for instructions on how to use the cam lock system.
step 3.
(H1) x 3
wooden dowel
(H2) x 2
cam bolt
(H3) x 2
cam
V
H
10
1. Carefully tap small wooden dowels into place. Leave 1/2’’ of the dowels sticking out.
2. Screw-In cam bolts must be screwed down ush with wood panel.
3. Refer to page 6 for instructions on how to use the cam lock system.
step 4.
(H1) x 6
wooden dowel
(H2) x 5
cam bolt
(H3) x 5
cam Y
U
H
V
I
T
R
11
1. Carefully tap small wooden dowels into place. Leave 1/2’’ of the dowels sticking out.
2. Screw-In cam bolts must be screwed down ush with wood panel.
3. Refer to page 6 for instructions on how to use the cam lock system.
step 5.
(H1) x 6
wooden dowel
(H2) x 5
cam bolt
(H3) x 5
cam
X
12
1. Do not over tighten screws.
step 6.
(H4) x 4
1’’ at-head screw
J
13
1. Carefully tap small wooden dowels into place. Leave 1/2’’ of the dowels sticking out.
2. Screw-In cam bolts must be screwed down ush with wood panel.
3. Refer to page 6 for instructions on how to use the cam lock system.
step 7.
(H1) x 4
wooden dowel
(H2) x 5
cam bolt
(H3) x 5
cam
Z
1. Make sure the screws go through the pre-drilled holes properly.
2. Do not over tighten screws.
step 8.
(H5) x 45
5/8’’ pan-head screw
K
K2
!
WARNING
Seriousor fatal crushing injuries can occur
fromfurniture tip-over. To help prevent tip-
over:
-Installtip-over restraint provided.
-Placeheavy items on lower shelves and as
far back as possible.
-Placeheaviest items in the lowest drawers.
-Unlessspecifically designed to accommodate,
do not set TVs or other heavy objects on top of
this product.
-Neverallow children to climb or hang on drawers,
doors, or shelves.
-Neveropen more than one drawer at a time.
(OR)
-Donot defeat or remove the drawer interlock system.
Useof tip-over restraints may only reduce,
butnot eliminate, the risk of tip-over.
Thisisa permanent label. Do not remove.
hole for anti-tip strap
pre-drilled holes
pre-drilled
holes
14
Begin by installing all of the screws along one
edge of the back panel. Next, using a square
or tape measure, make sure that the cabinet is
square. (If using a tape measure, the distance
from one corner, diagonally to the other corner
should be the same in both directions.) Install
the remaining screws, starting with the corners.
15
1. Do not over tighten bolts or screws
step 9.
Q
P
(H7) x 2
knob
(H8) x 2
knob bolt
(H9) x 8
short at head
screw
16
1. Insert shelf support into desired hole. Different holes accommodate different shelf heights
2. Angle shelf to t between the rails and set on top of shelf supports.
step 10.
W
W
S
(H6) x 12
shelf support
!
WARNING
Seriousorfatal crushing injuries can occur
fromfurnituretip-over. To help prevent tip-
over:
-Installtip-over restraint provided.
-Placeheavy items on lower shelves and as
far back as possible.
-Placeheaviest items in the lowest drawers.
-Unlessspecifically designed to accommodate,
do not set TVs or other heavy objects on top of
this product.
-Neverallow children to climb or hang on drawers,
doors, or shelves.
-Neveropen more than one drawer at a time.
(OR)
-Donot defeat or remove the drawer interlock system.
Useoftip-over restraints may only reduce,
butnoteliminate, the risk of tip-over.
Thisisa permanent label. Do not remove.
17
step 11.
(H13) x 1
wall anchor
(H14) x 1
38mm wall screw
(H11) x 1
wall strap
(H12) x 2
5/8” washer
(H10) x 1
19mm pan head screw
Fasten anti-tip strap
with at-head screw provided
(H14) (H12)
Position against wall
Mark position of strap hole on
wall
Drill 1/4’’ hole
Tap in wall anchor
(H13)
(H10)
(H12) (H11)
18
1. This unit has been designed for the weight shown. Exceeding this recommended weight could result in
excessive “sagging” of the top. Extreme overloading can cause failure of the top and possible injury.
2. Furniture Care Instructions: Dust with a clean, lint-free cloth. Use a spray furniture polish as needed.
QUESTIONS? Just call 1-855-MYTGTHOME (855-698-4846) for parts and service. For faster service, have the style number and DPCI number ready when calling.
!WARNING
Serious or fatal crushing injuries can occur
from furniture tip-over. To help prevent tip-
over:
- Install tip-over restraint provided.
- Place heavy items on lower shelves and as
far back as possible.
- Place heaviest items in the lowest drawers.
- Unless specifically designed to accommodate,
do not set TVs or other heavy objects on top of
this product.
- Never allow children to climb or hang on drawers,
doors, or shelves.
- Never open more than one drawer at a time.
(OR)
- Do not defeat or remove the drawer interlock system.
Use of tip-over restraints may only reduce,
but not eliminate, the risk of tip-over.
This is a permanent label. Do not remove.
65 lbs
per shelf
© 2012 Target. The Bullseye Design is a trademark of Target Brands, Inc. All rights reserved.

This manual suits for next models

5

Other Target Indoor Furnishing manuals
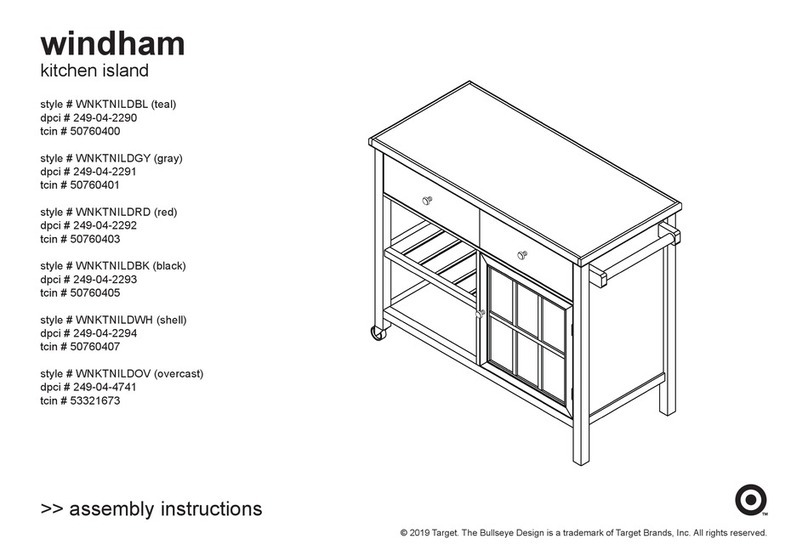
Target windham WNMEDIASBK User manual

Target

Target windham WNMEDIASBK User manual

Target hadley FKVSBC2SWH User manual

Target

Target hadley FKVSBC2SWH User manual

Target warwick 249-10-0090 User manual

Target

Target warwick 249-10-0090 User manual

Target Windham Accent cabinet WNCBSHGY User manual

Target

Target Windham Accent cabinet WNCBSHGY User manual

Target SALICE Made By Design 249-05-590 User manual

Target

Target SALICE Made By Design 249-05-590 User manual

Target BK3SHLFXEB User manual

Target

Target BK3SHLFXEB User manual

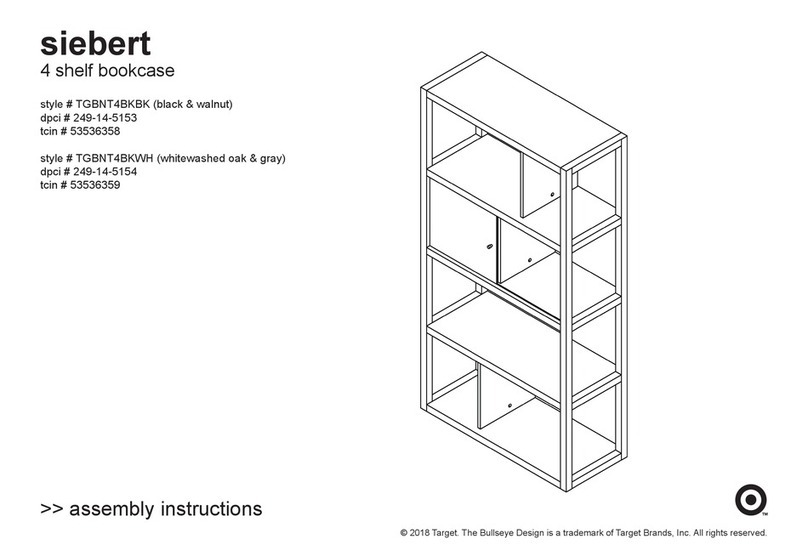
Target Siebert 4 shelf bookcase User manual

Target

Target Siebert 4 shelf bookcase User manual

Target Windham User manual

Target

Target Windham User manual
Target carson CAMEDIWDEB User manual

Target

Target carson CAMEDIWDEB User manual

Target Lunenburg media cabinet TGLNBGTVGY User manual

Target

Target Lunenburg media cabinet TGLNBGTVGY User manual

Target BK2SHLFXEB User manual

Target

Target BK2SHLFXEB User manual
Target Howell FCS60615-1 User manual

Target

Target Howell FCS60615-1 User manual

Target hadley FKVSCB2DWH User manual

Target

Target hadley FKVSCB2DWH User manual

Target lemoor UPBRSOKD01 User manual

Target

Target lemoor UPBRSOKD01 User manual

Target carson CACNTBWDEB User manual

Target

Target carson CACNTBWDEB User manual

Target Leaning bookcase TGLNBKCSES User manual

Target

Target Leaning bookcase TGLNBKCSES User manual

Target 6-Cube User manual

Target

Target 6-Cube User manual

Target Made By Design Horizontal Bookcase User manual

Target

Target Made By Design Horizontal Bookcase User manual

Target MYKONOS 1800 User manual

Target

Target MYKONOS 1800 User manual

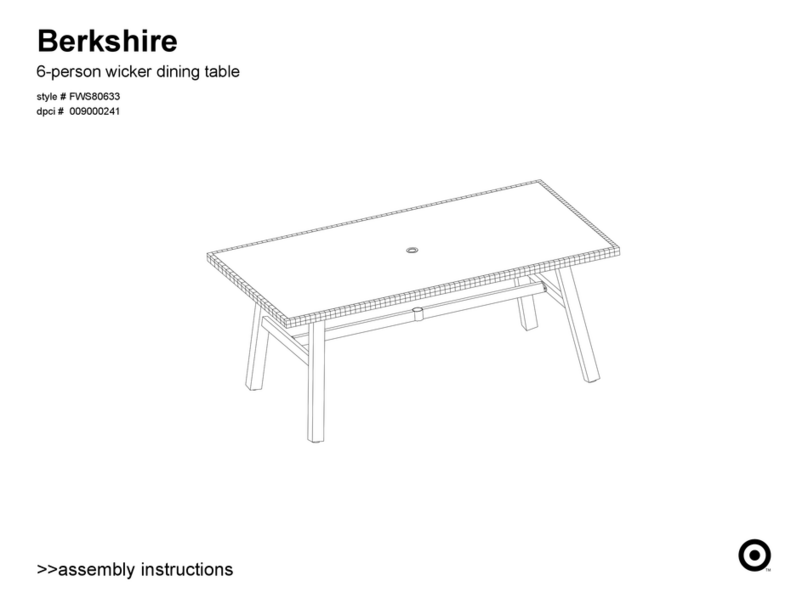
Target Berkshire FWS80605A User manual

Target

Target Berkshire FWS80605A User manual

Target Howell FCS60615ST User manual

Target

Target Howell FCS60615ST User manual

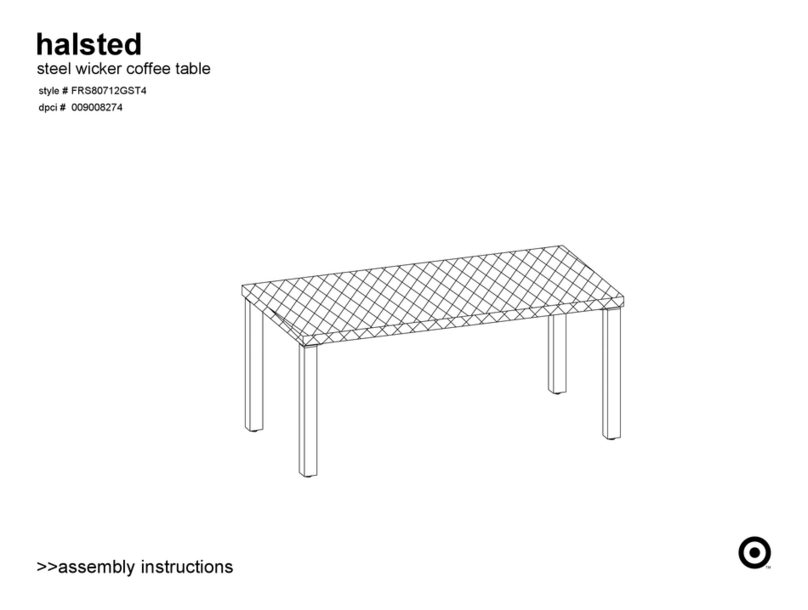
Target Halsted FTS81068C User manual

Target

Target Halsted FTS81068C User manual

Target 249-14-0040 User manual

Target

Target 249-14-0040 User manual

Target Mulberry FRS60721-2 User manual

Target

Target Mulberry FRS60721-2 User manual

Popular Indoor Furnishing manuals by other brands

2K Furniture Designs SHOE RACK SR 6451 Assembly instructions

2K Furniture Designs

2K Furniture Designs SHOE RACK SR 6451 Assembly instructions

Teknik 5401562 Instruction booklet

Teknik

Teknik 5401562 Instruction booklet

Polini kids MARVEL 3295 manual

Polini kids

Polini kids MARVEL 3295 manual

Germania 0488 Assembly instruction

Germania

Germania 0488 Assembly instruction

Comfort Blinds Roman Cord Loop Shade installation instructions

Comfort Blinds

Comfort Blinds Roman Cord Loop Shade installation instructions

Slider SLIDER SMALL quick start guide

Slider

Slider SLIDER SMALL quick start guide

Sono Ekoflex Series installation guide

Sono

Sono Ekoflex Series installation guide

Home Decorators Collection FZA71015R-STBC Use and care guide

Home Decorators Collection

Home Decorators Collection FZA71015R-STBC Use and care guide

Seville Classics 15030Z Assembly instructions

Seville Classics

Seville Classics 15030Z Assembly instructions

Royalcraft VERMONT FOLDING ADIRONDACK CHAIR instruction manual

Royalcraft

Royalcraft VERMONT FOLDING ADIRONDACK CHAIR instruction manual

modway Caima MOD-6187 manual

modway

modway Caima MOD-6187 manual

Cooper Lighting Metalux 430 Specification sheet

Cooper Lighting

Cooper Lighting Metalux 430 Specification sheet

Triarch Indoor Lighting 33190/1 instructions

Triarch

Triarch Indoor Lighting 33190/1 instructions

Otto 233484 Assembly instructions

Otto

Otto 233484 Assembly instructions

Spacetronik SPE-142 user manual

Spacetronik

Spacetronik SPE-142 user manual

BROSA Tallinn Assembly guide

BROSA

BROSA Tallinn Assembly guide

Rauch M2582 Assembly instructions

Rauch

Rauch M2582 Assembly instructions

Filippi 1971 VittEr PANCAKE manual

Filippi 1971

Filippi 1971 VittEr PANCAKE manual

manuals.online logo
manuals.online logoBrands
  • About & Mission
  • Contact us
  • Privacy Policy
  • Terms and Conditions

Copyright 2025 Manuals.Online. All Rights Reserved.