manuals.online logo
Brands
  1. Home
  2. •
  3. Brands
  4. •
  5. Teknik
  6. •
  7. Indoor Furnishing
  8. •
  9. Teknik Hudson Elm finish 5427457 User manual

Teknik Hudson Elm finish 5427457 User manual

NOTE: THIS INSTRUCTION
BOOKLET CONTAINS
IMPORTANT SAFETY
INFORMATION.
PLEASE READ AND KEEP
FOR FUTURE REFERENCE.
English pg 1-14
Français pg 15-17
Español pg 18-20
11/23/21 Lot # 566580
Purchased:
__________________
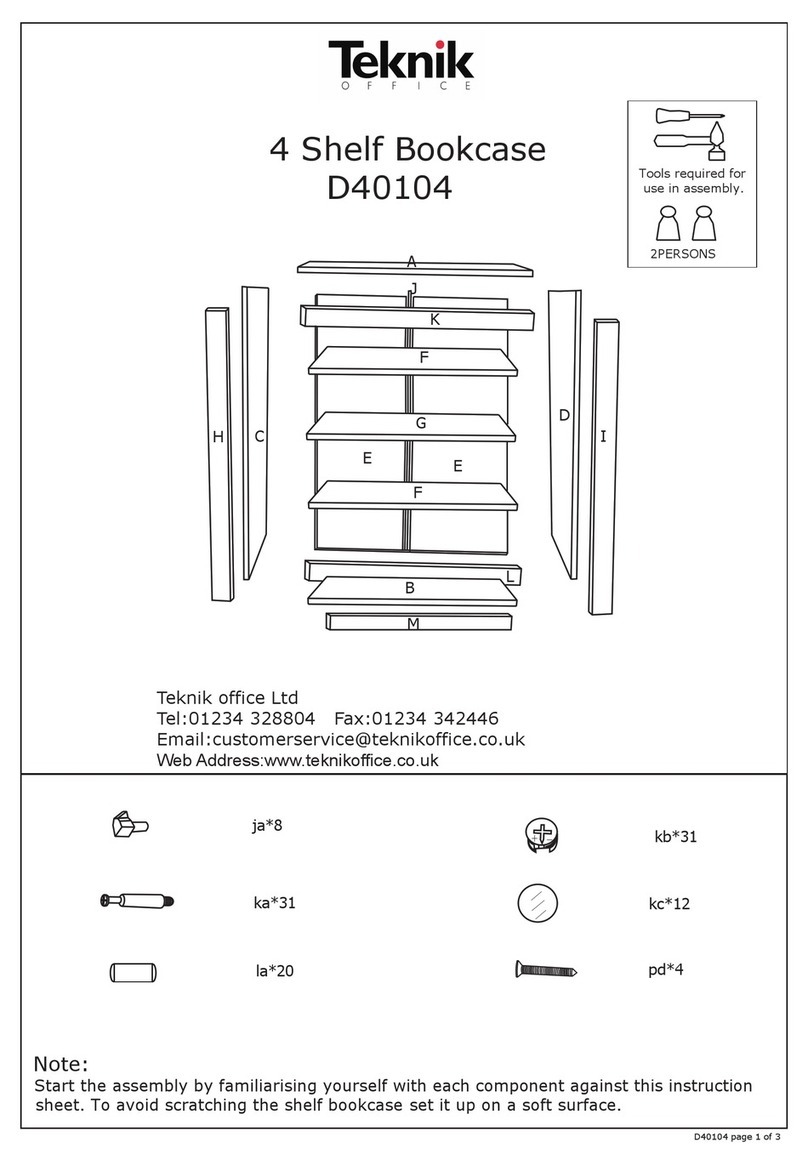
5-Shelf Bookcase
Hudson Elm finish | Model 5427457
Teknik
www.teknikoffice.co.uk
Table of Contents Assembly Tools Required
Part Identification
Hardware Identification
Hardware Usage Guide
Assembly Steps
Français
Español
Safety
Warranty
Hammer
Not actual size
No. 2 Phillips Screwdriver
Tip Shown Actual Size
3
4
5
5-14
15-17
18-20
21-22
23
Nail Holder (provided)
Page 2
Part Identification
åWhile not all parts are labeled, some of the parts will have a label or an inked letter on the edge
to help distinguish similar parts from each other. Use this part identification to help identify similar parts.
Now you know
our ABCs.
A RIGHT END (1)
B LEFT END (1)
C BOTTOM (1)
D ADJUSTABLE SHELF (3)
E BACK (1)
F TOP (1)
G FIXED SHELF (1)
A
B
C
D
E
F
G
D
D
Page 3
Hardware Identification
åScrews are shown actual size. You may receive extra hardware with your unit.
NAIL - 43
1N RUBBER SLEEVE - 12
2R
SHELF REST - 12
10R
TOUCH-UP PEN - 1
10M
44F TWIST-LOCK®FASTENER - 8
BLACK 7/8" LARGE HEAD SCREW - 2
17S 147S BLACK 2-9/16" FLAT HEAD SCREW - 4
FURNITURE TIPPING
RESTRAINT KIT - 1
97
Page 4
Hardware Usage Guide
1. Insert the dowel end of the FASTENER into the
hole of the adjoining part.
NOTE: The dowel end of the FASTENER must
remain fully inserted in the hole of the adjoining
part while locking the FASTENER.
2. Tighten the FASTENER with a Phillips
screwdriver as tight as possible.
Dowel end
2.
Push a TWIST-LOCK® FASTENER
into the large hole in the part.
1.
HOW TO USE A TWIST-LOCK®FASTENER
Step 1
å Assemble your unit on a carpeted floor or on the empty carton to avoid scratching your unit or the floor.
å Push six SAUDER TWIST-LOCK® FASTENERS (44F) into the large holes in the LEFT END (B) and FIXED SHELF (G).
44F
44F Do not tighten the TWIST-LOCK® FASTENERS in this step.
B
G
Meet Parts (B and G). These components
have been engineered to be lighter,
stronger, faster… well ok. Not technically
faster. But definitely makes for a sturdier
5-shelf bookcase that’s easier to assemble
and friendlier to the environment.
Page 5
Step 2
B
G
å Fasten the FIXED SHELF (G) to the LEFT END (B).
Tighten two TWIST-LOCK® FASTENERS.
Surface with TWIST-LOCK® FASTENERS
Notched edge
Some assembly
(and snacks) required.
Page 6
å Push two SAUDER TWIST-LOCK® FASTENERS (44F) into
the large holes in the RIGHT END (A).
å Fasten the RIGHT END (A) to the FIXED SHELF (G).
Tighten two TWIST-LOCK® FASTENERS.
Step 3
44F
A
A
G
Surface without TWIST-LOCK® FASTENERS
Notched edge
Do not stand the unit upright without the
BACK fastened. The unit may collapse.
Caution
Page 7
Part (A). Another
sturdier, easier,
friendlier component!
å Open the FURNITURE TIPPING RESTRAINT KIT (97) and
fasten the SAFETY STRAP to the TOP (F). Use the short
screw provided.
å NOTE: Position the SAFETY STRAP exactly as shown.
Step 4
F
Part (F). Another
sturdier, easier,
friendlier component!
Safety strap
97
Page 8
å Fasten the TOP (F) to the ENDS (A and B).
Tighten four TWIST-LOCK® FASTENERS.
Step 5
A
B
F
Surface without
safety strap
Notched edge
Now might be a
good time to refresh
your drink.
Page 9
å Fasten the BOTTOM (C) to the ENDS (A and B) as shown.
Use four BLACK 2-9/16" FLAT HEAD SCREWS (147S).
Step 6
Notched edge
C
C
A
B
BLACK 2-9/16" FLAT HEAD SCREW
(4 used in this step)
147S
Wrapped seam
Page 10
å We have provided a Nail Holder tool to use in this step for proper positioning of the NAILS. Please refer to the parts of the
Nail Holder as the bead, oset edge, and nail slot as shown in the diagram below.
å Diagram 1. Place the BACK (E) into the lower edge of the RIGHT END (A) with the top edge of the BACK (E) against the
lower edge of the TOP (F).
å Diagram 2. Place the bead of the Nail Holder down between the BACK (E) and LEFT END (B) 2" from the corner. Place
a NAIL (1N) into the nail slot of the Nail Holder. Tap the NAIL through the BACK and into lower edge of the LEFT END.
Remove the Nail Holder from the NAIL and completely tap the NAIL in with your hammer. Finish fastening the BACK to
the LEFT END with the hammer and Nail Holder placing NAILS approximately 5" apart.
å Repeat this step to fasten the BACK (E) to the RIGHT END (A).
å Diagram 3. Fasten the BACK (E) to the BOTTOM (C) using the NAILS (1N) and Nail Holder. The NAILS should be 1” from the
corners and 5” apart.
å Repeat this step to fasten the BACK (E) to the TOP (F).
Step 7
Bead
Nail slot
Nail
Holder
NAIL
(42 used in this step)
1N
Unfinished
surface
Oset edge
Do not stand the unit upright without the
BACK fastened. The unit may collapse.
Caution
Bead
Bead
2.
2" 5"
1"
Bead
Bead
5"
3.
Lower edge
1.
A
C
E
B
F
These holes must
line up over the
FIXED SHELF (G).
Page 11
å Fasten the BACK (E) to the FIXED SHELF (G). Use two
BLACK 7/8" LARGE HEAD SCREWS (17S).
Step 8
BLACK 7/8" LARGE HEAD SCREW
(2 used in this step)
17S
E
Page 12
å Carefully stand your unit upright in its final location against a wall. We recommend using the SAFETY STRAP for
added stability.
å NOTE: Do not turn the SAFETY DRYWALL ANCHOR into a wall stud. If you prefer to fasten the SAFETY STRAP to a wall
stud, go to your local hardware store for proper hardware.
å INSTALLATION INSTRUCTIONS:
1. Insert the SAFETY DRYWALL ANCHOR through the WASHER and the end of the SAFETY STRAP.
2. Using a Phillips screwdriver or a hand drill, press the screw slightly onto the drywall.
3. Apply pressure; turn the screw until a pilot hole is made and the nylon sheath slips through.
4. Turn the screw until it is flush against the wall and you feel a firm resistance.
5. Continue to turn until the screw starts spinning freely.
å NOTE: Before moving your unit to a dierent location, unscrew the SAFETY DRYWALL ANCHOR from your wall. The
nylon sheath will remain behind your wall.
Step 9
97
Safety
drywall
anchor
Safety strap
Washer
Pro Tip: Lift with your
legs. And, you know,
your arms.
Page 13
å Push the RUBBER SLEEVES (2R) over one end of the SHELF RESTS (10R). Insert the SHELF RESTS into the hole locations
of your choice in the ENDS (A and B). Set the ADJUSTABLE SHELVES (D) onto the SHELF RESTS.
å For long-term care and maintenance of your unit, you may touch up the edges with the TOUCH-UP PEN (10M).
å NOTE: Please read the back pages of the instruction booklet for important safety information.
å This completes assembly. Clean with a damp cloth. Wipe dry.
Step 10
A
B
D
D
D
15 lbs.
25 lbs.
25 lbs.
25 lbs.
25 lbs.
50 lbs.
2R
10R
(12 used)
10M
Part (D). Another
sturdier, easier,
friendlier component!
Page 14

Other Teknik Indoor Furnishing manuals

Teknik Hudson 5425829 User manual

Teknik

Teknik Hudson 5425829 User manual

Teknik Elstree Credenza 5426916 User manual

Teknik

Teknik Elstree Credenza 5426916 User manual

Teknik 5418269 User manual

Teknik

Teknik 5418269 User manual

Teknik Craft 5427456 User manual

Teknik

Teknik Craft 5427456 User manual

Teknik 5427429 User manual

Teknik

Teknik 5427429 User manual

Teknik Wide Bookcase 5420282 User manual

Teknik

Teknik Wide Bookcase 5420282 User manual

Teknik 5427428 User manual

Teknik

Teknik 5427428 User manual
Teknik 5410416 User manual

Teknik

Teknik 5410416 User manual

Teknik 5424944 User manual

Teknik

Teknik 5424944 User manual

Teknik Canal Heights Console 5419230 User manual

Teknik

Teknik Canal Heights Console 5419230 User manual

Teknik 5412320 User manual

Teknik

Teknik 5412320 User manual

Teknik 5414142 User manual

Teknik

Teknik 5414142 User manual

Teknik Elstree 5426909 User manual

Teknik

Teknik Elstree 5426909 User manual

Teknik Boulevard Cafe Series User manual

Teknik

Teknik Boulevard Cafe Series User manual

Teknik Market 5425767 User manual

Teknik

Teknik Market 5425767 User manual

Teknik 5425304 User manual

Teknik

Teknik 5425304 User manual

Teknik Barrister Home Lift Up 5420329 User manual

Teknik

Teknik Barrister Home Lift Up 5420329 User manual

Teknik Mahattan View 5423446 User manual

Teknik

Teknik Mahattan View 5423446 User manual

Teknik Barrister Home 5418705 User manual

Teknik

Teknik Barrister Home 5418705 User manual

Teknik Barrister Home 5417772 User manual

Teknik

Teknik Barrister Home 5417772 User manual

Teknik Office Affiliate 5427414 User manual

Teknik

Teknik Office Affiliate 5427414 User manual

Teknik Boulevard Cafe 5420650 User manual

Teknik

Teknik Boulevard Cafe 5420650 User manual

Teknik Market 5425768 User manual

Teknik

Teknik Market 5425768 User manual

Teknik Barrister Home 5418891 User manual

Teknik

Teknik Barrister Home 5418891 User manual

Popular Indoor Furnishing manuals by other brands

Vertagear P Seres Assembly manual

Vertagear

Vertagear P Seres Assembly manual

Triarch 75365/10 Assembly instructions

Triarch

Triarch 75365/10 Assembly instructions

pelipal Balu 045 1186 Series manual

pelipal

pelipal Balu 045 1186 Series manual

Moss LISCIA Assembly instruction

Moss

Moss LISCIA Assembly instruction

Rauch M0003 Assembly instructions

Rauch

Rauch M0003 Assembly instructions

VIPACK PISBHK 10 Instructions for use

VIPACK

VIPACK PISBHK 10 Instructions for use

Steve Silver Hilton HI600CSN manual

Steve Silver

Steve Silver Hilton HI600CSN manual

StyleWell 1006236684 Use and care guide

StyleWell

StyleWell 1006236684 Use and care guide

Teknion Interpret WWSSB Installation guides

Teknion

Teknion Interpret WWSSB Installation guides

RTA BLM3303 Assembly instructions

RTA

RTA BLM3303 Assembly instructions

Furniture of America CM7751Q Assembly instructions

Furniture of America

Furniture of America CM7751Q Assembly instructions

Riverside Furniture 36652 Assembly instructions

Riverside Furniture

Riverside Furniture 36652 Assembly instructions

Steelcase Avenir Movable Walls PFF-16 quick start guide

Steelcase

Steelcase Avenir Movable Walls PFF-16 quick start guide

Pineapple RYNO CHAIR Assembly instructions

Pineapple

Pineapple RYNO CHAIR Assembly instructions

Trasman 1651 Bo5 Assembly manual

Trasman

Trasman 1651 Bo5 Assembly manual

Bergeron By Design Height Right Chair Assembly guide

Bergeron By Design

Bergeron By Design Height Right Chair Assembly guide

Ticaa Sammy H1000011652 Instructions for use

Ticaa

Ticaa Sammy H1000011652 Instructions for use

Costway HU10434 manual

Costway

Costway HU10434 manual

manuals.online logo
manuals.online logoBrands
  • About & Mission
  • Contact us
  • Privacy Policy
  • Terms and Conditions

Copyright 2025 Manuals.Online. All Rights Reserved.