manuals.online logo
Brands
  1. Home
  2. •
  3. Brands
  4. •
  5. Teknik
  6. •
  7. Indoor Furnishing
  8. •
  9. Teknik Elstree Credenza 5426916 User manual

Teknik Elstree Credenza 5426916 User manual

Elstree Credenza
Model 5426916
Your holder for all
things awesome.
Teknik
www.teknikoffice.co.uk
Table of Contents Assembly Tools Required
Part Identification
Hardware Identification
Assembly Steps
Français
Español
Safety
Warranty
No. 2 Phillips Screwdriver
Tip Shown Actual Size
2-3
4-5
6-29
30-34
35-39
40-42
43
A RIGHT END (1)
B LEFT END (1)
C LEFT UPRIGHT (1)
D RIGHT UPRIGHT (1)
D70 DRAWER BACK (1)
D107 LEFT DRAWER SIDE (1)
D108 RIGHT DRAWER SIDE (1)
D971 DRAWER BOTTOM (1)
E BOTTOM (1)
F SIDE BASE (2)
G LARGE ADJUSTABLE SHELF (1)
H SMALL ADJUSTABLE SHELF (1)
J FRONT BASE (1)
K BACK (1)
L LOUVER DOOR (1)
M PRINTER SHELF (1)
N DOOR (1)
O LOUVER DRAWER FRONT (1)
P PRINTER SHELF MOLDING (1)
Q BACK BASE (1)
R TOP (1)
Part Identification Now you know
our ABCs.
åUse this part identification to help identify the parts.
Page 2
Tape Measure
Part Identification
åWhile not all parts are labeled, some of the parts will have a label or an inked letter on the edge
to help distinguish similar parts from each other. Use this part identification to help identify similar parts.
A
B
C
D
E
F
F
G
H
J
K
L
M
N
O
P
Q
R
D70
D107
D108
D971
Page 3
Hardware Identification
40CA CABINET RIGHT - 1 40CB CABINET LEFT - 1 40CC DRAWER RIGHT - 1 40CD DRAWER LEFT - 1
(EXTENSION SET SHOWN SEPARATED)
EXTENSION SLIDE - 2
40MC
EXTENSION RAIL - 2
40MA
31G CORNER BRACKET - 4
BACK CONNECTOR - 12
39F
METAL BRACKET - 10
4G
GROMMET CAP - 1
1P
METAL PIN - 8
1R
10A SLIDE CAM - 2
DOOR STOP - 2
4I
WOOD DOWEL - 4
15F
GROMMET - 1
10P
HIDDEN CAM - 4
1F
CAM DOWEL - 4
2F
RUBBER SLEEVE - 8
2R
14H HINGE - 2
13H HINGE - 2
36F TWIST-LOCK®FASTENER - 10
PULL - 3
189K
Page 4
Hardware Identification
åScrews are shown actual size. You may receive extra hardware with your unit.
BLACK 9/16" LARGE HEAD SCREW - 50
1S
BLACK 1/2" FLAT HEAD SCREW - 8
11S
SILVER 1" LARGE HEAD SCREW - 4
102S BLACK 1-15/16" FLAT HEAD SCREW - 4
113S
30S BLACK 1-9/16" FLAT HEAD SCREW - 4
3S GOLD 5/16" FLAT HEAD SCREW - 12
Page 5
Hardware Usage Guide
1. Insert the dowel end of the FASTENER into the
hole of the adjoining part.
NOTE: The dowel end of the FASTENER must
remain fully inserted in the hole of the adjoining
part while locking the FASTENER.
2. Tighten the FASTENER with a Phillips
screwdriver as tight as possible.
Dowel end
2.
Push a TWIST-LOCK® FASTENER
into the large hole in the part.
1.
HOW TO USE A TWIST-LOCK®FASTENER
HOW TO USE A HIDDEN CAM & CAM DOWEL 2. Insert the metal end of the CAM
DOWEL into the HIDDEN CAM.
1. Push a HIDDEN CAM into
the part. The arrow in the
HIDDEN CAM must point
toward the hole in the edge
of the board.
Hole
Arrow
Metal end
Hidden Cam
Cam Dowel
Start Tighten
Arrow
Minimum
190 degrees
Caution
Risk of damage or
injury. HIDDEN CAMS
must be completely
tightened. HIDDEN
CAMS that are not
completely tightened
may loosen, and parts
may separate. To
completely tighten:
Arrow
Maximum
210 degrees
3.
Page 6
Step 1
å Assemble your unit on a carpeted floor or on the empty
carton to avoid scratching your unit or the floor.
å Push four TWIST-LOCK FASTENERS (36F) into the large
holes in the RIGHT END (A) and RIGHT UPRIGHT (D).
A
D
36F
Page 7
Just think. The sooner
you do this, the sooner
you do something else.
Step 2
å Separate the EXTENSION SLIDES (40MC) from the EXTENSION RAILS (40MA) as shown in the upper diagram below. Be
prepared, the parts are greasy.
å Fasten the EXTENSION RAILS (40MA) to the RIGHT UPRIGHT (D). Use four GOLD 5/16" FLAT HEAD SCREWS (3S)
through holes #1 and #3.
å NOTE: For each EXTENSION RAIL, turn a SCREW into the hole shown in the enlarged diagram. Then, slide the inner
cartridge of the EXTENSION RAIL in to find the other hole that lines up with the hole in the UPRIGHT. Turn a SCREW into
this hole.
å NOTE: The EXTENSION SLIDES will be used later for the DRAWERS.
Open end
Push the black lever in and pull the SLIDE from the RAIL.
40MA40MC
Finished edge
Open end
GOLD 5/16" FLAT HEAD SCREW
(4 used for the RAILS)
3S
3
2
1
1
2
3
4
4
A
D
Groove
Page 8
Surface with
TWIST-LOCK®
FASTENERS
Surface without
TWIST-LOCK®
FASTENERS
Step 3
å Insert two WOOD DOWELS (15F) into the TOP (R) using
the exact holes shown.
å Fasten the RIGHT END (A) and RIGHT UPRIGHT (D) to
the TOP (R). Tighten four TWIST-LOCK FASTENERS.
å NOTE: Be sure the WOOD DOWELS in the TOP insert
into the RIGHT END.
A
D
R
15F
Groove
Surface with holes
Page 9
Do not stand the unit upright without the
BACK fastened. The unit may collapse.
Caution
Surface with
TWIST-LOCK®
FASTENERS
Surface with
TWIST-LOCK®
FASTENERS
Step 4
Page 10
Do not stand the unit upright without the
BACK fastened. The unit may collapse.
Caution
å Slide the BACK (K) into the grooves in the END (A) and
the TOP (R).
K
A
R
Groove
Groove
Finished surface
Step 5
å Push four TWIST-LOCK FASTENERS (36F) into the large
holes in the LEFT END (B) and LEFT UPRIGHT (C).
C
B
36F
Page 11
Step 6
Page 12
å Fasten the CABINET RIGHT (40CA) to the LEFT
UPRIGHT (C) and the CABINET LEFT (40CB) to the LEFT
END (B). Use four GOLD 5/16" FLAT HEAD SCREWS (3S)
through holes #1 and #4.
C
B
1
2
3
4
1
2
3
4
Roller end
Roller end
GOLD 5/16" FLAT HEAD SCREW
(4 used for the RAILS)
3S
Groove
Surface with
TWIST-LOCK®
FASTENERS
Surface without
TWIST-LOCK®
FASTENERS
Step 7
å Insert two WOOD DOWELS (15F) into the TOP (R) using
the exact holes shown.
å Fasten the LEFT END (B) and LEFT UPRIGHT (C) to the
TOP (R). Tighten four TWIST-LOCK FASTENERS.
å NOTE: Be sure the WOOD DOWELS in the TOP insert
into the LEFT END.
C
B
R
Surface without
TWIST-LOCK®
FASTENERS
Surface without
TWIST-LOCK®
FASTENERS
15F
Surface with holes
Page 13
Step 8
å Push four HIDDEN CAMS (1F) into the BOTTOM (E).
Then, insert the metal end of a CAM DOWEL (2F) into
each HIDDEN CAM.
E
Do not tighten the HIDDEN CAMS in this step.
Arrow
1F
2F
Metal end
Arrow
1F
2F
Metal end
Page 14
å Fasten the BOTTOM (E) to the ENDS (A and B). Tighten
four HIDDEN CAMS.
å NOTE: You may need to flex the ENDS outward to insert
the BOTTOM.
å Fasten the BOTTOM (E) to the UPRIGHTS (C and D). Use
four BLACK 1-15/16" FLAT HEAD SCREWS (113S).
Step 9
E
C
D
B
A
BLACK 1-15/16" FLAT HEAD SCREW
(4 used in this step)
113S
Page 15
This hole must be here.
å Fasten four CORNER BRACKETS (31G) to the
BOTTOM (E) exactly as shown. Use eight BLACK
9/16" LARGE HEAD SCREWS (1S).
Step 10
E
BLACK 9/16" LARGE HEAD SCREW
(8 used in this step)
1S
31G
31G www.sauder.com/service
Page 16
1S
1S
1S
31G
31G
Step 11
å Fasten ten METAL BRACKETS (4G) to the BASES (F, J, and Q). Use
ten BLACK 9/16" LARGE HEAD SCREWS (1S).
å NOTE: Be sure the BRACKETS are even with the edges of the BASES.
Q
J
F
F
BLACK 9/16" LARGE HEAD SCREW
(10 used in this step)
1S
4G
(10 used)
Page 17
Now might be a
good time to refresh
your drink.
Step 12
å Fasten the SIDE BASES (F) to the BOTTOM (E). Use
two BLACK 9/16" LARGE HEAD SCREWS (1S) through
the METAL BRACKETS on the SIDE BASES and into
the BOTTOM.
å Fasten the SIDE BASES (F) to the CORNER
BRACKETS. Use eight BLACK 9/16" LARGE
HEAD SCREWS (1S) through the CORNER BRACKETS
and into the SIDE BASES.
å NOTE: You should start each SCREW a few turns before
completely tightening any of them.
BLACK 9/16" LARGE HEAD SCREW
(10 used in this step)
1S
F
F
E
Page 18
Step 13
å Fasten the FRONT BASE (J) and the BACK BASE (Q) to the BOTTOM (E). Use eight BLACK 9/16" LARGE HEAD
SCREWS (1S) through the METAL BRACKETS on the FRONT and BACK BASES and into the BOTTOM.
å Fasten the FRONT BASE (J) and the BACK BASE (Q) to the CORNER BRACKETS. Use eight BLACK 9/16" LARGE
HEAD SCREWS (1S) through the CORNER BRACKETS and into the FRONT AND BACK BASES.
å NOTE: You should start each SCREW a few turns before completely tightening any of them.
E
Q
J
BLACK 9/16" LARGE HEAD SCREW
(16 used in this step)
1S
Page 19
Step 14
å Carefully turn your unit onto its front edges.
å Fasten twelve BACK CONNECTORS (39F) to the
ENDS (A and B), BOTTOM (E), TOP (R), and BACK (K).
Tighten the SCREW in each BACK CONNECTOR.
Screw
Lip
Screw
Lip
Screw
Screw
Lip
Lip
Slide the lip into the groove,
then tighten the screw.
39F 39F
39F
39F
3" 2"
E
R
A
K
B
(12 used)
Page 20
Unfinished
surface

Other Teknik Indoor Furnishing manuals

Teknik City Centre 5426059 User manual

Teknik

Teknik City Centre 5426059 User manual

Teknik 5422379 User manual

Teknik

Teknik 5422379 User manual

Teknik Barrister Home 5418902 User manual

Teknik

Teknik Barrister Home 5418902 User manual

Teknik 5427455 User manual

Teknik

Teknik 5427455 User manual

Teknik 5427134 User manual

Teknik

Teknik 5427134 User manual

Teknik Elstree 5426910 User manual

Teknik

Teknik Elstree 5426910 User manual

Teknik Elstree Executive Desk 5426918 User manual

Teknik

Teknik Elstree Executive Desk 5426918 User manual

Teknik CUBE RECEPTION CHAIR MODULAR UNIT User manual

Teknik

Teknik CUBE RECEPTION CHAIR MODULAR UNIT User manual

Teknik Hudson Chunky Desk 5425833 User manual

Teknik

Teknik Hudson Chunky Desk 5425833 User manual

Teknik New Hyde 426440 User manual

Teknik

Teknik New Hyde 426440 User manual

Teknik City Centre 5425653 User manual

Teknik

Teknik City Centre 5425653 User manual

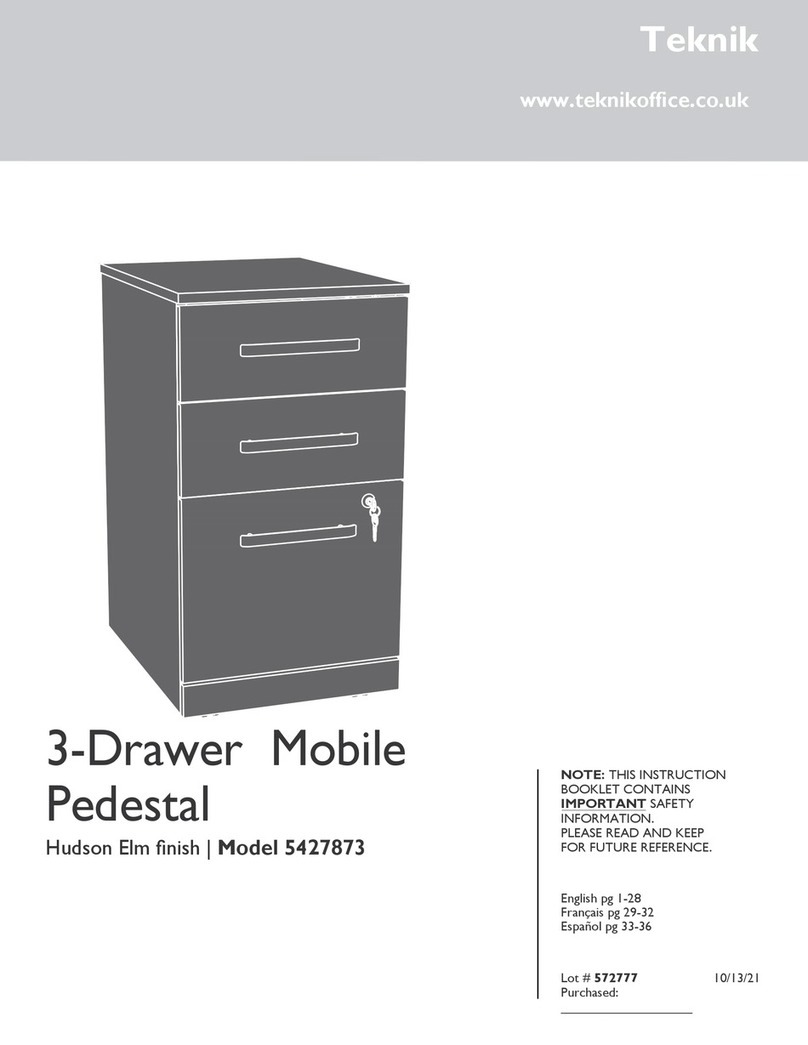
Teknik Hampstead Park 5423704 User manual
Teknik

Teknik Hampstead Park 5423704 User manual

Teknik Barrister Home 5420176 User manual

Teknik

Teknik Barrister Home 5420176 User manual

Teknik Scribed Oak Desk 5414836 User manual

Teknik

Teknik Scribed Oak Desk 5414836 User manual

Teknik Home Study 5426616 User manual

Teknik

Teknik Home Study 5426616 User manual

Teknik 5423547 User manual

Teknik

Teknik 5423547 User manual

Teknik Chunky 4 Shelf Bookcase 5422095 User manual

Teknik

Teknik Chunky 4 Shelf Bookcase 5422095 User manual

Teknik Elstree L-Shaped Desk 5426914 User manual

Teknik

Teknik Elstree L-Shaped Desk 5426914 User manual

Teknik Industrial Style Bench Desk 5420032 User manual

Teknik

Teknik Industrial Style Bench Desk 5420032 User manual

Teknik 5424259 User manual

Teknik

Teknik 5424259 User manual

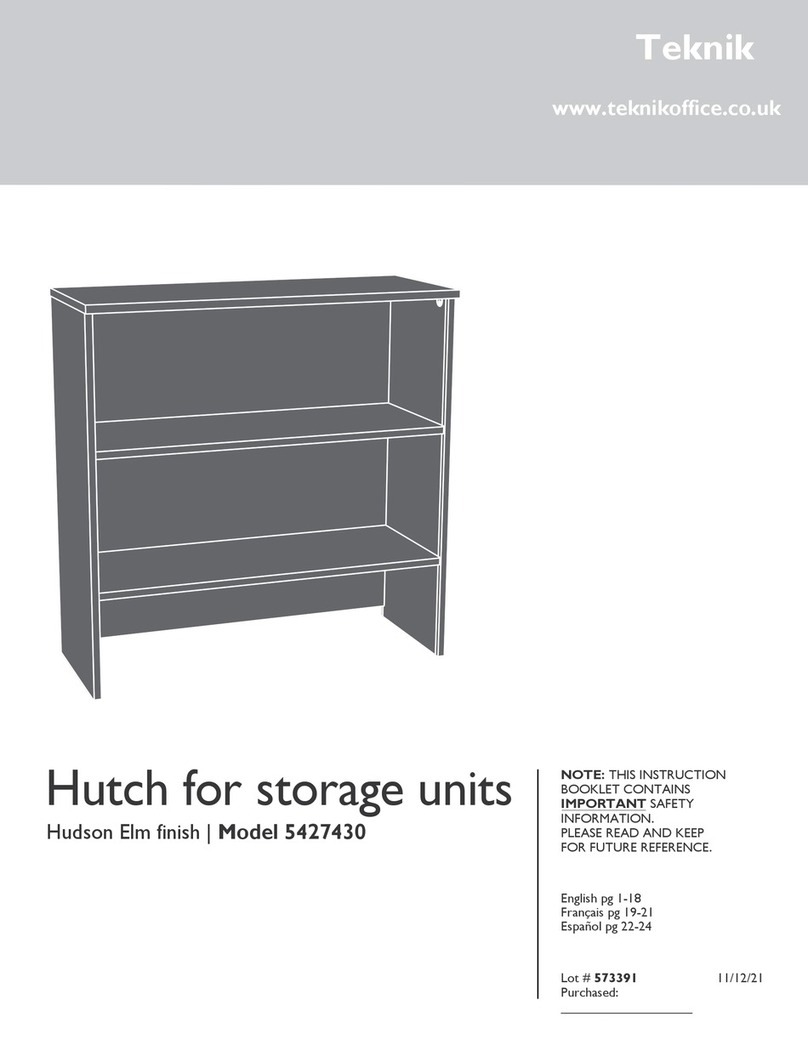
Teknik 5427873 User manual

Teknik

Teknik 5427873 User manual
Teknik Executive Trestle Desk 5424128 User manual

Teknik

Teknik Executive Trestle Desk 5424128 User manual

Teknik Wide Bookcase 5420282 User manual

Teknik

Teknik Wide Bookcase 5420282 User manual

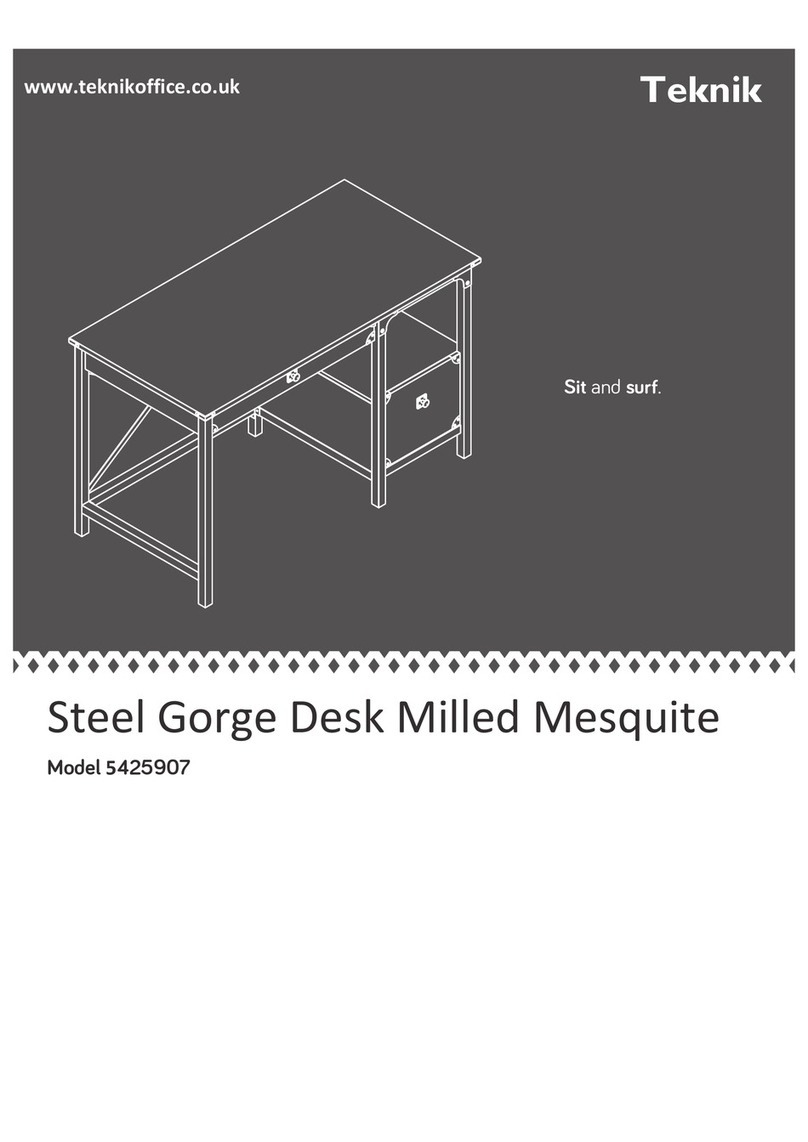
Teknik Credenza 5421317 User manual

Teknik

Teknik Credenza 5421317 User manual

Popular Indoor Furnishing manuals by other brands

Mayline CSII BRIDGE Assembly instructions

Mayline

Mayline CSII BRIDGE Assembly instructions

HJH office PANDA Assembly instructions

HJH office

HJH office PANDA Assembly instructions

Furinno FNBL-22118 Assembly instruction

Furinno

Furinno FNBL-22118 Assembly instruction

Mainstays 9409WWWM Assembly instructions

Mainstays

Mainstays 9409WWWM Assembly instructions

modway MOD-5818 manual

modway

modway MOD-5818 manual

Discovery Telecom Driftwood 4105R Assembly instructions

Discovery Telecom

Discovery Telecom Driftwood 4105R Assembly instructions

Butler 5337146 Assembly instructions

Butler

Butler 5337146 Assembly instructions

GoodHome caraway 3663602637547 manual

GoodHome

GoodHome caraway 3663602637547 manual

Rejuvenation D2416 manual

Rejuvenation

Rejuvenation D2416 manual

Pacific Casual Griffith Park 14H0405CS-B1 Assembly instructions

Pacific Casual

Pacific Casual Griffith Park 14H0405CS-B1 Assembly instructions

Costco 156-C301-680-1045A manual

Costco

Costco 156-C301-680-1045A manual

Walker Edison D48UBC30 Assembly instructions

Walker Edison

Walker Edison D48UBC30 Assembly instructions

Lee & Plumpton Libra Desk Assembly instructions

Lee & Plumpton

Lee & Plumpton Libra Desk Assembly instructions

VRGO VRGO Chair instruction manual

VRGO

VRGO VRGO Chair instruction manual

Hodedah HID8600-G Assembly instructions

Hodedah

Hodedah HID8600-G Assembly instructions

SCIAE URBANA TABLE Assembling instructions

SCIAE

SCIAE URBANA TABLE Assembling instructions

Gautier DIAGONE E15 manual

Gautier

Gautier DIAGONE E15 manual

Furinno Moore 20200 Assembly instruction

Furinno

Furinno Moore 20200 Assembly instruction

manuals.online logo
manuals.online logoBrands
  • About & Mission
  • Contact us
  • Privacy Policy
  • Terms and Conditions

Copyright 2025 Manuals.Online. All Rights Reserved.