manuals.online logo
Brands
  1. Home
  2. •
  3. Brands
  4. •
  5. Teknik
  6. •
  7. Indoor Furnishing
  8. •
  9. Teknik 5426510 User manual

Teknik 5426510 User manual

Hampstead Park Lateral Filer
Model 5426510
Congratulations. You
are now an adult.
Teknik
www.teknikoffice.co.uk
Table of Contents Assembly Tools Required
Part Identification
Hardware Identification
Assembly Steps
Français
Español
Safety
Warranty
No. 2 Phillips Screwdriver
Tip Shown Actual Size
3
4
5-24
25-28
29-32
33-34
35
Pae 2
Part Identification
åWhile not all parts are labeled, some of the parts will have a label or an inked letter on the edge
to help distinguish similar parts from each other. Use this part identification to help identify similar parts.
Now you know
our ABCs.
A RIGHT END (1)
B LEFT END (1)
C FIXED SHELF (1)
D ADJUSTABLE SHELF (1)
D61 DRAWER BACK (1)
D87 RIGHT DRAWER SIDE (1)
D88 LEFT DRAWER SIDE (1)
D729 DRAWER BOTTOM (1)
E SKIRT (1)
F DUST RAIL (1)
G LOWER BACK (1)
H UPPER BACK (1)
J DRAWER FRONT (1)
K TOP (1)
M63 DRAWER BRACE (1)
A
B
C
D
E
F
G
H
J
K
D61
D87
D88
D729
M63
Pae 3
Hardware Identification
åScrews are shown actual size. You may receive extra hardware with your unit.
FILE BAR - 2
1B
(EXTENSION SET SHOWN SEPARATED)
EXTENSION SLIDE - 2
40MC
EXTENSION RAIL - 2
40MA 10A SLIDE CAM - 2
FILE GLIDE - 2
5B FILE ROD - 2
9B FILE BRACKET - 2
12B HIDDEN CAM - 13
1F
PULL - 2
189K
METAL BRACKET - 5
4G
WOOD DOWEL - 10
15F
CAM DOWEL - 13
2F
METAL PIN - 4
1R RUBBER SLEEVE - 4
2R
CAM COVER - 4
13P
BLACK 9/16" LARGE HEAD SCREW - 14
1S 3S GOLD 5/16" FLAT HEAD SCREW - 4
BROWN 7/16" LARGE HEAD SCREW - 4
6S 30S BLACK 1-9/16" FLAT HEAD SCREW - 5
SILVER 1/2" FLAT HEAD SCREW - 4
128S
Pae 4
Hardware Usage Guide
HOW TO USE A HIDDEN CAM & CAM DOWEL
2. Insert the metal end of the CAM
DOWEL into the HIDDEN CAM.
1. Push a HIDDEN CAM into
the part. The arrow in the
HIDDEN CAM must point
toward the hole in the ede
of the board.
Hole
Arrow
Metal end
Hidden Cam
Cam Dowel
Start Tighten
Arrow
Minimum
190 derees
Caution
Risk of damae or
injury. HIDDEN CAMS
must be completely
tihtened. HIDDEN
CAMS that are not
completely tihtened
may loosen, and parts
may separate. To
completely tihten:
Arrow
Maximum
210 derees
3.
Pae 5
Step 1
å Assemble your unit on a carpeted floor or on the empty
carton to avoid scratchin your unit or the floor.
å Push two HIDDEN CAMS (1F) into the RIGHT END (A).
Then, insert the metal end of a CAM DOWEL (2F) into
each HIDDEN CAM.
A
Do not tihten the HIDDEN CAMS in this step. 1F
2F
Arrow
Metal end
Meet Part (A). This component has
been enineered to be lihter, stroner,
faster… well ok. Not technically faster.
But definitely makes for a sturdier
lateral file that’s easier to assemble and
friendlier to the environment.
Pae 6
Just think. The sooner
you do this, the sooner
you do somethin else.
å Separate the EXTENSION SLIDES (40MC) from the EXTENSION RAILS (40MA) as shown in the upper diaram below. Be
prepared, the parts are reasy.
å Fasten a EXTENSION RAIL (40MA) to the RIGHT END (A). Use two SILVER 1/2" FLAT HEAD SCREWS (128S)
throuh holes #1 and #4.
å NOTE: For each EXTENSION RAIL, turn a SCREW into the hole shown in the enlared diaram. Then, slide the inner
cartride of the EXTENSION RAIL in to find the other hole that lines up with the hole in the RIGHT END. Turn a SCREW
into this hole.
å NOTE: The EXTENSION SLIDES will be used later for the DRAWERS.
Step 2
A
Open end
Push the black lever in and pull the SLIDE from the RAIL.
40MA40MC
1
2
3
4
SILVER 1/2" FLAT HEAD SCREW
(2 used for the RAILS)
128S
Pae 7
å Insert four WOOD DOWELS (15F) into the UPPER BACK (H).
å Push the WOOD DOWELS in the UPPER BACK (H) into the
RIGHT END (A).
Step 3
A
H
15F
Pae 8
15F
å Push four HIDDEN CAMS (1F) into the FIXED SHELF (C).
Then, insert the metal end of a CAM DOWEL (2F) into
each HIDDEN CAM.
Step 4
C
Do not tihten the HIDDEN CAMS in this step. 1F
2F
Arrow
Metal end
1F
2F
Metal end
Arrow
Pae 9
å Fasten the FIXED SHELF (C) to the RIGHT END (A).
Tihten two HIDDEN CAMS.
Step 5
A
C
Surface with HIDDEN CAMS
Pae 10
These surfaces should be even.
å Push two HIDDEN CAMS (1F) into the LOWER BACK (G). Then, insert the metal end of a CAM DOWEL (2F) into each
HIDDEN CAM.
å Insert two WOOD DOWELS (15F) into the LOWER BACK (G).
å Fasten the LOWER BACK (G) to the RIGHT END (A). Tihten one HIDDEN CAM.
å NOTE: Be sure the WOOD DOWELS in the LOWER BACK insert into the RIGHT END.
Step 6
A
G
G
Arrow
1F
2F
Metal end
Arrow
1F
2F
Metal end
Surface with
HIDDEN CAMS
15F
Pae 11
å Fasten five METAL BRACKETS (4G) to the SKIRT (E). Use
five BLACK 9/16" LARGE HEAD SCREWS (1S).
å NOTE: Be sure the BRACKETS are even with the edes of
the SKIRT.
å Push two HIDDEN CAMS (1F) into the DUST RAIL (F).
Then, insert the metal end of a CAM DOWEL (2F) into
each HIDDEN CAM.
Step 7
E
F
BLACK 9/16" LARGE HEAD SCREW
(5 used in this step)
1S
Do not tihten the HIDDEN CAMS in this step.
Arrow
1F
2F
Metal end
Arrow
1F
2F
Metal end
Pae 12
4G
4G
4G
å Fasten DUST RAIL (F) to the SKIRT (E). Use three
BLACK 9/16" LARGE HEAD SCREWS (1S) throuh the
METAL BRACKETS on the SKIRT and into the holes in
the DUST RAIL.
Step 8
E
F
BLACK 9/16" LARGE HEAD SCREW
(3 used in this step)
1S
Pae 13
Surface with HIDDEN CAMS
å Fasten the DUST RAIL (F) to the RIGHT END (A). Tihten a
HIDDEN CAM.
å Fasten SKIRT (K) to the RIGHT END (A). Use a BLACK 9/16"
LARGE HEAD SCREW (1S) throuh the METAL BRACKETS on
the SKIRT and into the holes in the RIGHT END.
Step 9
E
F
A
BLACK 9/16" LARGE HEAD SCREW
(1 used in this step)
1S
Pae 14
å Push two HIDDEN CAMS (1F) into the LEFT END (B).
Then, insert the metal end of a CAM DOWEL (2F) into
each HIDDEN CAM.
Step 10
B
Do not tihten the HIDDEN CAMS in this step.
1F
2F
Arrow
Metal end
Part (B). Another
sturdier, easier,
friendlier component!
Pae 15
Now miht be a
ood time to refresh
your drink.
å Fasten a EXTENSION RAIL (40MA) to the LEFT END (B).
Use two SILVER 1/2" FLAT HEAD SCREWS (128S)
throuh holes #1 and #4.
å NOTE: For each EXTENSION RAIL, turn a SCREW into the
hole shown in the enlared diaram. Then, slide the inner
cartride of the EXTENSION RAIL in to find the other hole
that lines up with the hole in the LEFT END. Turn a SCREW
into this hole.
Step 11
Open end
3
2
1
4
B
SILVER 1/2" FLAT HEAD SCREW
(2 used for the RAILS)
128S
Pae 16
å Fasten the LEFT END (B) to the FIXED SHELF (C),
DUST RAIL (F), LOWER BACK (G), and UPPER BACK (H).
Tihten four HIDDEN CAMS.
å NOTE: Be sure the WOOD DOWELS in the LOWER BACK
and UPPER BACK insert into the LEFT END.
å Fasten LEFT END (B) to the SKIRT (E). Use a BLACK 9/16"
LARGE HEAD SCREW (1S) throuh the METAL BRACKET
on the SKIRT and into the holes in the LEFT END.
Step 12
B
H
GC
F
E
BLACK 9/16" LARGE HEAD SCREW
(1 used in this step)
1S
Pae 17
å Carefully stand your unit upriht.
å Insert four WOOD DOWELS (15F) into the TOP (K).
å Fasten the TOP (K) to the ENDS (A and B). Tihten four
HIDDEN CAMS.
å NOTE: Be sure the WOOD DOWELS in the TOP insert
into the ENDS.
Step 13
A
B
K
15F
15F
Part (K). Another
sturdier, easier,
friendlier component!
Pae 18
Pro Tip: Lift with your
les. And, you know,
your arms.
Step 14
Arrow
1F
2F
Metal end
å Insert the DRAWER SIDES (D87 and D88) at an angle
into the slot at each end of the DRAWER FRONT (J). å Slide the DRAWER BOTTOM (D729) into the
grooves in the DRAWER SIDES (D87 and D88)
and DRAWER FRONT (J).
å Push a HIDDEN CAM (1F) into the
DRAWER BRACE (M63). Then insert the metal end
of a CAM DOWEL (2F) into the HIDDEN CAM.
å Fasten the DRAWER BRACE (M63) to the
DRAWER FRONT (J). Tighten one HIDDEN CAM.
å Fasten the DRAWER BACK (D61) to the DRAWER
SIDES (D87 and D88) and DRAWER BRACE (M63). Use
five BLACK 1-9/16" FLAT HEAD SCREWS (30S).
Surface with
HIDDEN CAM
12
34
Be sure the DRAWER
BOTTOM inserts into the
DRAWER FRONT roove.
Groove
J
J
J
D87
D88
Unfinished
surface
Be sure the
DRAWER
BOTTOM
inserts into
the DRAWER
BACK roove.
30S
Start each screw a few turns before
completely tihtenin any of them.
BLACK 1-9/16" FLAT HEAD SCREW
(5 used in this step)
The tabs should insert freely
into the slots. Gently tilt the
DRAWER SIDES side to side
until the tabs slip into the slots.
With the palm of your hand,
tap the DRAWER BOTTOM
down into the roove.
M63
M63
Hidden part usin
recycled material.
Color may vary.
M63
D87
D88
D87
D88
D729
D61
Pae 19
å Fasten the FILE BRACKETS (12B) to the DRAWER BACK (D61)
and DRAWER FRONT (J) as shown. Use four BROWN 7/16"
LARGE HEAD SCREWS (6S).
Step 15
J
D61
BROWN 7/16" LARGE HEAD SCREW
(4 used in this step)
6S
6S
Pae 20
12B
12B

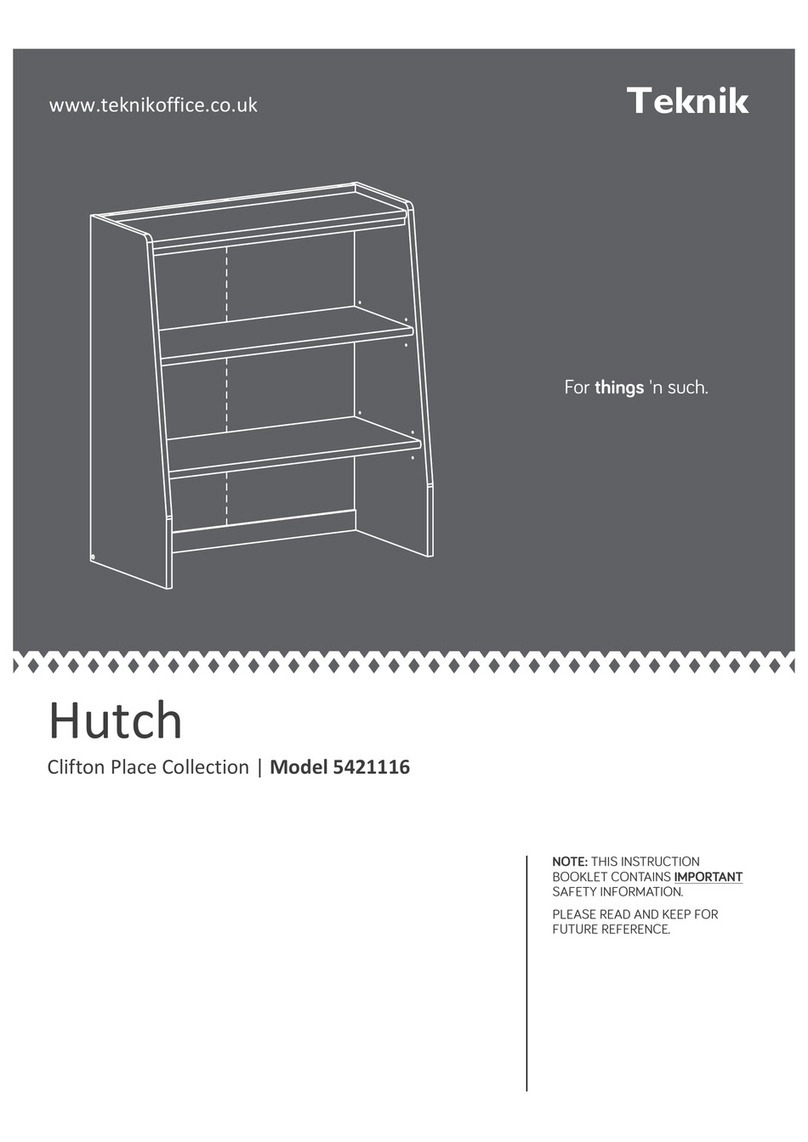
Other Teknik Indoor Furnishing manuals
Teknik 5425907 User manual

Teknik

Teknik 5425907 User manual

Teknik City Centre 5427120 User manual

Teknik

Teknik City Centre 5427120 User manual

Teknik Hampstead Park 5420834 User manual

Teknik

Teknik Hampstead Park 5420834 User manual

Teknik Metro 5426461 User manual

Teknik

Teknik Metro 5426461 User manual

Teknik Hideaway Cotswold 5430446 User manual

Teknik

Teknik Hideaway Cotswold 5430446 User manual

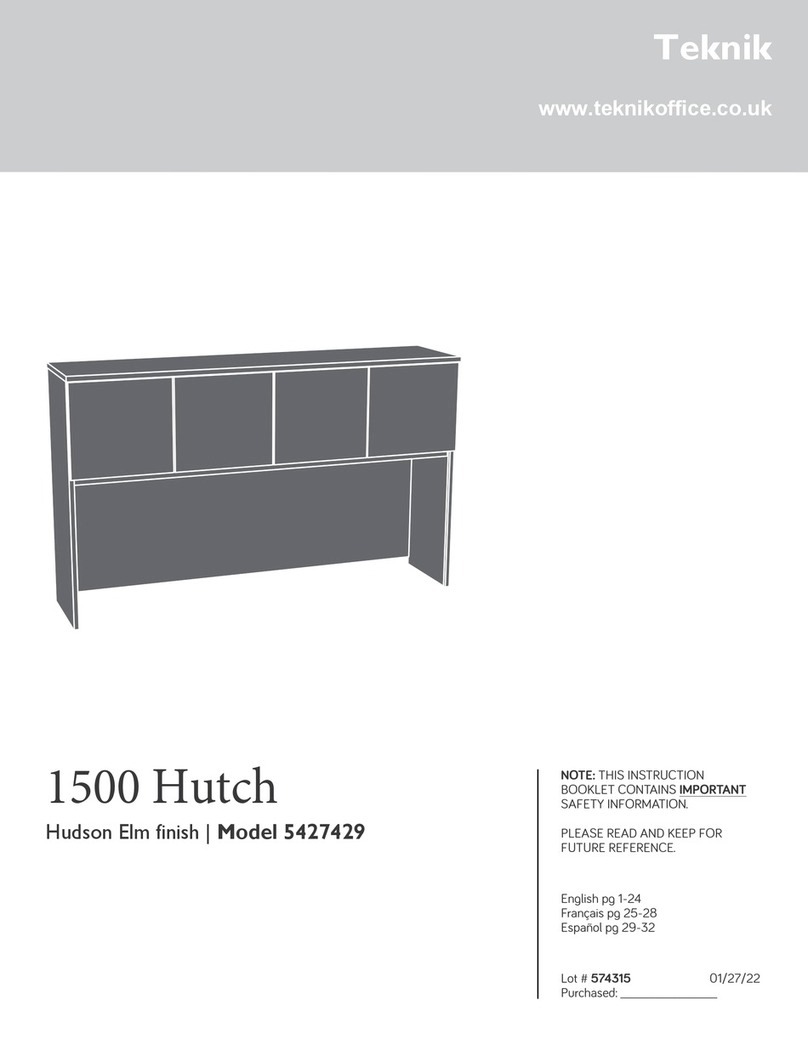
Teknik 1800 Hutch User manual

Teknik

Teknik 1800 Hutch User manual

Teknik Boulevard Cafe Series User manual
Teknik

Teknik Boulevard Cafe Series User manual

Teknik Boulevard Cafe Desk 5420701 User manual

Teknik

Teknik Boulevard Cafe Desk 5420701 User manual

Teknik Montreal Swivel Recliner User manual

Teknik

Teknik Montreal Swivel Recliner User manual

Teknik 5426133 User manual

Teknik

Teknik 5426133 User manual

Teknik Home Study 5426055 User manual

Teknik

Teknik Home Study 5426055 User manual

Teknik Market 5425768 User manual

Teknik

Teknik Market 5425768 User manual

Teknik Hampstead Park 5420731 User manual

Teknik

Teknik Hampstead Park 5420731 User manual

Teknik Boulevard Cafe 5420650 User manual

Teknik

Teknik Boulevard Cafe 5420650 User manual

Teknik Scribed Oak Storage Desk 5418294 User manual

Teknik

Teknik Scribed Oak Storage Desk 5418294 User manual

Teknik 5420649 User manual

Teknik

Teknik 5420649 User manual

Teknik 5421405 User manual

Teknik

Teknik 5421405 User manual

Teknik Wide Bookcase 5420282 User manual

Teknik

Teknik Wide Bookcase 5420282 User manual

Teknik Hudson Elm finish 5427457 User manual

Teknik

Teknik Hudson Elm finish 5427457 User manual

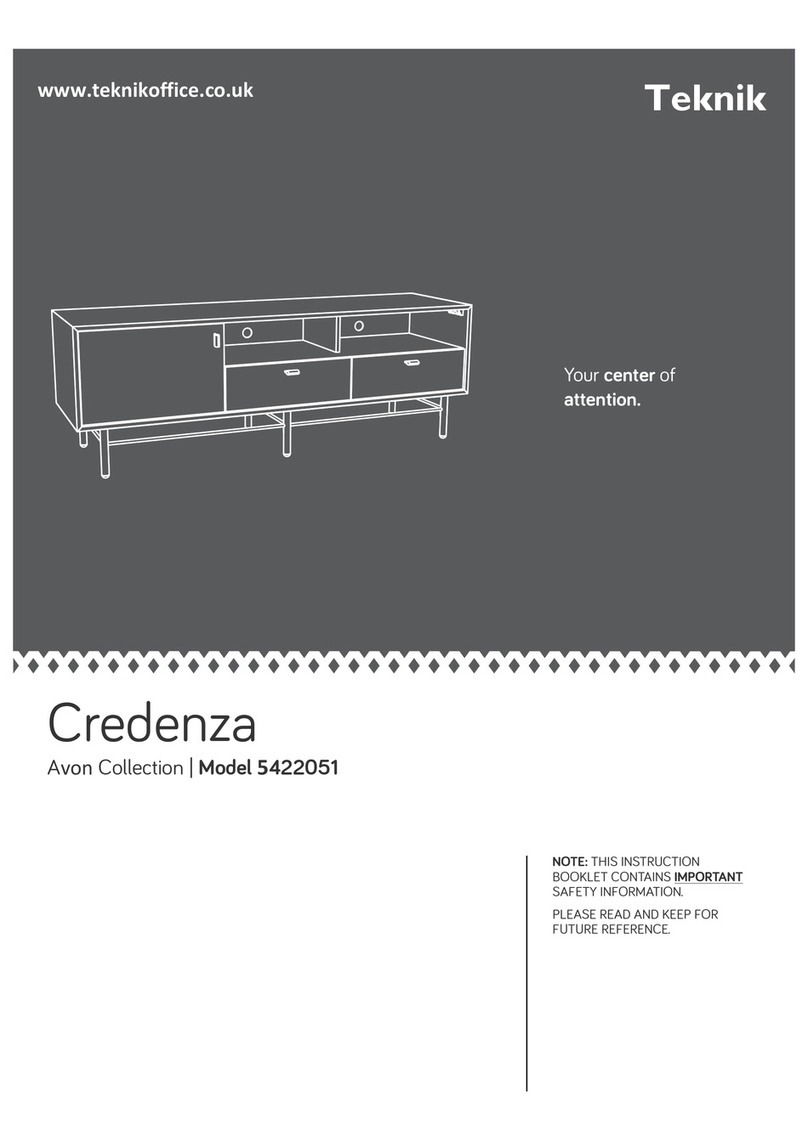
Teknik Avon 5422051 User manual

Teknik

Teknik Avon 5422051 User manual

Teknik Spanish Style Desk 5420114 User manual

Teknik

Teknik Spanish Style Desk 5420114 User manual

Teknik 5427455 User manual

Teknik

Teknik 5427455 User manual

Teknik Office Affiliate 5427468 User manual

Teknik

Teknik Office Affiliate 5427468 User manual

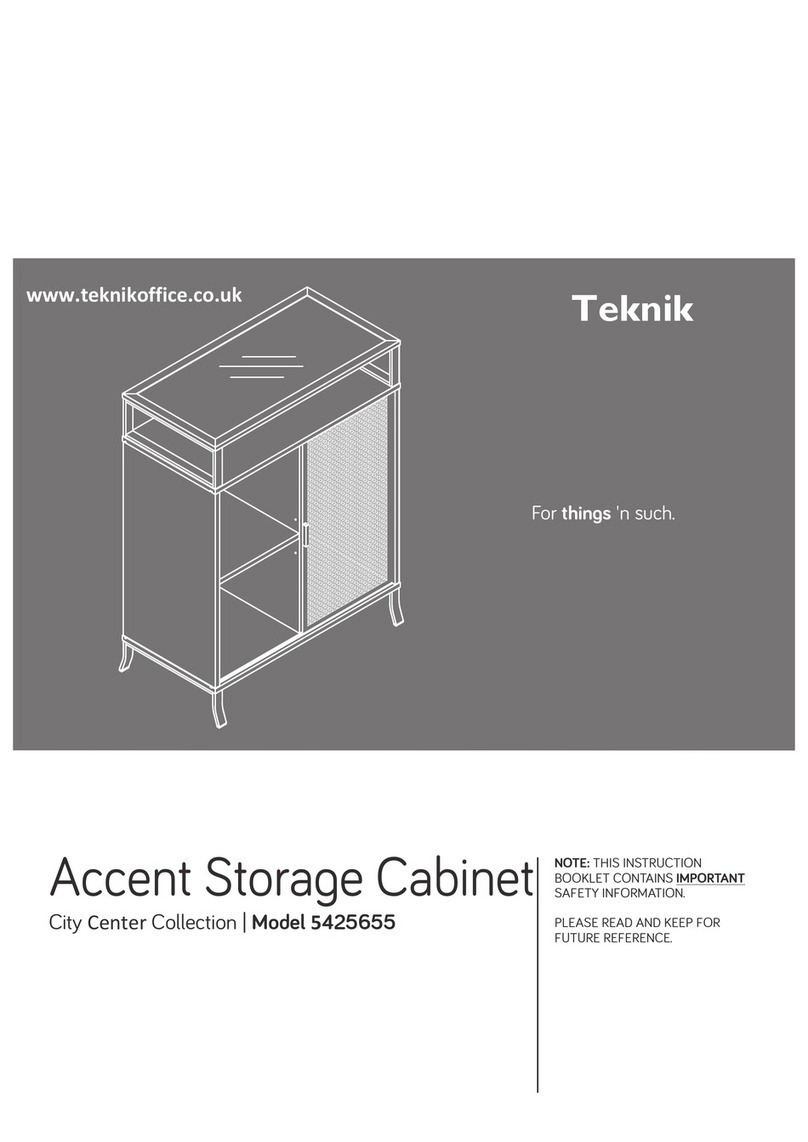
Teknik 5425655 User manual

Teknik

Teknik 5425655 User manual

Popular Indoor Furnishing manuals by other brands

Bestier H100914E Assembly instructions

Bestier

Bestier H100914E Assembly instructions

BLACK RED WHITE ALVEO B24-KOM4S/11 manual

BLACK RED WHITE

BLACK RED WHITE ALVEO B24-KOM4S/11 manual

Cheyenne Products BH47-021-199-25 Assembly instructions

Cheyenne Products

Cheyenne Products BH47-021-199-25 Assembly instructions

Next 881840 Assembly instructions

Next

Next 881840 Assembly instructions

Dorel Ameriwood Industries 5958325K manual

Dorel

Dorel Ameriwood Industries 5958325K manual

TUTROCITO NICCOLO manual

TUTROCITO

TUTROCITO NICCOLO manual

Furniture Values International aspenhome I248-6050 Assembly instructions

Furniture Values International

Furniture Values International aspenhome I248-6050 Assembly instructions

Southern Enterprises HZ6233 Assembly instructions

Southern Enterprises

Southern Enterprises HZ6233 Assembly instructions

atmosphera MOIRA 185095MOD manual

atmosphera

atmosphera MOIRA 185095MOD manual

Amart Furniture Etowah 70217 Assembly instructions

Amart Furniture

Amart Furniture Etowah 70217 Assembly instructions

OVE CLAUDIA 72 installation manual

OVE

OVE CLAUDIA 72 installation manual

Ameriwood HOME 6786015COM Assembly instructions

Ameriwood HOME

Ameriwood HOME 6786015COM Assembly instructions

GPM STRATFORD DRESSING TABLE Assembly instruction

GPM

GPM STRATFORD DRESSING TABLE Assembly instruction

modway EEI-3578 manual

modway

modway EEI-3578 manual

Home affaire VENEZIA I 140 Assembly instructions

Home affaire

Home affaire VENEZIA I 140 Assembly instructions

CLEAR DESIGN EDGE ESHA installation guide

CLEAR DESIGN

CLEAR DESIGN EDGE ESHA installation guide

Home Decorators Collection 19061-VS49-AG Assembly instructions

Home Decorators Collection

Home Decorators Collection 19061-VS49-AG Assembly instructions

StyleWell 1004123174 Use and care guide

StyleWell

StyleWell 1004123174 Use and care guide

manuals.online logo
manuals.online logoBrands
  • About & Mission
  • Contact us
  • Privacy Policy
  • Terms and Conditions

Copyright 2025 Manuals.Online. All Rights Reserved.