manuals.online logo
Brands
  1. Home
  2. •
  3. Brands
  4. •
  5. Wren Kitchens
  6. •
  7. Indoor Furnishing
  8. •
  9. Wren Kitchens BASE UNIT 600 User manual

Wren Kitchens BASE UNIT 600 User manual

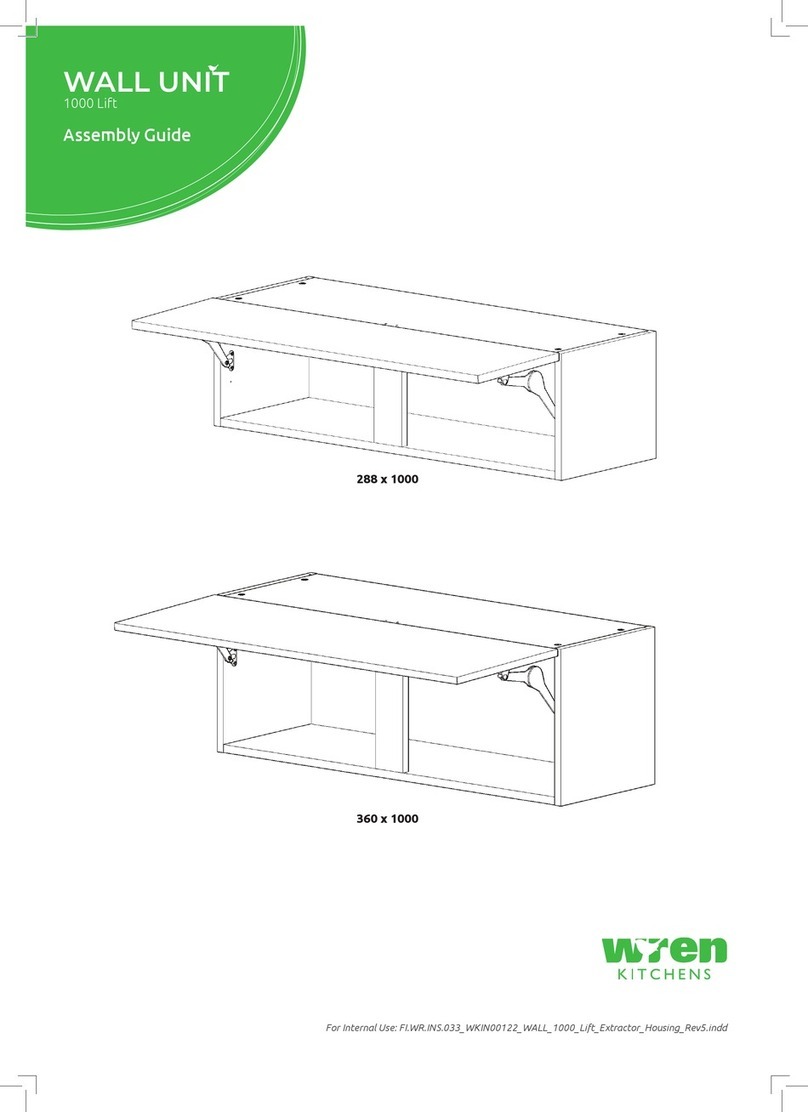
WALL UNIT
600 - 800 Tall Boiler Housing Assembly Guide
For Internal Use: FI.WR.INS.039_WKIN00129_WALL_600_BlrHsg_Rev8
600 Tall
600
Page 1
WALL UNIT
600 - 800 Tall Boiler Housing Assembly Guide
Panel B
x2 End Panel
Panel C
x1 Base Panel
Panel E
x1 Rail
Frontal (packed separately)
x1
Hanging Bracket
x2 Inc Screws
Hanging Bracket Plate
x2 (Screws NOT included)
Hinge Mounting Plate
x2 Inc Screws
Hinge
x2 Inc Screws
(F) x8
Wooden Dowel
(G) x6
Cam Dowel
(Expanding)
(H) x6
Cam lock
(K) x4
30mm
Screw
(S) x4
20mm
Screw
(M) x4
Cover Cap
(N) x1
Door Buer
(FF) x2
L Bracket
SML
(L) x2
15mm
Screw
REQUIRED TOOLS
NOT to be used
with CAM DOWEL
& CAM LOCK
BEFORE YOU START
INSTALLATION
SHOULD BE
PERFORMED BY A
COMPETENT
PERSON ONLY.
THIS PRODUCT COULD
BE DANGEROUS
IF INCORRECTLY
INSTALLED
Page 2
For Internal Use: FI.WR.INS.039_WKIN00129_WALL_600_BlrHsg_Rev8
Step 1.
Seat dowel (F)
into holes in
both end panels
(B) as shown.
Step 2.
Seat cam dowel (G)
into holes in both end
panels (B) as shown.
Dowel (F)
& Cam Dowel (G)
Location Detail
Step 3.
Attach panels (C) & (E) to panels (B),
using cam dowel (G) (in blue) and
also using dowels (F) (in orange) in
positions as shown.
All cam locks (H) are to be positioned facing
the outside of the unit carcase, for ease of tightening.
Seat (G)
cam dowel
into hole
as shown
Do not use power tools with
cam dowel (G) or cam lock (H)
G F F GG F F G
F G
B B
F FG F
View from underside View from underside
Step 4.
Insert cam lock (H).
Hand tighten all cam locks (H),
this will expand cam dowels (G)
and tighten the unit together.
B
CC
H
H
G
G
C
B
E
B
Page 3
WALL UNIT
600 - 800 Tall Boiler Housing Assembly Guide
Step 6.
Secure L brackets SML to
the bottom left and right
hand side of the wall unit
using 2 x 15mm screws (L)
per bracket.
L
FF
Detail B
A
B
Step 7.
Measure appropriately and attach the 2
x hanging bracket plates onto the wall
screwing through the provided holes into
your wall.
Step 8.
Hang the unit using the brackets to hook onto
the plate as shown.
Hanging Bracket
Plate
Step a
Insert hanging
bracket into pre-drilled holes
Step c
Secure with provided
2 x 20mm screws (S) per bracket
Step b
Rotate locking
lever 180 degrees
Detail A Detail A
S
S
Detail A
Step 5. Hanging Brackets steps a,b & c to be carried out on both sides as shown
Care to be taken. Hanging procedure is necessary for a safe installation.
Screws for attaching to walls are not provided as these vary depending on materials,
thickness and construction. Ensure appropriate xings for wall construction are used.
Page 4
For Internal Use: FI.WR.INS.039_WKIN00129_WALL_600_BlrHsg_Rev8
Step 10.
Secure to the wall using 1 x appropriate screw
through each L brackets SML (FF).
Step 9.
Using points a, b & c adjust the unit to suit.
Step 11.
Screw into any side units using the provided
2 x 30mm screws (K) to secure the units.
Screw just to the rear of the hinge plates
then place cover caps (M) on the head to
conceal it.
Step 9a.
Rotate the screw clockwise
to move the unit up.
Anti-clockwise for down.
Step 9b.
Adjust the depth
using centre screw.
Step 9c.
Screw the red screw until it
touches the plate to lock
in position.
Hanging
Bracket
viewed through
Back Panel b
Cc
a
a
b
Detail B
Screws for xing to walls are not provided
as these vary depending on your wall
material and construction. Ensure
appropriate xings for wall constructions
are used.
Hinge Plates
126mm
126mm
94mm
94mm
B
from base
from top
K
Step 12.
Attach hinge mounting plates onto end
panels (B) in locations shown using screws
already in the mounting plate.
Hinge side or sides to be mounted
in accordance to Customer Specic
Kitchen Plan.
Page 5
WALL UNIT
600 - 800 Tall Boiler Housing Assembly Guide
Step 12.
Insert hinge in top & bottom
holes as shown.
Step 13.
Secure hinges by
tightening
2 x screws with hinge
dowels attached. These
are already positioned
within the hinges.
Step 14.
Attach the door to unit
where required.
To attach door
clip hinge onto hinge
plate and click to secure.
Step 15.
Adjust hinge to suit. As shown below.
Hinge Plates
Hinge Cover
Caps
Step 16.
Fit cover caps to hinge.
Adjust Soft Close to suit.
To adjust hinge using a
screw driver, tighten or
loosen as
required at points 1& 2.
Point 1- In - Out
Point 2- Left - Right
12
FRONTAL HINGE
ADJUSTMENT
View from inside of unit
To release door,
pull catch as shown,
to release hinge from
the hinge plate.
The top and bottom
hinges MUST be
adjusted to the SAME
STRENGTH.
To Move the
hinge up/
down, loosen
screws
A + B,
Manoeuvre
the door, then
re-tighten the
screws
A
B
Page 6
For Internal Use: FI.WR.INS.039_WKIN00129_WALL_600_BlrHsg_Rev8

Other manuals for BASE UNIT 600

6

This manual suits for next models

1

Other Wren Kitchens Indoor Furnishing manuals
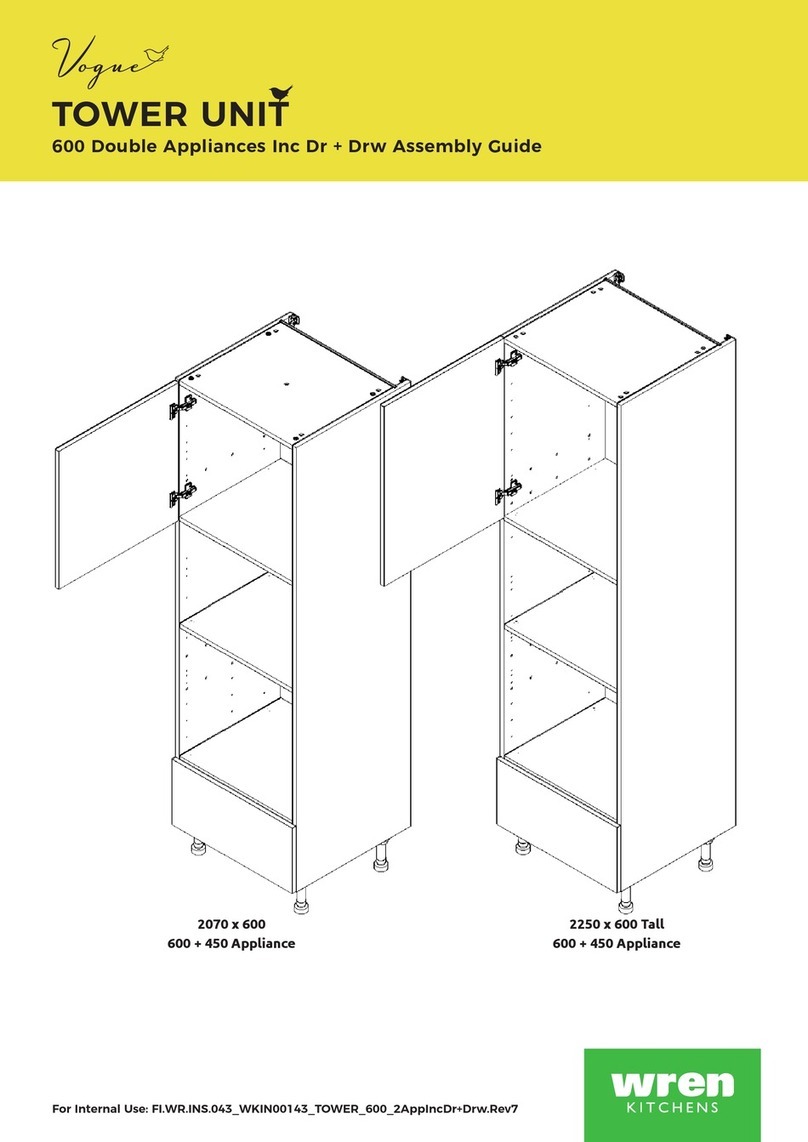
Wren Kitchens 2070 User manual

Wren Kitchens

Wren Kitchens 2070 User manual

Wren Kitchens Vogue TOWER UNIT 2070 User manual

Wren Kitchens

Wren Kitchens Vogue TOWER UNIT 2070 User manual

Wren Kitchens FI.PK.FIT.004 User manual

Wren Kitchens

Wren Kitchens FI.PK.FIT.004 User manual

Wren Kitchens INFINITY PLUS Standard Drawer User manual

Wren Kitchens

Wren Kitchens INFINITY PLUS Standard Drawer User manual

Wren Kitchens BASE 3 MILANO Assembly instructions

Wren Kitchens

Wren Kitchens BASE 3 MILANO Assembly instructions

Wren Kitchens Diag Corner Larder User manual

Wren Kitchens

Wren Kitchens Diag Corner Larder User manual

Wren Kitchens BASE UNIT 600 User manual

Wren Kitchens

Wren Kitchens BASE UNIT 600 User manual

Wren Kitchens BASE UNIT 1000 User manual

Wren Kitchens

Wren Kitchens BASE UNIT 1000 User manual

Wren Kitchens TOWER UNIT 84 Walk in User manual

Wren Kitchens

Wren Kitchens TOWER UNIT 84 Walk in User manual

Wren Kitchens 150 Pull Out User manual

Wren Kitchens

Wren Kitchens 150 Pull Out User manual

Wren Kitchens BASE UNIT 600 User manual

Wren Kitchens

Wren Kitchens BASE UNIT 600 User manual

Wren Kitchens Vogue BASE UNIT 972 L Corner User manual

Wren Kitchens

Wren Kitchens Vogue BASE UNIT 972 L Corner User manual

Wren Kitchens Vogue TOWER UNIT 600 2 Door Fridge / Freezer User manual

Wren Kitchens

Wren Kitchens Vogue TOWER UNIT 600 2 Door Fridge / Freezer User manual

Wren Kitchens 200 Tall User manual

Wren Kitchens

Wren Kitchens 200 Tall User manual

Wren Kitchens Base Cabinet Adjustable Corner Assembly instructions

Wren Kitchens

Wren Kitchens Base Cabinet Adjustable Corner Assembly instructions

Wren Kitchens Walk in 2070 User manual

Wren Kitchens

Wren Kitchens Walk in 2070 User manual

Wren Kitchens WALL UNIT 360 x 1000 User manual

Wren Kitchens

Wren Kitchens WALL UNIT 360 x 1000 User manual

Wren Kitchens BASE 2 MILANO User manual

Wren Kitchens

Wren Kitchens BASE 2 MILANO User manual

Wren Kitchens TOWER UNIT User manual

Wren Kitchens

Wren Kitchens TOWER UNIT User manual

Wren Kitchens BASE UNIT 600 User manual

Wren Kitchens

Wren Kitchens BASE UNIT 600 User manual

Wren Kitchens Vogue WALL UNIT 150 Tall 1 Door User manual

Wren Kitchens

Wren Kitchens Vogue WALL UNIT 150 Tall 1 Door User manual

Wren Kitchens Vogne 150 User manual

Wren Kitchens

Wren Kitchens Vogne 150 User manual

Wren Kitchens Vogue 150 Tall User manual

Wren Kitchens

Wren Kitchens Vogue 150 Tall User manual

Wren Kitchens Vogue 600 User manual

Wren Kitchens

Wren Kitchens Vogue 600 User manual
Popular Indoor Furnishing manuals by other brands

Outsider 181 Mounting

Outsider

Outsider 181 Mounting

Style selections 1678VM-25-292 manual

Style selections

Style selections 1678VM-25-292 manual

Safavieh Furniture Dolan AMH6563A manual

Safavieh Furniture

Safavieh Furniture Dolan AMH6563A manual

ULAX FURNITURE 970254 quick start guide

ULAX FURNITURE

ULAX FURNITURE 970254 quick start guide

Cozzia MC-520 Use & care manual

Cozzia

Cozzia MC-520 Use & care manual

SEI HO664200TX Assembly instructions

SEI

SEI HO664200TX Assembly instructions

Micasa MERLIN P5-MLMI manual

Micasa

Micasa MERLIN P5-MLMI manual

Mopedia PO300M instruction manual

Mopedia

Mopedia PO300M instruction manual

Bestar 120611-1117 manual

Bestar

Bestar 120611-1117 manual

ezoBord HOODY Assembly instructions

ezoBord

ezoBord HOODY Assembly instructions

PROPR L42 W24 H26-46 user guide

PROPR

PROPR L42 W24 H26-46 user guide

kd frames Savannah 7244 instructions

kd frames

kd frames Savannah 7244 instructions

Award ORCA installation guide

Award

Award ORCA installation guide

physa BRISTOL RED user manual

physa

physa BRISTOL RED user manual

Glas Italia PALANCO Assembling and use instruction

Glas Italia

Glas Italia PALANCO Assembling and use instruction

Smart Comfort SADLER RECLINER Assembly instructions

Smart Comfort

Smart Comfort SADLER RECLINER Assembly instructions

Oakworks Medical PF Series user manual

Oakworks Medical

Oakworks Medical PF Series user manual

Hay BOWLER instruction manual

Hay

Hay BOWLER instruction manual

manuals.online logo
manuals.online logoBrands
  • About & Mission
  • Contact us
  • Privacy Policy
  • Terms and Conditions

Copyright 2025 Manuals.Online. All Rights Reserved.