manuals.online logo
Brands
  1. Home
  2. •
  3. Brands
  4. •
  5. Wren Kitchens
  6. •
  7. Indoor Furnishing
  8. •
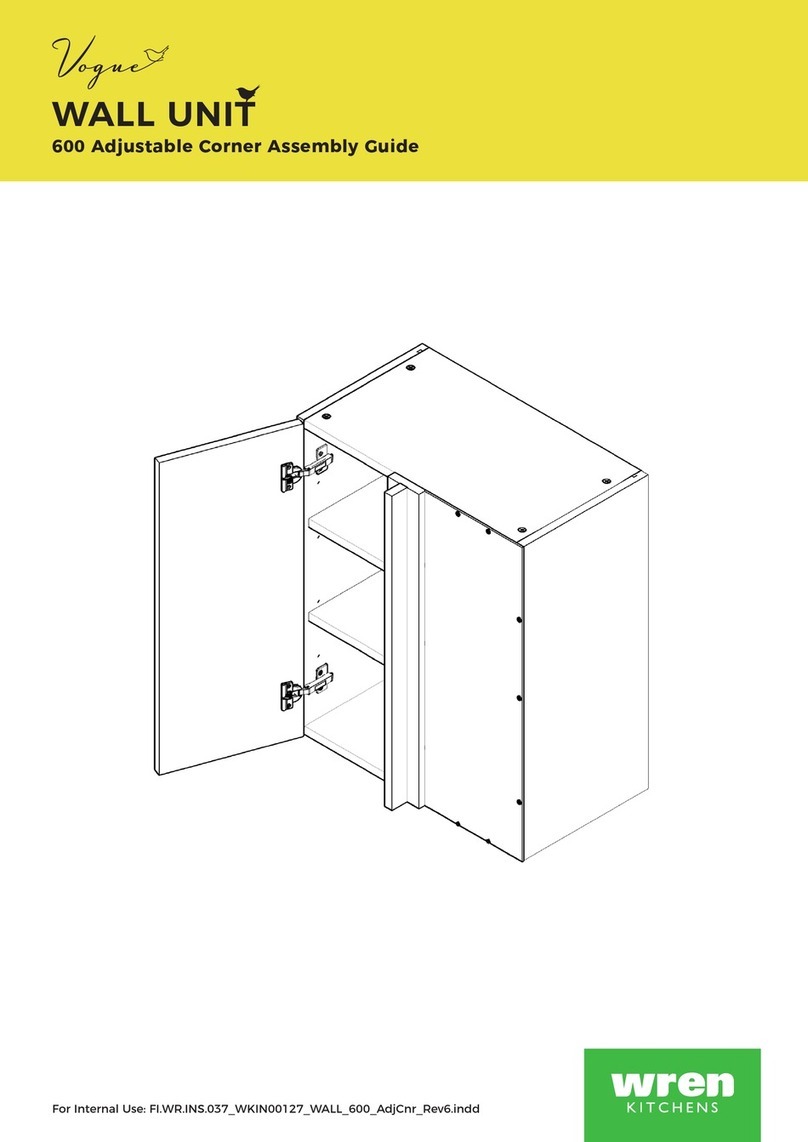
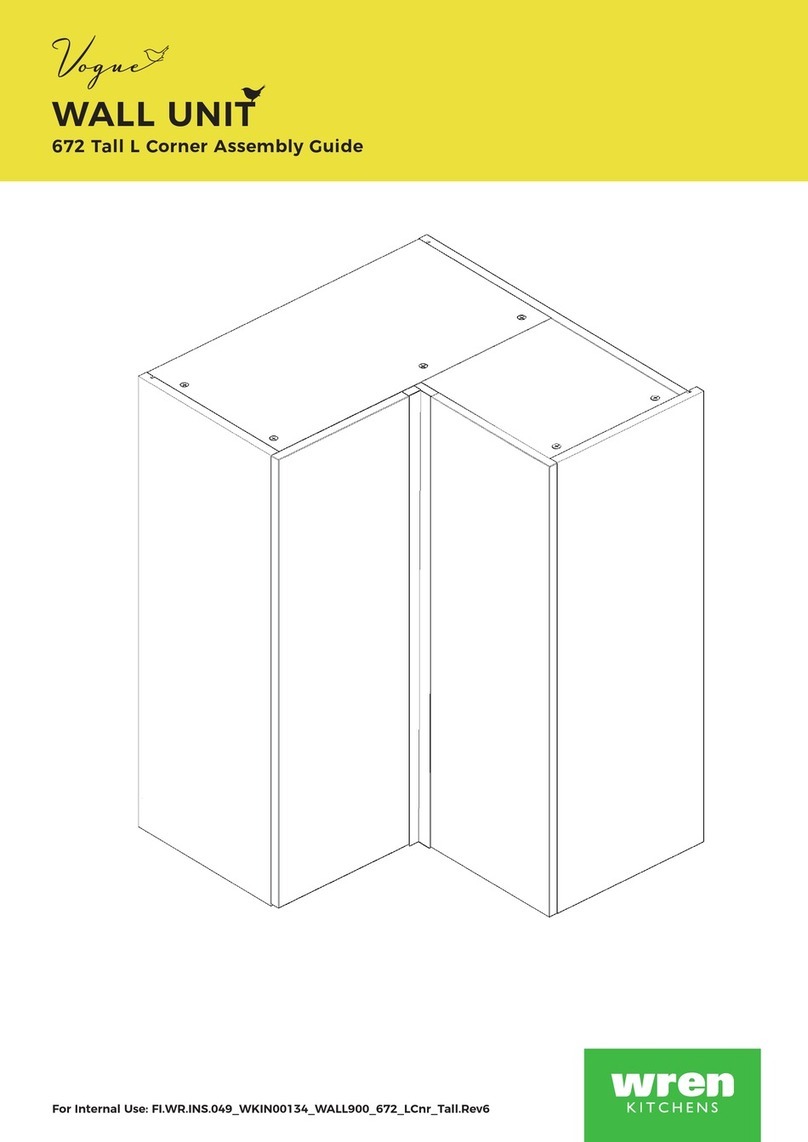
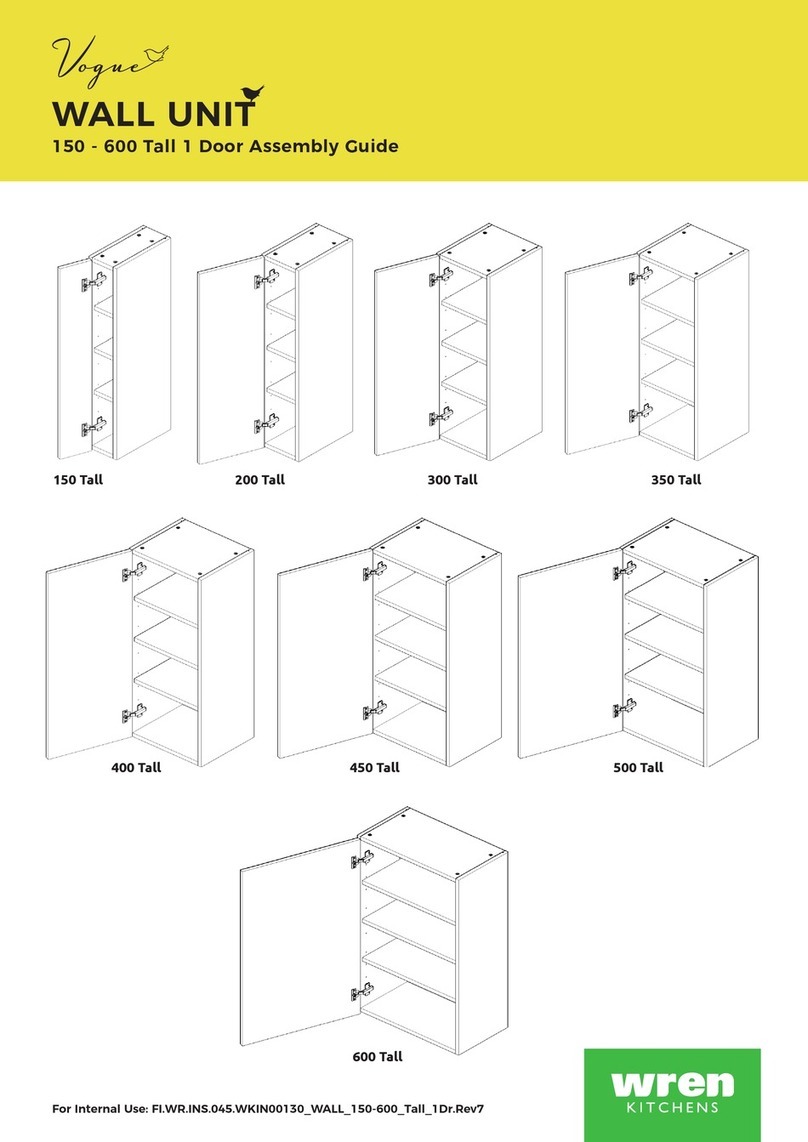
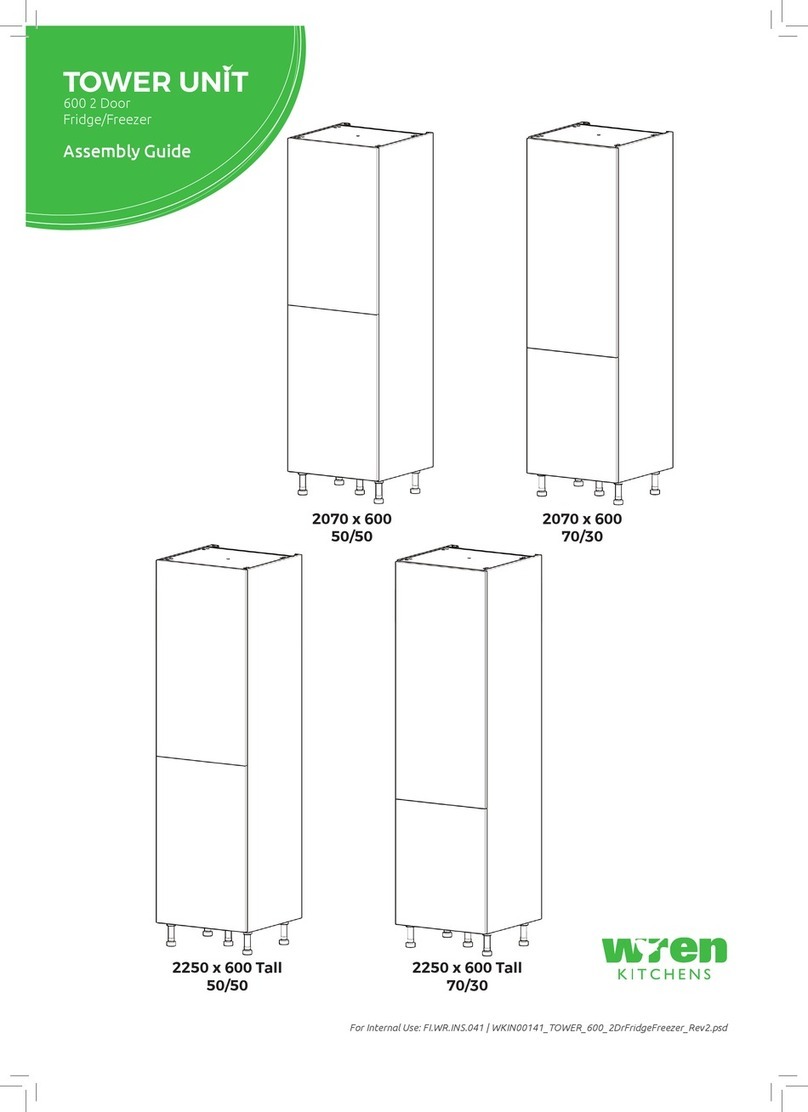
  9. Wren Kitchens TOWER UNIT 84 Walk in User manual

Wren Kitchens TOWER UNIT 84 Walk in User manual

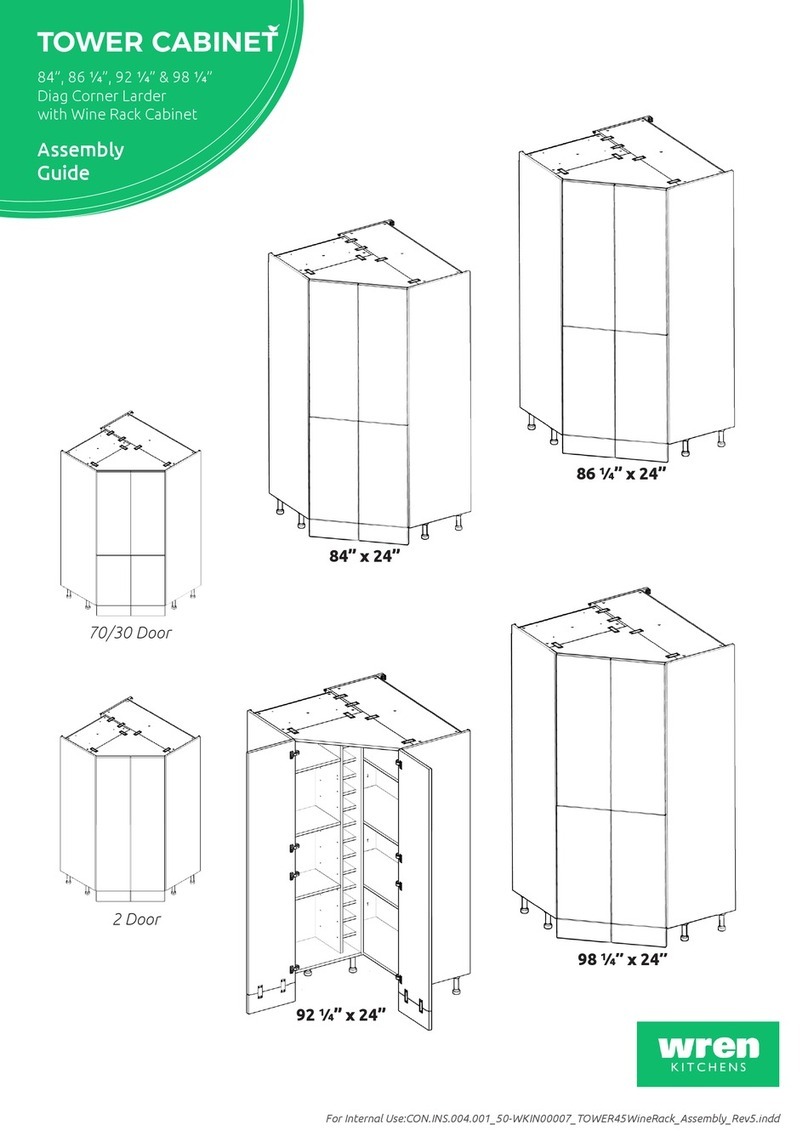
TOWER UNIT
84”, 90” & 96”
Walk in
Assembly Guide
For Internal Use: CON.INS.005.001_50-WKIN0009_WalkIn_TowerGuide_Rev4.inddPage 1
84” x 24”
1 Door
70/30 Door
90” x 24”
96” x 24”
TOWER UNIT
84”, 90” & 96”
Walk in
Assembly Guide
For Internal Use: CON.INS.005.001_50-WKIN0009_WalkIn_TowerGuide_Rev4.inddPage 1
BEFORE YOU START
INSTALLATION
SHOULD BE
PERFORMED BY A
COMPETENT
PERSON ONLY.
THIS PRODUCT COULD
BE DANGEROUS
IF INCORRECTLY
INSTALLED
Panel eA
x1 End Panel
Left Hand
Panel eB
x1 End Panel
Right Hand
Panel C
x1 Back Panel
Left Hand
Panel D
x1 Back Panel
Right Hand
Panel sE
x1 Top Panel
Panel sM
x4 Fixed Shelf
Frontals
1Dr or 70/30
Toe Kick
x1
(K) L Bracket LGE
x4
Fixing Plate (Ff)
x4
Hinge Mounting Plate
Inc Screws
Hinge
Inc Screws
(Aa) x40
Wooden Dowel
(Dd) x20
Cam lock
NOT to be
used with
CAM DOWEL
& CAM LOCK
70/30 OPTION
1Dr OPTION
(H) x36 1 1/4” Screws (B) x12 5/8” Screws
REQUIRED TOOLS
(Cc) x20
Cam Dowel
(M) x8
Cover Cap
(Per Colour)
TOWER UNIT
84”, 90” & 96”
Walk in
Assembly Guide
For Internal Use: CON.INS.005.001_50-WKIN0009_WalkIn_TowerGuide_Rev4.indd Page 2
Seat (Cc)
cam dowel
into hole as
shown.
Step 2.
Seat dowel (Aa) into
holes in end panel (eA)
as shown.
Step 1.
Seat cam dowel (Cc) into
holes in end panel (eA) as
shown.
sM
sM
sM
sM
sE
eA
Step 4.
Join panels (sE) and (sM) to end
panel (eA).
Insert cam locks (Dd).
Do NOT tighten until Step 7.
Do not use power tools with
cam dowel (G) or cam lock (H)
Step 3.
Attach panels (sM) and (sE) to panels (eA),
using cam dowel (Cc) (in blue) and dowels
(Aa) (in orange) in positions as shown.
sM
sM
eA
View from underside View from underside
eA
Dd
Dd
Aa Aa
eA
LH
CcCc
from top
from bottom
DOWEL (Aa)
& CAM DOWEL (Cc)
LOCATION DETAIL
Cc
Aa
Aa
Cc
LH
eA
TOWER UNIT
84”, 90” & 96”
Walk in
Assembly Guide
For Internal Use: CON.INS.005.001_50-WKIN0009_WalkIn_TowerGuide_Rev4.inddPage 3
Step 5.
Seat 10x dowels (Aa) into holes
in both panels (sM) and (sE)
as shown.
sE
Aa
Aa
Aa
Aa
Aa
Aa
Aa
Aa
Aa
Aa
sM
sM
sM
sM
H
H
H
H
H
H
H
H
H
H
H
H
H
H
H
Step 8.
Using 15 x 1 1/4” screws (H)
secure back panel (C) to panels
(sM) and (sE).
Step 9.
Secure back panel (C) to end
panel (eA) at the bottom.
Use 4 x 5/8”screws (B)
to 1 x L bracket LGE (K), as
shown.
Step 6.
Slide back panel (C) into
groove of end panel (eA). Also insert
dowels (Aa) (in orange) from panels
(sM) and (sE) into the required holes in
back panel (C).
Once back panel (C) is in position,
ensure the panel is ush & square with
bottom of end panel (eA).
B
C
B
BB
eA
LH
eA
sM
eA
View from underside
Dd
Dd
Step 7.
Hand tighten all cam
locks (Dd), this will
expand cam dowels (Cc).
TOWER UNIT
84”, 90” & 96”
Walk in
Assembly Guide
For Internal Use: CON.INS.005.001_50-WKIN0009_WalkIn_TowerGuide_Rev4.indd Page 4
sE
Step 10.
Seat dowel (Aa) into holes in
end panel (eB) as shown.
Step 11.
Seat cam dowel (Cc) into
holes in end panel (eB) as
shown.
Seat (Cc)
cam dowel
into hole as
shown.
Do not use power tools with
cam dowel (Cc) or cam lock (Dd)
Step 12.
Attach end panel (eB) to panels (sM) and
(sE) using cam dowel (Cc) (in blue) and
dowels (Aa) (in orange) in positions as
shown.
Aa
Aa
RH
eB
from bottom
from top
DOWEL (F)
& CAM DOWEL (Cc)
LOCATION DETAIL
Step 13.
Join panels (sE) and (sM) to end
panel (eB).
Insert cam locks (Dd).
Do NOT tighten until Step 18.
sM
sM
View from underside View from underside
eB eB
Dd
Cc
Cc Cc
Aa
Aa
LH
C
eB
RH
sM
sM
sM
sM
eA
eB
TOWER UNIT
84”, 90” & 96”
Walk in
Assembly Guide
For Internal Use: CON.INS.005.001_50-WKIN0009_WalkIn_TowerGuide_Rev4.inddPage 5
Step 14.
Seat 10x dowels (Aa) into holes
in both panels (sM) and (sE)
as shown.
D
Aa
Step 15.
Secure back panel (D) to
panels (sM) and (sE) and
back panel (C). Use 20 x 1 1/4”
screws (H) as shown.
Step 16.
Ensure to insert the lower position of back
panel (D) into end panel (eB) groove.
sM
sM
sM
sM
sE
C
C
H
LH
eA
RH
eB
LH
RH
eB
eA
TOWER UNIT
84”, 90” & 96”
Walk in
Assembly Guide
For Internal Use: CON.INS.005.001_50-WKIN0009_WalkIn_TowerGuide_Rev4.indd Page 6
Step 17.
Secure back panel (D) to end panel (eB) at the
bottom. Use 4 x 5/8” screws (B) to 1 x L bracket LGE
(K), as shown.
Step 18.
Hand tighten all the
remaining cam locks (Dd),
this will expand cam dowels
(Cc) and tighten the unit
together.
D
sM
View from underside
eB
Dd
Step 19.
Secure tower to the wall using
L brackets LGE (K).
Use 2 x 5/8” screws (B) to
secure each of the
L brackets LGE (K) to the
cabinets at either side. Then
screw through into the wall as
shown.
Screws for xing to walls
are not provided as these
vary depending on your wall
material and construction.
Ensure appropriate xings for
wall constructions are used.
B
B
K
BB
B
B
TOWER UNIT
84”, 90” & 96”
Walk in
Assembly Guide
For Internal Use: CON.INS.005.001_50-WKIN0009_WalkIn_TowerGuide_Rev4.inddPage 7
84”
70/30
HINGE
POSITION
70/30 1 Door
eA or eB eA or eB
Step 20.
Attach hinge plates onto end panel (eA) or (eB) to
siut as shown.
Hinge side to be mounted in accordance to
customer kitchen plan.
INSIDE
FACE
INSIDE
FACE
Front
From Bottom
8 13/16”
31 1/2”
38 3/4”
79 3/4”
81”
From Top
Front
7 9/16”
30 1/4”
37 1/2”
58 5/8”
59 7/8”
8 13/16”
79 3/4”
81”
7 9/16”
39 9/16”
38 5/16”
50 1/4”
From Bottom
From Top
84”
1 DOOR
HINGE
POSITION
49”
TOWER UNIT
84”, 90” & 96”
Walk in
Assembly Guide
For Internal Use: CON.INS.005.001_50-WKIN0009_WalkIn_TowerGuide_Rev4.indd Page 8
1 Door
eA or eB eA or eB
Step 20.
Attach hinge plates onto end panel (eA) or (eB) to
siut as shoown.
Hinge side to be mounted in accordance to
customer kitchen plan.
INSIDE
FACE
INSIDE
FACE
Front Front
8 13/16”
7 9/16”
31 1/2”
30 1/4”
38 3/4”
37 1/2”
62 7/8”
61 5/8”
85 3/4”
87”
8 13/16”
7 9/16”
85 3/4”
87”
42 9/16”
41 5/16”
53 1/4”
From Top From Top
From Bottom From Bottom
52”
90”
70/30 DOOR
HINGE
POSITION
90”
1 DOOR
HINGE
POSITION
1 Door70/30
TOWER UNIT
84”, 90” & 96”
Walk in
Assembly Guide
For Internal Use: CON.INS.005.001_50-WKIN0009_WalkIn_TowerGuide_Rev4.inddPage 9
1 Door
Step 20.
Attach hinge plates onto end panels (eA) or (eB)
o siut as shown.
Hinge side to be mounted in accordance to
customer kitchen plan.
From Top
From Bottom
8 13/16”
7 9/16”
31 1/2”
30 1/4”
38 3/4”
37 1/2”
65 7/8”
64 5/8”
91 3/4”
93”
8 13/16”
7 9/16”
91 3/4”
93”
45 9/16”
44 5/16”
56 1/4”
55”
70/30
From Top
From Bottom
96”
1 DOOR
HINGE
POSITION
96”
70/30 DOOR
HINGE
POSITION
eA or eB
eA or eB
INSIDE
FACE
INSIDE
FACE
Front Front
TOWER UNIT
84”, 90” & 96”
Walk in
Assembly Guide
For Internal Use: CON.INS.005.001_50-WKIN0009_WalkIn_TowerGuide_Rev4.indd Page 10
Step 24.
Adjust hinge to suit. As shown below.
View from Inside of Carcase
To adjust hinge using a screw
driver, tighten or loosen as
required at points 1 & 2.
Point 1- In - Out
Point 2- Left - Right
1
2
FRONTAL
HINGE
ADJUSTMENT
To Release door
pull catch as shown,
to release hinge
from the hinge
plate.
The top and bottom
hinges MUST be
adjusted to the SAME
STRENGTH.
Hinge Cover Caps
Hinge Plates
Step 25.
Fit cover caps to hinge.
Adjust soft-close to suit.
The top and bottom
hinges MUST be
adjusted to the SAME
STRENGTH.
Step 22.
Align doors to join together
using 2 x xing plates (Ff)
to the back of both frontals
ensure a 1/8” gap is maintained
between each frontal once
xed together.
Screw in place using
4 x 5/8” screws (B) per xing
plate.
See Customer Specic Kitchen Plan
Fixing plates
Step 21.
Insert hinge where required
in holes as shown.
Step 23.
Secure hinges by tightening
2 x screws with hinge dowels
attached. These are
already positioned
within the hinges.
TOWER UNIT
84”, 90” & 96”
Walk in
Assembly Guide
Ff
Ff
Ff
Ff
To Move the
hinge up/down,
loosen screws
A + B,
Manoeuvre
the door, then
re-tighten the
screws
A
B
TOWER UNIT
84”, 90” & 96”
Walk in
Assembly Guide
For Internal Use: CON.INS.005.001_50-WKIN0009_WalkIn_TowerGuide_Rev4.inddPage 11

This manual suits for next models

2

Other Wren Kitchens Indoor Furnishing manuals
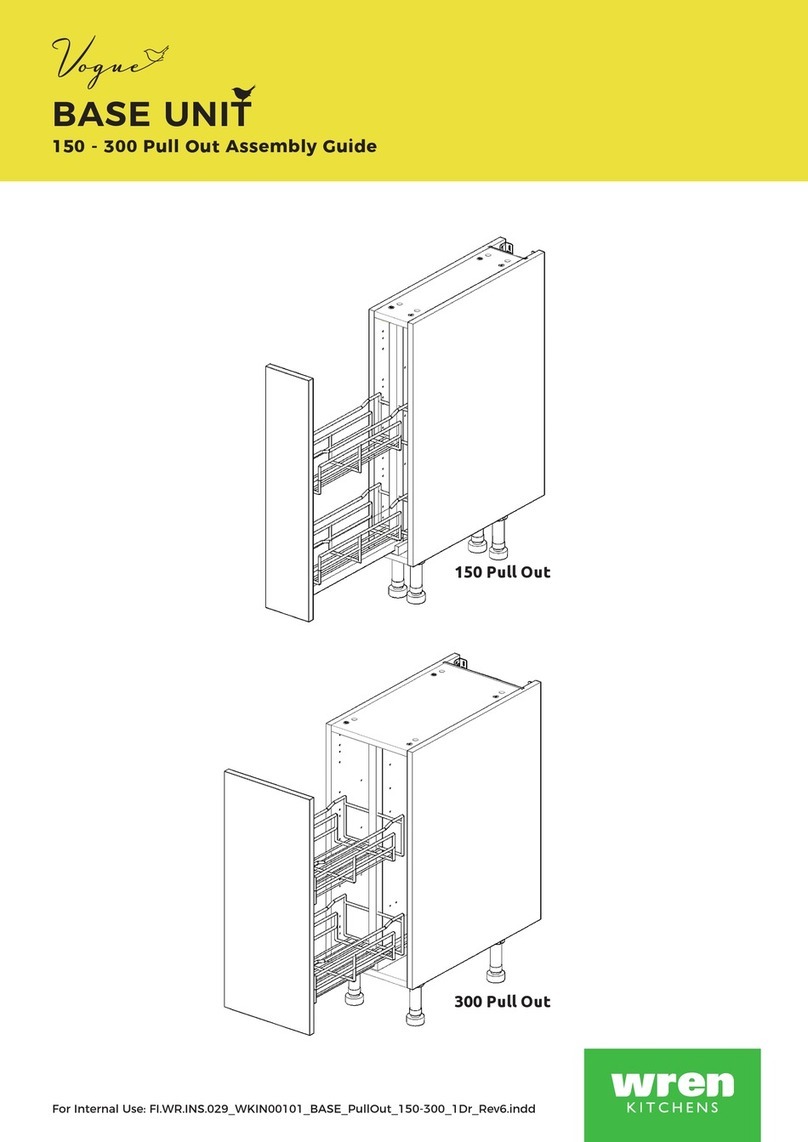
Wren Kitchens Base Cabinet Adjustable Corner Assembly instructions

Wren Kitchens

Wren Kitchens Base Cabinet Adjustable Corner Assembly instructions

Wren Kitchens 2070 User manual

Wren Kitchens

Wren Kitchens 2070 User manual

Wren Kitchens 2070 User manual

Wren Kitchens

Wren Kitchens 2070 User manual

Wren Kitchens FI.PK.FIT.004 User manual

Wren Kitchens

Wren Kitchens FI.PK.FIT.004 User manual

Wren Kitchens BASE UNIT 600 User manual

Wren Kitchens

Wren Kitchens BASE UNIT 600 User manual

Wren Kitchens Vogue WALL UNIT 150 Tall 1 Door User manual

Wren Kitchens

Wren Kitchens Vogue WALL UNIT 150 Tall 1 Door User manual

Wren Kitchens Industrial Island User manual

Wren Kitchens

Wren Kitchens Industrial Island User manual

Wren Kitchens BASE UNIT 600 User manual

Wren Kitchens

Wren Kitchens BASE UNIT 600 User manual

Wren Kitchens Vogue BASE UNIT 1000 Base Shallow User manual

Wren Kitchens

Wren Kitchens Vogue BASE UNIT 1000 Base Shallow User manual

Wren Kitchens WALL UNIT 672 L Corner User manual

Wren Kitchens

Wren Kitchens WALL UNIT 672 L Corner User manual

Wren Kitchens BASE 3 Assembly instructions

Wren Kitchens

Wren Kitchens BASE 3 Assembly instructions

Wren Kitchens Walk in 2070 User manual

Wren Kitchens

Wren Kitchens Walk in 2070 User manual

Wren Kitchens Vogue TOWER UNIT Boiler Housing User manual

Wren Kitchens

Wren Kitchens Vogue TOWER UNIT Boiler Housing User manual

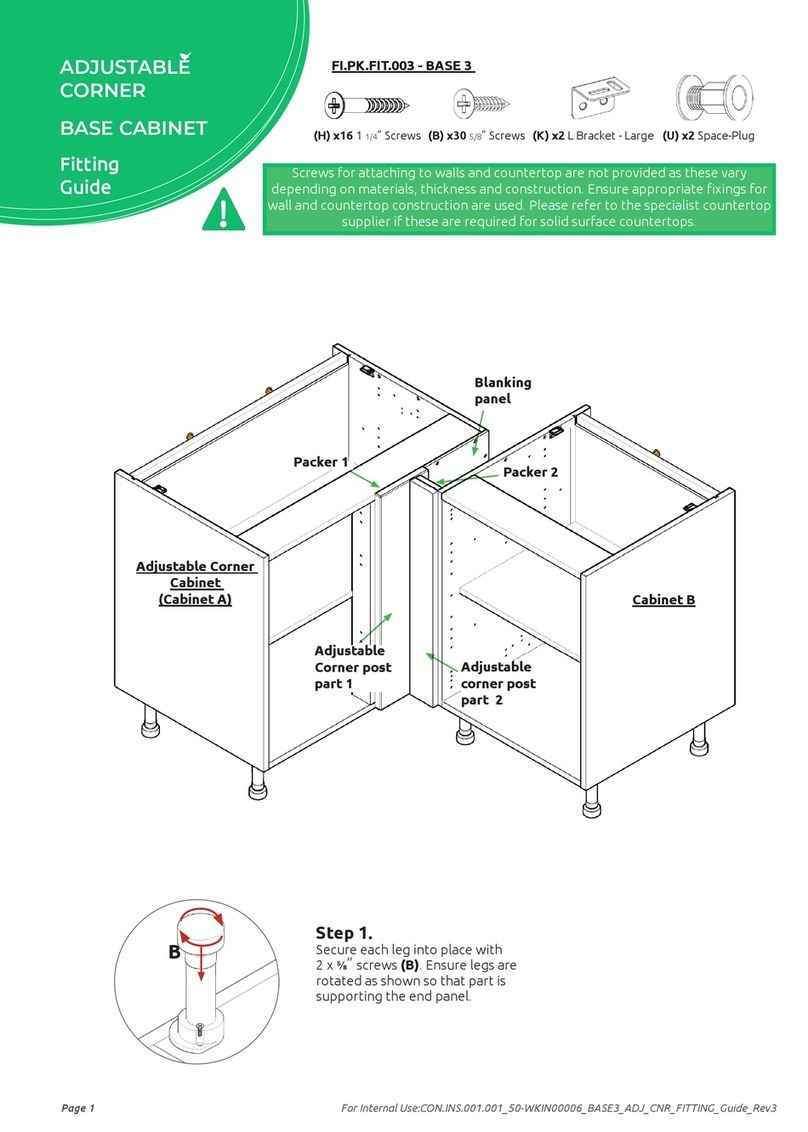
Wren Kitchens Vogue BASE UNIT 150 Pull Out User manual
Wren Kitchens

Wren Kitchens Vogue BASE UNIT 150 Pull Out User manual

Wren Kitchens TOWER UNIT 600 2 Door Fridge/Freezer Series User manual

Wren Kitchens

Wren Kitchens TOWER UNIT 600 2 Door Fridge/Freezer Series User manual

Wren Kitchens Vogue WALL UNIT 700 Tall 2 Door User manual

Wren Kitchens

Wren Kitchens Vogue WALL UNIT 700 Tall 2 Door User manual

Wren Kitchens 2070 User manual

Wren Kitchens

Wren Kitchens 2070 User manual
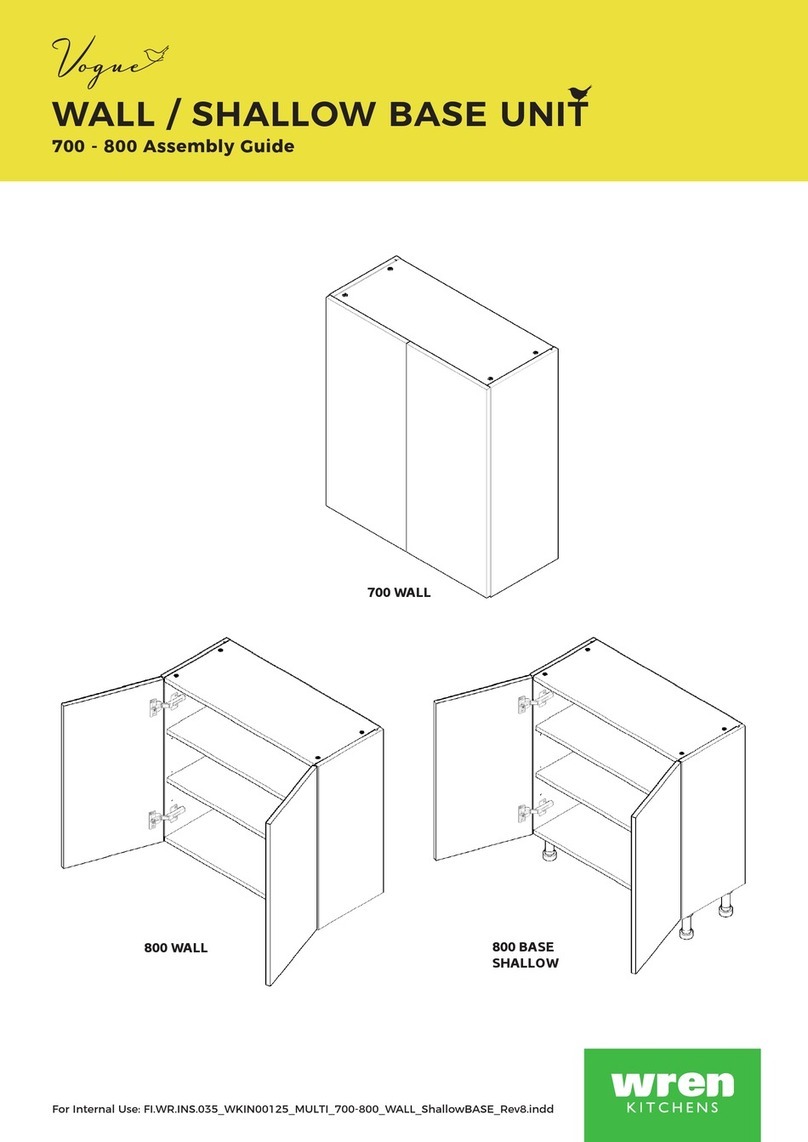
Wren Kitchens TOWER UNIT 2070 x 600 50/50 User manual

Wren Kitchens

Wren Kitchens TOWER UNIT 2070 x 600 50/50 User manual

Wren Kitchens Vogue BASE UNIT 800 2 Door User manual

Wren Kitchens

Wren Kitchens Vogue BASE UNIT 800 2 Door User manual

Wren Kitchens Vogue BASE UNIT 150 WALL User manual

Wren Kitchens

Wren Kitchens Vogue BASE UNIT 150 WALL User manual

Wren Kitchens 150 Pull Out User manual

Wren Kitchens

Wren Kitchens 150 Pull Out User manual

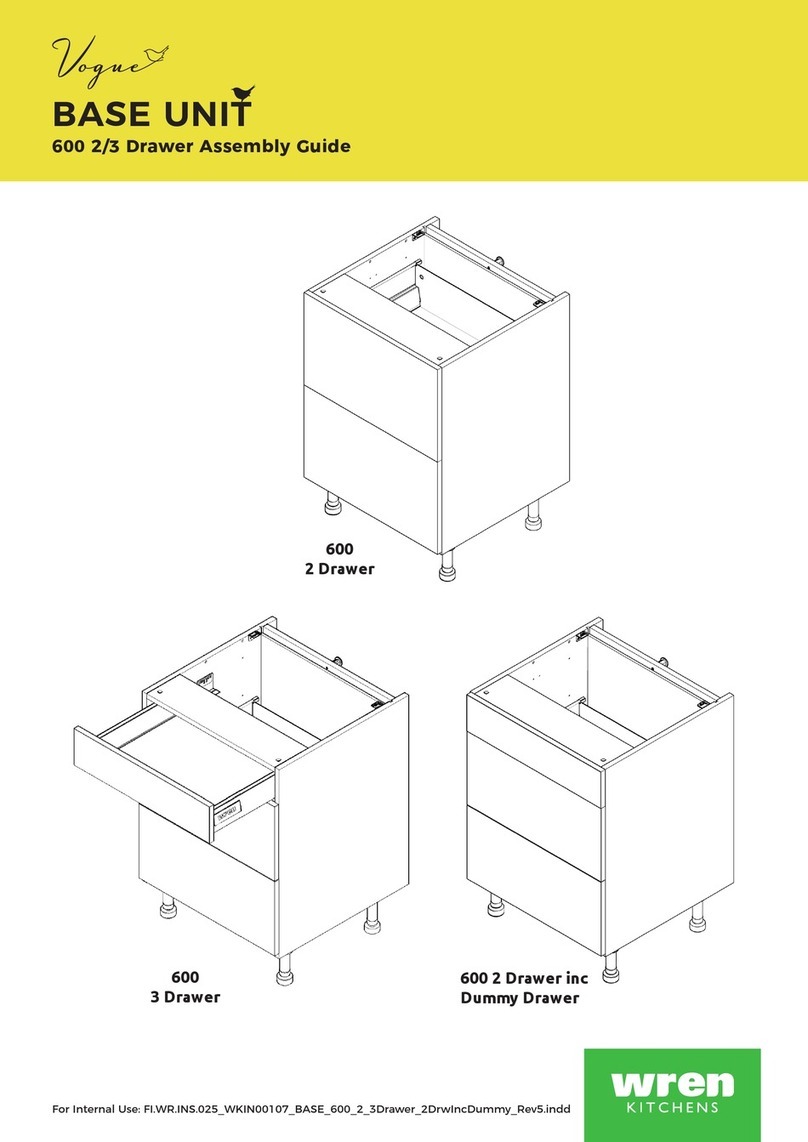
Wren Kitchens BASE UNIT 600 User manual
Wren Kitchens

Wren Kitchens BASE UNIT 600 User manual

Wren Kitchens BASE UNIT 600 Built Under Oven Housing User manual

Wren Kitchens

Wren Kitchens BASE UNIT 600 Built Under Oven Housing User manual

Wren Kitchens Vogue WALL UNIT 600 Lift User manual
Wren Kitchens

Wren Kitchens Vogue WALL UNIT 600 Lift User manual

Popular Indoor Furnishing manuals by other brands

iLive DTVMS601WL Assembly Instructions & User Guide

iLive

iLive DTVMS601WL Assembly Instructions & User Guide

Ashley H697-44 Assembly instructions

Ashley

Ashley H697-44 Assembly instructions

BENE T-Meeting Safety and operating instructions

BENE

BENE T-Meeting Safety and operating instructions

Jysk CARDIFF 726-21-1038 manual

Jysk

Jysk CARDIFF 726-21-1038 manual

Argos Ohio 309/5256 Assembly instructions

Argos

Argos Ohio 309/5256 Assembly instructions

Kettler Cora HUC28188 Assembly instructions

Kettler

Kettler Cora HUC28188 Assembly instructions

Sunjoy Renaissance L-DN1065SAL quick start guide

Sunjoy

Sunjoy Renaissance L-DN1065SAL quick start guide

Furniture of America CM4329-3PK Assembly instructions

Furniture of America

Furniture of America CM4329-3PK Assembly instructions

EverDesk+ Lite Frame Assembly manual

EverDesk+

EverDesk+ Lite Frame Assembly manual

ECOPOSTURAL S4671 instructions

ECOPOSTURAL

ECOPOSTURAL S4671 instructions

Kettler CHAIR 2566 Assembly instructions

Kettler

Kettler CHAIR 2566 Assembly instructions

Whitmor 6363-8371 quick start guide

Whitmor

Whitmor 6363-8371 quick start guide

vipp VIPP675 manual

vipp

vipp VIPP675 manual

Zenith 1806 manual

Zenith

Zenith 1806 manual

Baumax GLBT1311 Assembling Instruction

Baumax

Baumax GLBT1311 Assembling Instruction

WIEMANN Lissabon 991798 quick start guide

WIEMANN

WIEMANN Lissabon 991798 quick start guide

Amart Furniture SAN MARCO 54733 Assembly instruction

Amart Furniture

Amart Furniture SAN MARCO 54733 Assembly instruction

Itatiaia LINHA BALC-40 3GV LISBOA quick start guide

Itatiaia

Itatiaia LINHA BALC-40 3GV LISBOA quick start guide

manuals.online logo
manuals.online logoBrands
  • About & Mission
  • Contact us
  • Privacy Policy
  • Terms and Conditions

Copyright 2025 Manuals.Online. All Rights Reserved.