manuals.online logo
Brands
  1. Home
  2. •
  3. Brands
  4. •
  5. Yealink
  6. •
  7. Handset
  8. •
  9. Yealink W56H User manual

Yealink W56H User manual

Other manuals for W56H

17

This manual suits for next models

2

Other Yealink Handset manuals

Yealink T46 User manual

Yealink

Yealink T46 User manual

Yealink Telkom W52P User manual

Yealink

Yealink Telkom W52P User manual

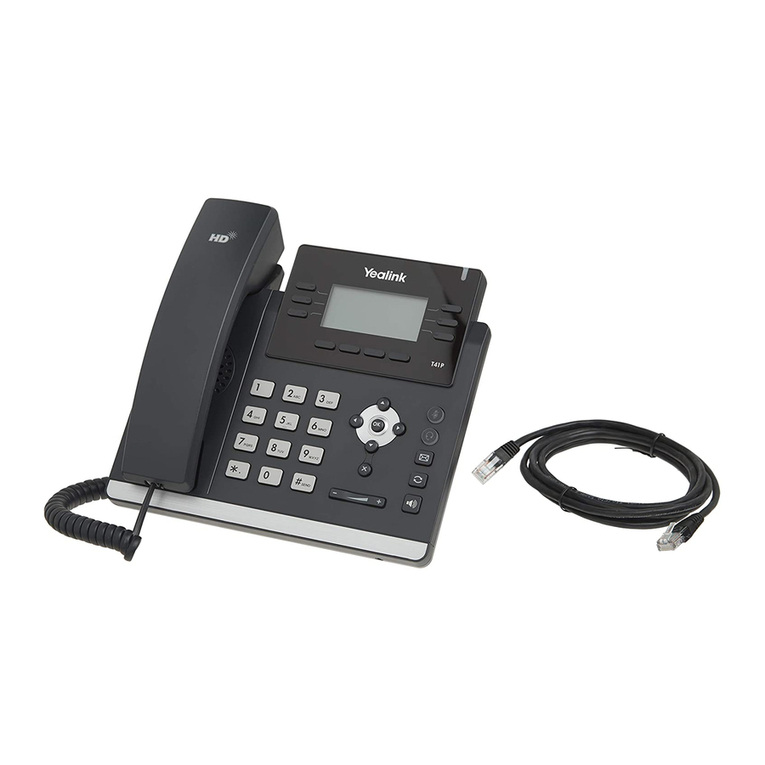
Yealink T41 User manual

Yealink

Yealink T41 User manual

Yealink W56H User manual

Yealink

Yealink W56H User manual

Yealink W59R User manual

Yealink

Yealink W59R User manual

Yealink W56H User manual

Yealink

Yealink W56H User manual

Yealink W56H User manual

Yealink

Yealink W56H User manual

Yealink Embrace W60B User manual

Yealink

Yealink Embrace W60B User manual

Yealink T54 User manual

Yealink

Yealink T54 User manual

Yealink T27 Series User manual

Yealink

Yealink T27 Series User manual

Yealink W52 User manual

Yealink

Yealink W52 User manual

Yealink T21P User manual

Yealink

Yealink T21P User manual

Yealink T41P Skype User manual

Yealink

Yealink T41P Skype User manual

Yealink T55A-Skype for Business Edition User manual

Yealink

Yealink T55A-Skype for Business Edition User manual

Yealink W56H Instruction manual

Yealink

Yealink W56H Instruction manual

Yealink W56H Instruction manual

Yealink

Yealink W56H Instruction manual

Yealink IP29G User manual

Yealink

Yealink IP29G User manual

Yealink T19 User manual

Yealink

Yealink T19 User manual

Yealink T46 User manual

Yealink

Yealink T46 User manual

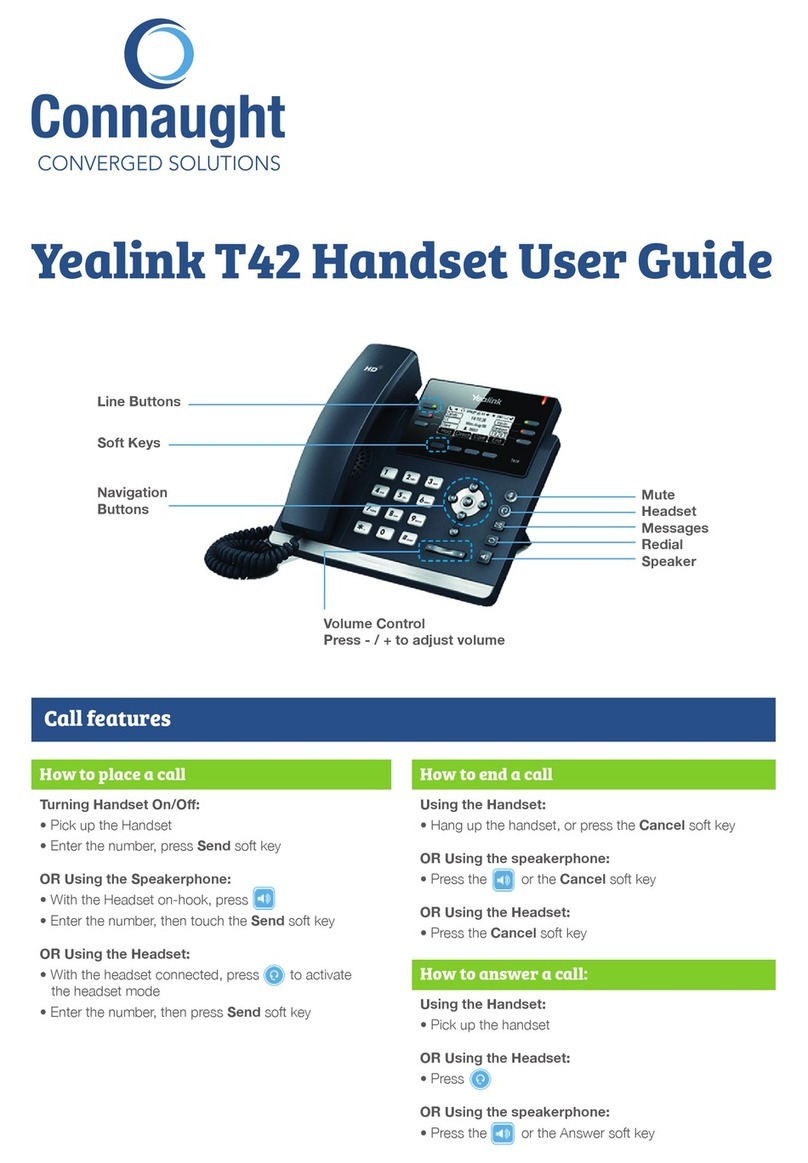
Yealink T42 User manual

Yealink

Yealink T42 User manual

Yealink MP56 User manual

Yealink

Yealink MP56 User manual

Yealink W56H Instruction manual

Yealink

Yealink W56H Instruction manual

Yealink IPW56 User manual

Yealink

Yealink IPW56 User manual

Popular Handset manuals by other brands

GE 28101EE1 Quick setup guide

GE

GE 28101EE1 Quick setup guide

Kyocera IRIDIUM KI-G100 user guide

Kyocera

Kyocera IRIDIUM KI-G100 user guide

SW Comms ShoreTel 212k quick guide

SW Comms

SW Comms ShoreTel 212k quick guide

iPECS LIP-9020 user guide

iPECS

iPECS LIP-9020 user guide

Polycom KIRK 5020 quick guide

Polycom

Polycom KIRK 5020 quick guide

ASCOM I62 - user manual

ASCOM

ASCOM I62 - user manual

Philips TD6736/BH051P user manual

Philips

Philips TD6736/BH051P user manual

LG-Ericsson LIP-9010 user guide

LG-Ericsson

LG-Ericsson LIP-9010 user guide

Mitel 112 manual

Mitel

Mitel 112 manual

SBC SBC-381H installation manual

SBC

SBC SBC-381H installation manual

Mitel 5602 user guide

Mitel

Mitel 5602 user guide

Swissvoice ePure HD manual

Swissvoice

Swissvoice ePure HD manual

ASCOM d81 Messenger Safety instructions

ASCOM

ASCOM d81 Messenger Safety instructions

SpectraLink 7522 quick start guide

SpectraLink

SpectraLink 7522 quick start guide

Avaya L100 Series Release notes

Avaya

Avaya L100 Series Release notes

GE 27950EE1 user guide

GE

GE 27950EE1 user guide

Mitel OpenPhone OpenPhone 27 user guide

Mitel

Mitel OpenPhone OpenPhone 27 user guide

GE 1583 user guide

GE

GE 1583 user guide

manuals.online logo
manuals.online logoBrands
  • About & Mission
  • Contact us
  • Privacy Policy
  • Terms and Conditions

Copyright 2025 Manuals.Online. All Rights Reserved.

Phone Screens - connued
• Lines - Displays Lines, Line status
(Acve/Held calls, Lines’ number
of calls). From Idle screen,
press Line to access.
Phone Keys
The following keys display on the phone:
Keys Funcons
On-hook/Power. Powers handset o/on and
returns to previous screen when on. Cancels
acons and rejects incoming calls.
Conrms acons. Enters Main Menu.
Connects to Voicemail.
Mutes/unmutes Speaker.
Turns Speakerphone o/on. Switches
between receiver, headset, hands-free.
Transfers calls.
Le Sokey displays History.
Right Sokey displays Line Status.
Increases/decreases Volume.
Scrolls through screen opons.
O-hook. Answers and places calls.
Turn Handset On/O
To turn on handset, do one of the following:
• Press On-hook.
• Place handset in charger cradle.
To turn o handset:
• Long-press On-hook/Power key to return to Idle
screen and turn o handset.
Place a Call
These call opons are available when the handset is idle.
For mulple Lines, press Line rst.
To place a call directly, do one of the following:
• Enter a phone number and OK, Speakerphone or
O-hook to dial.
• Press Speakerphone. Enter a phone number and OK,
Speakerphone or O-hook to dial.
Place a Call - connued
To place a call from the Redial list:
1. Press O-hook and select a Contact.
2. Press O-hook or Speakerphone.
To place a call to the last dialed number:
• Press O-hook twice.
Answer a Call
To answer a call, press one of the following keys:
• Accept, O-Hook, Speakerphone or OK.
To answer a call while on an Acve call, do one of the
following:
• Press the down arrow key to select the incoming call.
• Press OK, O-hook, Speakerphone or Accept. The
Acve call is placed on Hold and the incoming call
becomes Acve.
End a Call
To end a call, press On-hook.
Transfer a Call
To Transfer an Acve call:
• Blind Transfer - Press TRAN. Enter a number or
Contact and TRAN.
• Aended Transfer - Press TRAN. Enter a number and
TRAN aer the call is answered.
Forward a Call
The handset Forwards incoming calls on a per-line basis
to another Line.
To enable Call Forward:
1. Press OK to access the Main Menu > Call Features >
Call Forward.
2. Select a Line and Forwarding Type. (Always, Busy,
No Answer).
3. Enter a forwarding number in the Target eld and
an Aer Ring Time, if required.
4. Press Save.
To disable call forwarding:
1. Select Menu > Features > Call Forward and a Line,
if mulple Lines.
2. Select a Forwarding Type > Enter > Disable > Save.
Forward a Call with Find Me / Follow Me:
Set up Find Me / Follow Me in Applicaon Framework or
the portal to forward calls, using the linked instrucons.
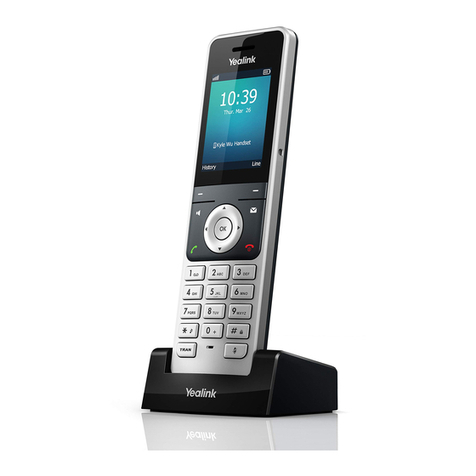
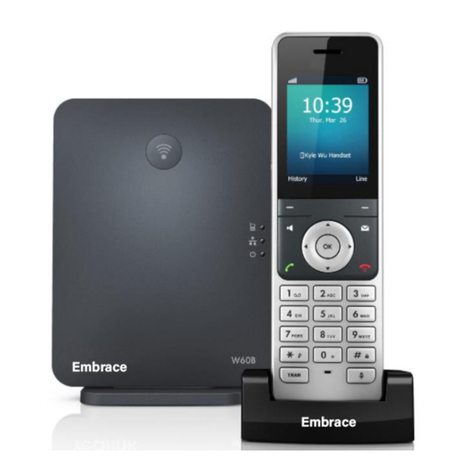
This guide covers the basic features and operaon of the
Yealink DECT W56H and W59R handsets and the W60P
Base Staon.
The W59R is a “ruggedized” handset. It is weather and
dust resistant and includes a vibraon ringer for use in
noisy locaons. It is operaonally idencal to the W56H.
Each W60P Base can connect up to 8 handsets.
Phone Screens
Three main screens are available:
• Main Menu - Displays seven menu
items: Status, Intercom, Voice Mail,
Call Features, Directory, Sengs and
History. When handset is idle,
press OK to access.
• Idle - Displays so
keys, signal
strength, baery
status, handset
name, me and
date.
Yealink® W56H & W59R Handsets
and W60P Base Staon
Quick Start Guide
Copyright © 2019, 2020, Star2Star Communicaons. All rights reserved. Star2Star is a registered trademark of Star2Star Communicaons. Yealink is a trademark of Yealink, Inc. Revised 10-20-20
Hold and Resume a Call
Mulple calls can be on Hold.
To Hold an Acve call:
• Press Opons > Hold.
To Resume a Held call:
• Select the call.
• Press Resume, Speakerphone or O-hook.
To switch between Acve and Held calls:
• Press Swap if call is Acve, or press up/down arrows.
Park a Call
If available, Park is used to place an Acve call on Hold
at one extension and pick it up at a dierent extension
using one of the following methods:
Sokey method:
1. To Park an Acve call, press the Park so key.
2. To Retrieve a parked call, press the appropriate Line
or key.
Code method:
1. While on an Acve call, enter the appropriate Park
code, e.g., 7000.
2. Listen to the Retrieval code announcement, e.g.,
7001.
3. Press Transfer. The call is Parked.
4. From any local extension, dial the Retrieval code,
e.g., 7001, to retrieve the call.
Redial a Call
The Redial list stores recently dialed numbers. When
the list is full, the oldest number is removed aer a new
number is dialed.
Redial opons include:
• Press O-hook twice to Redial the last number.
• Press O-hook and select a previously dialed
number. Press O-hook or Speakerphone to dial.
Do Not Disturb
When Do Not Disturb is enabled, the line does not ring,
and calls follow the next step in the extension’s Find
Me/Follow Me rule.
To enable/disable Do Not Disturb with the phone:
1. Press OK > Call Features > Do Not Disturb.
2. Select a Line and OK.
3. From Status, select Enabled/Disabled > Save.
Conference Calls
The phone supports Conference calls with two other
pares and mul-way network conferencing.
To iniate a Conference Call with two Contacts:
1. Place a call to the rst party.
2. Aer the call connects, select Opons > Conference.
3. Call the next Contact and select Conf to join the
parcipants.
To create a Conference Call with an Acve call and a
Held call:
1. While on an Acve call, select a Held call.
2. Select Conf.
Call History
The History list holds up to 100 entries. Icons indicate
Placed, Received, Missed or Forwarded calls. Press the
le/right arrow keys to switch among call lists.
To view call History records:
1. Press History.
2. Select a record and Opon > Detail.
To place a call from the call History:
1. Press History and select a Contact.
2. Press O-hook or Speakerphone.
Contact Directory
Note: Personal Contacts may be lost when rmware is
updated.
To view Contacts:
• Navigate to OK > Directory.
To add a Contact:
1. Navigate to OK > Directory > Opons > New
Contact.
2. Enter the Name, Number and Mobile informaon
and Save.
To edit a Contact:
1. Navigate to OK > Directory.
2. Select a Contact and Opons > Edit.
3. Edit informaon and Save.
To delete a Contact:
1. Navigate to OK > Directory.
2. Select a Contact and Opons > Delete > Yes.
Mute Microphone
Press Mute to enable/disable the phone’s microphone.
Page 2
Silent Mode
In Silent Mode, the handset displays incoming call
informaon, but does not ring.
• Long-press the asterisk (*) key to enable/disable
Silent Mode.
Adjust Volume
Adjust Volume for Ringer or Audio as follows:
• Press le/right arrow when phone is idle to adjust
Ringer Volume.
• Press le/right arrow during a call to adjust Audio
Volume of speakerphone/ear-piece.
Ring Tones
Change internal and external Ring Tones as follows:
• External incoming calls:
• Navigate to: OK > Sengs > Audio > Ring Tones >
Melodies. Select a Ringtone for a Line and Save.
• Internal incoming calls:
• Navigate to: OK > Sengs > Audio > Ring Tones
> Melodies. Select an Intercom Call Ringtone and
Save.
Voicemail
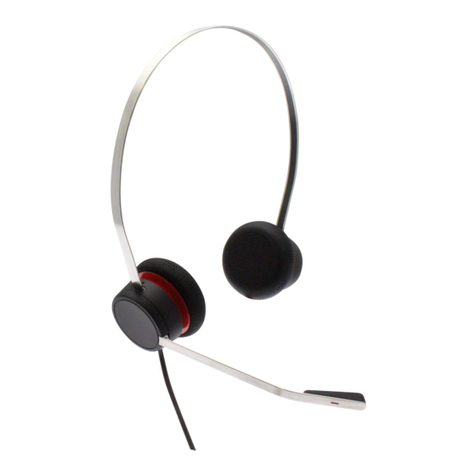
To retrieve Voicemail messages, press Message. Select a
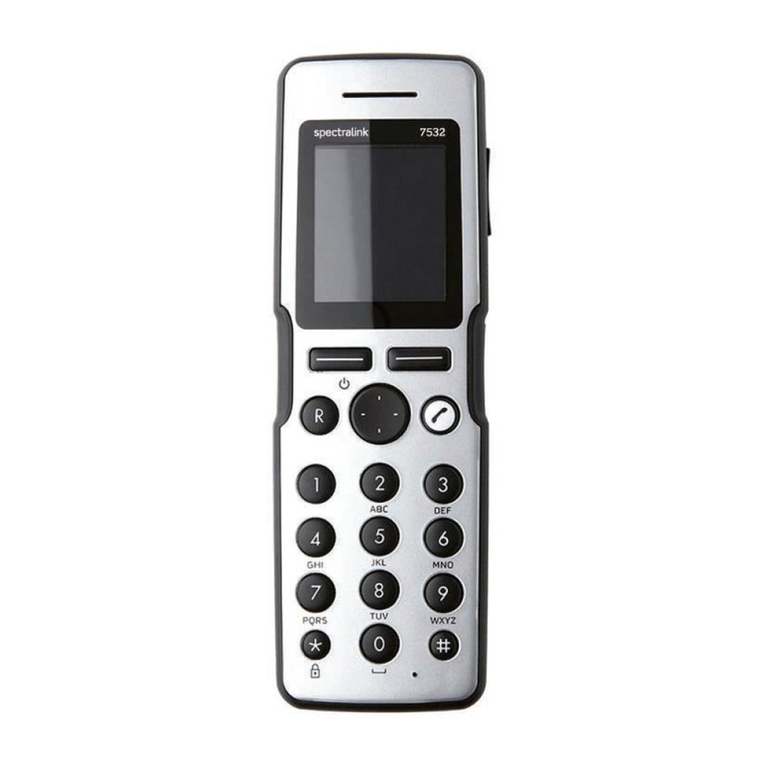
Line and press Select. Follow the system prompts.
Speed Dial
If available, use Speed Dial for frequently used or hard
to remember numbers by assigning a phone number to
a digit key. Contact a site administrator to determine
which opons may be available to set up Speed Dial:
• The phone’s menus or so keys.
• The portal (Individual Phone Sengs).
• Applicaon Framework (Phone Sengs).
To place a call using Speed Dial:
• Long-press the appropriate preset Speed Dial key.
Lock/Unlock Keypad
Long-press the #key to Lock/Unlock keypad.
Rename Handset
To Rename the handset:
1. Press OK > Sengs > Handset Name.
2. Rename the handset and Save.