manuals.online logo
Brands
  1. Home
  2. •
  3. Brands
  4. •
  5. Yealink
  6. •
  7. IP Phone
  8. •
  9. Yealink T57W User manual

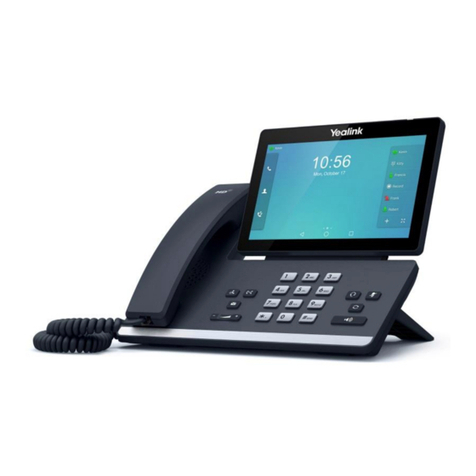
Yealink T57W User manual

Other manuals for T57W

11

Other Yealink IP Phone manuals

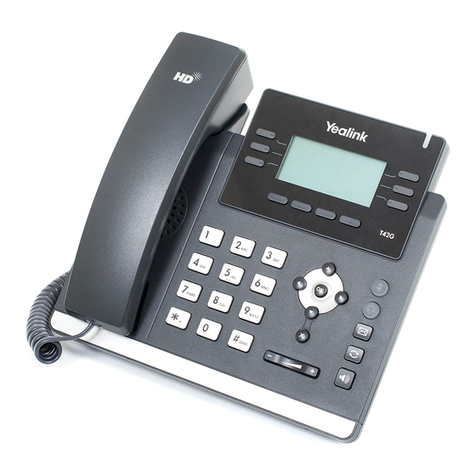
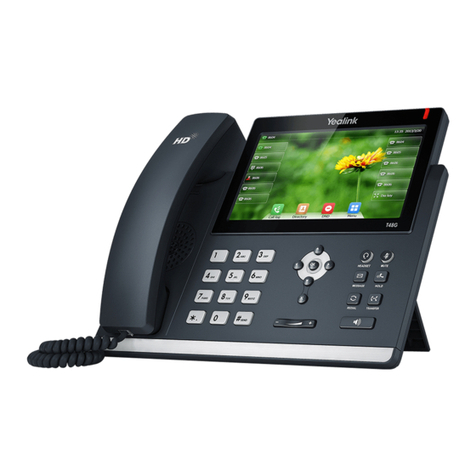
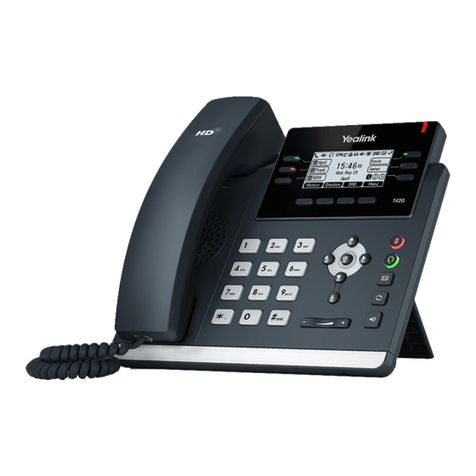
Yealink T42G User manual

Yealink

Yealink T42G User manual

Yealink Yealink SIP-T48G Service manual

Yealink

Yealink Yealink SIP-T48G Service manual

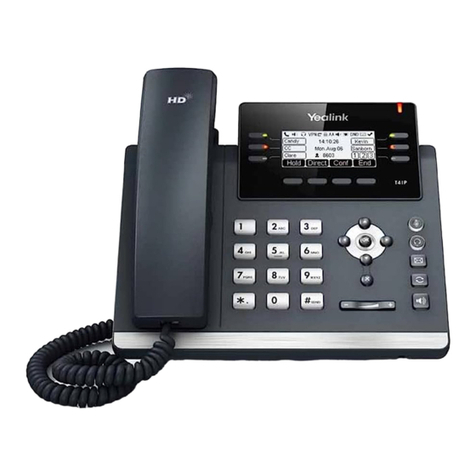
Yealink T41S User manual

Yealink

Yealink T41S User manual

Yealink SIP-T2XP User manual

Yealink

Yealink SIP-T2XP User manual

Yealink VP530 User manual

Yealink

Yealink VP530 User manual

Yealink T48G User manual

Yealink

Yealink T48G User manual

Yealink SIP-T38G User manual

Yealink

Yealink SIP-T38G User manual

Yealink SIP-T38G User manual

Yealink

Yealink SIP-T38G User manual

Yealink SIP-T23G User manual

Yealink

Yealink SIP-T23G User manual

Yealink Yealink SIP-T48G Service manual

Yealink

Yealink Yealink SIP-T48G Service manual

Yealink T48G Installation guide

Yealink

Yealink T48G Installation guide

Yealink T20P User manual

Yealink

Yealink T20P User manual

Yealink Yealink SIP-T48G User manual

Yealink

Yealink Yealink SIP-T48G User manual

Yealink SIP-T29G User manual

Yealink

Yealink SIP-T29G User manual

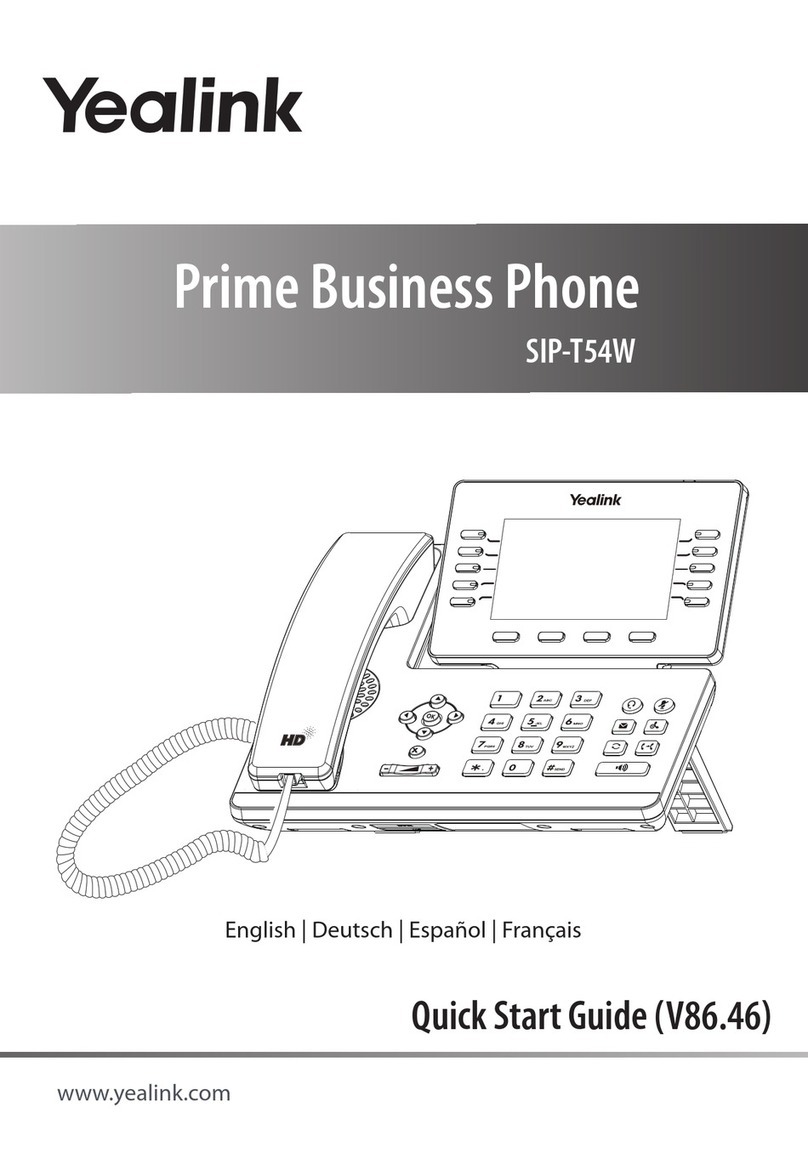
Yealink SIP-T54W User manual

Yealink

Yealink SIP-T54W User manual

Yealink SIP- T28P User manual

Yealink

Yealink SIP- T28P User manual

Yealink Yealink SIP-T20P Instruction manual

Yealink

Yealink Yealink SIP-T20P Instruction manual

Yealink Yealink SIP-T22P User manual

Yealink

Yealink Yealink SIP-T22P User manual

Yealink Yealink SIP-T22P User manual

Yealink

Yealink Yealink SIP-T22P User manual

Yealink Telkom W52P User manual

Yealink

Yealink Telkom W52P User manual

Yealink Telkom W52P User manual

Yealink

Yealink Telkom W52P User manual

Yealink Vox CentrexT28 User manual

Yealink

Yealink Vox CentrexT28 User manual

Yealink SIP-T42U User manual

Yealink

Yealink SIP-T42U User manual

Yealink Telkom W52P User manual

Yealink

Yealink Telkom W52P User manual

Popular IP Phone manuals by other brands

Cortelco C62 VoIP Phone user guide

Cortelco

Cortelco C62 VoIP Phone user guide

VanillaIP Polycom IP300 user manual

VanillaIP

VanillaIP Polycom IP300 user manual

Viking SR-IP product manual

Viking

Viking SR-IP product manual

Panasonic KX-UT133-B Administrator's guide

Panasonic

Panasonic KX-UT133-B Administrator's guide

Avaya one-X 9600 Series overview

Avaya

Avaya one-X 9600 Series overview

AVA Enterprises B179 Installation and administration guide

AVA Enterprises

AVA Enterprises B179 Installation and administration guide

Cisco Unified 7900 Series System guide

Cisco

Cisco Unified 7900 Series System guide

Polycom SoundPoint IP 450 datasheet

Polycom

Polycom SoundPoint IP 450 datasheet

Cisco SPA-500 Series user guide

Cisco

Cisco SPA-500 Series user guide

IPitomy IP290 user manual

IPitomy

IPitomy IP290 user manual

Polycom SoundPoint IP 650 user guide

Polycom

Polycom SoundPoint IP 650 user guide

Proximus Maestro 3016 IP quick start guide

Proximus

Proximus Maestro 3016 IP quick start guide

Polycom IP 450 user guide

Polycom

Polycom IP 450 user guide

Fanvil X4 user manual

Fanvil

Fanvil X4 user manual

Snom 320 quick start guide

Snom

Snom 320 quick start guide

Avaya Integral 5 R3.0 user guide

Avaya

Avaya Integral 5 R3.0 user guide

Nortel 1140E Getting started

Nortel

Nortel 1140E Getting started

Nexotek NT-P500 user manual

Nexotek

Nexotek NT-P500 user manual

manuals.online logo
manuals.online logoBrands
  • About & Mission
  • Contact us
  • Privacy Policy
  • Terms and Conditions

Copyright 2025 Manuals.Online. All Rights Reserved.

HPBX
QUICK REFERENCE GUIDE:
Yealink T57W
04.26.2022 1
Answer an Incoming Call
• Either lift the handset,
• Press the speakerphone button ,
• Or press the headset button .
Place an Outbound Call
• Either lift the handset, dial the number,
press Call/Dial (or wait for timeout),
• Press the speakerphone button , dial
the number, press Call/Dial (or wait for
timeout),
• Or dial the number, then lift the handset or
press the speakerphone button .
Transfer a Call (Blind/Consultative)
• During a call, press Transfer or .
• Dial the number/extension to which you
want to transfer the call.
• Press Call for Consultative/Press B Transfer
to Blind Transfer.
Transfer a Call to Voicemail
• During a call, press Transfer or .
• Dial 7 plus the extension to which you want
to transfer the call.
• Press B Transfer.
Checking Voicemail
• Press the envelope hard key .
• Enter your PIN.
• Follow the prompts.
Initiating a Conference Call
• While in an active call, press Conference.
• Dial the second party and press
Conference to send the call to the second
party.
• Press Conference again to join all parties.
Note: You can split the conference call into two
individual calls by pressing Split.
Redial
• Press the Refresh key twice
•
Note: Pressing once will display call history.
Conguring Speed Dial Keys
• Navigate to Menu > Features > Dsskey.
• Select Speed Dial.
• Input the number and how you want the
key labeled.
• Press Save.
•
Note: If your phone reboots, manually programmed
speed dials could disappear. It is best to have speed
dials programmed via the CommPortal.
CALL ACTIONS
QUICK REFERENCE GUIDE •
Yealink T57W
04.26.2022 2
Viewing Your Call History
• Press History.
• Tap the category listed to view:
• Missed Calls
• Placed Calls
• Received Calls
• Forwarded Calls
Managing Call History
• Press History.
• Tap the category listed and select an entry
from the list.
• Tap after the desired entry, and then you
can do the following:
• Tap Call to call the entry.
• Tap Add to add the entry to the
local directory.
• Tap Edit to edit the entry before
calling.
• Tap Blocklist to add the entry to the
blocklist (
your phone will not ring
when that number calls you again
)
• Tap Delete to delete the entry from
the list.
Adding a Contact
• Press Directory, and then select All
Contacts.
• Press Add to add a contact.
• Enter the desired contact name and the
contact number.
• Press Save.
Editing a Contact
• Press Directory and then select All
Contacts.
• Tap after the desired entry contact.
• Edit the contact information.
• Press Save to accept the change.
Deleting a Contact
• Press Directory, and then select All
Contacts.
• Tap after the desired entry contact.
• Tap OK when the LCD screen prompts
“Delete selected item?”.
Setting Ring Tones
• Navigate to Menu > Basic > Sound > Ring
Tones.
• Tap Common or your line.
• Tap the desired ring tone.
• Press Save to accept the change.
CUSTOMIZING YOUR PHONE
Central Notication Contact Information Needed | Per FCC reculations, your HPBX system is congured to notify a central location
on-site or o-site contact where someone is likely to see or hear the notication whenever a call is placed to a 911 operator. Relevant
FCC Rules require operators and managers of the HPBX system to designate a contact that will be notied if a 911 call is placed from
one of the users’ MLTS phones. It is your responsibility to provide Metronet with the relevant contact information in the Metronet Admin
CommPortal. We would be pleased to assist you if you do not know how to identify such a contact. Please contact us by email at
business-customer-ser[email protected] or phone at (855) 769-0936 if you need assistance.
Notify Metronet if You Move Your Phone | The location and address associated with a phone is the location and address identied
on the initial service order when your HPBX service was installed. If you move your phone to a location or address that is dierent
than that identied in the initial service order, 911 calls will appear to 911 emergency service operations to be coming from the address
identied in the service order and not the new location or address. Your organization is responsible for managing and updating any
changes to the location and address of the phone with dispatchable location information after the initial installation of your HPBX
service. Dispatchable location information should include the validated street address where the phone is located and any adequately
identify the location of the caller. In the event that you change the location of your phone, you can log on to the E911 Management
Portal at https://e911.metronetinc.com to update the “Detailed Location for 911.” You may also update the location of your phone by
contacting Metronet Business Customer Service at (855) 769-0936. Updates may take 1-2 business days to process. Failure to update
the location of the phone with dispatchable location information means that emergency responders may not have information to locate
the caller quickly and accurately.