manuals.online logo
Brands
  1. Home
  2. •
  3. Brands
  4. •
  5. Zamel
  6. •
  7. Controllers
  8. •
  9. Zamel exta ZCM-22 Series User manual

Zamel exta ZCM-22 Series User manual

*apply to the product ZCM-22P/U
ZCM-22, ZCM-22P/U TIME PROGRAMMER
ANNUAL, SINGLE-CHANEL INSTRUCTION MANUAL
ZAMEL sp. z o.o.
ul. Zielona 27, 43-200 Pszczyna, Poland
tel. +48 (32) 210 46 65, fax +48 (32) 210 80 04
www.zamel.com, e-mail: [email protected]
*apply to the product ZCM-22P/U
CONNECTION*
PRODUCT FAMILY
ZCM-22 Programmer belongs to ZCM
family of products.
MOUNTING, OPERATION
1. Disconnect power supply by the phase fuse, the circuit-breaker or the switch- disconnector combined to the proper
circuit.
2. Check if there is no voltage on connection cables by means of a special measure equipment.
3. Install the ZCM-22 on the TH 35 DIN rail in the switchboard.
4. Connect the cables with the terminals in accordance with the installing diagram.
5. Switch on the power supply from the mains.
The contact will be ON at 00:00:00. The contact will be OFF the previously set day during an hour changing from
23:59:59 into 00:00:00 (the next day). If the contact is to be ON only one day, the same data should be set for ON and
OFF date, e.g. ON - 02.02, OFF - 02.02. The lower program no. the higher program priority. The ON state has higher
priority than the OFF state within the given program.
INNER DIAGRAM
RELAY CAPACITY
DIMENSIONS
EXTERNAL MEMORY OPERATION*
External memory allows for an easy record / reading of the adjusted programs into
the external memory, so they can be easily copied to other programmers. It is very
convenient in case if we want to program more ZCM programmers or archive the
adjusted programs.
– sub menu to the external memory operation
– programs recording
– programs reading from the external memory and storage in the program-
mer’s memory
– the state of memory „busy” during a record / reading
– correct record / reading
– record /reading error
APPEARANCE*
FEATURES
TECHNICAL DATA
DESCRIPTION
ZCM-22, ZCM-22P/U
Power supply clamps: A1, A2
Rated voltage: ZCM-22: 230 V AC~(-15 ÷ +10 %)
ZCM-22P/U: 24 ÷ 250 V AC, 30 ÷ 300 V DC
Rated frequency: 50 / 60 Hz
Rated power consumption: ZCM-22: 1,6 W /17 VA ZCM-22 P/U: 1,5 W /3 VA
Number of channels: 1
Program quantity: 400 (200 On/Off pairs)
Programme: weekly - annual
Mode of work: manual, automatic
Change of season summer/ winter: automatic, manual
Colour of LCD panel lighting: amber
Input: yes
Accuracy of time measurement: max. ±1 s / 24 h at temp. 25 °C
Time of clock maintenance: 3 years
Time of programme maintenance: 10 years
Clamps of release system: IN, IN, IN, IN
Clamps of receiver power supply: 11, 12, 14
Parameters of transmitter contacts: 1NO/NC-16 A/250 V AC1 4000 VA
Number of terminating clamps: 12
Intersection of terminating conductors: 0,2 ÷ 2,50 mm2
Temperature of work: -20 ÷ +60 oC
Position of work: any
Fixing of casing: TH 35 rail (PN-EN 60715)
Level of protection of casing: IP20 (PN-EN 60529)
Protectivity class: II
Overvoltage category: II
Level of pollution: 2
Measurements: two-module (35 mm) 90x35x66 mm
Weight: 0,14 kg
Compatibility with norms: PN-EN 60730-1; PN-EN 60730-2-7;
PN-EN 61000-4-2,3,4,5,6,11
● Controldependingoncurrentdate,
hour and minute,
● double-modulecasingwithaprotec-
tion flap,
● additionalcontrolinputIN,
● manyprogrammesenablingvarious
applications,
● LCDdisplayillumination,
● mountedonTH35rail,
● apossibilitytocopyandreadpro-
grams from the external memory*.
Digital control time switch ZCM-22 is used
to realise the time functions in automation
and control systems. The programmer re-
alises the output relay control operations
according to program adjustments (day,
month, hour, minute). All systems are
equipped with a control input function,
which is used to change the operating
mode of a system by means of an exter-
nal push-button. The design of the cas-
ing allows the system to be mounted on a
TH-35 rail and eventually to seal the de-
vice. The design of the system provides
a battery back-up system for all adjust-
ments in case of no voltage supply.
In order to protect the battery during
storage, the ZCM series programmers
have a default setting, the so-called
storage mode in which the battery
power consumption is limited to a mini-
mum.
The device should be connected
to a singlephase system ac-
cording to current standards.
The device connections will be
described in this manual. Only
qualiedelectriciansareallowed
to mount, connect and adjust the
device. It is necessary to read
this manual and know the unit functions before the
device mounting. Do not disassembly the device
casing or you will lose any warranty rights and ex-
pose yourself to the electric shock hazard. Before
mounting operation make sure of disconnecting
the connection wires from the electric network.
Use a cross-head screwdriver of 3.5 mm diameter
to mount the device. The relay should be carried,
stored and used in an appropriate way. Do not
mount the device in case of any device parts lack,
damage or deformation. In case of malfunction
please notify the manufacturer.
CAUTION
plik:zcm-22_pu_bateria_inst_ext_gb|modykacja:28.10.2019
WARRANTY CARD
There is 24 months guarantee on the product
Salesman stamp and signature, date of sale
1. ZAMEL provides a two-year warranty for its products.
2. The ZAMEL warranty does not cover:
a) mechanical defects resulting from transport, loading / unloading or other circumstances
b) defects resulting from incorrect installation or operation of ZAMEL products;
c) defects resulting from any changes made by CUSTOMERS or third parties, to products sold or equipment necessary for the correct
operation of products sold;
d) defects resulting from force majeure or other aleatory events for which ZAMEL is not liable;
e) power supply (batteries) to be equipped with a device in the moment of sale (if they appear);
3. All complaints in relation to the warranty must be provided by the CUSTOMER in writing to the retailer after discovering a defect.;
4. ZAMEL will review complaints in accordance with existing regulations.;
5. The way a complaint is settled, e.g. replacement of the product, repair or refund, is left to the discretion of ZAMEL.
6. Guarantee does not exclude, does not limit, nor does it suspend the rights of the PURCHASER resulting from the discrepancy be-
tween the goods and the contract.
Programmer type:
11 - week (1 channel)
12 - week (2 channel)
31 - astronomical
Device type
Power supply:
ZCM-xx - 230 V AC
ZCM-xx/U - 24 ÷ 250 VAC
30 ÷ 300 V DC
22 - weekly - year Winter time
Summer time
Manual mode
Automatic mode
Week’s day
Relay state
Infoeld
Current time
(gg:mm:ss)
Power terminals
(A1, A2)
LCD display
External memory*
Replaceable battery
Control buttons
Relay output terminals
(12, 12, 11, 11, 14, 14)
Trigger terminals
(IN, IN, IN, IN)
L(+)
L(+) / N(-)
N(-)
Do not dispose of this device with other
waste! In order to avoid harmful effects
on the environment and human health,
the used device should be stored in
designated areas. For this purpose, you
can dispose of household waste free of
charge and in any quantity to a collection
point set up, as well as to the shop when
you buy new equipment.
*apply to the product ZCM-22P/U *apply to the product ZCM-22P/U
DESCRIPTION
MAIN MENU
TIME SETTING
DATE SETTING
WINTER / SUMMER TIME SETTING
OPERATING MODE CHANGE (AUTOMATIC, MANUAL)
PROGRAM SETTING
PROGRAM VIEWING
PROGRAM CANCEL / RESTORE
EXTERNAL INPUT SETTING
MAIN RESET
STORAGE MODE / BATTERY REPLACEMENT
- setting the current clock time; entry after pressing OK;
HOUR- choose adequate hour with cursor which you can set in 1-24 or 1-12 (AM) and 1-12
(PM)format;conrmwithOK;
MINUTES - choose adequate parameter of minutes with cursors conrmwithOK;
 Conrmation of the parameter of minutes causes simultaneous nullication of the parameter of
seconds and movement to the window of time setting.
It is possible to exit every sub- menu window in any moment without saving settings by press-
ing the button or .
- Current date setting; entry after pressing OK;
YEAR - choose adequate year with cursors conrm withOK, rangeof
years: 2000÷2099;
MONTH - choose month with cursors conrmwithOK;
DAY - choose day with cursors conrmwithOK;thesystemhasaprotec-
tion against introducing incorrect parameter of a day for a given month ( it
takes into account leap years and it automatically calculates the day of the
week on the basis of an arranged date);
Conrmationcausesmovementtoadatesettingwindowandset-upofcur-
rent summer/ winter time - if the option is arranged.
- choice of one of the two modes in which switching between winter and summer
season time will occur. - switching will take place in an automatic way, on the last
Sunday of March, at 2.00 (for summer time) and on the last Sunday of October, at 3.00 (for
winter time), - a user chooses between winter/ summer time, entry after pressing
OK;
setting the mode - choose mode or with cursors ,conrmwithOK;after
choosing the mode , the clock automatically sets the time as winter or summer one,
depending on the arranged date; after choosing the mode you go to another window;
Choose time for winter/ summer one with cursors where is winter time and is
summer time, if change of marker has happened the system will change the current time
byaddingorsubtracting1hour,conrmtheoperationwithOK;
After choosing the system moves to winter/ summer time shift window.
Description of elements and messages displayed
- days of week - current time setting and summer/winter time shift
- relay status - current date setting
- automatic mode - EXTERNAL INPUT SETTING
- manual mode - external memory operation*
- external input - external memory record*
- winter time - external memory reading*
- summer time - external memory busy*
- day, - year - reading / record error*
- program setting - automatic, - user’s
- switched on / switched off
Button description
• in the main window – the automatic mode enter or relay state changeover, if the timer already in the automatic mode;
• the other windows – exit to a higher level without changes saving;
• in the main window – the manual mode enter or the relay state changeover, if the timer already in the manual mode;
• the other windows – exit to a higher level without changes saving;
• in the main window – the main menu enter;
• the other windows - a submenu enter or setting acknowledgement;
• the window / option toggle or the set value increase / decrease.
Menu enter by pressing OK;
menu items scrolling by means of cursors .
Function Description
PROGRAM SETTING
CURRENT TIME SETTING
CURRENT DATE SETTING
TIME SETTING (SUMMER/WINTER SEASON)
EXTERNAL INPUT SETTING
EXTERNAL MEMORY ADJUSTMENT
*
It is possible to exit every sub- menu window in any moment without saving
settings by pressing the button or .
MANUAL OP MODE TOGGLE - if the main window is open and
the timer is in the automatic mode
pressing key will force
the unit to toggle into the manual mode and the relay state
changeover;
Successive key pressing will force the relay state change-
over without the op mode toggle;
-deningON-timesandOFF-timesforthegivenweek’sdaysforthegivenprogramsrunningintheautomaticmode;messagesonbusyONandOFFprogramsquantitiesarebeing
showed alternatively in the current window: (e. g. ); edition entering by pressing OK; the programs are numbered as pairs ( / ). Max programs quantity is equal to 200
/ pairs;
With ursors select a program (e.g. ) for its parameters editing and enter edition with OK;
MONTH - with cursors select the month, acknowledge with OK;
DAY - with cursors select the day, acknowledge with OK;
The next stored program will be displayed (e.g. ) - Press OK. to enter edition; in order to select the other program use cursors, to exit programming press or ;
The last program is .
ATTENTION
If in mode of editing of minutes buttonPOKwillbepushedandholdfor3stimeprogrammerwillgotoeditionofnextprogrammwheretheeldwillbeprimarilylledwithsettingsfrom
previous programm. This is to shorten the programming time in case that the next programms follow after each other in short periods of time (for example the same month, day, hour, minute).
PROGRAM VIEWING - viewing settings for the switching programs ( / ) i.e. hours,
minutes; enter viewing with OK;
In order to scroll the programs press successively cursors ; cursor increases the pro-
gram number; cursor decreases the program no.;
The programs are numbered in the form of ON / OFF ( / ) pairs, where every program may
be treated independently; there are 400 programs (200 pairs / ).
If the time programmer works in automatic mode then during checking the programs there
is a possibility to proof which program will come as next one. This information is signal-
ised by icon next to this program.
It is possible to exit every sub- menu window in any moment without saving settings by
pressing the button or .
PROGRAM CANCEL / RESTORE - the option is used during program setting and viewing for program cancelling (inactiva-
tion) and restoring; enter by pressing OK;
With elect the program to be cancelled / restored;
Press and hold OK for 3 seconds – if the program is active it will be cancelled (inactivated) and will not be checked during the
timer operating in the automatic mode (however it will by saved in the storage and it will be possible to restore the program);
horizontal lines will be displayed;
In order to restore the cancelled program press OK (the saved settings will be displayed).
- setting the unit mode after the IN external input triggering; enter
edition by pressing OK; with cursors select an appropriate external input
mode, where:
- the external input function is OFF;
- the manual mode with the relay continuous switch-OFF;
- the manual mode with the relay continuous switch-ON;
- the automatic mode, the relay is being switched ON / OFF according to the
preset programs;
Acknowledge selection with OK; after acknowledgement the external input
settings window will be entered.
It is possible to exit every sub- menu window in any moment without sav-
ing settings by pressing the button or .
AUTOMATIC MODE TOGGLE - if the main window is open and the timer is in the manual mode
pressing key will force the unit to toggle into the automatic mode and the relay state changeover;
Successive pressing will force the relay state changeover without the op mode toggle.
In order to cancel the clock system (time, date, activity of given functions etc.) you should hold buttons ( and ) simultane-
ously in the main menu for 3 sec;
 Allthedisplayeldswilllightup;
After a while, the clock will automatically set date and time.
● ZCMseriesprogrammershaveadefaultsetting,thesocalledstoragemodeinordertoprotectthebatteryduringstorage.
● Incaseofbatterybackupoperationthestoragemodeisswitchedoffduringtherstuseoftheprogrammer.Itisdonebymeansofashortpressingofthe push-button and subsequent
date and time adjustment.
● Incaseofanominalpowersupplythestoragemodeisswitchedoffduringtherstuseoftheprogrammerbymeansofdateandtimeadjustment.
● Adjustingtheprogrammerintothestoragemodeisrealisedbymeansofareset-inordertocarryitoutpressatthesametimethe and push-buttons in the main window.
● ZCMseriesprogrammershavetheoptiontoreplacetheclockmaintenancebattery.Beforereplacingthebattery,disconnecttheprogrammerfromtheexternalpowersupply.Pleasepay
the attention to correct battery polarity when replacing.

This manual suits for next models

2

Other Zamel Controllers manuals

Zamel Supla SLW-02 User manual

Zamel

Zamel Supla SLW-02 User manual

Zamel exta MOM-02 User manual

Zamel

Zamel exta MOM-02 User manual

Zamel RTP-01 User manual

Zamel

Zamel RTP-01 User manual

Zamel RZB-03 User manual

Zamel

Zamel RZB-03 User manual

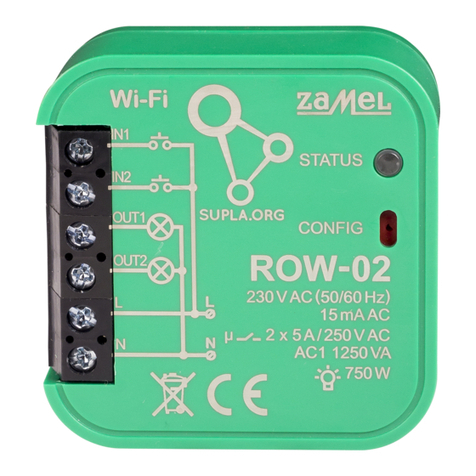
Zamel Wi-Fi supla ROW-02 User manual

Zamel

Zamel Wi-Fi supla ROW-02 User manual

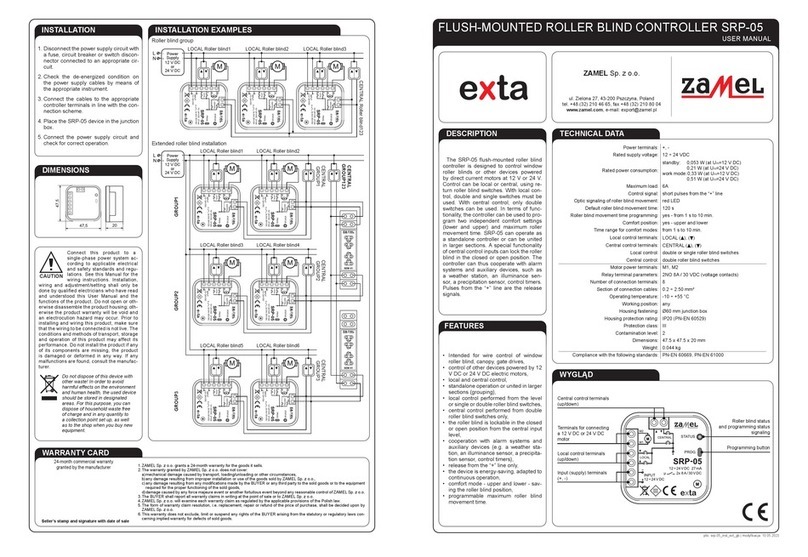
Zamel exta SRP-01/M User manual

Zamel

Zamel exta SRP-01/M User manual

Zamel exta free RZB-01 User manual

Zamel

Zamel exta free RZB-01 User manual

Zamel Extra Free ROB-01/12-24V User manual

Zamel

Zamel Extra Free ROB-01/12-24V User manual

Zamel exta SRM-11 User manual

Zamel

Zamel exta SRM-11 User manual

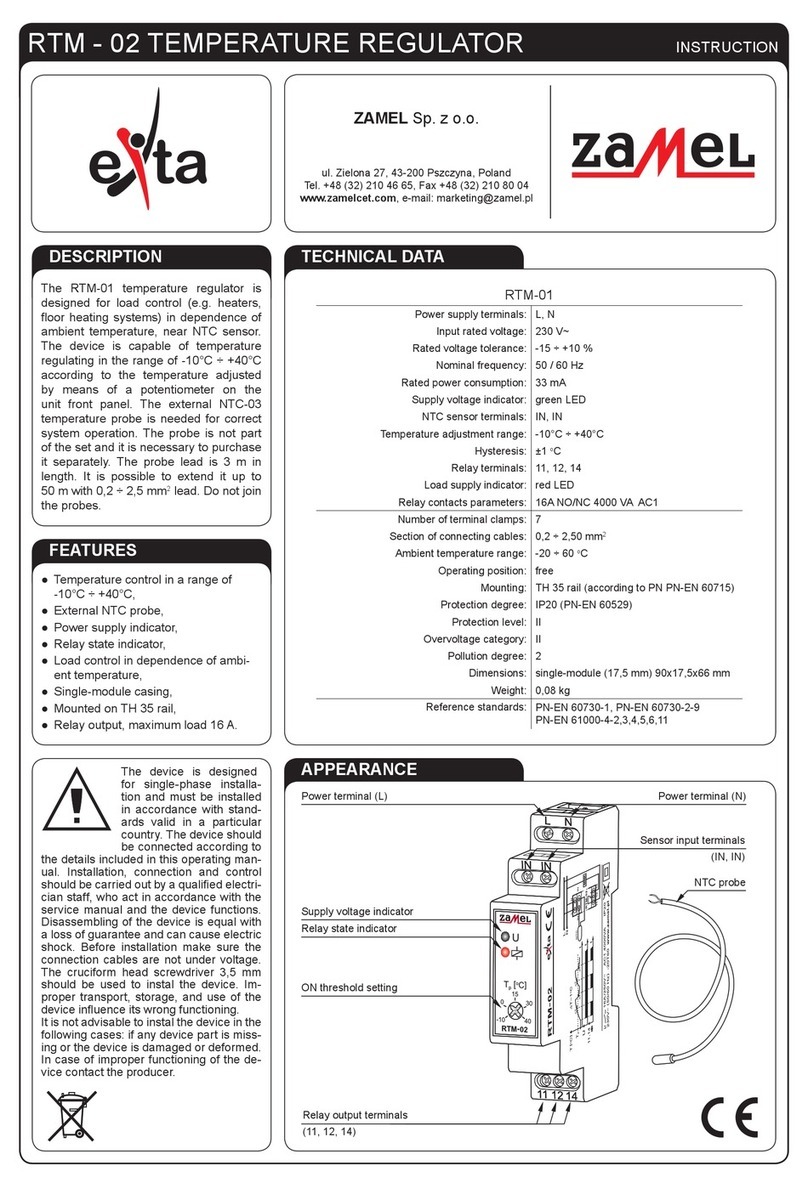
Zamel exta RTM-20 User manual

Zamel

Zamel exta RTM-20 User manual

Zamel Exta Life EFC-01 User manual

Zamel

Zamel Exta Life EFC-01 User manual

Zamel NC60 User manual

Zamel

Zamel NC60 User manual

Zamel Cet LediX SLR-11P User manual

Zamel

Zamel Cet LediX SLR-11P User manual

Zamel SRP-02 User manual

Zamel

Zamel SRP-02 User manual

Zamel RZB-05 User manual

Zamel

Zamel RZB-05 User manual

Zamel RZB-04 User manual

Zamel

Zamel RZB-04 User manual

Zamel exta life SRM-22 User manual

Zamel

Zamel exta life SRM-22 User manual

Zamel ROW-01 User manual

Zamel

Zamel ROW-01 User manual

Zamel Extra Free RZB-02 User manual

Zamel

Zamel Extra Free RZB-02 User manual

Zamel RNK-02 User manual

Zamel

Zamel RNK-02 User manual

Zamel exta life ROB-21 User manual

Zamel

Zamel exta life ROB-21 User manual

Zamel RNK-02 User manual

Zamel

Zamel RNK-02 User manual

Zamel exita ZIM-12/08 User manual

Zamel

Zamel exita ZIM-12/08 User manual

Zamel GRM-10 User manual

Zamel

Zamel GRM-10 User manual

Popular Controllers manuals by other brands

Trane Tracer UC600 Installation, operation and maintenance

Trane

Trane Tracer UC600 Installation, operation and maintenance

Norac UC4+ TA 1200 installation manual

Norac

Norac UC4+ TA 1200 installation manual

Delabie TEMPOFLUX 3 quick start guide

Delabie

Delabie TEMPOFLUX 3 quick start guide

ESI KeyControl 25 XL user guide

ESI

ESI KeyControl 25 XL user guide

AUMA PROFOX PF-M25X manual

AUMA

AUMA PROFOX PF-M25X manual

Casa Triton installation manual

Casa

Casa Triton installation manual

ITRON RB 3200 instruction manual

ITRON

ITRON RB 3200 instruction manual

Jobsite V-12 Installation and user guide

Jobsite

Jobsite V-12 Installation and user guide

Doms PSS 5000 installation guide

Doms

Doms PSS 5000 installation guide

Danfoss Danfoss Link user guide

Danfoss

Danfoss Danfoss Link user guide

Jordan Valve I&M Mark 508UBS Installation & maintenance instructions

Jordan Valve

Jordan Valve I&M Mark 508UBS Installation & maintenance instructions

SEW-Eurodrive MOVIPRO ADC Addendum to the operating instructions

SEW-Eurodrive

SEW-Eurodrive MOVIPRO ADC Addendum to the operating instructions

Dynamatic 4000 instruction sheet

Dynamatic

Dynamatic 4000 instruction sheet

Tempco TEC-410 instruction manual

Tempco

Tempco TEC-410 instruction manual

Jung 2204 REG operating instructions

Jung

Jung 2204 REG operating instructions

Haier QACT17A Installation and operation manual

Haier

Haier QACT17A Installation and operation manual

Stafford Instruments ST215 User handbook

Stafford Instruments

Stafford Instruments ST215 User handbook

Komfovent C5 user manual

Komfovent

Komfovent C5 user manual

manuals.online logo
manuals.online logoBrands
  • About & Mission
  • Contact us
  • Privacy Policy
  • Terms and Conditions

Copyright 2025 Manuals.Online. All Rights Reserved.