manuals.online logo
Brands
  1. Home
  2. •
  3. Brands
  4. •
  5. 3One data
  6. •
  7. Switch
  8. •
  9. 3One data IES618-4D Series User manual

3One data IES618-4D Series User manual

IES618-4D Series
Managed Industrial Ethernet Switch
Quick Installation Guide
3onedata Co., Ltd.
Address:
3/B, Zone 1, Baiwangxin High Technology
Industrial Park, Xili, Nanshan District,
Shenzhen
Website:
www.3onedata.com
Tel:
+86 0755-26702688
Fax:
+86 0755-26703485
【Package Checklist】
Please check whether the package and accessories are intact
while using the switch for the first time.
1.
Industrial Ethernet switch
2.
Certification
3.
Quick installation guide
4.
Warranty card
5.
DIN-Rail mounting attachment
6.
CD
If any of these items are damaged or lost, please contact our
company or dealers, we will solve it ASAP.
【Product Overview】
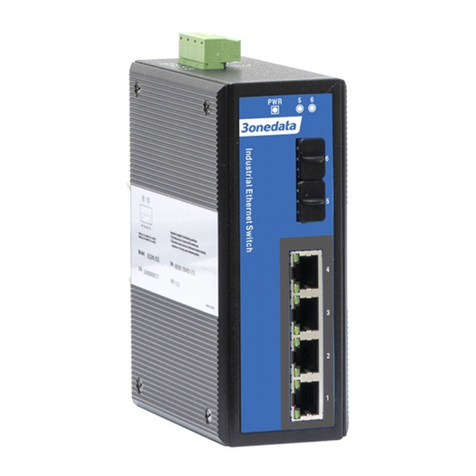
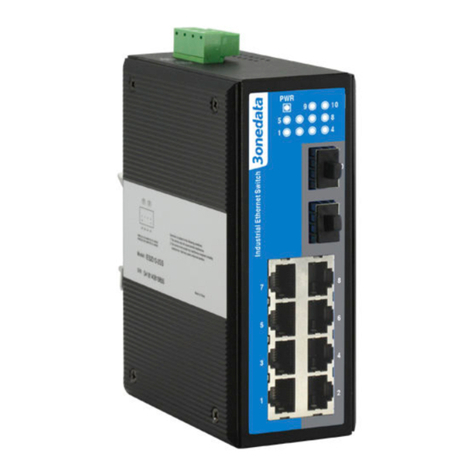
This series are managed DIN-Rail industrial Ethernet switches.
Models as follows:
Model I. IES618-4D(RS-232) (8 100M Copper Ports + 4
RS-232 Interfaces)
Model II.IES618-2F-4D(RS-232) (6 100M Copper Ports + 2
100M Fiber Ports + 4 RS-232 Interfaces)
Model III. IES618-4F-4D(RS-232) (4 100M Copper Ports + 4
100M Fiber Ports + 4 RS-232 Interfaces)
Model IV. IES618-4DI(RS-485) (8 100M Copper Ports + 4
RS-485 Interfaces)
Model V. IES618-2F-4DI(RS-485) (6 100M Copper Ports + 2
100M Fiber Ports + 4 RS-485 Interfaces)
Model VI. IES618-4F-4DI(RS-485) (4100M Copper Ports +
4100M Fiber Ports + 4 RS-485 Interfaces)
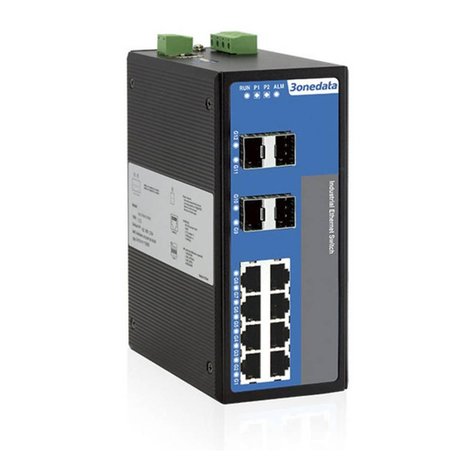
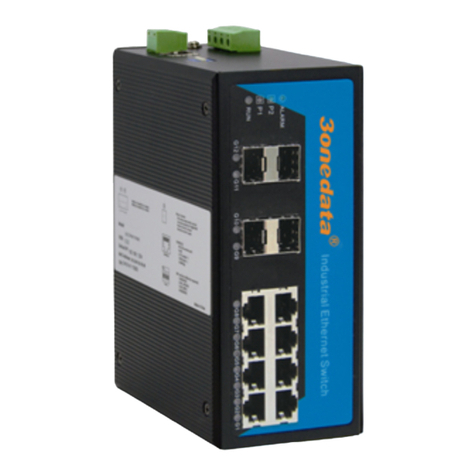
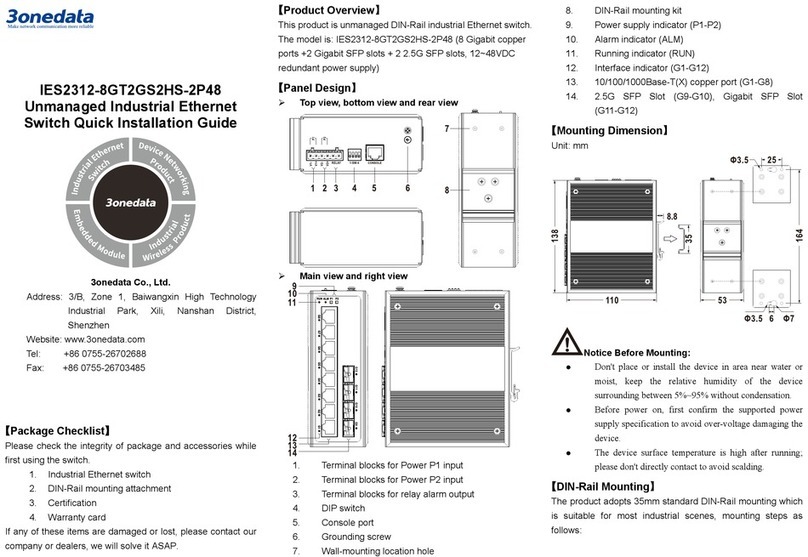
【Panel Design】
Rear view, bottom view and top view
Front view
Model I Model II
Model III Model IV
Model V Model VI
1. DIN-Rail mounting kit
2. Power supply input terminal blocks
3. Grounding screw
4. Relay alarm output terminal block
5. Console port
6. DIP switch
7. Power supply input status indicator P1/P2
8. Device running status indicator RUN
9. Relay alarm status indicator ALM
10. 100M copper port indicator (1~8)
11. Serial port indicator (1~4)
12. 100M fiber port
13. 100M copper port
14. RS-232 interface
15. RS-485 interface
【Mounting Dimension】
Unit: mm
Attention before mounting:
Don't place or install the device in area near water or
moist, keep the relative humidity of the device
surrounding between 5%~95% without condensation.
Before power on, first confirm the supported power
supply specification to avoid over-voltage damaging the
device.
The device surface temperature is high after running;
please don't directly contact to avoid scalding.
【DIN-Rail Mounting】
For convenient usage in industrial environments, the product
adopts 35mm DIN-Rail mounting, mounting steps as below:
Check whether the DIN-Rail mounting kit that
Step 1
comes with the device is installed firmly.
Insert the bottom of DIN-Rail mounting kit (one side
Step 2
with spring support) into DIN-Rail, and then insert
the top into DIN-Rail.
Tips:
Insert a little to the bottom, lift upward and then insert
to the top.
Check and confirm the product is firmly installed on
Step 3
DIN-Rail, and then mounting ends.
【Disassembling DIN-Rail】
Power off the device.
Step 1
After lift the device upward slightly, first shift out the
Step 2
top of DIN-Rail mounting kit, and then shift out the
bottom of DIN-Rail, disassembling ends.
Attention before powering on:
Power ON operation: first connect power line to the
connection terminal of device power supply, and then
power on.
Power OFF operation: first unpin the power plug, and
then remove the power line, please note the operation
order above.
【Power Supply Connection】
This series provide 4-pin 7.62mm pitch
input terminal blocks, and two
independent DC power supply systems of
P1 and P2. It could be used individually or
connecting to two independent DC power supply systems
externally. The power supply supports non-polarity and
anti-reverse connection, which could still work after reverse
connection.
Input voltage of power supply: 12VDC~48VDC
【Relay Connection】
This series provide 2-pin 7.62mm pitch input
terminal blocks. Relay terminal blocks are a
pair of normally open contacts in the alarm
relay of the device. They are open circuit in the
status of normal no alarm, and closed when any warning
message occurs. For example: they are closed and send out
alarm when power off. The product supports 1 relay warning
message output, and warning messages output of the DC
power supply or network abnormal alarm output. It can be
connected to alarm indicator, alarm buzzer, or other switching
value collecting devices for timely warning operating staffs
when the warning message occurs.
【DIP Switch Settings】
The products provide 4 pins DIP switch for
function settings, where "ON" is the enable valid
terminal. Please power off and power on after
changing the DIP switch status.
DIP switches definitions as follows:
DIP
Definition
Operation
1
Reserved
-
2
Upgrade
Set the DIP switch to ON, the device
can conduct program upgrade, set it
back when upgrade is finished
3
Restore
factory
defaults
Set the DIP switch to ON, power on
the device again and it will restore
factory defaults, and then set it back.
4
Reserved
-
【Serial Port Connection】
RS-232 This device provides RS-232 ports, whose
interface type is DB9 male head. Its pin
definitions display as the table below.
PIN
1
2
3
4
5
6
7
8
9
RS-232
DCD
RxD
TxD
DTR
GND
DSR
RTS
CTS
-
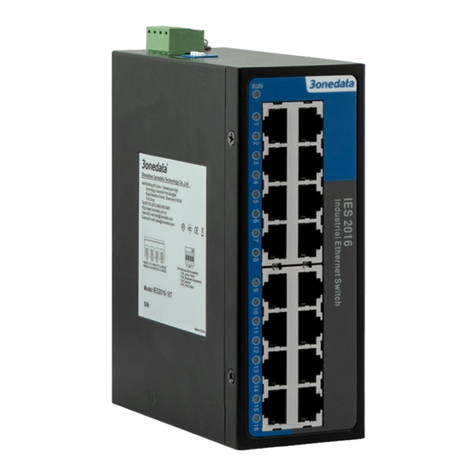
RS-485/422 This series Model IV, Model V and Model
VI provide 5-pin RS-485/422 serial port of
industrial terminal. Its pin definitions
display as the table below.
PIN
1
2
3
4
5
RS-422
T+
T-
GND
R+
R-
RS-485
D+
D-
—
—
—
【Console Port Connection】
The device provides 1 RS232-based procedure debugging
port, and can manage the CLI command line of the device
after connected to PC. The interface adopts RJ45 port, the
RJ45 pins definition as follows:
Pin No.
2
3
5
Definition
TXD
RXD
GND
【Checking LED Indicator】
The function of each LED is described in the table as below:
LED
Status
Description
P1/P2
ON
Power supply is connected and
running normally
OFF
Power supply is disconnected
and running abnormally.
ALM
ON
Power supply and port link
alarm
OFF
Power supply and port link
without alarm
RUN
ON
The device is powering on or
abnormal
OFF
The device is powered off or
abnormal
Blinking
Blink once per second, the
device is running well.
Link/Act
(1-8)
ON
Ethernet port has built valid
connection
Blinking
Ethernet port is in an active
network status
OFF
Ethernet port has not built valid
connection
TX
(1-4)
Blinking
Serial port is sending data
OFF
Serial port is not sending data
RX
(1-4)
Blinking
Serial port is receiving data
OFF
Serial port is not receiving data
or serial port is not connected
【Logging in to WEB Interface】
This device supports WEB management and configuration.
Computer can access the device via Ethernet interface. The
way of logging in to device’s configuration interface via IE
browser is shown as below:
Configure the IP addresses of computer and the
Step 1
device to the same network segment, and the
network between them can be mutually accessed.
Enter device’s IP address in the address bar of the
Step 2
computer browser.
Enter device’s username and password in the login
Step 3
window as shown below.

Click “OK”button to login to the WEB interface of
Step 4
the device.

Note:
The default IP address of the device is “192.168.1.254”.
The default username and password of the device is
“admin”.
If the username or password is lost, user can restore it to
factory settings via device DIP switch or management
software; all modified configurations will be cleared
after restoring to factory settings, so please backup
configuration file in advance.
Please refer to user manual for specific configuration
method of logging in to WEB interface and other
configurations about network management function.
【Specification】
Panel
100M copper port
10/100Base-T(X) RJ45,
automatic flow control, full/half
duplex mode, MDI/MDI-X
autotunning
100M fiber port
100 Base-FX
Serial port
Rs-232 DB9 interface or
RS-485/422 terminal
Console port
CLI command management port
(RS-232), RJ45
Alarm interface
2-pin 7.62mm pitch terminal
blocks, support 1 channel relay
alarm information output, current
loading capability of
1A@24VDC or 0.5A@120VAC
Indicator
Running indicator, interface
indicator, power supply indicator
and alarm indicator
Exchange attributes
Backplane bandwidth
2G
Packet buffer size
1Mbit
MAC table size
2K
Power supply
Input power supply
Input voltage of power supply:
12~48VDC
Support DC dual power supply
redundancy, anti-reverse
connection
Access terminal
4-pin 7.62mm pitch terminal
blocks
Consumption
Model I
No-load: 4.80W@24VDC
Full-load: 6.90W@24VDC
Model II
No-load: 4.80W@24VDC
Full-load: 6.90W@24VDC
Model III
No-load: 4.75W@24VDC
Full-load: 6.14W@24VDC
Model IV
No-load: 1.80W@24VDC
Full-load: 3.90W@24VDC
Model V
No-load: 3.58W@24VDC
Full-load: 5.35W@24VDC
Model VI
No-load: 4.80W@24VDC
Full-load: 6.90W@24VDC
Environmental Limits
Working temperature
-40℃~75℃
Storage temperature
-40℃~85℃
Working humidity
5%~95% (no condensation)
Protection grade
IP40 (metal shell)

Other manuals for IES618-4D Series

1

This manual suits for next models

6

Other 3One data Switch manuals

3One data IES2016-16T Series User manual

3One data

3One data IES2016-16T Series User manual

3One data IES2220 Series User manual

3One data

3One data IES2220 Series User manual

3One data IES6210 Series User manual

3One data

3One data IES6210 Series User manual

3One data IES6100 Series User manual

3One data

3One data IES6100 Series User manual

3One data IES1024 Series User manual

3One data

3One data IES1024 Series User manual

3One data IES3016 Series User manual

3One data

3One data IES3016 Series User manual

3One data ES1026-2F User manual

3One data

3One data ES1026-2F User manual

3One data TNS5500D Series User manual

3One data

3One data TNS5500D Series User manual

3One data TNS5800 Series User manual

3One data

3One data TNS5800 Series User manual

3One data IES6306 Series User manual

3One data

3One data IES6306 Series User manual

3One data IES7112G-4GS User manual

3One data

3One data IES7112G-4GS User manual

3One data IES3012G Series User manual

3One data

3One data IES3012G Series User manual

3One data IES206 Series User manual

3One data

3One data IES206 Series User manual

3One data TNS5800D Series User manual

3One data

3One data TNS5800D Series User manual

3One data IES2312-8GT2GS2HS-2P48 User manual

3One data

3One data IES2312-8GT2GS2HS-2P48 User manual

3One data IES5028-4GS-2F User manual

3One data

3One data IES5028-4GS-2F User manual

3One data ICS5530 Series User manual

3One data

3One data ICS5530 Series User manual

3One data ES5018 User manual

3One data

3One data ES5018 User manual

3One data IPS7112G-4GS-8GPOE User manual

3One data

3One data IPS7112G-4GS-8GPOE User manual

3One data IES2305 Series User manual

3One data

3One data IES2305 Series User manual

3One data IES5028G-4GS-8GC User manual

3One data

3One data IES5028G-4GS-8GC User manual

3One data IES2010 Series User manual

3One data

3One data IES2010 Series User manual

3One data IES205G User manual

3One data

3One data IES205G User manual

3One data IES6200-PN-16T4GS-2P48 User manual

3One data

3One data IES6200-PN-16T4GS-2P48 User manual

Popular Switch manuals by other brands

Linksys SRW224 - 10/100 - Gigabit Switch Specifications

Linksys

Linksys SRW224 - 10/100 - Gigabit Switch Specifications

Kramer VP-733 quick start guide

Kramer

Kramer VP-733 quick start guide

Asante IntraCore 35160 Series user manual

Asante

Asante IntraCore 35160 Series user manual

3Com 4200G PWR Getting started guide

3Com

3Com 4200G PWR Getting started guide

McDATA Sphereon 4300 Installation and service manual

McDATA

McDATA Sphereon 4300 Installation and service manual

Exsys EX-1183HMVS-2 manual

Exsys

Exsys EX-1183HMVS-2 manual

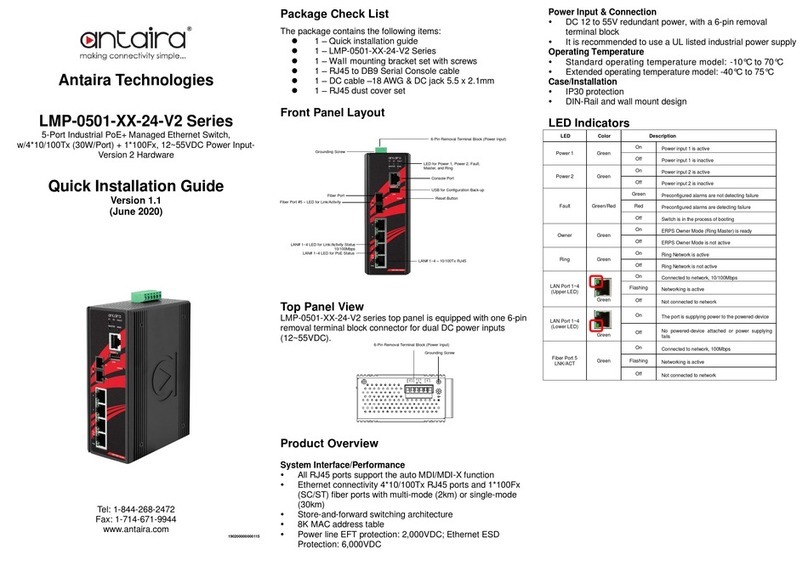
ANTAIRA LMP-0501 24-V2 Series Quick installation guide

ANTAIRA

ANTAIRA LMP-0501 24-V2 Series Quick installation guide

Omron C2UW-L Series user manual

Omron

Omron C2UW-L Series user manual

Endress+Hauser Nivector FTI26 technical information

Endress+Hauser

Endress+Hauser Nivector FTI26 technical information

3Com 3CRWX120695A Configuration guide

3Com

3Com 3CRWX120695A Configuration guide

Audioplex ABW-AUTO 1C installation manual

Audioplex

Audioplex ABW-AUTO 1C installation manual

Juniper EX8208 quick start guide

Juniper

Juniper EX8208 quick start guide

Infineon SBS quick start guide

Infineon

Infineon SBS quick start guide

Health Zenith 6190 Series manual

Health Zenith

Health Zenith 6190 Series manual

Planex IS-0005F user guide

Planex

Planex IS-0005F user guide

Computronic VPP404 Installation and user manual

Computronic

Computronic VPP404 Installation and user manual

Samson 4740 Mounting and operating instructions

Samson

Samson 4740 Mounting and operating instructions

Orno OR-GB-421 Operating and installation instructions

Orno

Orno OR-GB-421 Operating and installation instructions

manuals.online logo
manuals.online logoBrands
  • About & Mission
  • Contact us
  • Privacy Policy
  • Terms and Conditions

Copyright 2025 Manuals.Online. All Rights Reserved.