● Befestigen Sie die Wandhalterung, indem Sie diese als Schablone zum Bohren
der Löcher für die Spreizdübel verwenden.
Beachten Sie, dass sich die drei Löcher zur Befestigung des Gerätes in der in
Abb. #4 dargestellten Position benden sollten, NICHT umgekehrt.
● Das Gerät kann auf zwei Stellungen ausgerichtet werden.
- waagerecht
- abwärts
Entsprechend der von Ihnen bevorzugten, Ausrichtung, müssen Sie die Schrau-
ben in Position 1 befestigen, möchten Sie eine waagerechte Ausrichtung des
Gerätes, und in Position 2 bevorzugen Sie die Abwärtsneigung des Gerätes, wie
in Abb. #7 dargestellt.
● Entfernen Sie die Kunststoffabdeckung des Gerätes, wie in Abb. #8.
● Entfernen Sie die Zugentlastung, wie in Abb. #9 dargestellt, und führen Sie die
elektrische Leitung von hinten durch die runde Öffnung unter dem Anschlussblock
und stellen Sie die Verbindungen gemäß Abb.#9 her. Verbinden Sie die 2 Phasen
mit dem Anschlussblock. Die blaue Leitung wird mit dem N-Pol und die braune Lei-
tung mit dem L-Pol verbunden.
Die Symbole L und N sind unter dem Anschlussblock
gekennzeichnet.
● Sichern Sie das Stromkabel mittels der Befestigung der Zugentlastung
● Befestigen Sie erneut die hintere Kunststoffabdeckung an ihrer Position, wie in
Abb. #10 dargestellt.
● Hängen Sie den Heizkörper in die Wandhalterung und ziehen Sie ihn nach
untern, um ihn sicher an der Halterung in Richtung des Pfeils, siehe Abb. #11, zu
befestigen.
● Überprüfen Sie die korrekte Befestigung des Gerätes. Es sollte sich nicht be-
wegen.
4) Elektrischer Anschluss
● Das Produkt ist zweifach elektrisch isoliert (Klasse II) und bedarf daher keiner
Erdung.
● Das Gerät darf nur an eine 1/N/PE 230V AC 50 Hz -Spannungsversorgung an-
geschlossen werden. Wird die Verbindungsleitung verwendet, empfehlen wir
die Verwendung einer gummibeschichteten Verbindungsleitung (Typ H05RR-F)
mit einem Querschnitt von mindestens 2 x 1 mm².
● Die im Verwendungsland üblichen Sicherheitsvorkehrungen und die Bestim-
mungen der lokalen Energieversorgung müssen befolgt werden. Das Gerät ist
werkseitig mit einem allpoligen Schalter ausgestattet, der zu einer Schaltstrecke
von ≥ 3 mm führt.
5) Betrieb
● Durch Ziehen des Zugschnurschalters wird das Produkt in Betrieb genommen.
Auf dem vorderen Sichtfenster können Sie folgende Symbole sehen:
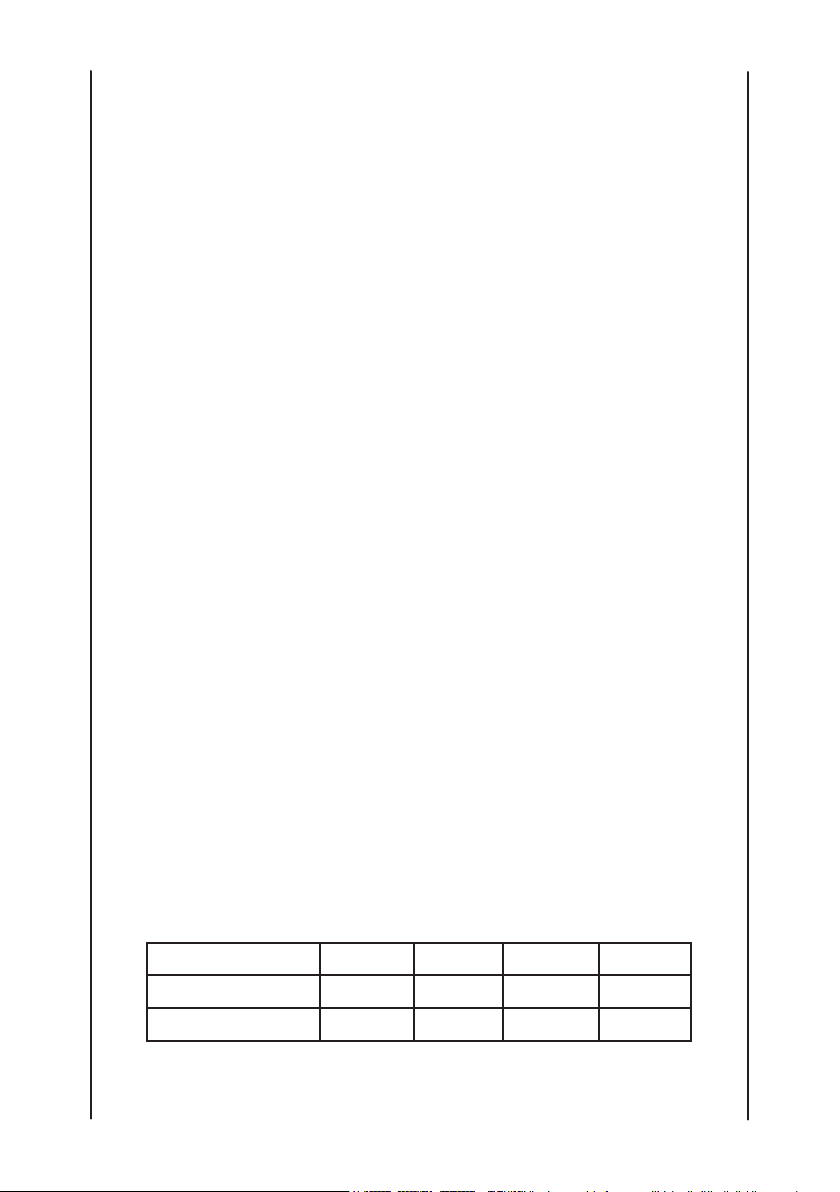
Product rating 0 I II III
230V 1200W OFF 600W 1200W X
230V 1800W OFF 600W 1200W 1800W
6) Wartung
● Dieses Produkt bedarf keiner besonderen Wartung. 7