manuals.online logo
Brands
  1. Home
  2. •
  3. Brands
  4. •
  5. Alcatel
  6. •
  7. IP Phone
  8. •
  9. Alcatel ALE-30h Instruction manual

Alcatel ALE-30h Instruction manual

Additional guides are available at
www.swcomms.co.uk/resource-centre/
user-guides-and-manuals
Q UIC K US ER G U ID E
Alcatel OXO
ALE-30h
Voicemail
Issue 2
Redial Key
Mute Key
Speaker
Messaging
These can be programmed
Volume up and down
Alpha Numeric Key
Status Icons
Support Desk: 01392330033
supportdesk@swcomms.co.uk
Customer Service: 01392315315
customer.service@swcomms.co.uk
Call Icons
Permanent Keys
To set up your voicemail, press the flashing Mail
key and enter the default password 121212. You
will be asked to enter your new password, which
needs to be 6 digits. Do not use easily recognisable
passwords such as 123456 or 000000, as this could
potentially allow external unauthorized access to
your mailbox management, resulting in fraudulent
calls.
The voicemail will repeat your password back to
you and then ask you to confirm it’s correct by
pressing #. The next prompt will be to record your
name/name of the department after the tone.
Once you’ve done this, press #. The voicemail will
ask if you want to replay (1), re-record (*) or
confirm (#). Replace the receiver when you are
finished. Your voicemail message will now be ‘You
have reached the mailbox of ***, please leave a
message after the tone’.
To record a Personal Greeting, from the MENU tab,
press Settings, then Mailbox, then press Listen.
You can listen to the current message here, as well
as record a new one by pressing Personal Message.
To access voicemail messages, press flashing mail
key , select the key next to ‘Voice’ in the screen
and enter your password.
Press OK (in the middle of the round navigator key
at the bottom left) and you will see options in the
screen to Play, Clear etc
If you are trying to speak to someone via their extension
number and they are busy, the screen will show ‘Wait’.
Press the ‘Call Back’ key in the display, and when they
are free you will be notified.
To Cancel a call back press #
To park an external call, dial 12 or scroll down and
press ‘Park’ in the screen and dial the extension
number you want to park the call on. When the park is
successful, the screen will show ‘Parking Accepted’ and
you can replace the receiver.
To retrieve a parked call, lift the receiver and dial 12
plus the extension number that the call was parked on.
Whilst on a call, dial a 3rd party. When they answer the
phone and you’ve announced the conference, scroll
down and press ‘Confer’ in the screen.
Select ‘End Confer’ in the screen to hang up on the 3rd
party and return to 1st call OR press ‘Transfer’ in the
screen to exit the conference and leave the other two
parties talking.
Alternatively, you can replace the receiver or press the
Hang Up key to end the conference altogether.
To broadcast a message through selected phones, dial
the broadcast group number (as advised by your
administrator) and then make your announcement
within 20 seconds. Hang up when you are finished.
Broadcasts will only be heard if the phone is not in use
and if it has a speaker function.
To pick up a call in your group, press the F2 key and lift
the receiver . (This will bring the longest ringing call to
you.)
To pick up a call ringing on a specific extension, press
the PICK UP key in the handset screen, enter the
extension number required and lift the receiver .
Basic Call Handling
Make an internal call: Dial extension number or press the
button next to the name of the person you want to call.
Make an external call: Dial the number you require,
remembering to enter ’9’ first.
Dial by name: Press the ABC key, then use the keypad to
enter the first 3 letters of their name. When you’ve
found the correct name press OK.
If you have the Qwerty Keypad feature by typing the first
3 letters of their name in the QWERTY keypad. Press the
right arrow to search and ’OK’ to dial.
Receive a call: Lift receiver or press to answer hands
free.
Hold a call: Press ‘Hold’ in the screen to hold a caller.
Press the key next to the musical note in the screen to
retrieve the call.
Announced: Dial a number, announce caller and replace
receiver or press the Transfer key.
Blind: Dial number, and replace receiver or press the
transfer key before the 3rd party picks up their phone.
Transfer into a mailbox: Whilst on a call, click
TranserVMU and then the extension number.
Then replace the receiver straight away.
If the extension is busy or no one picks up the call, press
the release key.
Then press the key next to the pause icon/Musical note
in the screen to re-connect with the 1st caller.
To redial the last number, press the redial key.
To access your redial list, press and hold the redial key
and scroll through the list using the arrow keys. When
you have found the number you want to dial, press OK.
Redial
Parking
3-Way Conference Call
Tannoy
Pick Up
Touch Tone Dialing
When on a call where you need to select Menu options
eg. 1 for Accounts, 2 for Sales etc, or enter a pin
code, press the F1 key OR press the key next to ‘MF
Code’ that appears in the handset screen.
To view a missed call, press the message key .
Your screen will show your missed calls, your voicemail
messages, and your instant messages. Select the
option your require and enter your voicemail password
to access (this will be 0000 if you do not have
personal voicemail)
To forward your calls/set up a divert, press the key
next to the round arrow key in the top right hand
corner of the screen. Select the type of forward
required, using the on-screen options.
If you select ‘Imm fwd’ you must then enter the
destination number that you want your calls to go to.
When a forward/divert has been set, the arrow will be
solid black and spin round continuously.
To cancel the forward/divert, press the arrow key
again and select ‘Canc Fwd’.
To set up a speed dial for your phone, from the ‘Perso’
tab, select a line key with … next to it. Press ‘Name’
and enter one into the box. (remember to press ABC)
When you are finished press OK. Then press ‘Number’
and enter this in using the key pad, making sure that
you start with 9. When you are done click OK.
To call speed dials, press the key next to the name you
want to call. To edit speed dials, go to Menu, then
settings and then to Keys. This speed dial will not
show on other handsets.
Missed Calls and Voicemails
Call Forwarding
Transfer a Call
Personal Speed Dials
Call Back
Retrieve A Call
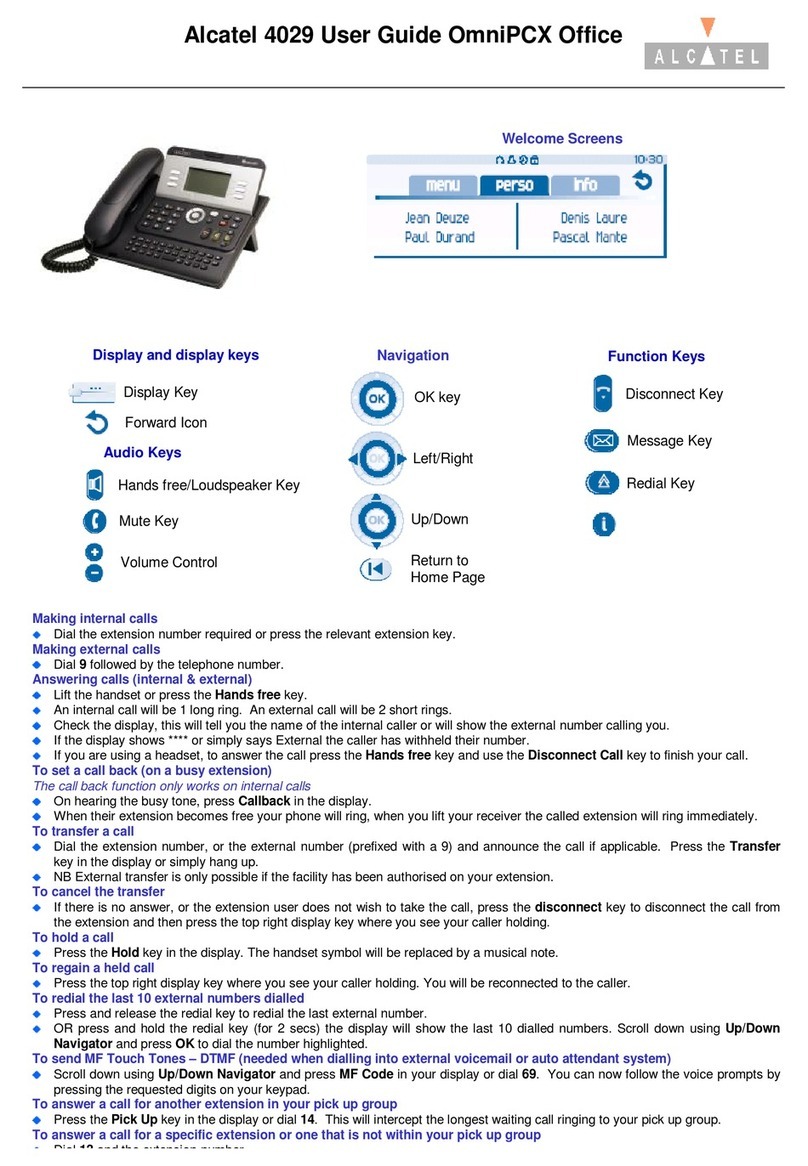
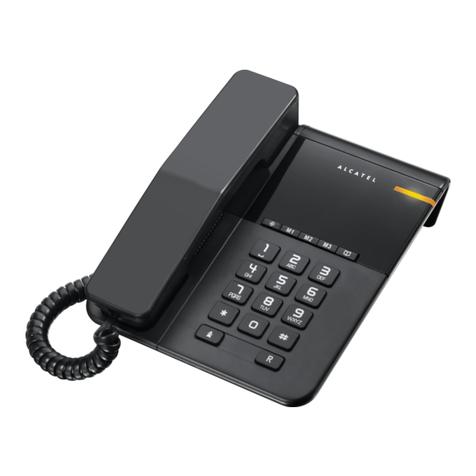
Other Alcatel IP Phone manuals

Alcatel Omni Enterprise 4008 User manual

Alcatel

Alcatel Omni Enterprise 4008 User manual

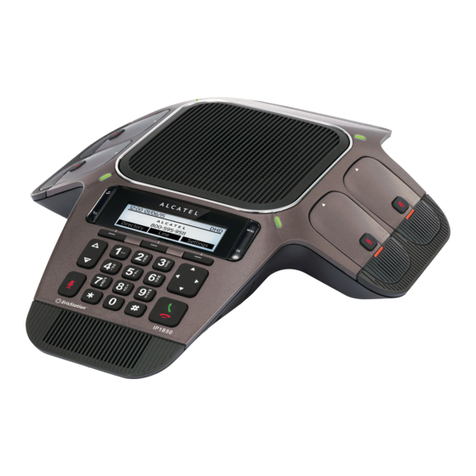
Alcatel Conference IP1550 Troubleshooting guide

Alcatel

Alcatel Conference IP1550 Troubleshooting guide

Alcatel TEMPORIS IP 200 User manual

Alcatel

Alcatel TEMPORIS IP 200 User manual

Alcatel Advaced Reflexes User manual

Alcatel

Alcatel Advaced Reflexes User manual

Alcatel IP30 User manual

Alcatel

Alcatel IP30 User manual

Alcatel Temporis IP150 User manual

Alcatel

Alcatel Temporis IP150 User manual

Alcatel Advanced Reflexes User manual

Alcatel

Alcatel Advanced Reflexes User manual

Alcatel OmniPCX Enterprise 4039 User manual

Alcatel

Alcatel OmniPCX Enterprise 4039 User manual

Alcatel Alcatel 8 Series IPTouch 4068 User manual

Alcatel

Alcatel Alcatel 8 Series IPTouch 4068 User manual

Alcatel Omni Office Instruction manual

Alcatel

Alcatel Omni Office Instruction manual

Alcatel Voice over WLAN (R1.1.1) Guide

Alcatel

Alcatel Voice over WLAN (R1.1.1) Guide

Alcatel IP Touch 4038 User manual

Alcatel

Alcatel IP Touch 4038 User manual

Alcatel 8038 Instruction manual

Alcatel

Alcatel 8038 Instruction manual

Alcatel OmniPCX Enterprise 4018 User manual

Alcatel

Alcatel OmniPCX Enterprise 4018 User manual

Alcatel Temporis IP100 User manual

Alcatel

Alcatel Temporis IP100 User manual

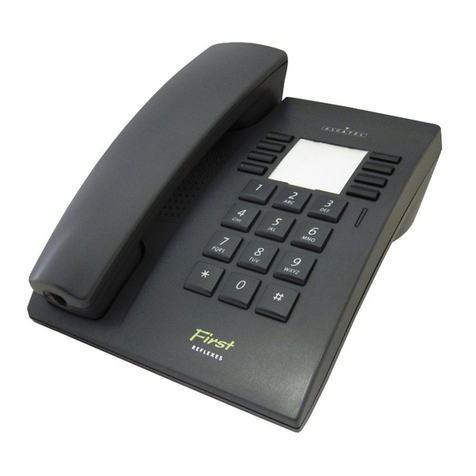
Alcatel First Reflexes User manual

Alcatel

Alcatel First Reflexes User manual

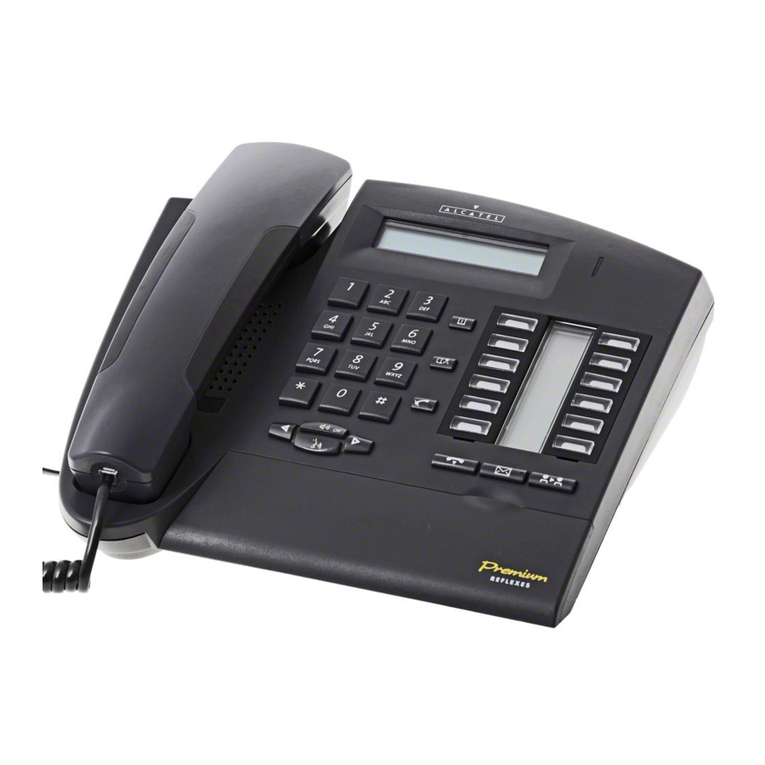
Alcatel Premium Reflexes User manual

Alcatel

Alcatel Premium Reflexes User manual

Alcatel SP-R5200 How to use

Alcatel

Alcatel SP-R5200 How to use

Alcatel Advanced Reflexes User manual

Alcatel

Alcatel Advanced Reflexes User manual

Alcatel IP1020P Service manual

Alcatel

Alcatel IP1020P Service manual

Alcatel IP2015 User manual

Alcatel

Alcatel IP2015 User manual

Alcatel OmniStack 8008 Instruction manual

Alcatel

Alcatel OmniStack 8008 Instruction manual

Alcatel Omni Office Instruction manual

Alcatel

Alcatel Omni Office Instruction manual

Alcatel Temporis IP901G User manual

Alcatel

Alcatel Temporis IP901G User manual

Popular IP Phone manuals by other brands

Asotel Dynamix DW-PhoneLite user manual

Asotel

Asotel Dynamix DW-PhoneLite user manual

Nortel Nortel IP Phone 1120E Quick reference card

Nortel

Nortel Nortel IP Phone 1120E Quick reference card

Grandstream Networks GXP1620 user guide

Grandstream Networks

Grandstream Networks GXP1620 user guide

Cisco 7931G - Unified IP Phone VoIP manual

Cisco

Cisco 7931G - Unified IP Phone VoIP manual

Avaya 9504 user guide

Avaya

Avaya 9504 user guide

Aastra DIALOG 4223 PROFESSIONAL Quick reference guide

Aastra

Aastra DIALOG 4223 PROFESSIONAL Quick reference guide

Aastra 55I installation guide

Aastra

Aastra 55I installation guide

Avaya 9650 Deskphone Edition user guide

Avaya

Avaya 9650 Deskphone Edition user guide

Nortel Nortel IP Phone 1230 user guide

Nortel

Nortel Nortel IP Phone 1230 user guide

Avaya IP Office T7100 user guide

Avaya

Avaya IP Office T7100 user guide

Yealink T48 Guide to using

Yealink

Yealink T48 Guide to using

HKT Snom D785 quick reference

HKT

HKT Snom D785 quick reference

Gigaset A58 H user manual

Gigaset

Gigaset A58 H user manual

Polycom SoundPoint IP 550 user guide

Polycom

Polycom SoundPoint IP 550 user guide

D-Link DWR-920/PW BASIC USER SETUP GUIDE

D-Link

D-Link DWR-920/PW BASIC USER SETUP GUIDE

Polycom VVX 310 Quick user guide

Polycom

Polycom VVX 310 Quick user guide

Yealink Yealink SIP-T46G quick reference

Yealink

Yealink Yealink SIP-T46G quick reference

Cisco SPA500S quick start guide

Cisco

Cisco SPA500S quick start guide

manuals.online logo
manuals.online logoBrands
  • About & Mission
  • Contact us
  • Privacy Policy
  • Terms and Conditions

Copyright 2025 Manuals.Online. All Rights Reserved.