manuals.online logo
Brands
  1. Home
  2. •
  3. Brands
  4. •
  5. Biosan
  6. •
  7. Laboratory Equipment
  8. •
  9. Biosan Sunflower Mini-Shaker 3D User manual

Biosan Sunflower Mini-Shaker 3D User manual

3D Service Manual - Version 1 - 20 1 Page 1V.4AW October 2
Service Manual for
Sunflower Mini-Shaker 3D
The following spare parts are available for 3D:
Periodical maintenance
3D does not require periodical technical maintenance, except cleaning.
Cleaning. Standard ethanol (75%) or any other cleaning liquids can be used for
cleaning and disinfecting of the device, if it does not contain any strong organic solvents
(such as acetone, toluene or benzene).
No. Starting
version/date Compatibility Spare part Marking Article
1 V.1AW / 05.04.2005 V.4AW Round plate with bearing 695ZZ BS-010151-S01
2 V.1AW / 05.04.2005 V.4AW Rubber collar BS-010151-S02
3 V.4AW / 04.12.2019 V.2AW Driver Board MSTEP3CSS BS-010151-S08
4 V.2AW / 19.09.2011 V.4AW Motor 4S42Q-T04534SR2 BS-010151-S04
5 V.1AW / 05.04.2005 V.4AW Potentiometer R1610N-1/8-10K BS-010151-S05
6 V.1AW / 05.04.2005 V.4AW Switch WIP12BRT BS-000000-S04
7 V.1AW / 05.04.2005 V.4AW Power socket HEBL 2,1mm BS-000000-S03
8 V.2AW / 19.09.2011 V.4AW Casing (bio) 3D BS-010151-S06
Spare part replacement
Disassembling for: Round plate with bearing, Rubber collar
1. Disconnect the unit from power supply.
2. Take off the platform.
3. Unscrew two fixing screws (fig.1/1) on the base platform and remove the
base platform.
1. To replace the Round plate with bearing:
– pull off the rubber collar from the round plate;
– move aside the rubber collar and fix the excentric (fig.3/1);
– carefully unscrew the fixing screw (fig.3/2);
– pull upwards round plate with bearing and replace it;
– re-assemble the unit.
2. To replace the Rubber Collar:
– pull off the rubber collar from the round plate;
– move aside the rubber collar and fix the excentric (fig.3/1);
– carefully unscrew the fixing screw (fig.3/2);
– pull upwards round plate with bearing and remove it;
– loosen the four screws (fig.4/1) located inside the Rubber Collar;
– pull out rubber collar from the gap;
– replace the Rubber Collar;
– re-assemble the unit.
Disassembling:
1. Disconnect the unit from power supply.
2. Take off the platform.
3. Unscrew the two fixing screws (fig.1/1) on the base platform and remove
the base platform.
4. Unscrew the three screws (fig.2/1) at the underside to release the
housing, then place it beside the main part (fig.5).
Disassembling is applied to all replacements mentioned below.
3. To replace the Driver board:
– unscrew the three screws (fig.5/1) and turn upside down
the steel plate;
– disconnect all terminals from the Driver board;
– unscrew the two screws (fig.6/1) and remove the Driver board;
– replace the Driver board;
– re-assemble the unit.
4. To replace the Motor:
– remove round plate with bearing
(see round plate with bearing replacement);
– unscrew the three screws (fig.5/1) and turn upside down the steel plate;
– disconnect Motor terminal (fig.6/7) from the Driver board;
– unscrew the three screws (fig.6/2) and remove
the Motor assembly (fig.7);
– pull of excentric from the motor axle;
Note: Between motor axle and excentric is placed
silicone tube as cushion. Do not lose it.
– unscrew the four screws (fig.7/1) and remove the motor base plate;
– replace the motor;
– re-assemble the unit.
3D Service Manual - Version 1 - 20 1 Page 2V.4AW October 2
fig.1
fig.2
fig.3
fig.5
Front view
Underside
Side view
Casing removed
1
1
1
2
fig.4
Top view
1
1
32
3
fig.6
Disassembled unit
2 6
7
8 13
4
6. To replace the Switch:
– unscrew the three screws (fig.5/1) and turn upside down the steel plate;
– disconnect the terminals from the Switch (fig.6/4);
– pull out the Switch;
– replace the Switch;
– re-assemble the unit.
7. To replace the Power Socket:
– unscrew the Power socket from the casing (fig.3/3);
– solder out the power wires (fig.6/6) from the socket (1. scheme);
– replace the Power socket and re-assemble the unit.
8. To replace the Casing:
Lower part replacement:
– unscrew the nut (fig.3/3) and remove Power socket from the casing;
– replace the lower part of the casing and re-assemble the unit.
Upper part replacement:
– remove the round plate with bearing
(see Round plate with bearing replacement);
– unscrew the four screws (fig.4/1) located inside the Rubber Collar,
remove rubber collar and mechanical block;
– remove the potentiometer (see Potentiometer replacement);
– remove the switch (see Switch replacement);
– replace the upper part of the casing and re-assemble the unit.
3D Service Manual - Version 1 - 20 1 Page 3V.4AW October 2
fig.6
scheme.1
Disassembled unit
Not used
5. To replace the Potentiometer:
– unscrew the three screws (fig.5/1) and turn upside
down the steel plate;
– disconnect the Potentiometer terminal (fig.6/8)
from the driver board;
– pull off potentiometer knob (fig.5/2)
– unscrew the screw (fig.6/3) and release
Potentiometer base plate;
– unscrew the potentiometer nut (fig.5/3) and
remove the Potentiometer;
– replace the Potentiometer;
– re-assemble the unit.
1
2
fig.7
Motor assembly
1
345
678
9
scheme.1
2 6
7
8 13
4
fig.6
Disassembled unit
2 6
7
8 13
4
3D Service Manual - Version 1 - 20 1 Page 4V.4AW October 2
Driver board
Motor
Potentiometer

Other Biosan Laboratory Equipment manuals

Biosan Automatic Luminescence Analyser ALA1/4 User manual
Biosan

Biosan Automatic Luminescence Analyser ALA1/4 User manual

Biosan DEN-1 User manual

Biosan

Biosan DEN-1 User manual

Biosan Bio RS-24 User manual

Biosan

Biosan Bio RS-24 User manual

Biosan TS-100 User manual

Biosan

Biosan TS-100 User manual

Biosan RTS-1C User manual

Biosan

Biosan RTS-1C User manual

Biosan Bio RS-24 User manual

Biosan

Biosan Bio RS-24 User manual

Biosan DEN-1B User manual

Biosan

Biosan DEN-1B User manual
Biosan S-Bt Smart BioTherm User manual
Biosan

Biosan S-Bt Smart BioTherm User manual

Biosan UVR-M User manual

Biosan

Biosan UVR-M User manual

Biosan Assistboy User manual

Biosan

Biosan Assistboy User manual
Biosan FTA-1 User manual

Biosan

Biosan FTA-1 User manual
Biosan UVC-AR User manual

Biosan

Biosan UVC-AR User manual

Biosan MMS-3000 User manual

Biosan

Biosan MMS-3000 User manual

Biosan LMC-56 User manual

Biosan

Biosan LMC-56 User manual
Biosan Multi Bio 3D User manual

Biosan

Biosan Multi Bio 3D User manual
Biosan UVT-B-AR User manual

Biosan

Biosan UVT-B-AR User manual
Biosan Microspin FV-2400 User manual

Biosan

Biosan Microspin FV-2400 User manual
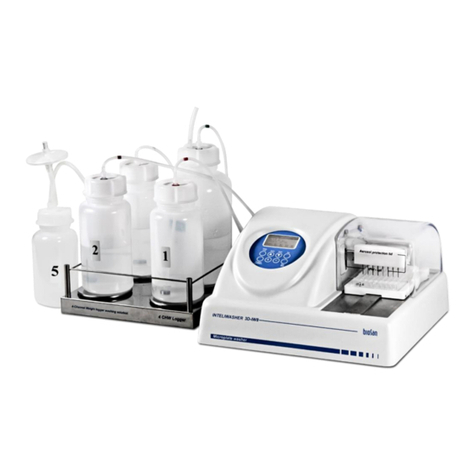
Biosan Inteliwasher 3D-IW8 User manual

Biosan

Biosan Inteliwasher 3D-IW8 User manual

Biosan S-Bt User manual

Biosan

Biosan S-Bt User manual
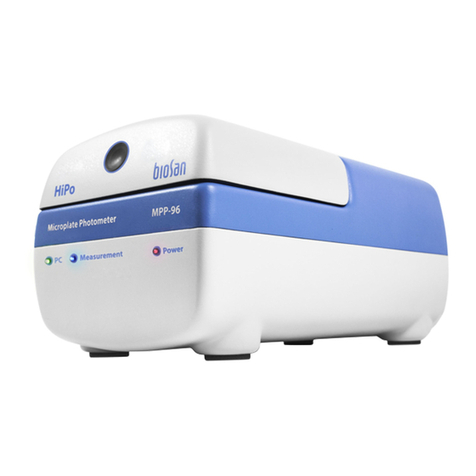
Biosan OD Plate User manual

Biosan

Biosan OD Plate User manual

Biosan CH-100 User manual

Biosan

Biosan CH-100 User manual

Biosan WB-4MS User manual

Biosan

Biosan WB-4MS User manual

Biosan MMS-3000 User manual

Biosan

Biosan MMS-3000 User manual

Biosan Bio RS-24 User manual

Biosan

Biosan Bio RS-24 User manual

Popular Laboratory Equipment manuals by other brands
Scientifica MMTP product manual

Scientifica

Scientifica MMTP product manual

Nikon NWL860 Series manual

Nikon

Nikon NWL860 Series manual

vacuubrand PC 2001 Vario Instructions for use

vacuubrand

vacuubrand PC 2001 Vario Instructions for use

Consort EVS1000 Series manual

Consort

Consort EVS1000 Series manual

Showa Denko Shodex IC SI-90 4E Operation manual

Showa Denko

Showa Denko Shodex IC SI-90 4E Operation manual

IKA Lab Disc IKAMAG operating instructions

IKA

IKA Lab Disc IKAMAG operating instructions

Miles Technology Multisonic M44 Operation manual
Miles Technology

Miles Technology Multisonic M44 Operation manual

TAN Bead Smart LabAssist Series user manual
TAN Bead

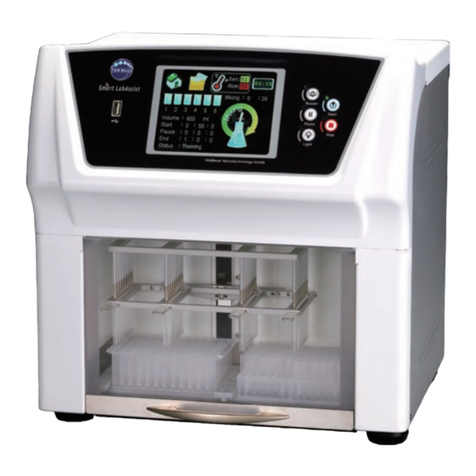
TAN Bead Smart LabAssist Series user manual

PerkinElmer LAMBDA 265 user guide

PerkinElmer

PerkinElmer LAMBDA 265 user guide
Thermo Scientific MaxQ SHKA4000 operating manual

Thermo Scientific

Thermo Scientific MaxQ SHKA4000 operating manual

Irritrol 550 R Series user guide

Irritrol

Irritrol 550 R Series user guide

Thermo Scientific AI 3000 operating manual

Thermo Scientific

Thermo Scientific AI 3000 operating manual

Elmi CM-7S Plus user manual

Elmi

Elmi CM-7S Plus user manual

Hach PHC705 user manual

Hach

Hach PHC705 user manual

NuAire LabGard NU-545-300E Operation and maintenance manual

NuAire

NuAire LabGard NU-545-300E Operation and maintenance manual

BASENHURT Tebas-Economic EFka300 pH/Chlor Installation and maintenance instructions

BASENHURT

BASENHURT Tebas-Economic EFka300 pH/Chlor Installation and maintenance instructions

Marson MT80 Integration guide

Marson

Marson MT80 Integration guide

Dipol TFA 2.0 SL manual

Dipol

Dipol TFA 2.0 SL manual

manuals.online logo
manuals.online logoBrands
  • About & Mission
  • Contact us
  • Privacy Policy
  • Terms and Conditions

Copyright 2025 Manuals.Online. All Rights Reserved.