3
Installation Plastic Laminate Restroom Partitions, Floor-Braced — Series 500
Bradley • HDWL-INSTR-002 Rev. D; ECN 13-14-030B 8/29/2013
C
L
C
L
C
L
C
L
*
*
*
*
*
*
*
*
*
C
L
C
L
C
L
C
L
C
L
C
L
Pilaster plumb line
When installing the partition components, consult
the applicable Mills Partition submittal drawing
for compartment layout dimensions.
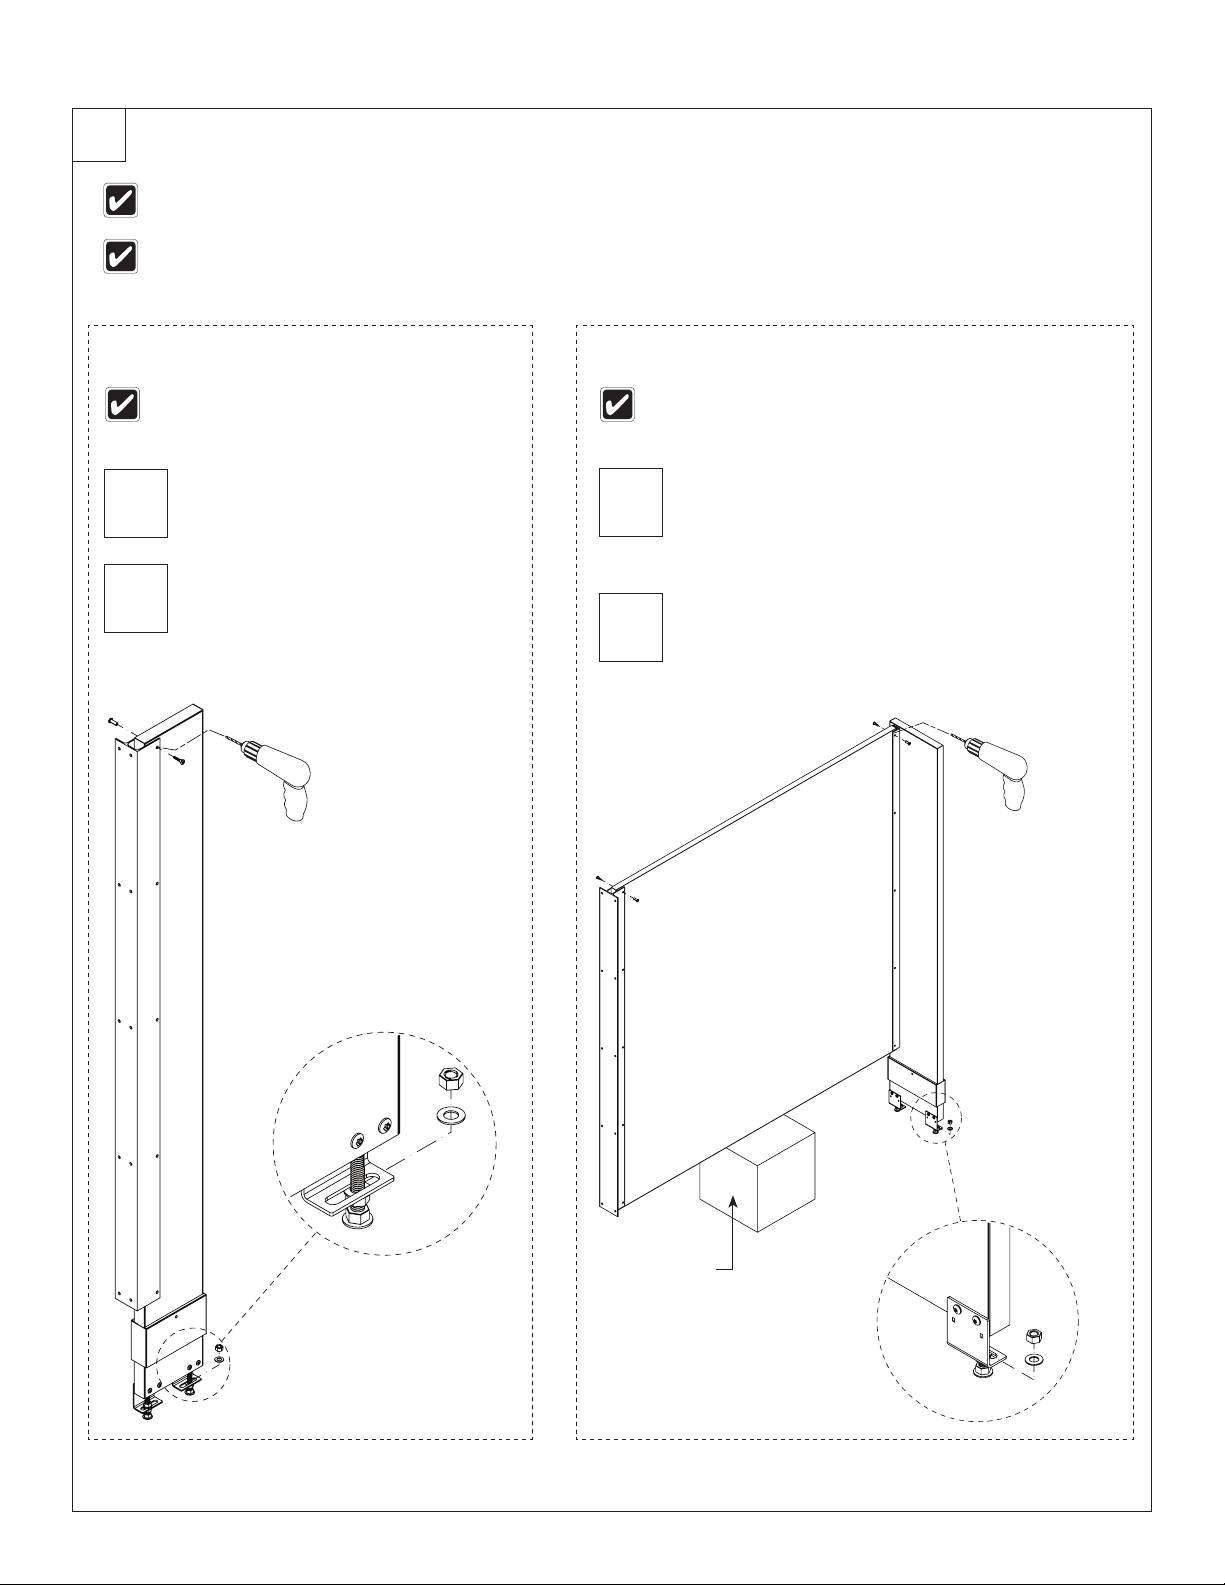
1Layout Dimensions - Stirrup Bracket (Standard)
Pilaster centerline: Measure from the back
wall forward to the face of the compartment,
subtract ⁵⁄₈" (16mm) and mark this location on
the floor (“A”). Mark the same measurement
on the opposite end of your layout (“A1”) and
draw a straight line connecting both marks.
FOR FREESTANDING (FS) PARTITIONS:
Refer to submittal drawings and determine
the approximate location of the outside
panels. Establish dimensions “A” and “A1” as
explained above.
A
Panel centerline: Measure the stall width across the
back wall and place a mark at the base of the rear wall
(“B”). Repeat this step for each panel, starting each
measurement from the last panel centerline (“B1”).
B
Stirrup brackets: Draw a plumb line on all walls
from each pilaster and panel centerline. From the
highest point in the room, measure 18" (457mm)
and 64" (1626mm) from the floor and place a
mark on the pilaster/panel plumb line. These
marks represent the hole center line of the stirrup
brackets. Use a level to transfer that mark to all
other plumb lines (“C”).
C
Panel
plumb line
Pilaster plumb line
When installing the partition components,
consult the applicable Mills Partition submittal
drawing for compartment layout dimensions.
1a Layout Dimensions - Continuous Bracket (Optional)
Pilaster centerline: Measure from the
back wall forward to the face of the
compartment, subtract ⁵⁄₈" (16mm) and
mark this location on the floor (“A”). Mark
the same measurement on the opposite
end of your layout (“A1”) and draw a
straight line connecting both marks.
FOR FREESTANDING (FS) PARTITIONS:
Refer to submittal drawings and determine
the approximate location of the outside
panels. Establish dimensions “A” and “A1”
as explained above.
A
Panel centerline: Measure the stall width across the
back wall and place a mark at the base of the rear wall
(“B”). Repeat this step for each panel, starting each
measurement from the last panel centerline (“B1”).
B
Continuous brackets: Draw a plumb line on all walls from each
pilaster and panel centerline. From the highest point in the room,
measure 12½" (318mm) (for stainless steel) or 12¼" (311mm) (for
aluminum) from the floor and place a mark on the pilaster/panel plumb
line. Use a level to transfer that mark to all other plumb lines (“C”).
C
Panel plumb line
64"
(1626mm)
18"
(457mm)
"C"
"C"
"C"
"C"
"C"
"C"
"C"
"C"
"B"
"B"
"B1"
"B1"
"A1"
"A1"
"A"
"A"
"C"