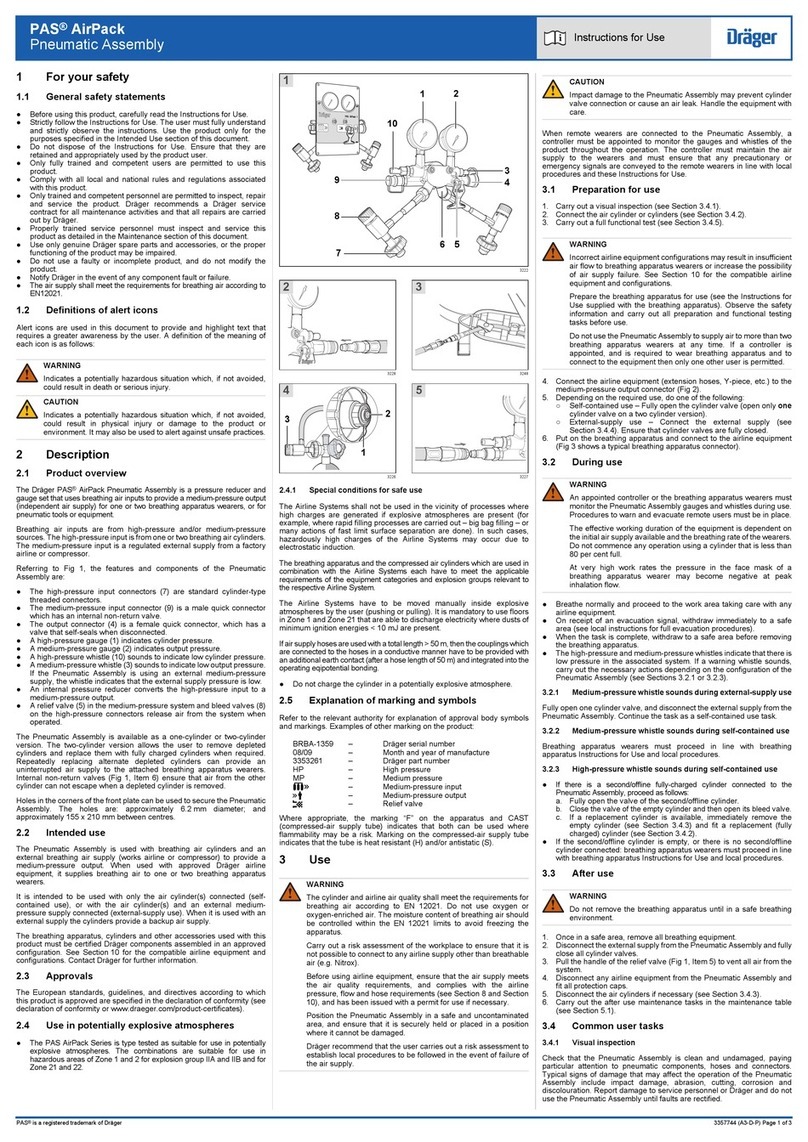
PAS®ASV (automatic switch-over valve)
Quick fit unit (all quick) Instructions for Use
PAS®is a trademark of Dräger 3357836 (A3-D-P)
1 For your safety
●Strictly follow this Instruction for Use and the instructions
supplied with any associated breathing apparatus.
●Do not dispose of this Instruction for Use. Ensure that it is
retained and appropriately used by the equipment wearer.
●Use of this equipment requires wearer training, knowledge,
observance of this Instruction for Use, and compliance with
national regulations, laws and standards governing the use of
respiratory apparatus in the country of use.
●Use the equipment only for the purpose specified in this
Instruction for Use.
●Only trained and competent personnel should carry out and
record inspections and servicing in line with national
regulations. It is recommended that a service contract be
obtained from your Dräger branch or agent.
●Contact Dräger for details of training courses and service
contracts.
●Use only original Dräger spare parts for servicing and
maintenance, or the proper functioning of the equipment may
be impaired.
●Notify Dräger in the event of any component fault or failure.
1.1 Definitions of alert icons
The following alert icons are used in this document to provide and
highlight areas of the associated text that require a greater
awareness by the user. A definition of the meaning of each icon is
as follows:
NOTICE
This icon indicates additional information on how to avoid
inconveniences when carrying out the instructions
described.
CAUTION
This icon indicates a potentially hazardous situation which,
if not avoided, could result in physical injury to the user, or
damage to the product. It may also highlight an alert
against unsafe practices.
WARNING
This icon indicates a potentially hazardous situation which,
if not avoided, could result in death or serious injury to the
user.
2 Description
The PAS®ASV Quick fit unit (all quick) (Fig 1) is an automatic
switch-over valve that can be installed on to a Dräger self-
contained breathing apparatus (SCBA). The valve uses the
external air supply as the primary source of breathing air to the
wearer and the air cylinder of the breathing apparatus as a back-
up (or emergency) supply. When installed, it maintains an
uninterrupted air supply to the wearer by automatically switching
between the air sources.
The automatic switch-over valve has two medium-pressure inputs
and a single medium-pressure output. Inputs are from an external
air supply (AL) and the breathing apparatus (BA), and the output
is to the lung demand valve (LDV). All valve connections are quick-
connect couplings. The automatic switch-over valve also has a
low-pressure whistle (1, Fig 1).
During operation, if the pressure of the external air supply drops
below a preset level (3.5 bar to 5.5 bar) or is disconnected, the
automatic switch-over valve switches from the external air supply
to the compressed air cylinder of the breathing apparatus. The
low-pressure whistle sounds continuously, to indicate that the air
is being supplied from the air cylinder. If the external air supply
increases above the preset pressure, the automatic switch-over
valve switches back to the external air supply and the whistle
stops.
2.1 Intended Use
The intended use of the automatic switch-over valve is to allow a
breathing apparatus to be used with an external air supply to
increase the operating time in a work area The valve is intended
for occasional use and is installed when required for specific
operations.
2.2 Approvals
The European standards, guidelines, and directives according to
which this product is approved are specified in the declaration of
conformity (see declaration of conformity or www.draeger.com/
product-certificates).
2.3 Equipment marking
The following labels are embossed on the rubber cover of the
automatic switch-over valve:
AL – Air line (external air supply)
BA – Breathing apparatus
LDV – Lung demand valve
The serial number and the year of manufacture of the automatic
switch-over valve are shown under the rubber cover.
i
i
!
!
3 Use
3.1 Air pressure and quality
External air supply pressure and flow:
Operating requirement – 6 bar to 10 bar at an air flow rate of at
least 550 litres/minute.
WARNING
Input pressure from an external air supply must not exceed
10 bar. Higher pressures may cause breathing difficulty for
users.
Air quality for compressed air systems must conform to
EN 12021. Do not use oxygen or oxygen enriched air.
3.2 Preparation for use
A trained and competent person must perform the following
preparation for use checks each time before release of the
equipment for operational use to a wearer.
CAUTION
Equipment damage can occur if components are
mishandled or not protected during use. Do not use tools
unnecessarily and do not apply excessive force to hose
ends connectors.
NOTICE
The following procedures include system checks and the
acceptable test standards. Contact Dräger if the apparatus
fails to meet any of the standards or any audible air leak
can not be rectified.
●Install the air cylinder on to the breathing apparatus (refer to
the Instructions for Use of the self-contained breathing
apparatus).
●Disconnect the lung demand valve if fitted.
●Connect the breathing apparatus medium-pressure hose to
the BA port on the automatic switch-over valve (Fig 2).
●Connect the lung demand valve to the LDV port on the
automatic switch-over valve.
●Press the reset button on the lung demand valve (positive-
pressure systems only).
●Open and then immediately close the cylinder valve – the low-
pressure whistle will sound.
●Cover the whistle flute but allow the air to vent slowly through
the flute. Observe the pressure reading on the breathing
apparatus.
Standard: The high-pressure whistle of the breathing apparatus
should commence at the preset pressure (55 ± 5 bar).
●Open the valve of the external air supply to pressurize the
system.
●Open the cylinder valve of the breathing apparatus – the low-
pressure whistle will sound.
●Immediately connect the external air supply to the AL port on
the automatic switch-over valve – the low-pressure whistle will
stop sounding.
●Check for audible air leaks.
WARNING
Do not direct the air flow on to the face, eyes or skin.
Pressurized air flow can cause serious injuries.
●Firmly press the centre of the rubber cover of the lung demand
valve to activate the air flow for 3 to 5 seconds. Press the reset
button on the lung demand valve to stop the flow (positive-
pressure systems only).
!
i
i
Standard: An unobstructed air flow should vent from the outlet of
the lung demand valve. The breathing apparatus pressure reading
should not change, indicating that the air is supplied by the
external air source.
●Disconnect the external air supply from the automatic switch-
over valve and close the cylinder valve of the breathing
apparatus.
●Observe the pressure reading on the breathing apparatus.
Standard: The pressure reading should not drop by more than
10 bar in one minute.
●Test the low-pressure whistle and automatic switch-over valve
as follows:
○Positive-pressure systems – Cover and seal the outlet of
the lung demand valve with the ball of the hand. Press the
centre of the rubber cover to switch on the valve and then
carefully lift the hand to slowly vent the air.
○Negative-pressure systems – Carefully press the centre of
the rubber cover to slowly vent the air.
Standard: The low-pressure whistle should sound at the preset
pressure (3.5 bar to 5.5 bar). The breathing apparatus pressure
reading should then begin to decrease, indicating that the system
has switched to the air cylinder of the breathing apparatus.
●Allow the system to vent fully.
●Press the reset button on the lung demand valve (positive-
pressure systems only).
●Connect the lung demand valve to the face mask.
3.3 During use
WARNING
Ensure that the air quality, pressure and flow from the
external air source meet the requirements (refer to Air
pressure and quality). Position the external air source in a
safe and uncontaminated area. A controller must monitor
and maintain the external air source throughout any
operation.
The volume of air in the air cylinder of the self-contained
breathing apparatus must allow the wearer sufficient time
to evacuate to a safe area, taking breathing rate into
account.
●Put on the breathing apparatus (refer to the Instructions for
Use of the self-contained breathing apparatus).
●Press the reset button on the lung demand valve (positive-
pressure systems only).
●Open the cylinder valve of the breathing apparatus – the low-
pressure whistle will sound.
●Immediately connect the external air supply to the AL port on
the automatic switch-over valve – the low-pressure whistle will
stop sounding.
●Put on the face mask and carry out the mask fit tests detailed
in the Instructions for Use of the face mask.
●Briefly press the centre of the rubber cover of the lung demand
valve to activate and check the supplementary supply facility.
●Breathe normally and proceed to the work area.
●If the low-pressure whistle sounds at any time during an
operation, proceed as detailed in Emergency evacuation
below.
●When the task is complete or when advised by a controller
proceed to the designated area (or another safe area). During
exiting, hold and carefully withdraw the external supply air line.
3.4 Emergency evacuation
The equipment owner should establish and implement procedures
for the use of the equipment according to the environment in which
it is used. In particular, the procedures should describe the actions
required in the event of failure of the external air supply. All
wearers should be fully trained in those procedures. In case of
failure of the external air supply, wearers should proceed in line
with established procedures.
WARNING
Air use from the air cylinder of the self-contained breathing
apparatus begins from the time that the low-pressure
whistle sounds.
If the wearer continues to work while breathing from the air
cylinder of the self-contained breathing apparatus, when
connected to an inoperative external air supply, they
should regularly check the cylinder contents indicator. The
volume of air in the air cylinder must allow the wearer
sufficient time to evacuate to a safe area, taking breathing
rate into account.
Do not use the supplementary supply facility during an
evacuation. Using the facility would decrease the breathing
time from the air cylinder.
NOTICE
The low-pressure whistle will sound continuously while air
is being supplied from the air cylinder of the breathing
apparatus.
●Disconnect the external air supply from the self-contained
breathing apparatus and continue to breathe normally.
●Proceed to the designated area (or another safe area).
●During evacuation take regular pressure readings and note
that the high-pressure whistle of the breathing apparatus will
sound at the preset pressure.


