Hanging the appliance from the wall
Make sure the wall and the fixing materials are able
to carry a heavy appliance (about 26 kilos).
If possible, you should use the mounting kit supplied.
See the manual provided with the mounting kit.
The mounting kit may only be used if the walls are strong
enough to carry the weight of the appliance (26 kg).
The walls should be suitable for using the mounting
materials provided, if they are not, you should use other
fixing methods.
Dru cannot be held responsible for incorrectly fixed
appliances.
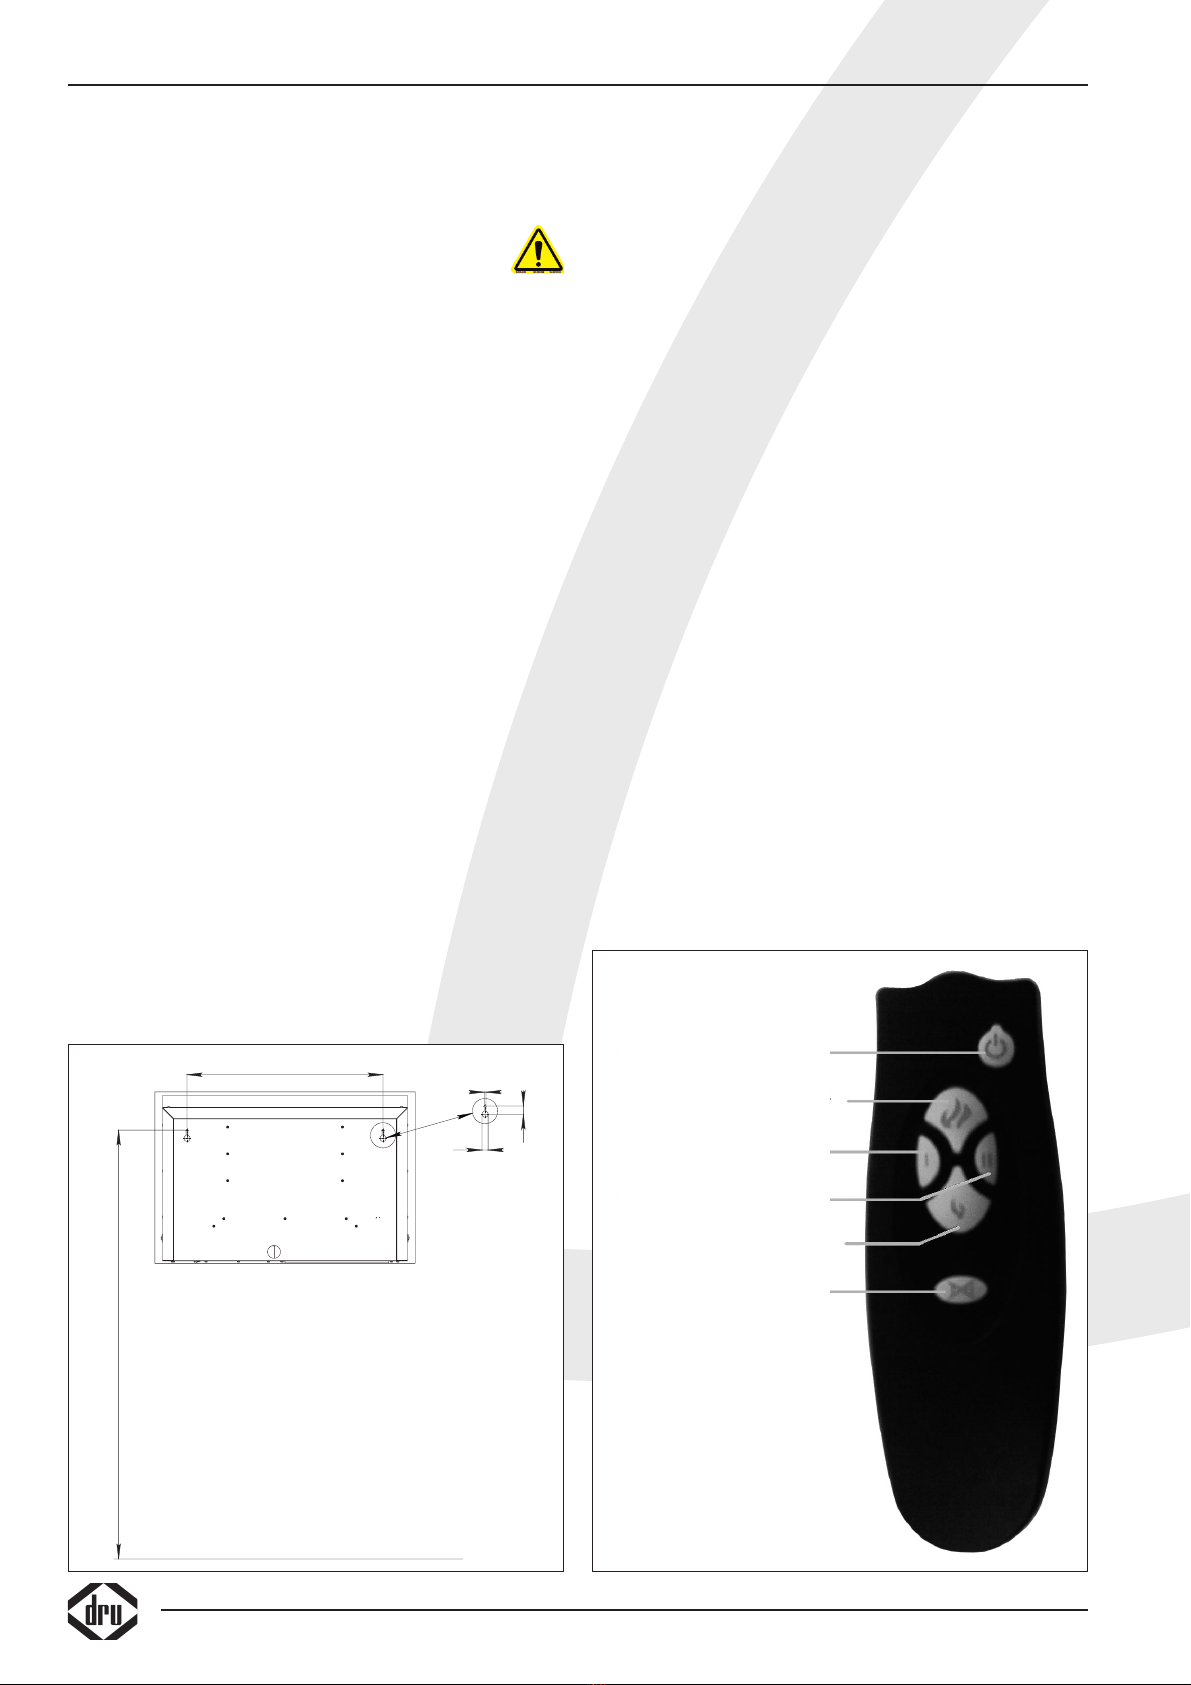
At the back of the appliance there are two slotted holes,
make sure that the screws used for hanging up the
appliance can each carry a weight of at least 15 kg
(see figure E).
Make sure that the screw heads / hooks only protrude a
few millimetres from the wall, so that the appliance cannot
tilt to the front.
If the appliance tilts to the front, it will be very difficult to
place the pebbles and twigs.
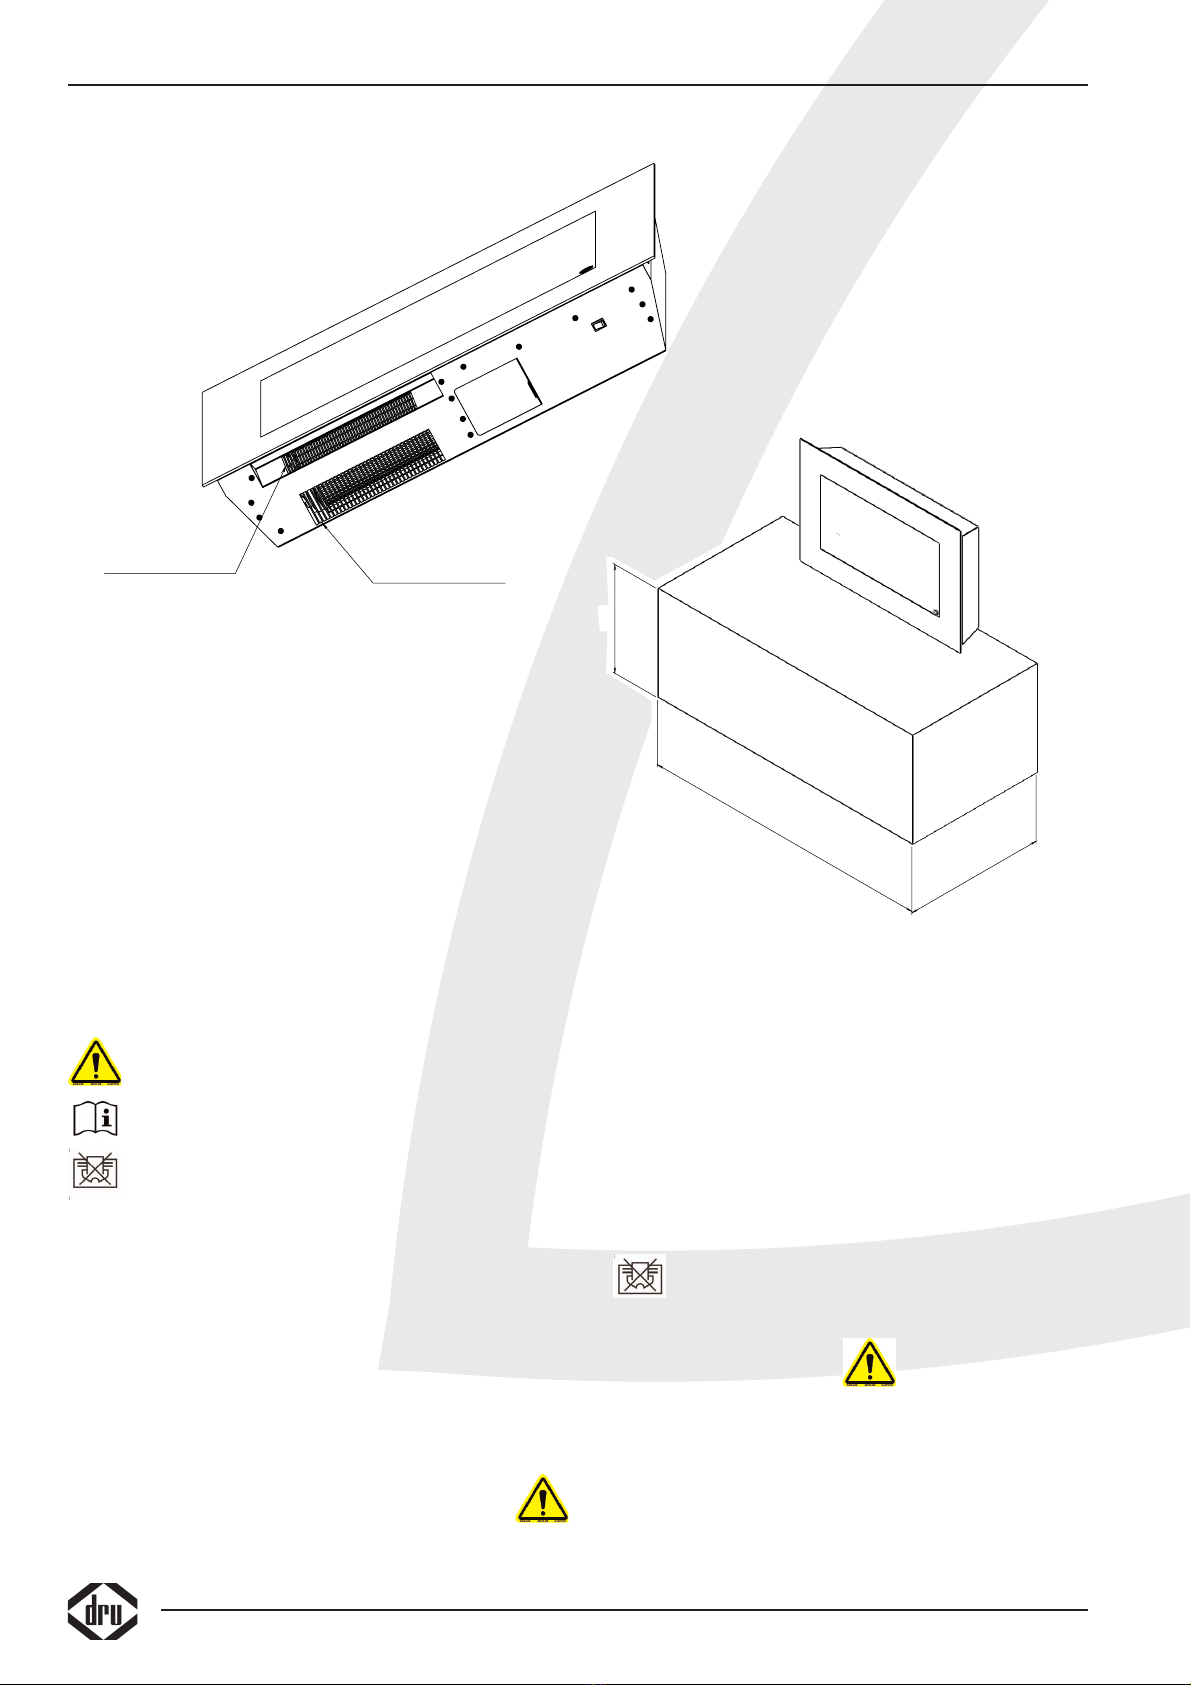
Placing the appliance, free space surrounding
the appliance
The appliance is intended to be hung from the wall.
However, nothing may be placed in front or under the
appliance because of the hot air outlet
(see figure B and C).
We recommend a maximum mounting height of 1.4
metres (height of the mounting holes, see figure E).
If you hang the appliance any higher, this will have a
negative effect on the flame image.
Wireless control
Standard, the appliance is supplied with a wireless control.
This remote control can be used to switch the heating ele-
ments in the appliance on and off, to adjust the light inten-
sity (level of the flame effect) and to switch the appliance
to standby mode.
The symbols on the remote control are described below
(see figure F).
The level of the flame effect can be adjusted by pressing
the small or large flame one or more times. Dimming is
done in small steps by pressing the button several times.
By pressing I, heating element I will be activated (750
watts). If you press the same button again, element I will
be switched off.The same procedure applies to II.
If you first press I and then II, both heating elements will
be activated (1500 watts). By pressing I and II in the same
order again (you will hear a soft clicking sound) both ele-
ments will be switched off again.
By pressing the button with I II crossed, you will
switch off both elements regardless if I or II or both
have been pressed.
The remote control is powered by batteries.The batteries
will have an average life of one year.When using the
remote control, you should aim it at the appliance, as it is
an infrared remote control.
The remote control only operates when the main switch at the
bottom right side of the appliance (see figure G) is in position
1 (you can see this by looking under the appliance).
INSTALLATION INSTRUCTION
6