manuals.online logo
Brands
  1. Home
  2. •
  3. Brands
  4. •
  5. Enwork
  6. •
  7. Indoor Furnishing
  8. •
  9. Enwork Expanse User manual

Enwork Expanse User manual

Expanse
Installation Guide
PART NUMBER EAAXXX
CONFERENCE TABLES
TI0075
Expanse Conference Table Installation Guide – Rev 02.23
2TI0075 - Expanse Table Installation Instructions
1 — REQUIRED TOOLS AND SUPPLIES
Drill Philips Head Driver
Socket
Level Ratchet
Tape Measure
3TI0075 - Expanse Table Installation Instructions
2 — INCLUDED PARTS AND FASTENERS
.375-16 x 1.25"
Hex Head Bolt
.375-16 x 2.25"
Hex Head Bolt
.375-16 Square Nut
#12 x 1.00" Screw
25-20 Nut Base Plate Right Base Leg Left Base Leg
.375-16 x .50"
Hex Head Bolt
.375 -16 Easy Adjust Glide
25-20 x .50"
Draw Plate 1
Kickstand
.50-13 x 4.00"
Hex Head Bolt
Draw Plate 2
Zipbolt Surface Connector
4TI0075 - Expanse Table Installation Instructions
2 — INCLUDED PARTS AND FASTENERS
Extrusions
(Left, Mid, & Center)
Top Plate Assembly
End Cap Base Bottom Cover,
Inside
C Channel
Base Bottom Cover,
Outside
L Bracket
10-10 x 1" Truss Head SQ/
Phillips (SCREW 1)
5TI0075 - Expanse Table Installation Instructions
Assemble (4)Glides into the Baseplate.
Assemble the Inside Base Bottom
Cover using (3) 25-20 Nuts.
While standing on the base plate, Line up the connection
holes of the Top Plate Assembly with the Base Leg
assembly and attach using (8).375-16 x 1.25" bolts.
Note: Once the base is full assembled, place the provided
Kickstand under the assembly to keep it from falling forward.
Line up the Base Leg connection holes
with the holes on the Base Plate. Secure
together with (4).375-16 x 1.25" bolts.
Note: The angles cut into the attachment
plates should be facing the back.
3.1
3.3
3.2
3 — BASE ASSEMBLY
2x
2x
2x
When the base assemblies are completed,
place them in there nal position.
3.4
6TI0075 - Expanse Table Installation Instructions
Extrusion Description
Top
Bottom
Outside
Inside
U-Channel
Space
Assemble the C Channels(EAM-1001-xx) into the
outside of the extrusion with the embossed "T"
facing up and the opening of the C facing outside.
Note: Do not tighten the bolts at this time
Place the extrusions in a clear area on a non marring
surface, in an order similar to their completed position.
Note: The Number of extrusions is dependent on table length.
Assemblies with 2 extrusions, assemble
the Left and Right Extrusion
Assemblies with 3 extrusions, skip to
section 5) Table Frame Assembly
Assemblies with 4 extrusions, assembly the Mid Extrusion
4.1
4.3
4.2
4 — EXTRUSION ASSEMBLY
Line up 2 of the threaded holes. Install (2) .25"-20 x
.50". and nger tighten. Repeat for all Extrusion.
Note: Do not tighten the bolts at this time
4.4
7TI0075 - Expanse Table Installation Instructions
Slide the next extrusion on to the C-Channel.
Assemble (1) Draw Plate 1, (1) Draw Plate 2
and (1) .50 -13 X 4.00" bolt into each Extrusion
connection hole and loosely tighten so the
extrusions line up ush on all sides.
Note: The extrusions must be aligned and square before they
are fully tightening. Adjust as necessary while tightening.
Once the Draw Plates are fully tightened, Fully tighten
the (2) .25-20 x .50" on top of the extrusion and
install and fully tighten (6) .25-20 x .50" into the top
and bottom of the extrusion (as shown in Fig 4.5).
Note: Depending on table length, Left & Right
Extrusions may be assembled at this point.
4.5 4.6
4 — EXTRUSION ASSEMBLY
8TI0075 - Expanse Table Installation Instructions
Place the fully assembled beams on the
Base Assembly, seating the channel of the
extrusion in to the U Channel of the base.
Note: leave the Kickstands in place
until the beams are fully secured.
Secure the ends of both extrusion to the Base
Assemblies using a .375-16 x 1.25" bolt, then proceed to
secure the extrusion with the using .375-16 x 2.25" bolts.
Repeat process for the other end of the table.
Align the holes of the assembled beams to
the holes of the assembled bases.
5.1
5.3
5.2
5 — TABLE FRAME ASSEMBLY
Slide the extrusions completely until the
surfaces meet. The C Channel holes should
alight with the top slots on the middle
extrusion assembly as shown below.
5.4
9TI0075 - Expanse Table Installation Instructions
Insert (2).25-20 x .50" into the extrusion slots
to secure the C-Channel and nger tighten.
Note: Do not tighten the bolts at this time
Loosely assemble the Top Connection Bracket, (2)
375-16 x .50" bolts, and (2) .375-16 Square Nuts
Insert the this assembly into the inside of the extrusions
There will be 2 for every Top Connection
Bracket (EAM-1024).
Install Draw Plate 1, Draw Plate 2 and a .50 -13 X 4.00"
bolt into each Extrusion connection hole and tighten.
Note: The extrusions must be aligned and square before they
are fully tightening. Adjust as necessary while tightening.
Fully tighten the bolts connecting the extrusion
to the base at this time (see Fig 5.5).
5.5
5.7
5.6
5 — TABLE FRAME ASSEMBLY
Position the 2 outer most Top Connection
Brackets 10"-16" from the end of the extrusion
and then evenly distribute the remaining
Brackets along the length of the extrusion.
Do not tighten yet. These may need to be
repositioned later in the assembly process.
5.8
10TI0075 - Expanse Table Installation Instructions
Loosely assemble the Extrusion Cap (EAM-2010-x) ,
(4) 375-16 x .50" bolts, and (4) .375-16 Square Nuts.
Press the end cap in all the way tight against the
end of the extrusion. Insure the back side of the
cap is ush with the end of the extrusion.
Fully tighten
5.9
5 — TABLE FRAME ASSEMBLY
2x
11TI0075 - Expanse Table Installation Instructions
Place the worksurfaces on a non-marring surface
and attach the Embedded Braces to the routings
using the 10-10 x 1" Truss Head Phillips Screws.
Note: When attaching the braces, secure both end and
then use every other screw hole provided. This will aid
when attaching the work surface to the table frame.
Before attaching the work surface to the table tops
assembly, verify there is no interference with the Top
Connection Bracket and any power unit/cutouts.
Location of the Top Connection Bracket
can be adjusted as needed.
Tighten all of the brackets to the extrusion at this time.
Place the work surfaces onto the table frame. When
placing the end piece, insure there are no screw heads
interfering between the worksurface and the beams.
Any screw(s) causing interference may be removed.
This will only occur on the End Work Surface pieces.
Install and snuggly attach all tight joints. Align
work surfaces and fully tighten all tight joints.
Note: number of surfaces may vary depending on table length.
6.1
6.3
6.2
6 — TABLE TOP ASSEMBLY
Verify the work surface is aligned and centered.
Attach the work surface to the table assembly using
the Top Connection Bracket and #12 x 1.00 screws.
6.4
12TI0075 - Expanse Table Installation Instructions
Levelers are accessible through the
access hole on the tops of the base.
Place a level spanning both beams and
level the table across it’s depth.
Install the Outside Base Bottom
Covers between the Base legs.
Place a level on the beam between the 2
bases and level the table length rst.
7.1
7.3 7.4
7.2
7 — LEVELING
2x
1.800.815.7251
enwork.com
12900 Christopher Dr. Lowell, MI 49331
Specications subject to change without notice.
Rev 02.2023

Other Enwork Indoor Furnishing manuals
Enwork TI0036 User manual

Enwork

Enwork TI0036 User manual

Enwork Sawhorse User manual

Enwork

Enwork Sawhorse User manual
Enwork CONCURRENCE User manual

Enwork

Enwork CONCURRENCE User manual

Enwork Grid Frame User manual

Enwork

Enwork Grid Frame User manual

Enwork Stealth User manual

Enwork

Enwork Stealth User manual
Enwork Solano VT2 User manual

Enwork

Enwork Solano VT2 User manual
Enwork Zori Flip Table User manual

Enwork

Enwork Zori Flip Table User manual
Enwork Cayman CM1001 User manual

Enwork

Enwork Cayman CM1001 User manual
Enwork TI0023 User manual

Enwork

Enwork TI0023 User manual

Enwork Stealth User manual

Enwork

Enwork Stealth User manual
Enwork Stealth Service manual

Enwork

Enwork Stealth Service manual
Enwork Grid XTB User manual

Enwork

Enwork Grid XTB User manual
Enwork Concurrence Conference Table User manual
Enwork

Enwork Concurrence Conference Table User manual

Enwork eBench Table User manual

Enwork

Enwork eBench Table User manual
Enwork FE Series User manual

Enwork

Enwork FE Series User manual
Enwork AMBITION User manual

Enwork

Enwork AMBITION User manual

Enwork Odyssey User manual

Enwork

Enwork Odyssey User manual

Enwork EMERSON User manual

Enwork

Enwork EMERSON User manual
Enwork Foundation User manual

Enwork

Enwork Foundation User manual
Enwork Sliding Top Desk User manual

Enwork

Enwork Sliding Top Desk User manual

Enwork eBench Table User manual

Enwork

Enwork eBench Table User manual

Enwork Overhead Storage Manual

Enwork

Enwork Overhead Storage Manual

Enwork Sensation Flip Table User manual

Enwork

Enwork Sensation Flip Table User manual

Enwork IMPRESSION FLIP TABLE User manual

Enwork

Enwork IMPRESSION FLIP TABLE User manual

Popular Indoor Furnishing manuals by other brands
Arthauss Furniture QUERTY LAWA QT-02-B Assembly instruction
Arthauss Furniture

Arthauss Furniture QUERTY LAWA QT-02-B Assembly instruction

BOMBAY 2222161 Assembly instructions

BOMBAY

BOMBAY 2222161 Assembly instructions

Courtyard Creations TGS20SK Assembly instructions
Courtyard Creations

Courtyard Creations TGS20SK Assembly instructions

Lifetime 60205 Assembly instructions

Lifetime

Lifetime 60205 Assembly instructions
Mocka Aspen Wardrobe Assembly instructions
Mocka

Mocka Aspen Wardrobe Assembly instructions

LF allen+roth GSM00281A Quick reference guide
LF

LF allen+roth GSM00281A Quick reference guide

SEI OC208700TX Assembly instruction

SEI

SEI OC208700TX Assembly instruction
modway Render EEI-6228 Assembly instructions
modway

modway Render EEI-6228 Assembly instructions

Whittier Wood Furniture Ellison Queen 3916ASTa Assembly instructions

Whittier Wood Furniture

Whittier Wood Furniture Ellison Queen 3916ASTa Assembly instructions
AKANTE OGIVE CT303 Assembly instructions

AKANTE

AKANTE OGIVE CT303 Assembly instructions

Twin-Star International Tresanti CC32-6989 manual
Twin-Star International

Twin-Star International Tresanti CC32-6989 manual

Furinno 18055 Assembly instruction

Furinno

Furinno 18055 Assembly instruction
Meblik Bookcase 60 quick start guide

Meblik

Meblik Bookcase 60 quick start guide

Symmetry Voyager Assembly instructions
Symmetry

Symmetry Voyager Assembly instructions

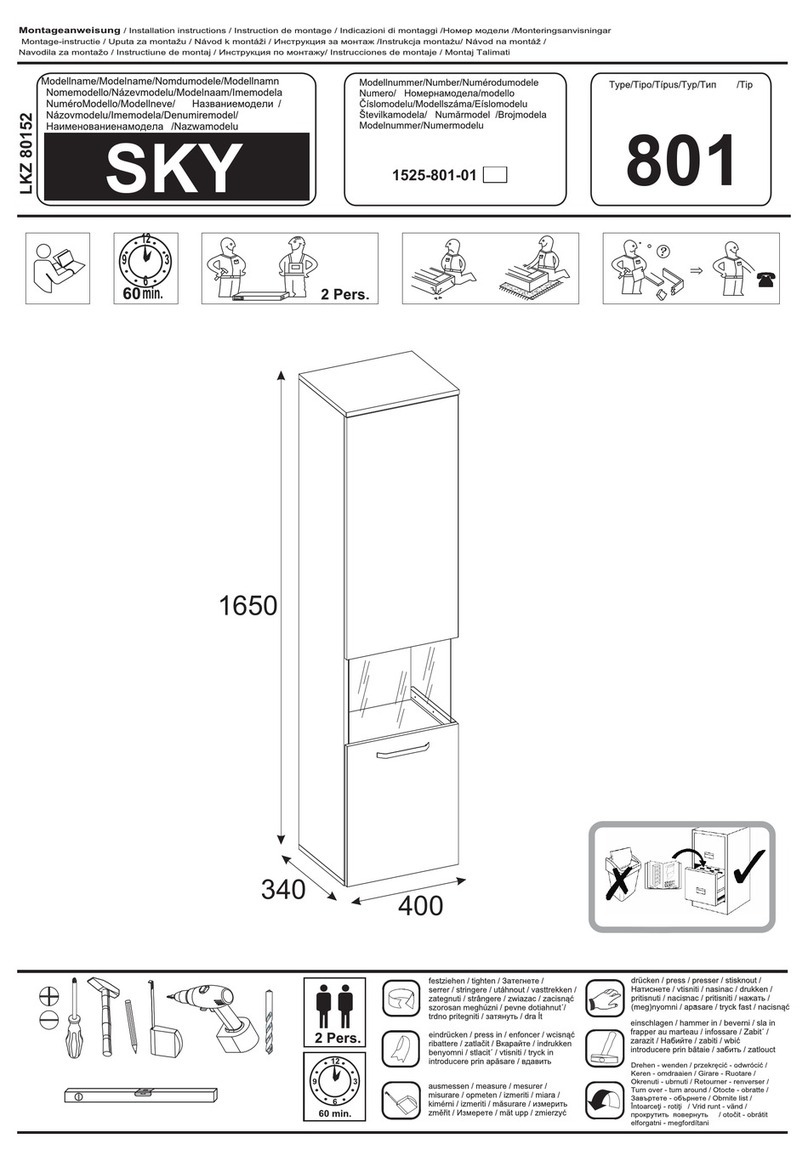
Trendteam SKY 1525-801-01 Installation instruction

Trendteam

Trendteam SKY 1525-801-01 Installation instruction

Alice's Garden FIESTA20 RECCHAIRX6 manual
Alice's Garden

Alice's Garden FIESTA20 RECCHAIRX6 manual

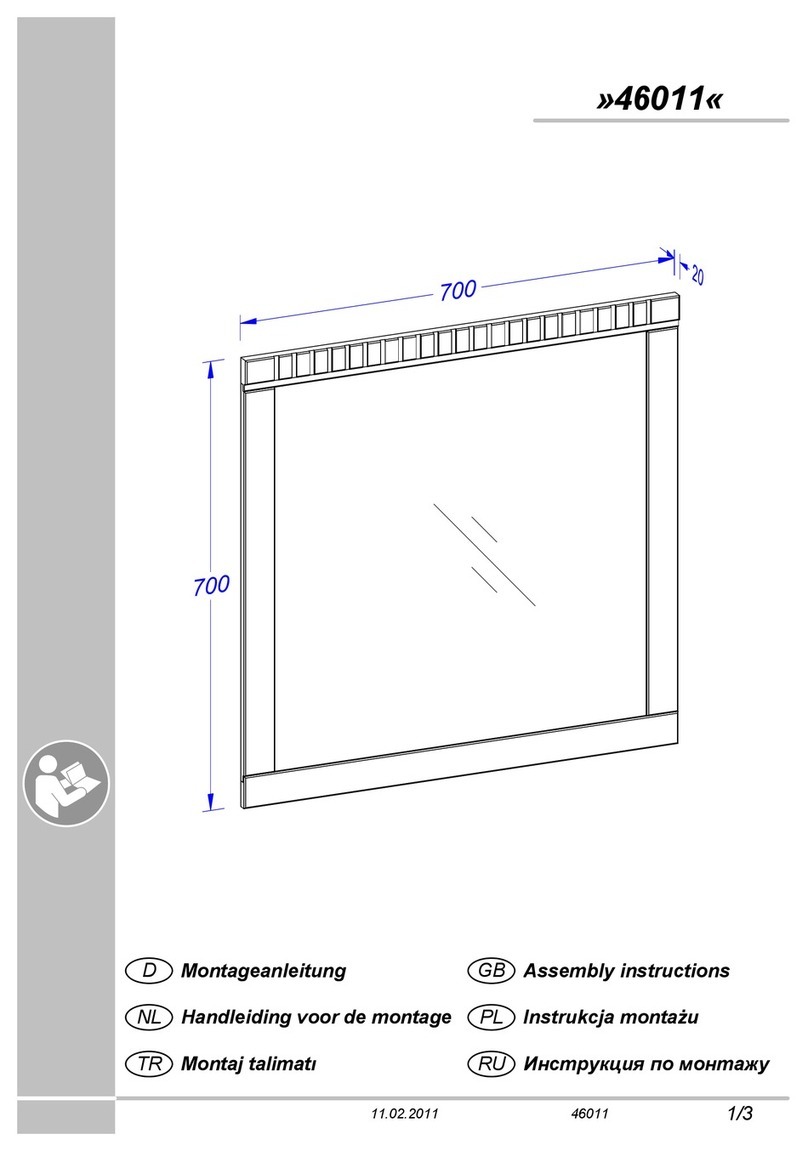
Home affaire Charlotte 46011 Assembly instructions
Home affaire

Home affaire Charlotte 46011 Assembly instructions

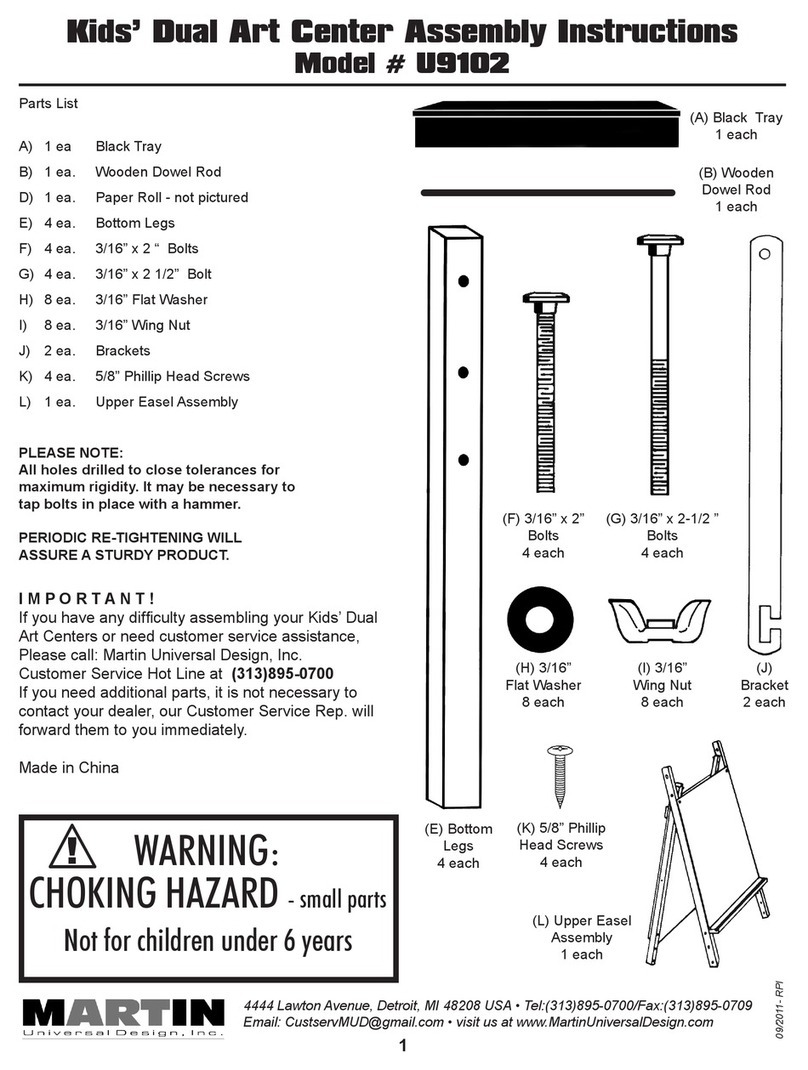
Martin Universal Design U9102 Assembly instructions

Martin Universal Design

Martin Universal Design U9102 Assembly instructions

manuals.online logo
manuals.online logoBrands
  • About & Mission
  • Contact us
  • Privacy Policy
  • Terms and Conditions

Copyright 2025 Manuals.Online. All Rights Reserved.