Contents
Designated use . . . . . . . . . . . . . . . . . . . . . . . . . . . . . . . . . . . . . . . . . . . . . V
Target group . . . . . . . . . . . . . . . . . . . . . . . . . . . . . . . . . . . . . . . . . . . . . . . V
Information on this manual . . . . . . . . . . . . . . . . . . . . . . . . . . . . . . . . . . . VI
Important user instructions . . . . . . . . . . . . . . . . . . . . . . . . . . . . . . . . . . . VII
1. Installation
1.1 General instructions on installation . . . . . . . . . . . . . . . . . . . . . . . 1-3
1.2 Setting the node address and the field bus baud rate . . . . . . . . 1-5
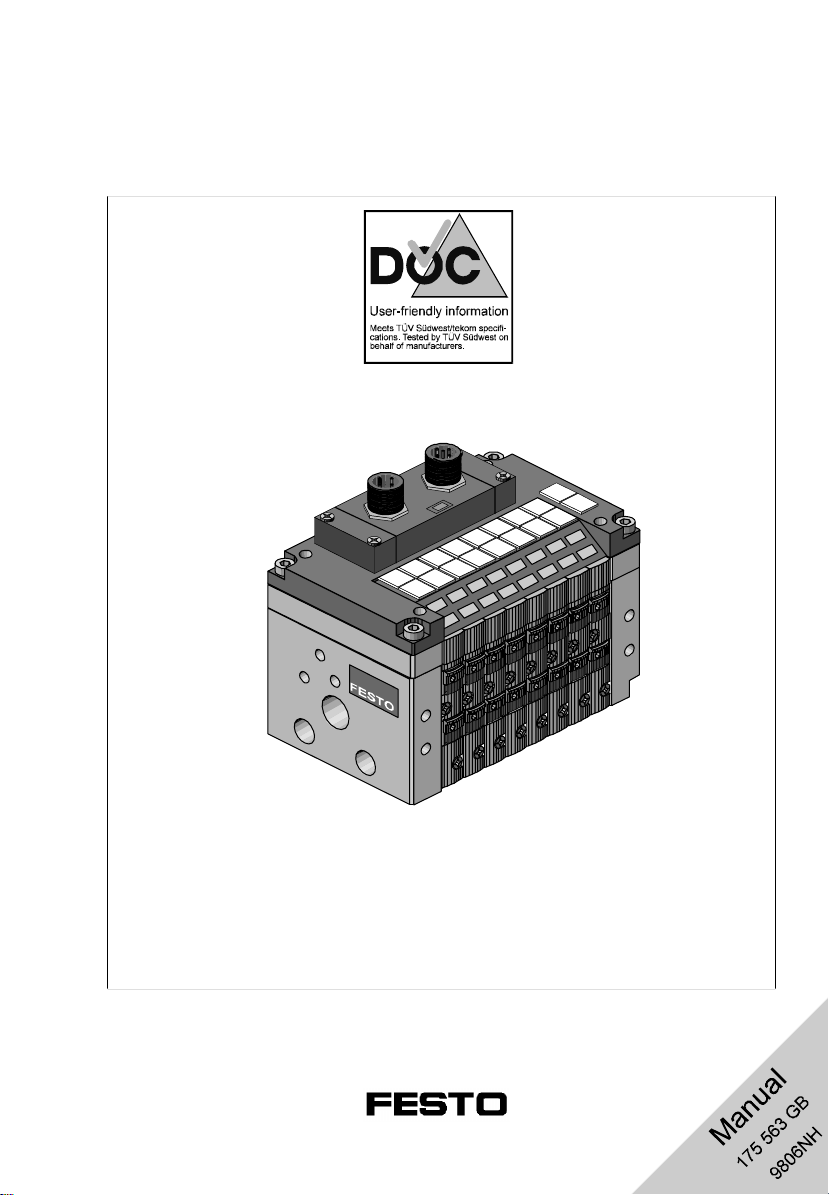
1.3 Connecting the CPV valve terminal. . . . . . . . . . . . . . . . . . . . . . . 1-9
1.3.1 Connecting cable . . . . . . . . . . . . . . . . . . . . . . . . . . . . . . . . . . . . . 1-9
1.3.2 Preparing the connecting cable . . . . . . . . . . . . . . . . . . . . . . . . . 1-11
1.3.3 Selecting the power unit. . . . . . . . . . . . . . . . . . . . . . . . . . . . . . . 1-13
1.3.4 Connecting the load voltage for the CPV valves. . . . . . . . . . . . 1-14
1.4 Connecting the field bus. . . . . . . . . . . . . . . . . . . . . . . . . . . . . . . 1-18
1.4.1 Fitting the terminating resistor . . . . . . . . . . . . . . . . . . . . . . . . . . 1-23
2. Commissioning
2.1 Preparing the CPV valve terminal for commissioning . . . . . . . . . 2-3
2.1.1 Creating the configuration list. . . . . . . . . . . . . . . . . . . . . . . . . . . . 2-3
2.1.2 Address assignment of the CPV valve terminal . . . . . . . . . . . . . 2-4
2.1.3 Switching on the operating voltage . . . . . . . . . . . . . . . . . . . . . . . 2-6
2.2 Commissioning on the DeviceNet . . . . . . . . . . . . . . . . . . . . . . . . 2-7
2.2.1 Extending the EDS library . . . . . . . . . . . . . . . . . . . . . . . . . . . . . . 2-8
2.2.2 Adding a CPV valve terminal to a network . . . . . . . . . . . . . . . . 2-11
2.2.4 Explicit Message . . . . . . . . . . . . . . . . . . . . . . . . . . . . . . . . . . . . 2-16
3. Diagnosis
3.1 Summary of diagnostic possibilities. . . . . . . . . . . . . . . . . . . . . . . 3-3
3.2 Diagnosis via LEDs . . . . . . . . . . . . . . . . . . . . . . . . . . . . . . . . . . . 3-4
3.2.1 Normal operating status. . . . . . . . . . . . . . . . . . . . . . . . . . . . . . . . 3-4
3.2.2 Error display of the module/network status LED . . . . . . . . . . . . . 3-5
3.2.3 LED for the status display of the valve solenoid coils . . . . . . . . 3-6
3.3 Testing the valves . . . . . . . . . . . . . . . . . . . . . . . . . . . . . . . . . . . . 3-7
3.3.1 Starting the test routine . . . . . . . . . . . . . . . . . . . . . . . . . . . . . . . . 3-8
3.3.2 Stopping the test routine . . . . . . . . . . . . . . . . . . . . . . . . . . . . . . 3-8
Contents and safety instructions
CP-DN8 9806NH III