manuals.online logo
Brands
  1. Home
  2. •
  3. Brands
  4. •
  5. Grandview
  6. •
  7. Projection Screen
  8. •
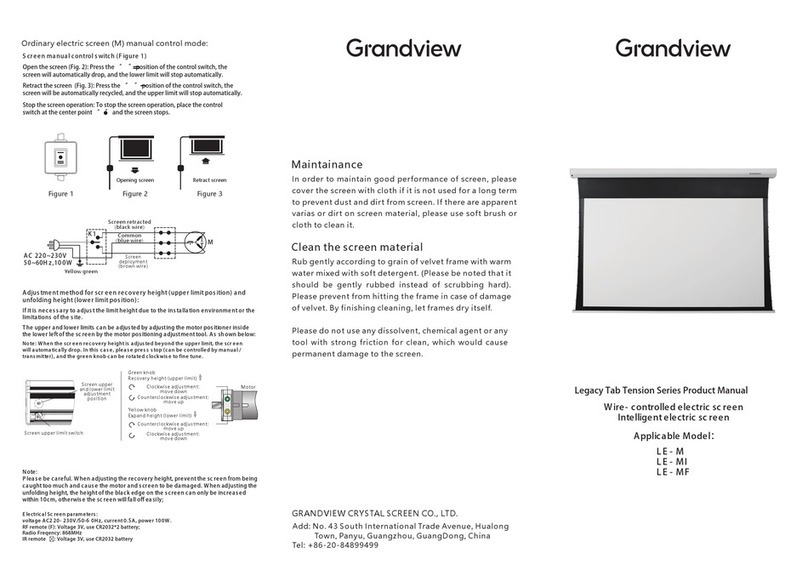
  9. Grandview Edge R2 Series User manual

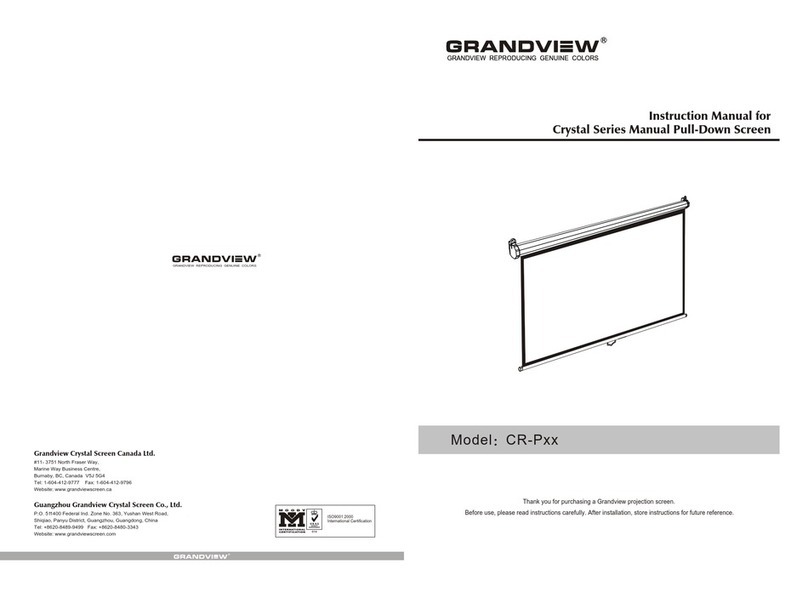
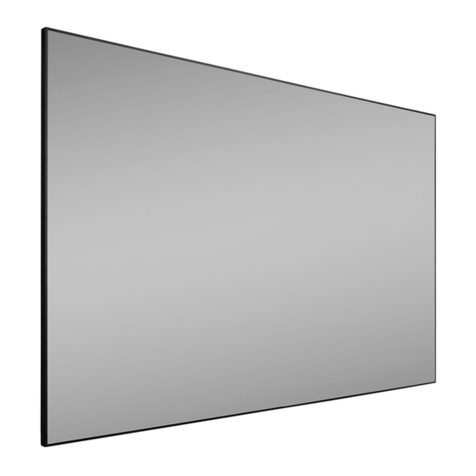
Grandview Edge R2 Series User manual

Installation of screen:
The length of mounting bracket is as half as long frame. tether is
cut according to distance between up and down mount brackets.
The Edge Series R2 frame screen
user manual
Model: PE-xx(R2)
The mounting brackets should be fixed around middle position of
screen, and proper adjustment might be needed according to
installation environment. The four pcs of moutning brackets
should be installed in level. Hole's distance between up and
down mounting brackets should be overall height minus 56mm.
Please check below:
Up
mounting
bracket
Down
mounting
bracket
Unlocked Locked
Note: Horizontal and vertical
adjustments are available
for mounting position.
28 44 44 28
Distance between
horizontal frame cover
and mounting holes on
bracket
Distance between
horizontal frame cover
and mounting holes
on bracket
Distance between installation holes
on mounting brackets
Diagram fro holes on
mounting brackets
For uninstall of screen, unscrew down mounting brackets till it is
loosen from slot of down frame. Lift the screen lightly to make it
go off upper mounting bracket and finish uninstall.
Please make sure the brackets are firmly installed. Hang the
screen onto upper mounting bracket and make adjustment until
upper bracket is at the middle of screen. Let the screen hanged
vertically and tight the screw of down mounting bracket until
screw is attached to slot of down frame. Please check below:
Hang frame onto up
mounting bracket
Adjust down mounting
bracket to lock or unlock
Attach firmly to slot
of down frame
Maintainance
In order to maintain good performance of screen, please
cover the screen with cloth if it is not used for a long term
to prevent dust and dirt from screen. If there are apparent
varias or dirt on screen material, please use soft brush or
cloth to clean it.
Clean the screen material
Rub gently according to grain of velvet frame with warm
water mixed with soft detergent. (Please be noted that it
should be gently rubbed instead of scrubbing hard).
Please prevent from hitting the frame in case of damage
of velvet. By finishing cleaning, let frames dry itself.
Please do not use any dissolvent, chemical agent or any
tool with strong friction for clean, which would cause
permanent damage to the screen.
GRANDVIEW CRYSTAL SCREEN CO., LTD.
Add: No. 43 South International Trade Avenue, Hualong
Town, Panyu, Guangzhou, GuangDong, China
Tel: +86-20-84899499
Distribution:
PureLink GmbH Available from B2B Online Portal
Hook up one end of the spring with the drag hook on the steel bar
at the holes of the screen;firstly hook up the spring at the middle
of the vertical frames, then stick the pointed end of the installation
tool through the handing hook of the spring (Figure 1), then hook
up the other end onto the inner frame (Figure 2). Use the same
method to hook up the springs on the horizontal frame to even the
screen fabric. Finally spread and hang up the fabric to maintain
force uniformity.
12
Drag hook
Tool installation
Note: If there is some wrinkles appear, please wear the provided gloves
and use fingers to gently press and move on edge area of screen
material by left hand to the left side and right hand to the right side.
Screen material installation
Please wear glove provided before assembly of screen material.
Lay flat the EPE cotton mat and lay the screen material flat on it.
Face the rear side of screen material up. (the rear side looks
black and shine). Lay the connected frames as indicated below.
The connected frames should be well arranged at the center of
screen material. Then insert the tension rods by going through
holes on corner of screen material (4 pcs short tension rods are
for horizontal frames, while 2 pcs of long ones are for vertical
frames). Please check below:
Dear Customer:
Thanks for your purchasing Grandview product of Edge-R2
Series frame screen. Please go through the user manual before
use. Please keep the user manual well for future reference.
3
2
1
1 2
3 4
3
5
4
6
1
2
Preparation before Installation
Parts included:
Horizontal Frame Packages x 2 sets---
1sets included: 1PCS Frame with Nuts plate
& Screw installed +1PCS Single Frame
Vertical Frame Packages x 2
sets--- 1PCS Frames with
Nuts plate & Screw installed
Horizontal frame
cover x 4PCS
Vertical frame
Cover x 2PCS
Corner cover
x 4PCS
Screen material
x 1PCS
Long Tension rod x 2PCS ( for
vertical frame)Short Tension
rod x 4PCS ( for horizontal frame)
T joint
x 2PCS
Support bar in the back
x 1PCS
Drag Hook for
fabric x 30PCS
Φ5x18 screw &
Tube x 12SETS
Corner piece
x 4PCS
M6x8 screw
x 40PCS
M5x5 screw
x 4PCS
M5x5 fixing screw
x 20PCS
EPE cotton mat x1PCS
(For Fabric installation
Protection)
Mounting Bracket
x 4PCS
L corner piece
x 4PCS
Tools for installation:
M2.5 hexagon
wrench x 1PCS Tool installation
x 1PCS Screw driver x 1PCS Gloves x 2PCS
Please prepare for suitable tools such as gradienter, tape, marker, etc.
Please make sure precise installation distance and proper installation
position for upper and nether mounting brackets.
Use the proper screws for installation according to the site.
(Use tapping screws for wooden wall and tapping screws with
expansion fixture for concrete wall)
Instruction for installation
Assembly of frames:
Put the horizontal frame on clean floor, then join the horizontal
frames by inserting the nut plate into the other. And place the T
joint on frame joint position. Then align the T joint with nut plate
inserted in the frame. If found the holes are not aligned properly,
please do some adjustment by slightly shifting T joint. Please
screw them with M6 screws tightlywhen there is no seam. Please
check diagram 1, 2.
Rear side
Put corner piece on the both sides of vertical frames and slightly
fix it with one pcs of screw. Please check above diagram 3 and 4.
Kindly insert L corner piece into the tunnel accordingly. please
check diagram 5 above. Then join vertical frames with horizontal
frames, please check diagram 6 above. Screw tight M5 fixing
screws one by one, please check diagram 1 below and
recommendto screw tight L corner pieces located in diagonal
direction. And then we assemble supporting bar with screws,
please check diagram 2 below. After that, please turn over and
screw tight the four corner pieces one by one. Please check
diagram 3 below. If found corner piece is not aligned with nut
plate preinstalled inside of frame properly, please loosen the
fixing screws and do necessary adjustment accordingly before
re-tighten the fixing screws.
EPE cotton mat
Note: Don't fold the screen
material at any time,
because it would
cause permanent
damage. Tension rod
Note: Make sure it is clean
and there are no any
sundries on EPE
cotton mat before
putting screen
material on it.
Installation of frame cover:
Please assemble the corner cover into horizontal frame covers,
and mount the horizontal frame cover onto horizontal frames.
And then mount the vertical frame cover onto vertical frames to
finished assembly. Please check below:
Distribution:
PureLink GmbH Available from B2B Online Portal
This manual suits for next models

2

Other Grandview Projection Screen manuals

Grandview Large-flat Series User manual

Grandview

Grandview Large-flat Series User manual

Grandview GRUC040V User manual

Grandview

Grandview GRUC040V User manual

Grandview Motorised Rising Screen User manual

Grandview

Grandview Motorised Rising Screen User manual

Grandview CB-UY92 User manual

Grandview

Grandview CB-UY92 User manual

Grandview Deluxe Pull Down User manual

Grandview

Grandview Deluxe Pull Down User manual

Grandview Large Stage MBII User manual

Grandview

Grandview Large Stage MBII User manual

Grandview Pull Up User manual

Grandview

Grandview Pull Up User manual

Grandview SkyShow Series User manual

Grandview

Grandview SkyShow Series User manual

Grandview CB-Mxx User manual

Grandview

Grandview CB-Mxx User manual

Grandview Dynamique R3 User manual

Grandview

Grandview Dynamique R3 User manual

Grandview FC-FHMF Series User manual

Grandview

Grandview FC-FHMF Series User manual

Grandview LF-HMF-xxx User manual

Grandview

Grandview LF-HMF-xxx User manual

Grandview CB-Pxx User manual

Grandview

Grandview CB-Pxx User manual

Grandview Edge R7 User manual

Grandview

Grandview Edge R7 User manual

Grandview DIAS DI-M Series User manual

Grandview

Grandview DIAS DI-M Series User manual

Grandview CN Series User manual

Grandview

Grandview CN Series User manual

Grandview Cyber Series CB-MIxx User manual

Grandview

Grandview Cyber Series CB-MIxx User manual

Grandview Fantasy Series FA-Mxx User manual

Grandview

Grandview Fantasy Series FA-Mxx User manual

Grandview PT-L Series User manual

Grandview

Grandview PT-L Series User manual

Grandview LF-PHxx(DY) User manual

Grandview

Grandview LF-PHxx(DY) User manual

Grandview Large Sky-Show User manual

Grandview

Grandview Large Sky-Show User manual

Grandview Sky-Show User manual

Grandview

Grandview Sky-Show User manual

Grandview Smart Screen User manual

Grandview

Grandview Smart Screen User manual

Grandview Tripod User manual

Grandview

Grandview Tripod User manual

Popular Projection Screen manuals by other brands

Elite Screens Evanesce Tension Series user guide

Elite Screens

Elite Screens Evanesce Tension Series user guide

Silver Ticket STR-169120 Assembly Installation Guide

Silver Ticket

Silver Ticket STR-169120 Assembly Installation Guide

Screen Innovations Transformer owner's manual

Screen Innovations

Screen Innovations Transformer owner's manual

Classic Exhibits Sacagawea Designs VK-2109 Setup instructions

Classic Exhibits

Classic Exhibits Sacagawea Designs VK-2109 Setup instructions

Elite Screens 100 series user guide

Elite Screens

Elite Screens 100 series user guide

Euroscreen CFW180 MONTAGE

Euroscreen

Euroscreen CFW180 MONTAGE

Da-Lite TENSIONED DUAL MASKING ELECTROL Instruction book

Da-Lite

Da-Lite TENSIONED DUAL MASKING ELECTROL Instruction book

Cirrus Screens Tauten G3 Mounting instructions

Cirrus Screens

Cirrus Screens Tauten G3 Mounting instructions

weinor Semina Life Maintenance instructions and directions for use

weinor

weinor Semina Life Maintenance instructions and directions for use

Akia Screens EDGE FREE Series user guide

Akia Screens

Akia Screens EDGE FREE Series user guide

Elite Screens QuickFold Q100V user guide

Elite Screens

Elite Screens QuickFold Q100V user guide

Photoflex FlexDrop instructions

Photoflex

Photoflex FlexDrop instructions

STILFORD JBSC705WBK Assembly instructions

STILFORD

STILFORD JBSC705WBK Assembly instructions

Elite Screens TE100HC2 user guide

Elite Screens

Elite Screens TE100HC2 user guide

Elite Screens B SERIES Quick user guide

Elite Screens

Elite Screens B SERIES Quick user guide

Draper Access XL Installation & operating instructions

Draper

Draper Access XL Installation & operating instructions

Kimex 046 Series user manual

Kimex

Kimex 046 Series user manual

EPV PowerMax Series user guide

EPV

EPV PowerMax Series user guide

manuals.online logo
manuals.online logoBrands
  • About & Mission
  • Contact us
  • Privacy Policy
  • Terms and Conditions

Copyright 2025 Manuals.Online. All Rights Reserved.