manuals.online logo
Brands
  1. Home
  2. •
  3. Brands
  4. •
  5. Grandview
  6. •
  7. Projection Screen
  8. •
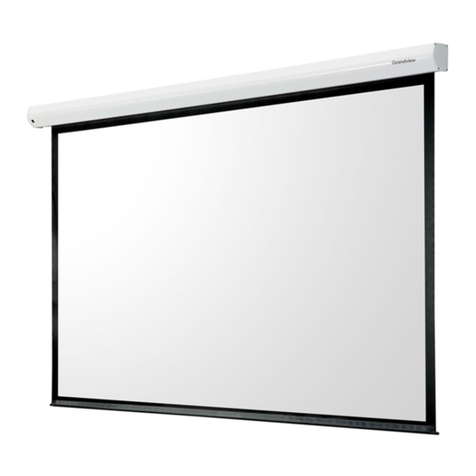
  9. Grandview Legacy Series User manual

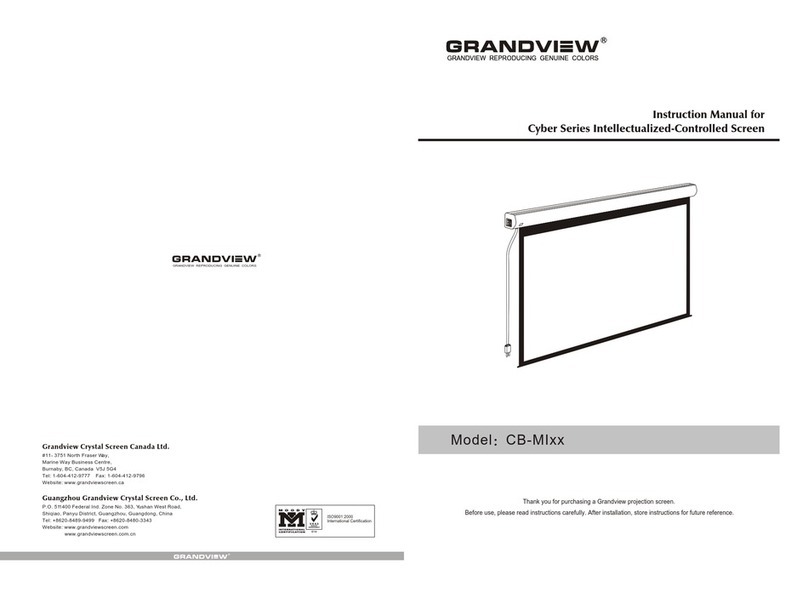
Grandview Legacy Series User manual

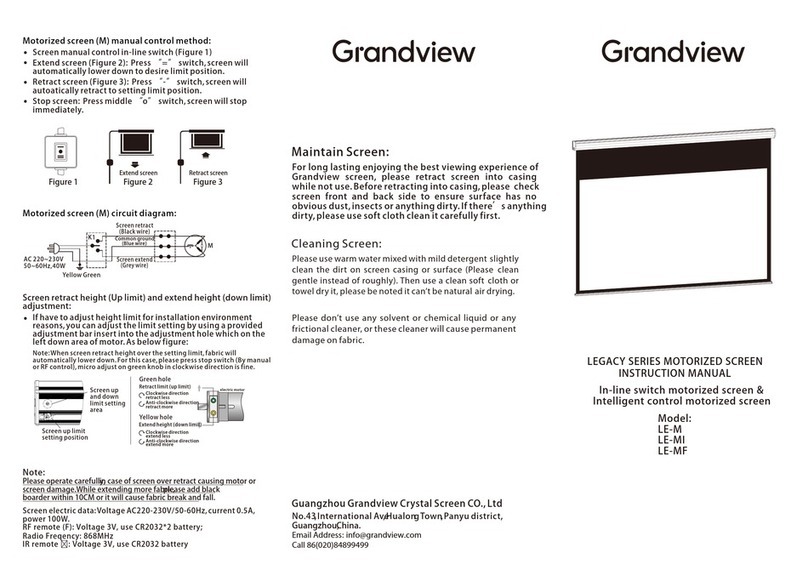
Ordinary electric screen (M) manual control mode:
S cr een ma nua l control s witch (F igure 1)
Open the screen (Fig. 2): Press the “ ” position of the control switch, the
screen will automatically drop, and the lower limit will stop automatically.
Figure 1
Opening screen
AC 22 0~230V
50~60H z ,10 0W
Yellow green
M
K 1
Maintainance
In order to maintain good performance of screen, please
cover the screen with cloth if it is not used for a long term
to prevent dust and dirt from screen. If there are apparent
varias or dirt on screen material, please use soft brush or
cloth to clean it.
Clean the screen material
Rub gently according to grain of velvet frame with warm
water mixed with soft detergent. (Please be noted that it
should be gently rubbed instead of scrubbing hard).
Please prevent from hitting the frame in case of damage
of velvet. By finishing cleaning, let frames dry itself.
Please do not use any dissolvent, chemical agent or any
tool with strong friction for clean, which would cause
permanent damage to the screen.
GRANDVIEW CRYSTAL SCREEN CO., LTD.
Add: No. 43 South International Trade Avenue, Hualong
Town, Panyu, Guangzhou, GuangDong, China
Tel: +86-20-84899499
L E - M
L E - MI
L E - MF
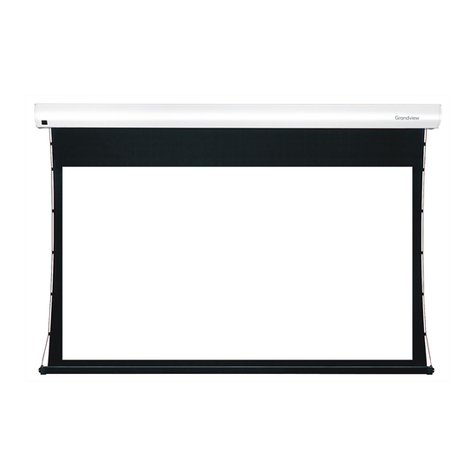
Legacy Tab Tension Series Product Manual
Applicable Model:
Wire- controlled electric sc reen
Intelligent electric sc reen
Retract the screen (Fig. 3): Press the “ ” position of the control switch, the
screen will be automatically recycled, and the upper limit will stop automatically.
Stop the screen operation: To stop the screen operation, place the control
switch at the center point “ ” and the screen stops.
Figure 2 Figure 3
Retract screen
Screen retracted
(black wire)
Common
(blue wire)
Screen
deployment
(brown wire)
Adjus tme nt me thod for scr e e n recove ry height (uppe r limit pos ition) and
unfolding he ight (lower limit pos ition):
If it is ne c es s ary to a djus t the limit he ight due to the ins talla tion e nvironme nt or the
limitations of the s ite.
T he upper a nd lower limits can be adjus ted by adjusting the motor pos itioner insi de
the lower left of the sc reen by the motor pos itioning adjustment tool. As sh own below:
No te: W hen the scr een re c ove ry he ight is adjus ted beyond the uppe r limit, the scr ee n
will a utoma tic ally drop. In this ca se, pleas e pre s s s top (ca n be controlled by ma nua l /
trans mitte r), and the green knob c an be rota ted c lock wis e to fine tune.
Screen upper
and lower limit
adjustment
position
Screen upper limit switch
Green knob
Recovery height (upper limit)
Clockwise adjustment:
move down
Counterclockwise adjustment:
move up
Yellow knob
Expand height (lower limit)
Clockwise adjustment:
move down
Counterclockwise adjustment:
move up
Motor
Note:
Pleas e be careful. W hen adjusting the recovery height, prevent the sc reen from being
caught too muc h and c aus e the motor and s cree n to be da ma ged. W he n adjusting the
unfolding height, the height of the black edge on the s c reen can only be increas ed
within 10cm, otherwis e the sc reen will fall off ea sily;
E lectrical Sc reen parameters :
voltage A C2 20- 230V /50-6 0Hz , cur rent 0.5A , power 100W .
RF remote (F): Voltage 3V, use CR2032*2 battery;
Radio Freqency: 868MHz
IR remote : Voltage 3V, use CR2032 battery
GND
8P 8C
P 1
D 9B
1
6
2
7
3
5
T X D
8
4
9
USB Serial Port (COM3) Attributes
常规 端口设置 驱动程序 详细信息 事件
2400
8
无
位/秒(B):
数据位(D):
奇偶校验(P):
高级 A
()
…还原默认值(R)
1
无
停止位(S):
流控制(F):
General
Baud Rate: 2400
Data Bits: 8
Parity:
Stop Bits: 1
Flow Control:
Baud Rate:
it second( ):
ata bit( ):
spected user
T hank you for purchas ing the G ra ndvie w L egacy s erie s projection s cre en.
P lea s e read the manual carefully before us e. P leas e read the colle c tion
after rea ding for future refe renc e!
nstallation preparation
Ins ta lla tion A c c e s s ories
apping
screw cap sets
Ceiling hanger
pcs
otor positioning
ad ust ent tool( pc)
otor positioning
ad ust ent tool( pc)
Hanging plate lock
block (2pcs)
crew Hex wrench
(1pc)
pcs
all top ounting
nstall the ounting brac t on a wall
ceiling of sufficient weight and ep the
sa e hori ontal line fro both ends of
the screen casing c fro both ends
as shown on the right
(draw an erasable hori ontal line
oosen the loc ing screw and lower the loc ing bloc to the ini u igure
ightening
screw ight
bloc
he top ends of the screen casing are hori ontall attached to the top of the ounting
brac et and pushed into the ounting brac et so that the top slot is buc led into the
top slot of the ounting brac et and the latch pushed into the ounting brac et
a es a sound indicating that the screen has been securel buc led into the
installation ra e loc ing screws fi d screen igure
pper slot
ower slot
oc ,
able effect
utton for
controlling
the loc
ote hen re o ing the screen loosen the screw at the botto of the ounting
brac et press down on the button on the top of the ounting brac et and re o
the screen as shown abo
S us pens ion ins ta llation
nsert the hanging plate loc bloc into the s uare hole of the hanging plate then pass
the inside and outside through the hanging plate slot nd then align it with the screw
hole s shown
efer to the wall to the installation distance and
and connect the screen housing to the
on the r ed the is attached to the ceiling and
connected to the hole in the hanging plate on the scr shown
P recautions
efore ou officiall launch the screen be sure to clear all the stic rs that connect the
botto bar and the botto of the screen
Important ma tters
efore installation be sure to chec the installed position ceiling or wall and the
suspension de ice can withstand loads abo e otherwise accidents a occur
his product uses a single phase C power suppl t ust be connected to a soc t
with a ground wire and the grounding is good
his product uses a single phase C power suppl t ust be connected to a soc t
with a ground wire and the grounding is good
C onne ct the power s upply
he rand iew pro ector screen is e uipped with a standard power plug so ou can
easil plug the plug into the soc t and our screen will be read for use
S creen control function des cription Intelligent
electric s cre en has 4 kinds of control methods :
anual control c cle button
nfrared control or wireless control
Cr contact control
or control
C clic
se the screen control port
eed to co pletel open
the end cap
anual control button
s r
contact
interface
A Ma nua l c ontrol
he anual control button is at the left end of the screen housing near the s and
dr contact interface his button is a c clic control button
C Dry c ontact control
he control output port is connected to the plug
ro the left and are control lines
ine
nu ber
unction ublic own top p
Public
Down
Stop
Up
D R S 485 or R S 232 control
he control output port is connected to
the plug ro the left the
and lines are the control lines and the
control is connected he line is
and the line is he s
control connection is as shown
R S 485/R S 232 port s ettings
it rate
ata bit digits
arit none
top position
Hexa decimal control c ode
ff ee ee ee dd
ff ee ee ee cc
ff ee ee ee ee
art of the central control should
set the address code:ff ee ee ee aa
Note
hen connecting to or s
if there is control that does not control
the screen please re erse the two
control lines iring loop resistance is
less than ΩCannot be routed in
parallel with strong interference sources.
Port
Settings ri er
ettings Details ents
rit ( ):
op position( ):
low control ( ):
none
none
ad anced( )... estore defaults
confir cancel
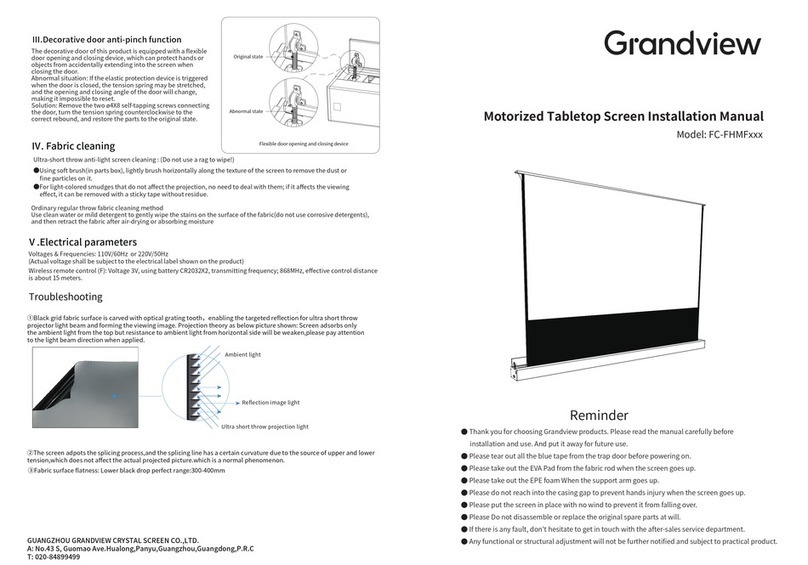
Tension device instructions
Wire loose state
push push and twist release
Regulation
status Tight
Grab the lower pole and use M3 hex wrench to push and twist the hex axis in Clockwise
direction to adjust the tab tension. until it’s adjusted to the proper position.
B. -MI for IR: AC127 / -MF for RF: AC123
UP : screen UP
STOP: screen STOP
DOWN: screen DOWN
Mirco-up: retract the screen in small
increment
Mirco-down: lower the screen in
small increment
IR: transfer signal by IR
(Wavelength: 940Nm)
RF: Pre-set in factory; transfer signal by Radio wave(868MHz).
Programming code setting:
Screen connects to power within 10 seconds (in programming mode),
press the UP& STOPbuttons together on the remote. Pairing completed.
Programming code Clearing:
Screen connects to power within 10 seconds (in programming mode),
press the UP& STOP buttons together on the remote. Clearing completed.
RJ45 8P8C
8
7
6
5
4
3
2
1
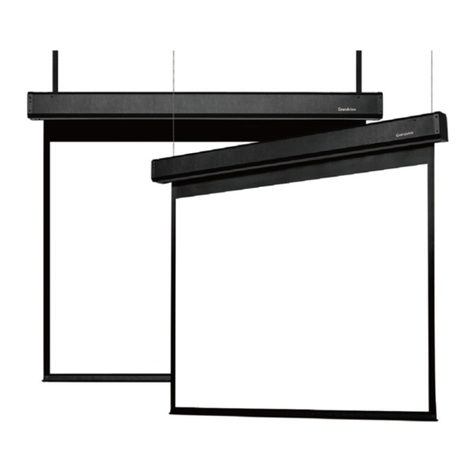
This manual suits for next models

3

Other Grandview Projection Screen manuals

Grandview SkyShow Series User manual

Grandview

Grandview SkyShow Series User manual

Grandview Edge R1 Series User manual

Grandview

Grandview Edge R1 Series User manual

Grandview Dynamique R3 User manual

Grandview

Grandview Dynamique R3 User manual

Grandview FC-FH-MI II Series User manual

Grandview

Grandview FC-FH-MI II Series User manual

Grandview EL-Pxx User manual

Grandview

Grandview EL-Pxx User manual

Grandview LEGACY Series User manual

Grandview

Grandview LEGACY Series User manual

Grandview CB-UY92 User manual

Grandview

Grandview CB-UY92 User manual

Grandview Ultimate PP-G Series User manual

Grandview

Grandview Ultimate PP-G Series User manual

Grandview LF-VMF-77 User manual

Grandview

Grandview LF-VMF-77 User manual

Grandview CB-Mxx User manual

Grandview

Grandview CB-Mxx User manual

Grandview GRUC070V User manual

Grandview

Grandview GRUC070V User manual

Grandview Smart Screen User manual

Grandview

Grandview Smart Screen User manual

Grandview SkyShow Series User manual

Grandview

Grandview SkyShow Series User manual

Grandview Sky-Show User manual

Grandview

Grandview Sky-Show User manual

Grandview GRIP084V User manual

Grandview

Grandview GRIP084V User manual

Grandview FC-FH-MF II Series User manual

Grandview

Grandview FC-FH-MF II Series User manual

Grandview LF-PU Series User manual

Grandview

Grandview LF-PU Series User manual

Grandview FC-M User manual

Grandview

Grandview FC-M User manual

Grandview EDGE R3 PE-L Series Instruction Manual

Grandview

Grandview EDGE R3 PE-L Series Instruction Manual

Grandview FC-FHMF Series User manual

Grandview

Grandview FC-FHMF Series User manual

Grandview Dynamique R3 User manual

Grandview

Grandview Dynamique R3 User manual

Grandview Fast Fold User manual

Grandview

Grandview Fast Fold User manual

Grandview CB-Pxx User manual

Grandview

Grandview CB-Pxx User manual

Grandview Large Stage MBII User manual

Grandview

Grandview Large Stage MBII User manual

Popular Projection Screen manuals by other brands

Da-Lite DESIGNER MANUAL SCREEN operating instructions

Da-Lite

Da-Lite DESIGNER MANUAL SCREEN operating instructions

Herma 2C504 user manual

Herma

Herma 2C504 user manual

Elite Screens Aeon CineGrey 4D AT Series user guide

Elite Screens

Elite Screens Aeon CineGrey 4D AT Series user guide

Dragonfly DFM-TAB-84 installation guide

Dragonfly

Dragonfly DFM-TAB-84 installation guide

Bretford Basics 7000-M Product information

Bretford

Bretford Basics 7000-M Product information

Carson Preference Series instruction manual

Carson

Carson Preference Series instruction manual

DNP ClearSign installation guide

DNP

DNP ClearSign installation guide

Rockhood TouchWin TH465-M user manual

Rockhood

Rockhood TouchWin TH465-M user manual

TL Elektronic INTEGRA EMS TL-6760 Configuration manual

TL Elektronic

TL Elektronic INTEGRA EMS TL-6760 Configuration manual

Da-Lite Theater-lite Instruction book

Da-Lite

Da-Lite Theater-lite Instruction book

Severtson GE169 SERIES instruction manual

Severtson

Severtson GE169 SERIES instruction manual

Draper Access/Series M Installation & operating instructions

Draper

Draper Access/Series M Installation & operating instructions

Renson Fixscreen (F) Series user manual

Renson

Renson Fixscreen (F) Series user manual

Draper Lace & Grommet Installation & operation instructions

Draper

Draper Lace & Grommet Installation & operation instructions

Beamax PSCHP1399 user manual

Beamax

Beamax PSCHP1399 user manual

Projecta Tensioned Descender Electrol Mounting instruction

Projecta

Projecta Tensioned Descender Electrol Mounting instruction

Da-Lite Viewshare tensioned Advantage Electrol Instruction book

Da-Lite

Da-Lite Viewshare tensioned Advantage Electrol Instruction book

Teknion Leverage Assembly

Teknion

Teknion Leverage Assembly

manuals.online logo
manuals.online logoBrands
  • About & Mission
  • Contact us
  • Privacy Policy
  • Terms and Conditions

Copyright 2025 Manuals.Online. All Rights Reserved.