91
≥400mm
S1 SW- PB
S2 SW- PB
S3 SW- PB
ST OP
UP
DO WN
8P 8C R S-2 32
P1
8
7
6
5
4
3
2
1
1
6
2
7
3
8
4
9
5
R 45
J
8 7 6 5 4 3 2 1
1
RS 485-B
RS 232-G ND
2345678
RS 485-A
RS 232-T XD
Rj45
Rj45
205
102.5
16
38
260
158
180
222
≥200
≥100
≥100
Screen structure
Left hanging plate Casing centerline
Right Hanging plate
Casing
Fabric centerline
Power
cable
Motor
exchange
port
Accessories
Motorized adjust tool (1) Remote control(1pc) Warranty Card (1)
Instruction manual (1)
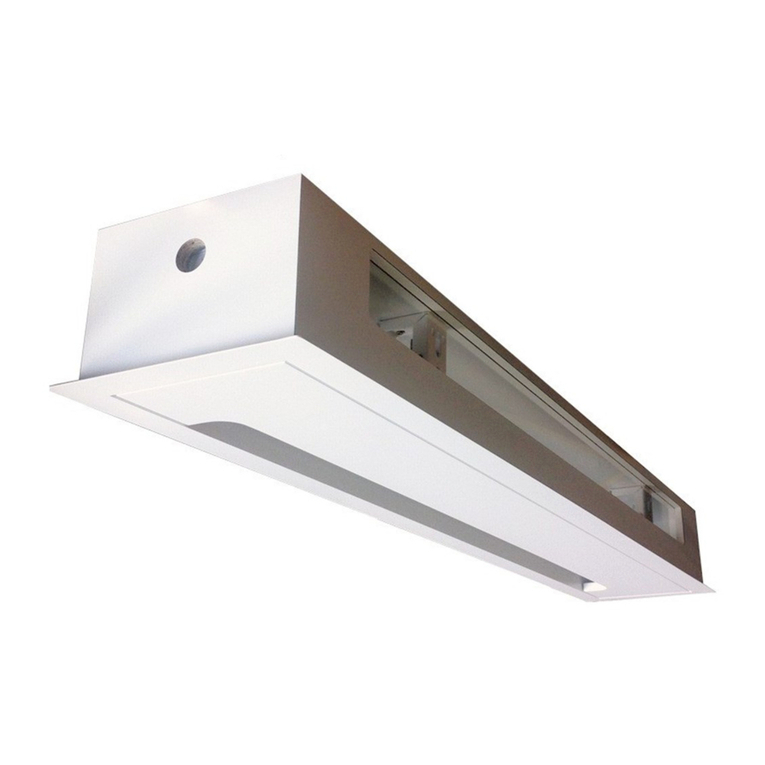
Screen hidden installation location
Installation method and precautions
Note: Due to structural reasons, the position of the screen is not the center of the screen, but it is offset by about 91mm to
the right. This should be taken into account when determining the location of the mounting hole; it is also recommended
to keep a distance of 0.4 meters on the side of the screen power cord for future ser vice.
Suspension installation
Measure the horizontal distance of the hanging plate (the hanging plate can adjust the position within the size range
according to the actual situation), and determine the installation position of the screen with the length of the product.
Recommended hook type is adjustable;
Remain distance
on the left Suspension distance
(P)
Load bearingLoad bearing Anti-dropping
Space between
hanging board
and screen
edge
Space between
hanging board
and screen
edge
Total length of screen
Hook the hooks to the middle circular holes on the left, middle and right hanging plates respectively, adjust the length of the
hooks to the level of the screen, and complete the lifting; ( Note: The left and right hanging plates are the main stress points, and
the middle hanging plate is the secondary stress point. and the middle hanging plate is only suitable for shell length 6≥ meters, less
than 6 meters, no need to install the middle hook)
Total length of
screen / 2
Screen control function description
Manual control
Intelligent electric screen has 4 control methods:
A. Manual control (cycle button)
B. Wireless control
C. Dry contact control
D. RS485 or RS232 control
The manual control button is on the left end of
the screen casing (near the RJ45 interface).
This button is a circular control button.
Wireless control
Press the up button, the screen will rise
Press the stop button the screen stop
Press down button, the screen drops
Stop
Stop
Up Down
Circular
Stop Up
Down
Wireless transmitter Positioning
Settings Key
Cable
Circular
Code pairing / deleting (pairing is successful when leave factory)
The first type: long press the cycle button for 3 seconds, the screen is jogged once to enter the code-matching state; within
10 seconds, press the remote control up and stop keys simultaneously, the screen is jogged again to complete the code-
matching; code deletion is the same as code-coding Odd times are pairing; even times are deleting.
The second type: disconnect the independent power of the screen for 10 seconds and then reconnect the power. Press the
remote control up and stop buttons simultaneously within 10 seconds, the screen is jogged a little, and the code is
Code deletion is the same as code pairing operation. The odd operation is code pairing and the even operation is code deletion.
Intelligent electronic stroke positioning (this product can set the up and down stroke of the curtain through the remote control)
Operation method:
Upward stroke setting: Positioning setting key (light on) → Up key → Up and down remote control to the desired position → Stop
→ Positioning setting key (light off ) → Upward travel record success
Downstroke setting: Positioning setting key (light on) → Down arrow key → Remote control up and down to the desired position
→ Stop → Positioning setting key (light off ) → Downstroke recorded successfully
Dry contact, RS485 or RS232 control
Connection diagram
Rj45 each line menu
Connection
por t line
number
Function Stop Up Down Public
line
Pub l ic line
Hook
