manuals.online logo
Brands
  1. Home
  2. •
  3. Brands
  4. •
  5. Grandview
  6. •
  7. Projection Screen
  8. •
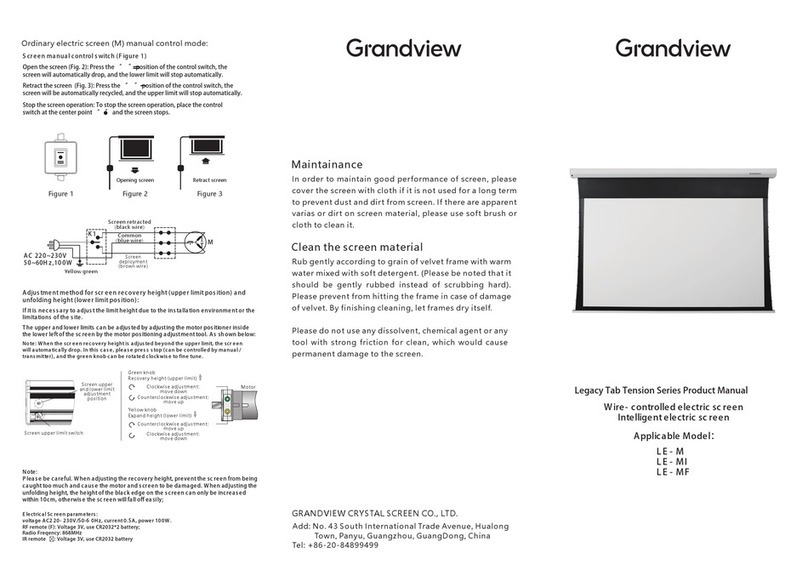
  9. Grandview SkyShow Series User manual

Grandview SkyShow Series User manual

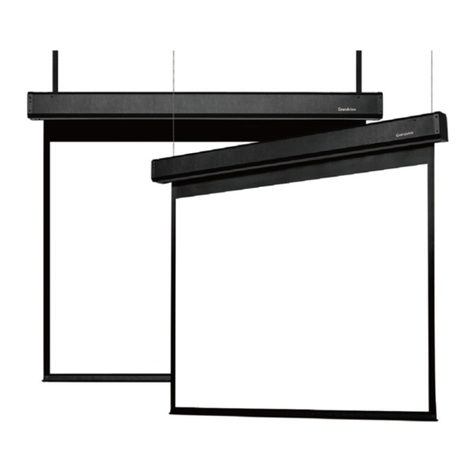
Integrated Motorized Screen
User Manual for SkyShow
Series Model D
Suitable for Model Named SK-MI(F)
Protecting your Screen:
To ensure long lasting viewing enjoyment keep
the screen rolled up when not in use. Check both
the front and back surfaces before retracting into
the case to make sure it is free of dust, dirt, insects
or other foreign matter.Use a soft brush or cloth to
lightly remove any foreign particles.
Cleaning your Screen:
Use warm water with a mild detergent to remove
any marks on the surface or screen casing (only
dab, do not rub). Immediately dry the screen with
a soft cloth or towel.Do not leave it to air dry.
Never use any solvents,chemicals or abrasive
cleaners on the screen surface as they can
permanently damage the screen surface.
Guangzhou Grandview Crystal Screen CO., Ltd
No.43 building,South national trade avenue,Hualong town,
Panyu district,Guangzhou City,Guangdong Province,CHINA.
For information please go to www.grandviewscreen.com or
call 86 (020) 84899499
Screen: Voltage AC220-230V/50-60HZ,0.27Amp,power 60watts.
RF remote(F): Voltage 3V,use CR2450*1 battery.
Radio Frequency: 433Hz.maximum control distance 15m.
Setting for Up and Down Limited Positioning for Motor:
The limited positioning of motor has been defaulted when
EX-factory,it is not allowed to reset.
Note:
When setting RS232 or RS485,if the screen is not able to
operate as it is,please switch position of No.1 and No.2.
The electric resistance of return circuit is less than 20Ω.
Do not do wiring nearby interference sources.
S1 SW-PB
S2 SW-PB
S3 SW-PB
STOP
UP
DOWN
8P 8C RS-232
P1
8
7
6
5
4
3
2
1
1
6
2
7
3
8
4
9
5
1
RS485-B
RS232-GND
2345678
RS485-A
RS232-TXD
8 7 6 5 4 3 2 1
R 45
J
Dry Contact,RS485 & RS232 Wiring Map:
Line
Function STOP UP DOWN COMMON
LINE
CO MM ON
LINE
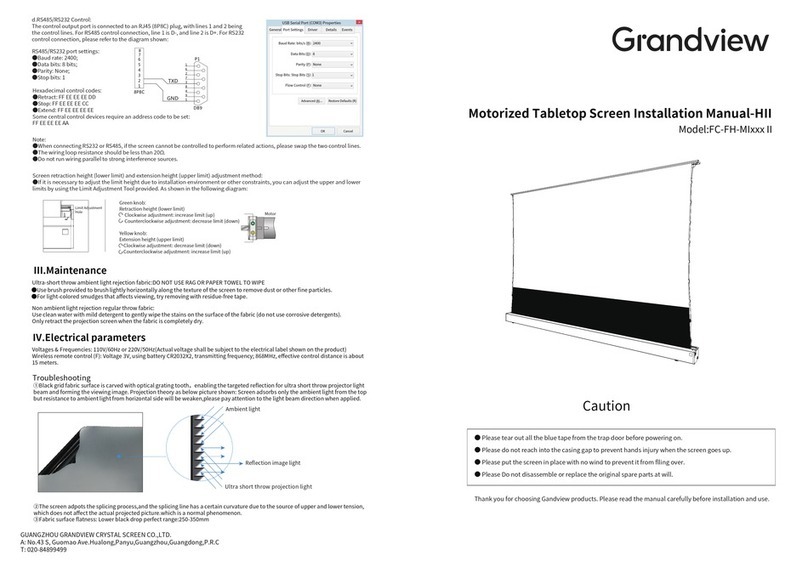
RS485/RS232 control protocal:
Baud Rate: 2400
Data Bits: 8
Stop Bits: 1
Parity: None
Hex command:
Screen UP: ff ee ee ee dd
Stop: ff ee ee ee cc
Down: ff ee ee ee ee
In some cases you may need to
enable the RS-232 control by
sending hex command:
ff ee ee ee aa
USB Serial Port (COM3) Property
Detail Event
Drive Program
General Port
Confirm
Advanced Restore
Baud Rate: 2400
Data Bits: 8
Parity: None
Stop Bits: 1
Flow Control: None
Cancel
CAUTION
Please prepare below necessary Installation tools: Screws
driver, leveling Instrument,tape measure and marker.
Installation preparation
Before installation,please measure the installation screws
distance and mark the screws position.
It must be assured the screen is fixed firmly onto the wall
which is strong enough according to the size and self weight.
After installation,keep the casing both edge level.
Dear Customers:
Thank you for the purchasing of Grandview Skyshow series D-
type projection screen. Before your normal using of product,
please read the specification first,and keep it well for future
reference.
Ceiling hanging Installation
Side(view) Front(view)
Low bar
Screen
fabric
Black
border
Casing
Strap
Screen
shell
Motor/Circuit Board
Inspection Hole
Accessaries:
Motor position
adjustment tools
(1pcs)
Remote
controller(1pc)
WARNING: Please guarantee ceiling or wall or
suspension device can bearing 4 times of product
net weight before installation,otherwise people
hurt and property losses possible to happen by the
reason of screen falling.
WARNING: Installation position must strictly fit for
the dimension of product,to avoid problems like
product cannot be installed or install leaning.
Make sure the hook is well fixed onto the ceiling, hang the
screen on and lock the buckle. Ensure the hook and buckle is
well installed in case of dropping accidentally,figure below:
Recommend leaving
Min.1000mm distance
from edge in case of
future repairing.
Required Installation
distance
Hook
Concrete ceiling
It is recommended to use hook available with adjustable
length,please check below:
Ceiling hanging Installation
Mounting
bracket
Mounting
bracket
Leave at least 1000mm spare distance on the left edge
referring to ceiling hanging installation. Fix the left and right
mounting brackets with screws onto wall and make it firm.
Please check below:
Ceiling mounting
Leave at least 1000mm spare distance on the left edge
referring to ceiling hanging/ ceiling mounted installation.Fix
the left and right mounting brackets with screws onto wall
and make it firm. Please check below:
Wall mounted installation
Mounting
bracket
Power connection:
Grandview screen is pre-install with your local plug, you can
operate the screen easily when power supply is connected.
Caution:
Please remove all the stickers before operate the screen.
Important note:
This product is using Single-phase AC power supply, must well
connected to earth wire before operation.
Stop
Stop
Up Down
Cycle control
B. RF remote with model name :
Press Up button, screen retract
Press Stop button, screen stop
Press Down button, screen expand
RF remote is pre-setting in factory with
the screen,also can reset if necessary.
Electronic positioning by Remote
User could set the down limit with remote according to requirement.
Remote pairing:
It's the remote paring status once motor connect to the power within
10 seconds. Press UP & STOP button together for remote pairing with
screen, once done, operate screen go down and go up once for test.
Remote un-pairing:
It's the remote paring status once motor connect to the power within
10 seconds. Press UP & STOP button together for clear the memory,
once done, operate screen go down and go up once for test.
Up button
Down
button
Stop
button
Fabric control instruction
4 Control ways are available for integrated
motorized screen with model name of (SK-MI)
A. Manual control (cyclic key)
B. Wireless remote
C. LVC
D. RS485 or RS232
RF emitter for
model named
power cable
6P output
port for
RS485 and
LVC
Cyclic key
A. Manual control:
Manual control button is on the left
side of the casing (close to RS485 and
dry contact interface), this is a cycle
control button.
Use a small pin fit to size to insert into positioning setting
keyhole at rear side of remote and press it to make the blue
light on.Then press“down”key on remote to operate screen to
go down.When screen moves to the required position,please
press positioning setting key with pin again to make screen
stop and the blue light would be also turned off.This is the
down positioning set as required.Please check below:
Note: Maximum travel distance of steel wire is 5meters.
This manual suits for next models

1

Other Grandview Projection Screen manuals

Grandview Large-flat Series User manual

Grandview

Grandview Large-flat Series User manual

Grandview DIAS DI-M Series User manual

Grandview

Grandview DIAS DI-M Series User manual

Grandview Motorised Rising Screen User manual

Grandview

Grandview Motorised Rising Screen User manual

Grandview CB-UY92 User manual

Grandview

Grandview CB-UY92 User manual

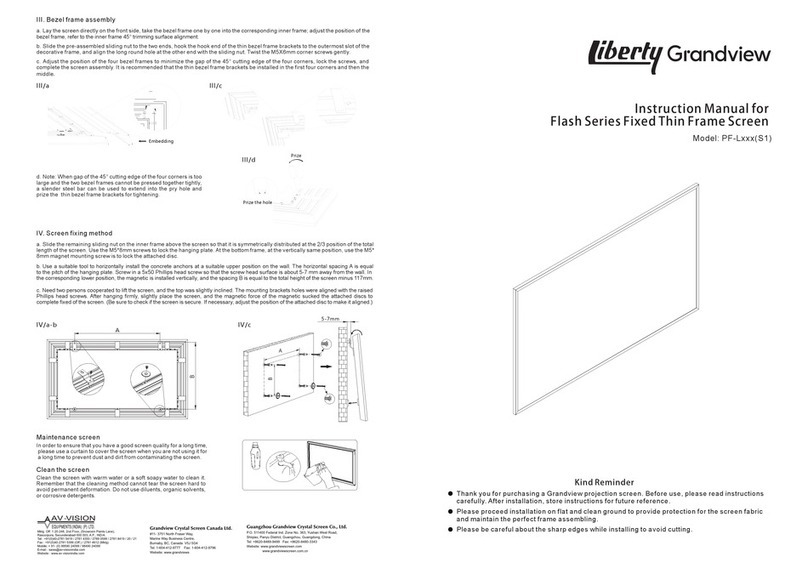
Grandview Liberty Flash Series User manual

Grandview

Grandview Liberty Flash Series User manual

Grandview Edge R1 Series User manual

Grandview

Grandview Edge R1 Series User manual

Grandview Super Mobile LS-E Series User manual

Grandview

Grandview Super Mobile LS-E Series User manual

Grandview LF-HMF-xxx User manual

Grandview

Grandview LF-HMF-xxx User manual

Grandview LF-VMF-77 User manual

Grandview

Grandview LF-VMF-77 User manual

Grandview Dynamique R3 User manual

Grandview

Grandview Dynamique R3 User manual

Grandview EL-Pxx User manual

Grandview

Grandview EL-Pxx User manual

Grandview Large Stage MBII User manual

Grandview

Grandview Large Stage MBII User manual

Grandview CB-Pxx User manual

Grandview

Grandview CB-Pxx User manual

Grandview EDGE R3 PE-L Series Instruction Manual

Grandview

Grandview EDGE R3 PE-L Series Instruction Manual

Grandview FC-FH-MI II Series User manual

Grandview

Grandview FC-FH-MI II Series User manual

Grandview Fast Fold User manual

Grandview

Grandview Fast Fold User manual

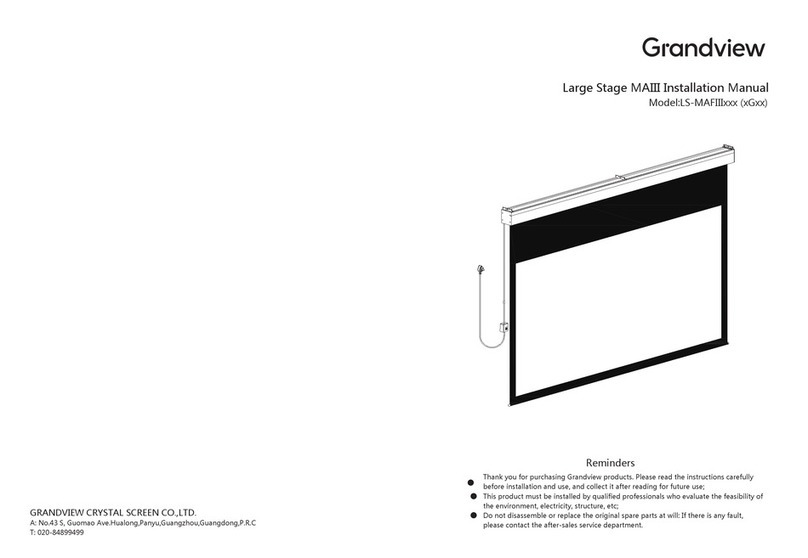
Grandview Large Sky-Show User manual

Grandview

Grandview Large Sky-Show User manual

Grandview Edge R7 User manual

Grandview

Grandview Edge R7 User manual

Grandview Skyshow Series User manual

Grandview

Grandview Skyshow Series User manual

Grandview CB-Mxx User manual

Grandview

Grandview CB-Mxx User manual

Grandview FC-FHP-MI Series User manual

Grandview

Grandview FC-FHP-MI Series User manual

Grandview Edge R3 PE-L Series Instruction Manual

Grandview

Grandview Edge R3 PE-L Series Instruction Manual

Grandview FC-FH-MF II Series User manual

Grandview

Grandview FC-FH-MF II Series User manual

Grandview PT-L Series User manual

Grandview

Grandview PT-L Series User manual

Popular Projection Screen manuals by other brands

Da-Lite Multi vision imager Instruction book

Da-Lite

Da-Lite Multi vision imager Instruction book

Draper Access/Series M Installation & operating instructions

Draper

Draper Access/Series M Installation & operating instructions

Draper Ambassador Installation & operating instructions

Draper

Draper Ambassador Installation & operating instructions

Akia Screens Fixed Frame Screen Series user guide

Akia Screens

Akia Screens Fixed Frame Screen Series user guide

AVstumpfl INLINE user manual

AVstumpfl

AVstumpfl INLINE user manual

golmar GB2 Nexa Modular quick guide

golmar

golmar GB2 Nexa Modular quick guide

Christie Secure II Series Technical reference

Christie

Christie Secure II Series Technical reference

Elite Screens EDGE FREE Aeon Series user guide

Elite Screens

Elite Screens EDGE FREE Aeon Series user guide

Elite Screens VMAX 2 Series user guide

Elite Screens

Elite Screens VMAX 2 Series user guide

SCREENLINE COPERNICO BIFORMAT instructions

SCREENLINE

SCREENLINE COPERNICO BIFORMAT instructions

Stewart Filmscreen AB Electriscree owner's manual

Stewart Filmscreen

Stewart Filmscreen AB Electriscree owner's manual

EliteProAV CLR Series user guide

EliteProAV

EliteProAV CLR Series user guide

Screen Int CINE PRO installation manual

Screen Int

Screen Int CINE PRO installation manual

EliteProAV Presenter Pro DarkUST 2 Series user guide

EliteProAV

EliteProAV Presenter Pro DarkUST 2 Series user guide

Tripp Lite DWT4585X owner's manual

Tripp Lite

Tripp Lite DWT4585X owner's manual

Stewart Filmscreen C installation instructions

Stewart Filmscreen

Stewart Filmscreen C installation instructions

SCREENLINE MotIC1610335-C manual

SCREENLINE

SCREENLINE MotIC1610335-C manual

Avers Screens Cirrus CL user manual

Avers Screens

Avers Screens Cirrus CL user manual

manuals.online logo
manuals.online logoBrands
  • About & Mission
  • Contact us
  • Privacy Policy
  • Terms and Conditions

Copyright 2025 Manuals.Online. All Rights Reserved.