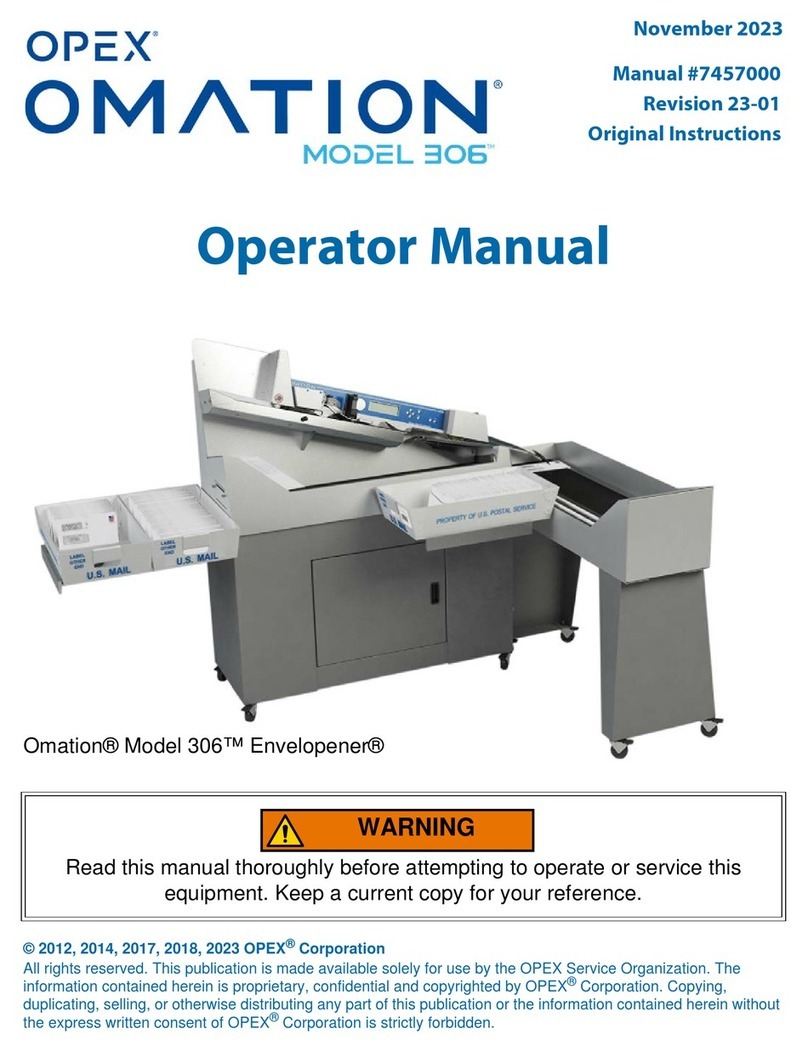
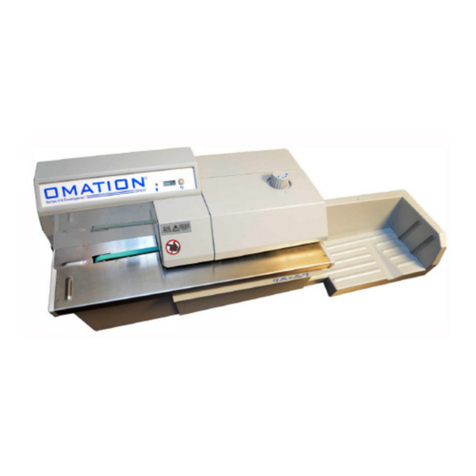
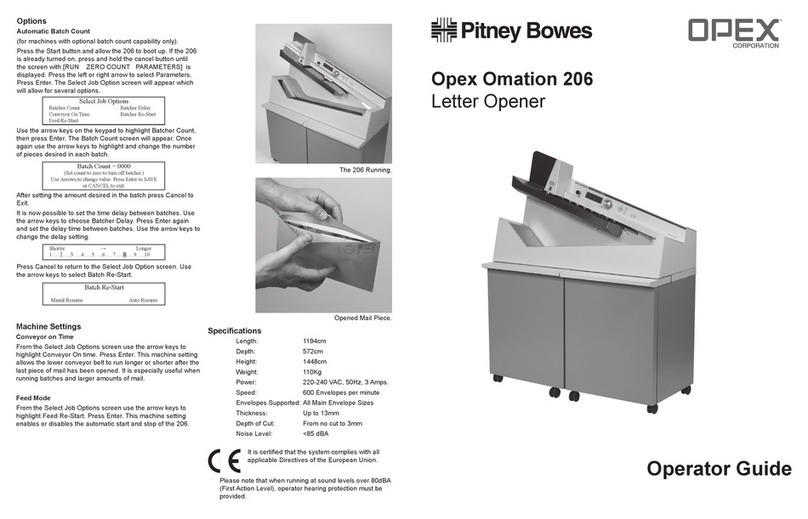
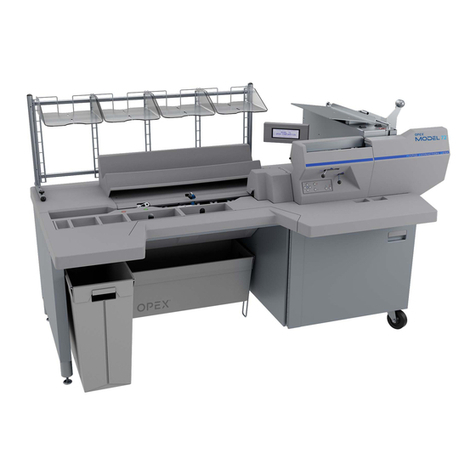
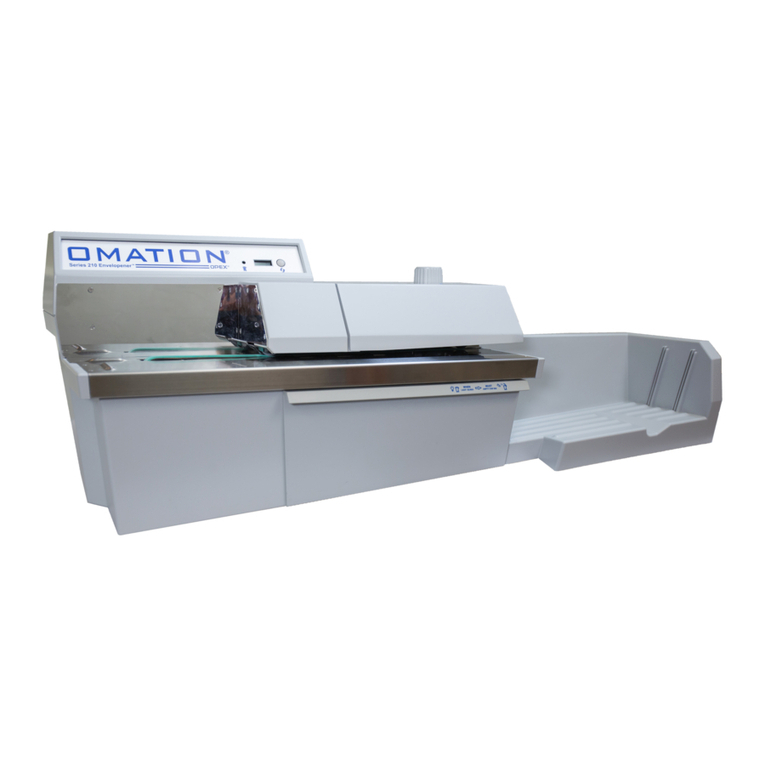
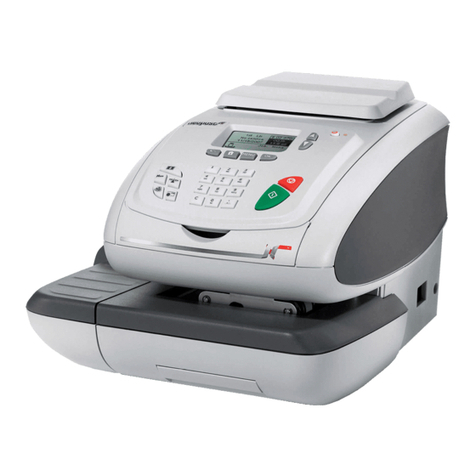
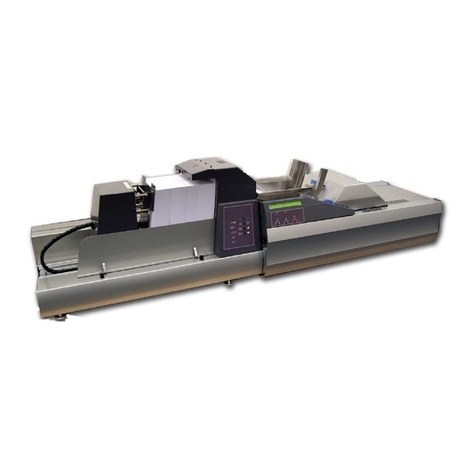
Omation 206 Operator’s Guide
Setting up the Omation 206
1. Press the Start Button . The control center will
automatically boot up presenting the run screen. The
run screen will have selectable information such as
count, machine parameters, and normal run modes.
2. Preparing to Run. Re-set count if necessary by using
the left and right arrow keys to move the highlighted
menu to Reset Count. Press Enter. After re-setting the
count, use the arrow keys to return to the Run menu.
3. Depth of Cut. Choose the appropriate setting for depth
of cut. There are four selectable pre-set positions
available.
0 is a no cut option - This setting can be used for
count only.
1is the minimum cut (.010 -.015). Use for
normal thickness.
2is 1/16th - Use for slightly thicker mail and
overnight type flat.
3 is 1/8th - Recommended for very deep cuts only.
4. Staging the Mail. The convenient mail tray supports
may be used to hold U.S. Postal Service mail trays. The
doors to the 206’s integrated stand can be opened or
closed depending on your needs.
5. Preparing the mail. Very little preparation of the mail
is required. Handfuls of mail can quickly be loaded into
the feed area. A simple tap to align the top or leading
edge may be necessary in some cases. Envelopes of
different size and thickness can be run at the same time.
All operator choices are made using the four arrow keys:
UP (¿) DOWN (À) LEFT (½) RIGHT (¾)
Choices are entered by pressing ENTER. Return to
previous screen by pressing CANCEL
Starting the Machine (see set-up instructions)
Press the Enter button. The 206 will turn on. You may
now begin loading mail in the envelope feed hopper.
Normally the operator can load a comfortable handful of
mail directly from the Post office mail trays.
Auto Start. See other machine Options (Auto Re-Start) to
set up the 206 to start automatically when mail is loaded
into the feed hopper (Column three).
Stopping the machine
Press the Cancel Button. The 206 will turn off. From
time to time the machine may stop for jam control. If the
machine stops, an error message will appear in the main run
screen. Simply clear the visible jam and press Enter to re-
start the machine.
Options
Setting up the Automatic Batch Option. (For machines
with optional batching capability only)
Press the start button and allow the 206 to boot up. If the
206 is already turned on, press the cancel button until the
screen with [Run Zero Count Parameters]is
displayed. Press the left or right arrow keys and select
Parameters. Press Enter. The Select Job Option screen
will appear which will allow for several options.
Select Job Options
Batcher Count Batcher Delay
Conveyor On Time Batcher Re-Start
Feed Re-Start Dater On Time
Use the Arrow keys on the keypad to highlight Batcher
Count, then press Enter. The Batch Count screen will
appear. Once again use the arrow keys to highlight and
change the number of pieces desired in each batch.
Batch Count = 0000
(Set count to zero to turn off batcher.)
Use Arrows to change value. Press Enter to SAVE
or CANCEL to exit.
After setting the amount desired in the batch, press Cancel
to exit.
You may now set the delay time between batches. Use the
arrow keys to choose Batcher Delay. Press Enter again
and set the delay time between batches.
Batch Delay
Shorter →Longer
1….2…..3…..4…..5…..6…..7…..8…..9…..10
Use the arrow keys to change the delay setting.
Press Cancel to return to the Select Job Option screen.
Use the arrow keys to select Batch Re-Start
Batch Re-Start
Manual Resume Auto Resume
Other Machine Settings
Conveyor On Time
From the Select Job Options use the arrow keys to
highlight Conveyor On Time. Press Enter. .This machine
setting allows the lower conveyor belt to run longer or
shorter after the last piece of mail has been opened. It is
especially useful when running batches and larger amounts
of mail.
Feed Mode
From the Select Job Options use the arrow keys to
highlight Feed Re-Start. Press Enter . This machine
setting enables or disables the automatic start and stop of
the Omation 206.
Date Stamp Option
Changing Dates
Press the spring loaded access door to reveal the printer
cylinder. Using a stylus or ball point pen rotate the
retaining collar to allow removal or insertion of Date or
Custom stamp sections. Slide the stamp section into place
making sure the stamp is secured under the retaining clips.
Repeat the process for each stamp to be changed. (Press the
Enter button while in the Dater Advance mode to rotate
the cylinder.) When all stamps have been changed rotate
the retaining collar to secure the stamps in the cylinder. The
ink reservoir should provide hundreds of thousands of
impressions before requiring replacement.
Thank you for choosing OMATION!
For service, call 1-856-727-8933
Key Pad
