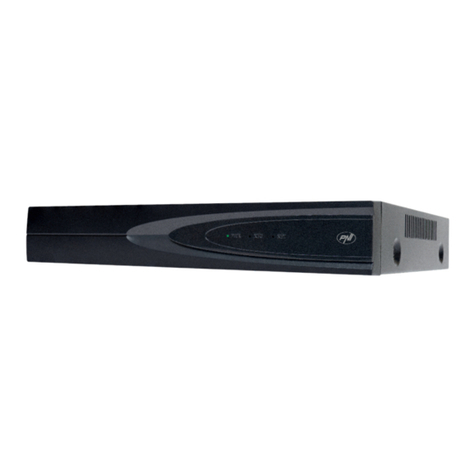
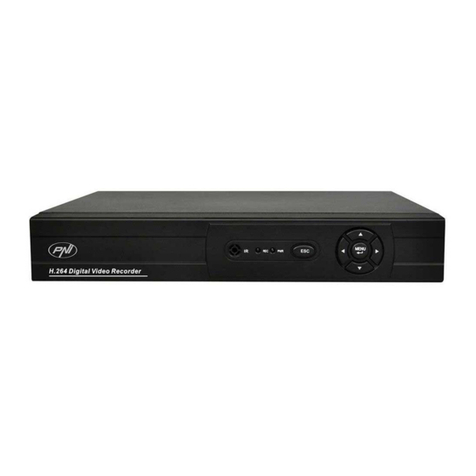
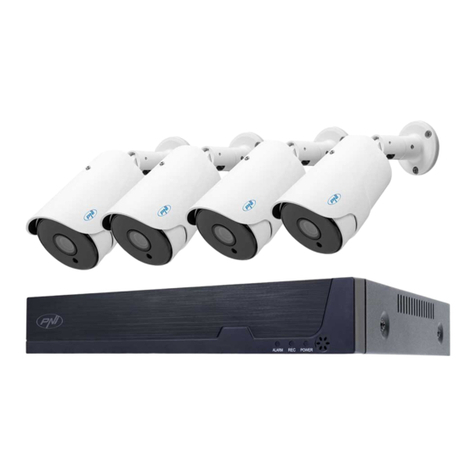
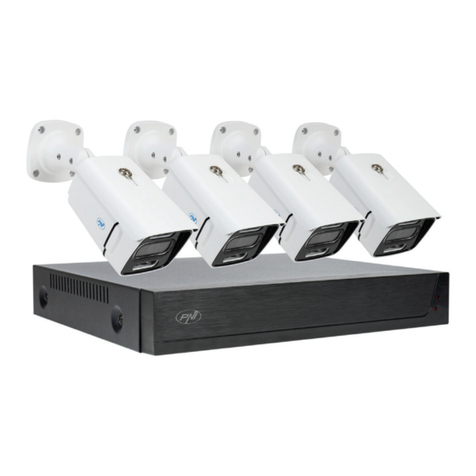
PNI House PTZ1500 User manual

PNI HOUSE PTZ1500
AHD Video surveillance system / AHD Videoüberwachungssystem /
Sistema de videovigilancia AHD /Système de vidéosurveillance AHD /
AHD videó megfigyelő rendszer / Sistema di videosorveglianza AHD /
Sistem supraveghere video AHD
EN User manual ............................................. 2
DE Benutzerhandbuch ................................... 17
ES Manual de usuario .................................... 23
FR Manuel utilisateur ..................................... 49
HU Használati utasítás ................................... 65
IT Manuale utente ........................................ 81
RO Manual de utilizare ................................... 97

User manual 2
English
MAIN FEATURES
»Supports 4 5MP AHD cameras or 8 5MP IP cameras
»Simultaneous HDMI and VGA video output
»Supports up to 1 8TB SATA HDD
»RJ45 10 / 100Mbps Ethernet port
»H.265 + video compression
»ONVIF compatible
»Supports Cloud and P2P service
»Remote control via app
»Supports DHCP, FTP, DNS, DDNS, NTP, UPNP, EMAIL
»Supports human detection with face identification
TECHNICAL SPECIFICATIONS
DVR
Video input 4 x BNC (4 ch AHD 5MP)
Video output 1 x HDMI (max. 4K) / 1 x VGA (max. 1080P)
Network interface 1 x RJ45 10/100Mbps
USB port 2 x USB2.0
Storage 1 x HDD SATA max. 8TB
Video compression H.265+
Audio compression G.711A
Power supply 12V 2A
Working temperature -10°C ~ +60°C
CAMERA
Resolution 2560 × 1920px
IR LEDs 36
IR range Up to 40 m
Lens 3.6 mm
Power supply 12V 1A
Waterproof IP66
Working temperature -26°C ~ +60°C

3User manual
English
SOFTWARE
PNI House PTZ1500 surveillance system can be controlled locally or remotely
from both smartphones and computers with Windows operating system:
Operating system Application Download
Android, iOS XMEye
Android iOS
Windows General CMS
The installation file can
be downloaded from
the CD included in the
package or from the
Download section on the
product web page (www.
pni.ro)
CONNECTIONS
1 2 3
4
5
7
8
6
1Video input Connect the 4 AHD cameras included in the package
2HDMI Connect a monitor with an HDMI cable (max. 4K)
3Audio output Connect an audio amplifier
4Audio input Connect a microphone
5VGA Connect a monitor via a VGA cable (max. 1080P)
6Ethernet port Insert an Ethernet cable to connect the NVR to the router

User manual 4
English
7USB ports Insert a USB mouse or USB drive for firmware update or
backup
8Power Insert the 230V - 12V power adapter
LOG IN
Once you have inserted a compatible HDD in the DVR and made all the
connections (power supply, cameras, mouse, monitor), you will be asked to log
into the system.
The admin user is by default protected by password 1234. Immediately after the
first login, we recommend that you change the password.
STARTUP WIZARD
Follow the steps of the configuration wizard to make the basic settings, such
as: network, language, date, time, application download and add system to the
application. First scan the QR code to download the XMEye application. Register
in the application and add the camera by scanning the QR code on the monitor
that includes the camera’s serial number. More details about using the XMEye
application can be found on the CD included in the package or in the Download
section of the product web page (www.pni.ro).

5User manual
English
MENU
Right-click on the screen to access the system menu:
1. MAIN MENU
PLAYBACK
7USB ports Insert a USB mouse or USB drive for firmware update or
backup
8Power Insert the 230V - 12V power adapter
LOG IN
Once you have inserted a compatible HDD in the DVR and made all the
connections (power supply, cameras, mouse, monitor), you will be asked to log
into the system.
The admin user is by default protected by password 1234. Immediately after the
first login, we recommend that you change the password.
STARTUP WIZARD
Follow the steps of the configuration wizard to make the basic settings, such
as: network, language, date, time, application download and add system to the
application. First scan the QR code to download the XMEye application. Register
in the application and add the camera by scanning the QR code on the monitor
that includes the camera’s serial number. More details about using the XMEye
application can be found on the CD included in the package or in the Download
section of the product web page (www.pni.ro).

User manual 6
English
The system provides various methods for searching the recordings saved on the
hard disk: Common Playback, Sync Playback, Dayparting, Smart Express, Smart
Search si Face Search.
Common Playback
Search for recordings on each channel in a certain period (date, time).
Smart Express
Select only the channel and the type of recording (alarm, perimeter alert, motion
detection, etc.)
Smart Search
Select the channel and the type of recording (alarm, perimeter alert, motion
detection, etc.) in a certain period (date, time).
Face Search
Search for records that contain facial detection on a specific channel and in a
certain period (date, time).
RECORD CONFIG
Configure the recording mode on each channel: continuous recording, motion
detection or alarm.

7User manual
English
NETWORK
Set the network parameters manually or check DHCP for automatic download.
XVI SETTINGS
Set the image quality (brightness, contrast, saturation, accuracy, etc.) on each
channel.

User manual 8
English
2. SYSTEM
GENERAL
Set the system name, display language, behavior in case of full HDD (overwrite or
stop recording), automatic logout period, or enable quick setup guide display each
time the system is restarted.

9User manual
English
ENCODE (CODARE)
Set dierent video parameters such as compression, resolution, frames per second
(FPS) or quality for each channel.
BACKUP
Insert a USB drive into the DVR to make a copy of the recordings.

User manual 10
English
SNAPSHOT CONF.
Enable cycle capture or on certain intervals and send them via email / FTP or
save them to the internal hard drive. Disable this function by checking the “Stop”
option.
DISPLAY
Set a name for each camera, display resolution (depending on monitor resolution),
transparency of the menu interface and display of various information: time,
channel name, recording status, etc.

11 User manual
English
ACCOUNT
Create or delete users and groups, change passwords, or change system access
and control rights.
RS232 - the function is not available for this model
PTZ CONFIG - the function is not available for this model
DIGITAL
You can simultaneously connect the following types of cameras to this DVR:
• 4 x 5MP AHD cameras
• 4 x 4MP AHD cameras
• 4 x 1080P AHD cameras

User manual 12
English
• 4 x AHD cameras 4MP + 4 x 4MP IP cameras
• 16 x 1080P IP cameras
• 8 x 5MP IP cameras
Check the option corresponding to your configuration.
3. ALARM
MOTION DETECT
Activate the motion detection function on each channel separately. Set dierent
parameters such as sensitivity level and period, but also the behavior in case of
alert: display alert message on the screen, upload via FTP, notification in the
application or send email.

13 User manual
English
FACE DETECTION
Activate the human face detection function and behavior in case of alert: display
alert message on the screen, send email or send notification on mobile phone.
VIDEO BLIND / VIDEO LOSS / ABNORMALITY
Activate the alert function in case of missing image or signal and set the behavior
in case of alert: display alert message on the screen, upload via FTP, send email or
notification on the mobile phone.

User manual 14
English
HUMAN DETECT
Activate the detection function of the human presence on each channel. Set
dierent parameters such as sensitivity level and period, but also the behavior in
case of alert: display alert message on the screen, upload via FTP, notification in
the application or send email.
INTELLIGENT
Activate the perimeter intelligent alert function in case of intrusion and set the
rules for it.

15 User manual
English
4. ADVANCED
HDD INFO
Displays information about hard disk capacity, status, and options for formatting,
partitioning, and accessibility (read / write or read-only).
OUTPUT ADJUST

User manual 16
English
On-screen image settings: style or zoom (top / bottom / left / right deflate).
AUTO MAINTAIN
Set the system to restart automatically on a certain day, at a certain time. Disable
this function by choosing the “Never” option.
RESTORE
Select the settings you want to return to the default values.
UPGRADE
Insert a USB stick into the NVR that contains the update file in the root.

Benutzerhandbuch
Deutsche
17
GRUNDFUNKTIONEN
»Unterstützt 4 5MP AHD-Kameras oder 8 Kameras mit 5MP IP
»Gleichzeitiger HDMI- und VGA-Videoausgang
»Unterstützt bis zu 1 8 TB SATA-Festplatte
»RJ45 10 / 100Mbps Ethernet-Port
»H.265 + Videokomprimierung
»ONVIF-kompatibel
»Unterstützt Cloud- und P2P-Dienste
»Fernbedienung
»Unterstützt DHCP, FTP, DNS, DDNS, NTP, UPNP, EMAIL
»Unterstützt die Erkennung von Menschen mit Gesichtserkennung
TECHNISCHE SPEZIFIKATIONEN
DVR
Video Eingang 4 x BNC (4 Kanäle AHD 5MP)
Video-Ausgang 1 x HDMI (max. 4K) / 1 x VGA (max. 1080P)
Netzwerk 1 x RJ45 10/100Mbps
USB-Anschluss 2 x USB2.0
Lager 1 x HDD SATA max. 8TB
Video-Kompression H.265+
Audiokomprimierung G.711A
Fütterung 12V 2A
Arbeitstemperatur -10°C ~ +60°C
Videokamera
Auflösung 2560 × 1920px
IR-LEDs 36
Ferne IR Bis zu 40 m
Linsen 3.6 mm
Fütterung 12V 1A
Schutzgrad gegen
Wasser IP66
Temperatur -26°C ~ +60°C

Benutzerhandbuch
Deutsche
18
SOFTWARE
Das PTI1500-System von PNI House kann lokal oder ferngesteuert von
Smartphones und Computern mit Windows-Betriebssystem gesteuert werden:
Betriebssystem Anwendung Download
Android, iOS XMEye
Android iOS
Windows General CMS
Die Installationsdatei
kann von der im Paket
enthaltenen CD oder
im Abschnitt Download
auf der Produktwebseite
heruntergeladen werden
(www.pni.ro)
VERBINDUNGEN
1 2 3
4
5
7
8
6
1 Videoeingänge Schließen Sie die 4 im Lieferumfang enthaltenen AHD-
Kameras an
2HDMI Schließen Sie einen Monitor mit einem HDMI-Kabel an
(max. 4K).
3Audioausgang Schließen Sie einen Audioverstärker an
4Audioeingang Schließen Sie ein Mikrofon an

Benutzerhandbuch
Deutsche
19
5VGA Schließen Sie einen Monitor über ein VGA-Kabel an
(max. 1080P).
6Port Ethernet Stecken Sie ein Ethernet-Kabel ein, um den NVR mit
dem Router zu verbinden
7USB Stecken Sie eine USB-Maus oder einen USB-Stick ein,
um die Firmware zu aktualisieren oder zu sichern
8Netzteil Stecken Sie das 230V - 12V Netzteil ein
SYSTEMAUTHENTIFIZIERUNG
Nachdem Sie eine kompatible Festplatte in den DVR eingelegt und alle
Verbindungen (Netzteil, Kameras, Maus, Monitor) hergestellt haben, wird die
Schnittstelle auf dem Monitor angezeigt, auf dem Sie aufgefordert werden, sich
im System zu authentifizieren.
Der Admin ist standardmäßig durch das Kennwort 1234 geschützt. Unmittelbar
nach der ersten Anmeldung empfehlen wir, das Kennwort zu ändern.
DER KONFIGURATIONSASSISTENT
BefolgenSiedieSchrittedesKonfigurationsassistenten,umdieGrundeinstellungen
vorzunehmen, z. B. Netzwerk, Sprache, Datum, Uhrzeit, Herunterladen der
Anwendung und Hinzufügen eines Systems zur Anwendung. Scannen Sie zuerst
den QR-Code, um die XMEye-Anwendung herunterzuladen. Registrieren Sie
sich in der Anwendung und fügen Sie die Kamera hinzu, indem Sie den QR-Code
auf dem Monitor scannen, der die Seriennummer der Kamera enthält. Weitere
Informationen zur Verwendung der XMEye-Anwendung finden Sie auf der im
Paket enthaltenen CD oder im Download-Bereich der Produktwebseite (www.
pni.ro).

Benutzerhandbuch
Deutsche
20
MENÜBESCHREIBUNG
Klicken Sie mit der rechten Maustaste auf den Bildschirm, um auf das
Systemmenü zuzugreifen:
1. MAIN MENU (HAUPTMENÜ)
Table of contents
Languages:
Other PNI Security System manuals

PNI
PNI SAFE HOUSE PG600 User manual

PNI
PNI SmartHome SM400 User manual

PNI
PNI A014 User manual

PNI
PNI House WiFi550 User manual

PNI
PNI PG2710 User manual

PNI
PNI HOUSE WiFi650 User manual
PNI
PNI SafeHouse HS007LR User manual

PNI
PNI IPMAX POE FIVE User manual

PNI
PNI House AHD1250 User manual

PNI
PNI HOUSE PTZ1300 User manual

PNI
PNI House WiFi550 User manual
PNI
PNI SafeHouse HS550 User manual

PNI
PNI SafeHome PT700 User manual

PNI
PNI S004 User manual

PNI
PNI SafeHouse HS650 User manual

PNI
PNI SafeHouse HS007 User manual

PNI
PNI IP590 User manual

PNI
PNI HOUSE IP516 User manual

PNI
PNI PNI S004 User manual

PNI
PNI SafeHouse HS007LR User manual