manuals.online logo
Brands
  1. Home
  2. •
  3. Brands
  4. •
  5. PROAIM
  6. •
  7. Professional Video Accessories
  8. •
  9. PROAIM CINEMA SJ30 User manual

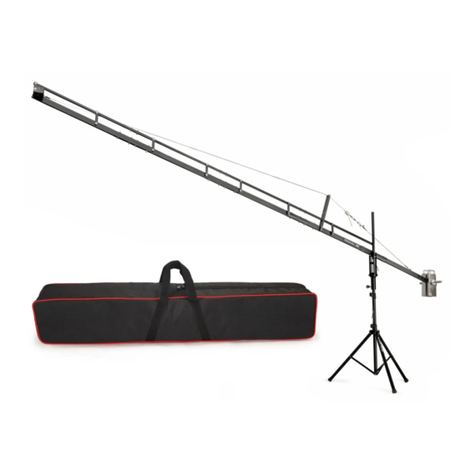
PROAIM CINEMA SJ30 User manual

1
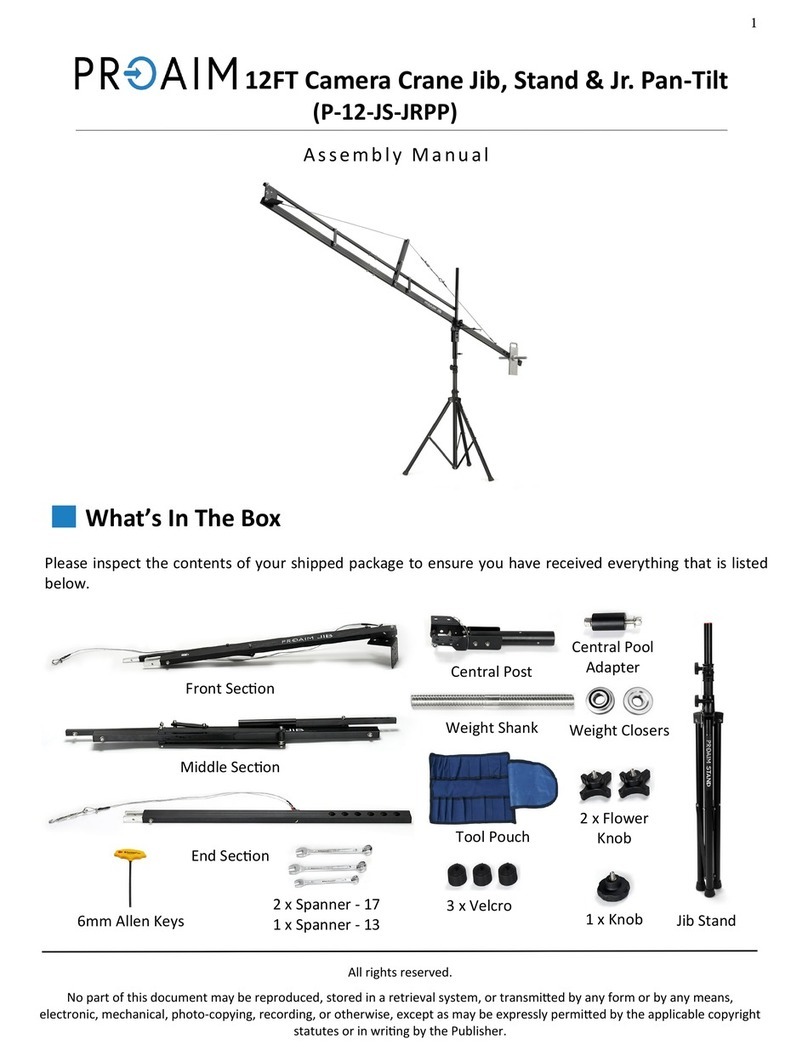
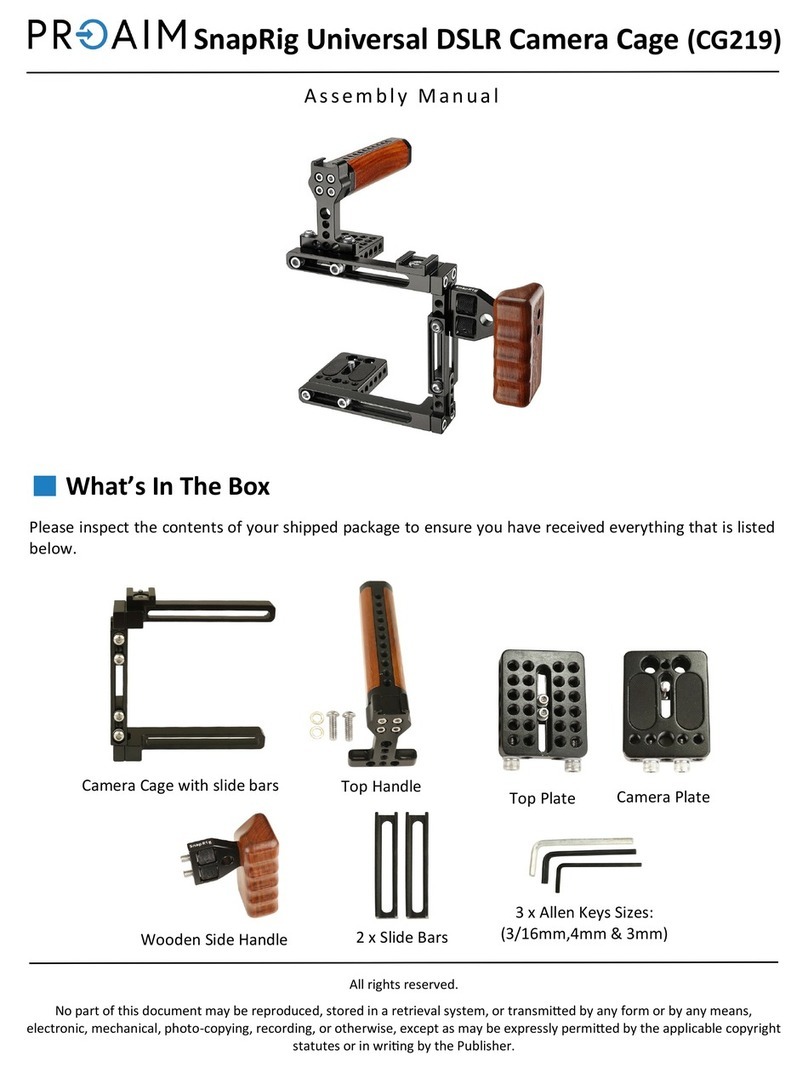
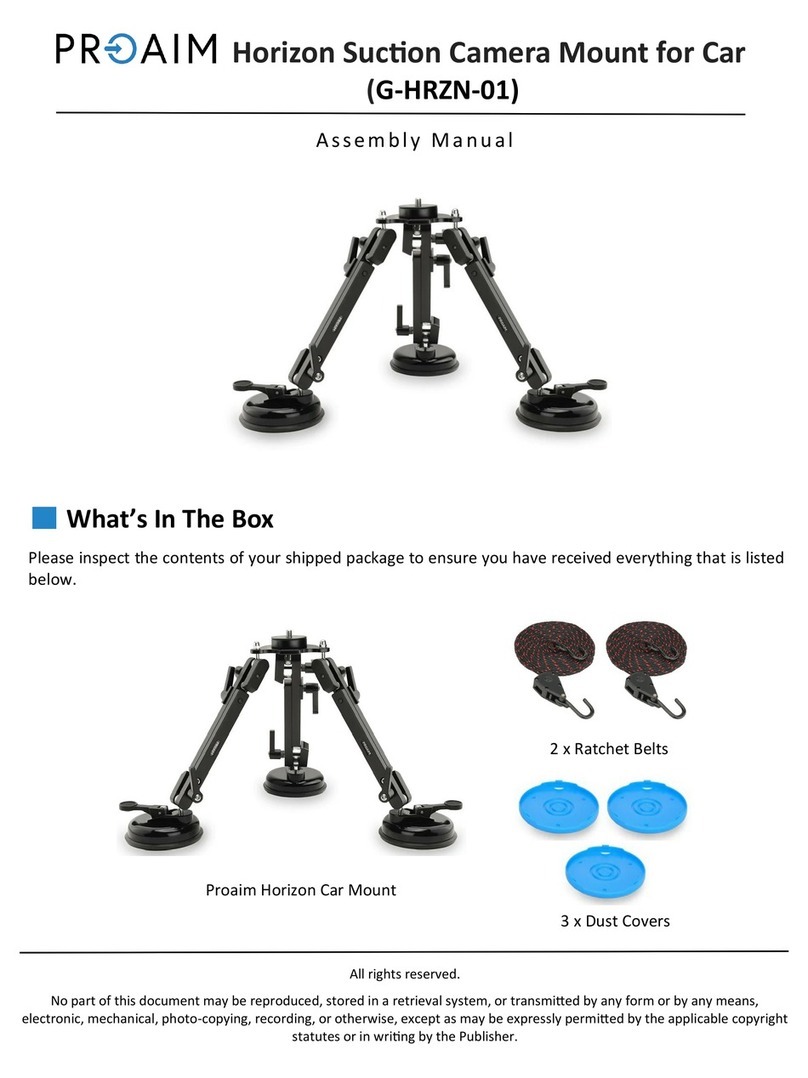
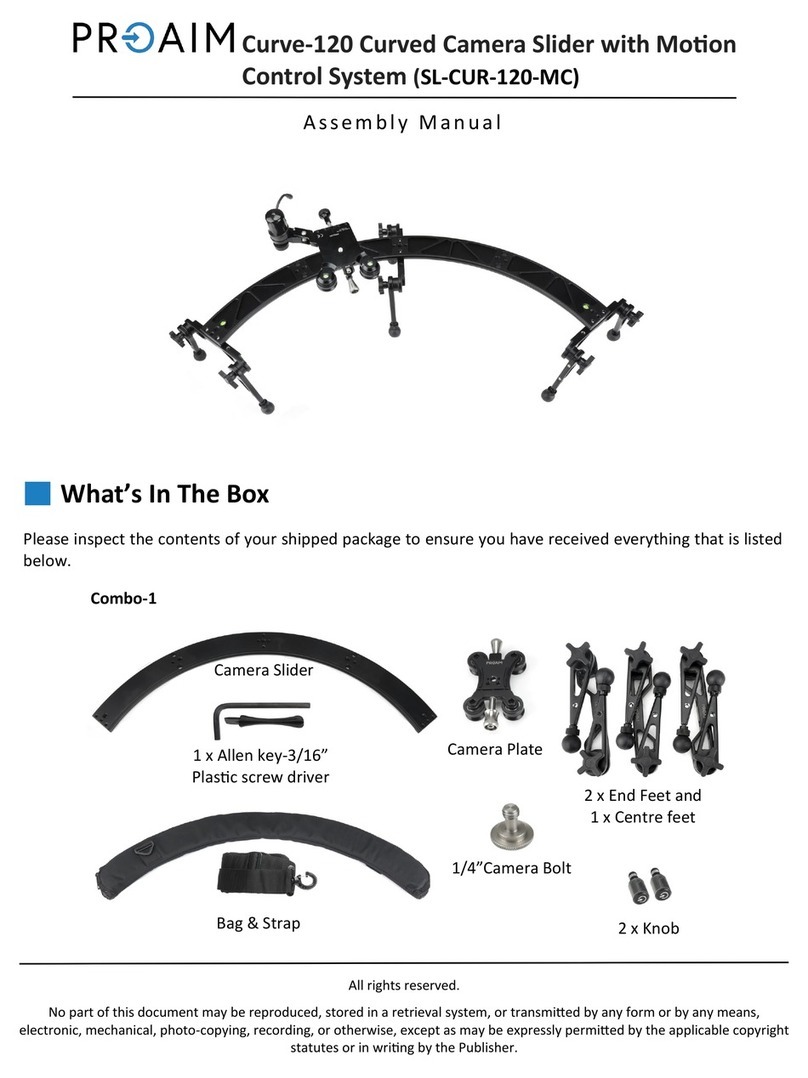
What’s In The Box
Please inspect the contents of your shipped package to ensure you have received everything that is listed
below.
All rights reserved.
No part of this document may be reproduced, stored in a retrieval system, or transmied by any form or by any means,
electronic, mechanical, photo-copying, recording, or otherwise, except as may be expressly permied by the applicable copyright
statutes or in wring by the Publisher.
SJ30 Powermac Scissor 17 Telescopic Video
Camera Jib (JB-SCSR-30)
Assembly Manual
SJ30 Powermac Scissor Jib
Sway Mitchell
Dampening Head Counter Weight Rod
2 x Guide Rods
4 x Guide Rods
Camera Mount Plate
Monitor Arm
Handel 2 x Weight
Closers
Clamp for
remote
Speed Controller
Remote
Remote holding bar
2
2 x Allen Key T-Type
(Size: 5mm, 6mm)
Mitchell Ronin
Mount
4 x Allen Screw
(Size: 8 x 25)
Black Flight Case
2 x Spanner
(Size: 17mm)
2 x Mitchell key
Ronin Controller
Bracket
4x Allen Screw
(Size: 8 x 20)
2 x Screws for Monitor
arm (Size: 3/8”, 1/4”)
4 x Bush’s
4 x Allen Key L-Type
(Size: 1.5mm, 2mm,
4mm, 5mm)
Universal
Adapter
BNC Wire HDMI Male to
Male Wire
D-Tap wire
15V AC Adapter
Controller
Spiral Cable
Socket HDMI Mini
Weight bar
3
Safety Hints of Jib Crane
ATTENTION: PLEASE READ THIS BEFORE USING TO PREVENT DAMAGE TO
EQUIPMENT & OPERATOR!
 The crane may not be assembled or operated under inuence of alcohol, drugs or any other
intoxicang substances. Lack of aenon while connecng the components together can
cause substanal damage to equipment/operator.
 The crane may only be operated on levelled horizontal posion. Make sure that the surface is
stable.
 To prevent any harm or injury, properly join all secons of the crane. It is suggested to use
the support stand while telescoping the complete length.
 Always connect the steel cables properly to provide stability to the system. They should not
negavely impact the movements of crane in any way.
 Aer setup of the crane, the pan-lt head / gimbal head shall be posioned under the
central pivot secon. In assembled state, when the pan-lt head / gimbal head is higher than
central pivot secon, there should be someone to look aer the crane system.
 The complete panning & liing range around it must be kept free. Avoid anybody standing
under the crane. No loose objects may be stored or placed on it. Be very careful while using
indoors.
 Never operate the crane in the immediate vicinity of high-voltage power cables. It holds
danger to life.
 Parcular care is required when operang the crane in unfavourable weather condions. The
crane must be shut down in sucient me. When it is used in a rainy day, the pan-lt head /
gimbal head and controlling bar shall be protected against rain.
 When you want to transport the crane, lock the Pan & Tilt Axis for safety. Make sure that the
components do not rub together and cause any material wear.
 Before the counterweights are removed, ensure the remote head is resng on the support
stand. Then gradually remove the counterweights before remote head, camera or other
parts.
 In the interest of safe crane operaon, avoid abruptly swivelling or stopping the crane,
otherwise it may cause serious damage to equipment.
FOLLOWING THESE GUIDELINES WILL PROVIDE BETTER SHOTS AND TROUBLE FREE OPERATION.
SHOULD YOU NEED ADDITIONAL INFORMATION, TECHNICAL ASSISTANCE IS AVAILABLE ‘ONLINE’
BY CONTACTING THE SALES REPRESENTATIVE.
4
 Place Scissor Jib Mounng on top of the Jib
Stand, as shown in the image.
 Loosen and remove the Castle Ring of the
Scissor Jib, as shown in the image.
Powermac Scissor Jib Setup
 Aer properly mounng the Scissor Jib, re-
insert the Castle Ring from the boom and
ghten it using the Mitchell key.
NOTE: Check the Scissor Jib level with the help
of the Bubble Leveler. You can adjust the
height of the jib stand to keep your jib levelled.
INDEX
Sr. No Particulars Page No.
1Jib Arm Assembly 4-7
2Speed Controller Remote 7-8
3Integrating the Section Jib Section 7-9
3LCD Monitor Arm Setup 9
4Mitchell Dampening Head Setup 10-11
5
 Slide the weight bar into the backside of the
Scissor Jib and insert bolts, as shown in the
image.
 Now, ghten the bolts using the Allen key to
properly secure the weight bar.
 To insert the rod, loosen its knob and insert
the Counter Weight rod.
 Aer inserng the Counter Weight rod, re-
ghten its knob and remove the weight
closer to the rod.
 Twist the remote holding bar in the Weight
bar, as shown in the image.
 Remove the bolt of the Guide Rod using the
Allen key.
6
 Insert the Guide Rods in the bracket of the
Scissor Jib and insert them in the center part,
as shown in the image.
 Aer inserng the Bush, properly insert the
Guide Rod.
 Tighten the bolt of the Guide Rod to
properly secure the rod.
 Follow the same process to aach the other
Rod.
 Now, remove the bolt of the Rod using the
Allen key and insert the rod in the jib
bracket, as shown in the image.
 Re-ghten the bolt and secure the Guide
Rod .
7
 Mount the camera mount plate on the front
of the Scissor Jib, as shown in the image.
 Now, insert the castle nut and ghten it
using the Mitchell key.
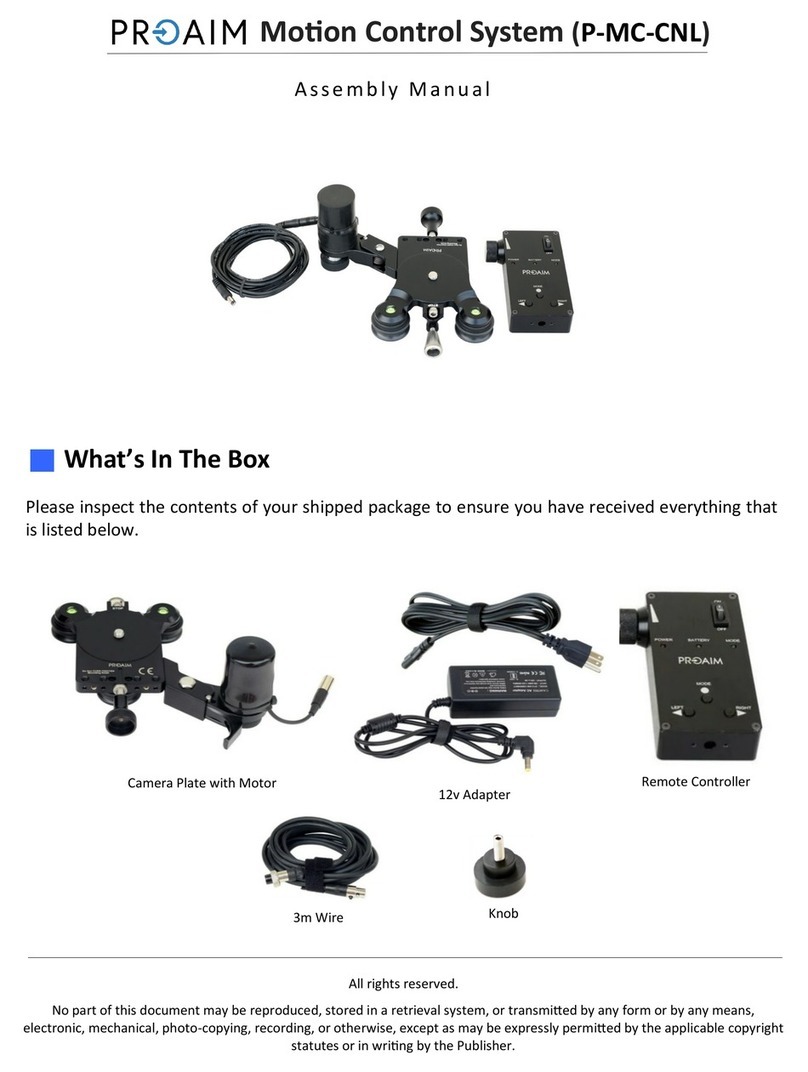
 To supply power to the Scissor Jib, connect a
15AC Adapter pin to the Controller box with
the baery plate.
 Slide the Speed Controller Remote clamp per
your requirement.
 Aer determining the posion of the clamp,
re-ghten the knob to secure it.
Speed Controller Remote
8
 Insert the Speed Controller Remote by
sliding it into the weight rod and properly
ghten it using the provided knob.
NOTE: The remote holding bar can be
adjusted on the le or right side per your
requirement.
 Aer aaching the Speed Controller Remote
to the weight rod, ax the pin of a spiral
cable to the Speed Controller Remote.
 Now, ghten the pin of the spiral cable.
Speed Controller
As the name suggests, the speed dial lets you
control the speed intensity of the jib
movements.
Damping Adjustment
The damping adjustment dial lets you control
the level of damping and facilitates smooth,
stabilized movements as the jib expands &
retracts.
Direcon Control
The direcon buon lets you lock the direcon
you want your jib to move- forward or reverse.
Retracon/Expansion
The forward/reverse buons let you
conveniently push out and pull in the jib arm.
9
 Connect the Jib Controller cable on the right
side and the Motor Driver Cable on the le
side of the Baery Plate.
 Mount your V-Mount Baery (Not Included)
onto the Baery Plate.
NOTE: The system is integrated with a
V-Mount Baery Plate, which adapts a 14.8V
V -Mount baery to power the drive system.
 Aach the D-Tap wire to the V-Mount
Baery (Not Included).
 Connect the Monitor Arm and ghten it
using the provided screws.
NOTE: LCD Mounng Arm helps in aaching
an LCD Monitor for beer viewing of shots; the
arm can be mounted le/right per your
requirement.
 Place the LCD monitor (Not Included) on the
Monitor Arm and lock it by twisng the
screw.
 To power your LCD, insert its wire’s rst port
in the motor and the second port to the back
side of the LCD.
LCD Monitor Arm Setup
10
 Firstly, remove the Castle Ring from the
Sway Mitchell Dampening Head.
 Aach the Sway Mitchell Dampening Head
with the Camera Mount Plate and ghten
the Castle Ring from the top using the Castle
Nut Wrench.
 Loosen the Mitchell Ronin Mount and
remove the Castle nut.
 Now, aach the castle nut to the boom
part of the Sway Mitchell Dampening Head,
as shown in the image.
Smooth Camera Moves
Mitchell Dampening Head Setup
11
 Aer aaching the Mitchell Ronin Mount
with the Sway Mitchell Dampening Head,
ghten the aachment through the Castle
Ring.
 Slide the Gimbal (Not Included) onto the
Mitchell Ronin Mount.
 Lock the assembly with the locking lever
provided on the Gimbal (Not Included).
12
Warranty: We oer one year warranty for our products from date of purchase. Within this period of me,
we will repair it without charge for labor or parts. Warranty doesn’t cover transportaon costs nor does it
cover a product subjected to misuse or accidental damage. Warranty repairs are subjected to inspecon
and evaluaon by us.
Liability: We are not liable for damage caused by products that we do not supply or from mishandling in
transit, accident, misuse, neglect, lack of care of the product, or service by anyone other than our company.
Contact Us: In case of any kind of dissasfacon, please Contact us immediately and we promise our
utmost support and care unl you use our product.
YOUR PROAIM SJ30 POWERMATIC SCISSOR 17FT TELESCOPIC VIDEO CAMERA JIB
ALL DRESSED UP AND READY TO GO!
(SHOWN WITH OPTIONAL ACCESSORIES)

This manual suits for next models

1

Other PROAIM Professional Video Accessories manuals

PROAIM P-18-JS User manual

PROAIM

PROAIM P-18-JS User manual

PROAIM P-MLMT-M2 User manual

PROAIM

PROAIM P-MLMT-M2 User manual

PROAIM SWFT-DL User manual

PROAIM

PROAIM SWFT-DL User manual

PROAIM CINEMA Series User manual

PROAIM

PROAIM CINEMA Series User manual

PROAIM RCSW-CM User manual

PROAIM

PROAIM RCSW-CM User manual

PROAIM P-OHCP-01 User manual

PROAIM

PROAIM P-OHCP-01 User manual

PROAIM P-FK User manual

PROAIM

PROAIM P-FK User manual

PROAIM P-LLBT-150 User manual

PROAIM

PROAIM P-LLBT-150 User manual

PROAIM CINEMA Series User manual

PROAIM

PROAIM CINEMA Series User manual

PROAIM P-RVMT-01 User manual

PROAIM

PROAIM P-RVMT-01 User manual

PROAIM P-W5P24-BASE User manual

PROAIM

PROAIM P-W5P24-BASE User manual

PROAIM CINEMA P-W5P-WING User manual

PROAIM

PROAIM CINEMA P-W5P-WING User manual

PROAIM ATLS-HAP User manual

PROAIM

PROAIM ATLS-HAP User manual

PROAIM LV-SCFH-01 User manual

PROAIM

PROAIM LV-SCFH-01 User manual

PROAIM Gladiator Action Dolly User manual

PROAIM

PROAIM Gladiator Action Dolly User manual

PROAIM TP-ULTM-01 User manual

PROAIM

PROAIM TP-ULTM-01 User manual

PROAIM G-HRZN-01 User manual

PROAIM

PROAIM G-HRZN-01 User manual

PROAIM DL-SPIN-01 User manual

PROAIM

PROAIM DL-SPIN-01 User manual

PROAIM P-OHCP-02 User manual

PROAIM

PROAIM P-OHCP-02 User manual

PROAIM P-SFT-DT-12 User manual

PROAIM

PROAIM P-SFT-DT-12 User manual

PROAIM CINEMA Series User manual

PROAIM

PROAIM CINEMA Series User manual

PROAIM CINEMA Series User manual

PROAIM

PROAIM CINEMA Series User manual

PROAIM CINEMA Series User manual

PROAIM

PROAIM CINEMA Series User manual

PROAIM CINEMA Series User manual

PROAIM

PROAIM CINEMA Series User manual

Popular Professional Video Accessories manuals by other brands

Feelworld TP2 Product Instruction

Feelworld

Feelworld TP2 Product Instruction

Ikan PT4700S-PEDESTAL quick start guide

Ikan

Ikan PT4700S-PEDESTAL quick start guide

Camtree G-PM Setup and Operational Manual

Camtree

Camtree G-PM Setup and Operational Manual

SolidGripSystems Twin Dolly Unpack and Set Up instructions

SolidGripSystems

SolidGripSystems Twin Dolly Unpack and Set Up instructions

MOVOFILMS MF-G34-LCRS instruction manual

MOVOFILMS

MOVOFILMS MF-G34-LCRS instruction manual

Waytronic MicroSound WT-M14 quick start guide

Waytronic

Waytronic MicroSound WT-M14 quick start guide

PortKeys HS7T user manual

PortKeys

PortKeys HS7T user manual

Filmcity FC-A6360-CH Assembly manual

Filmcity

Filmcity FC-A6360-CH Assembly manual

Data Video TP-650 MARK II instruction manual

Data Video

Data Video TP-650 MARK II instruction manual

Data Video TP-600 instruction manual

Data Video

Data Video TP-600 instruction manual

Autoscript LED8TFT-ME user guide

Autoscript

Autoscript LED8TFT-ME user guide

Teradek Sony Bolt quick start guide

Teradek

Teradek Sony Bolt quick start guide

Yongnuo YNSOFT Series user manual

Yongnuo

Yongnuo YNSOFT Series user manual

AUTOCUE SSP07 Guide

AUTOCUE

AUTOCUE SSP07 Guide

CDA-TEK AFX user guide

CDA-TEK

CDA-TEK AFX user guide

Ikan PT4900-SDI quick start guide

Ikan

Ikan PT4900-SDI quick start guide

MRMC Precision Track MRMC-1182-06 quick start guide

MRMC

MRMC Precision Track MRMC-1182-06 quick start guide

SBIG FW8S-STXL installation instructions

SBIG

SBIG FW8S-STXL installation instructions

manuals.online logo
manuals.online logoBrands
  • About & Mission
  • Contact us
  • Privacy Policy
  • Terms and Conditions

Copyright 2025 Manuals.Online. All Rights Reserved.