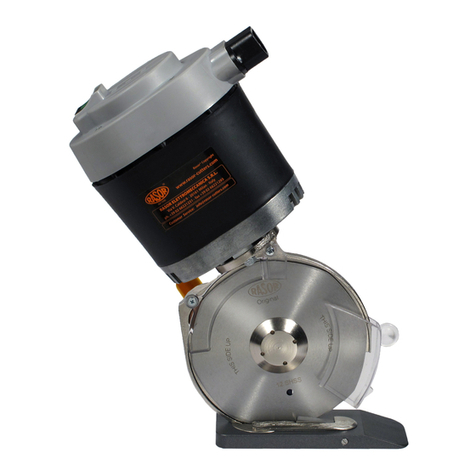
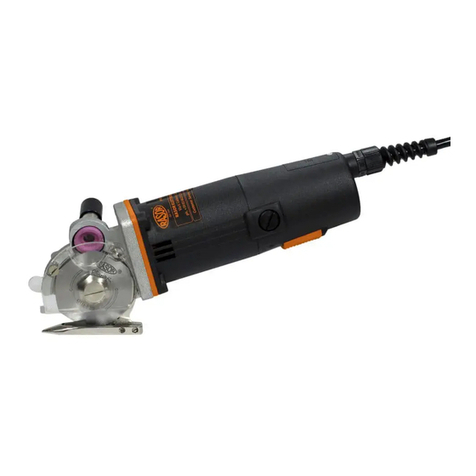
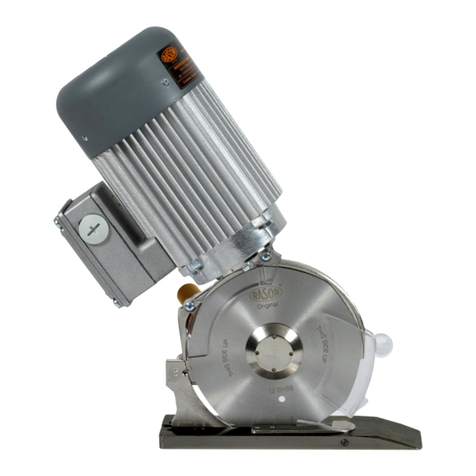
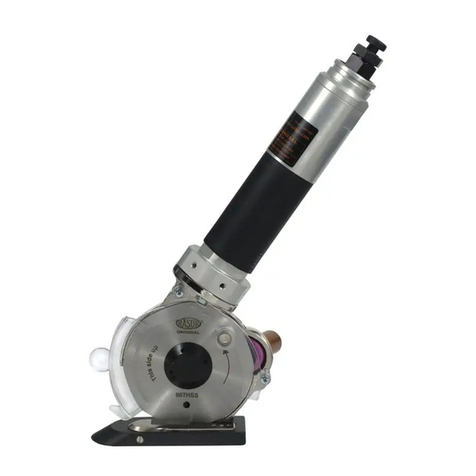
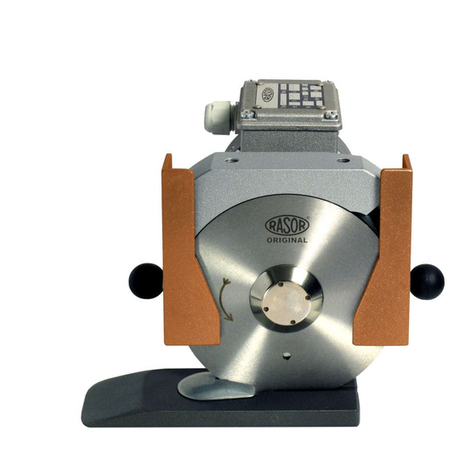
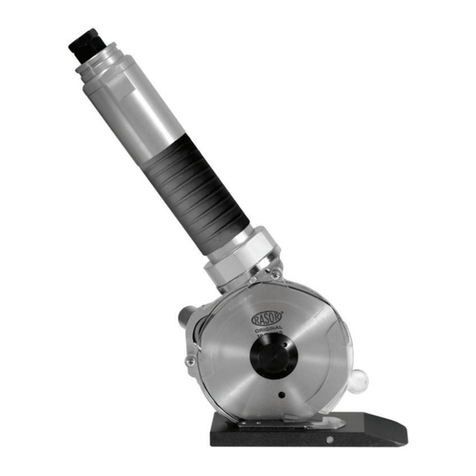
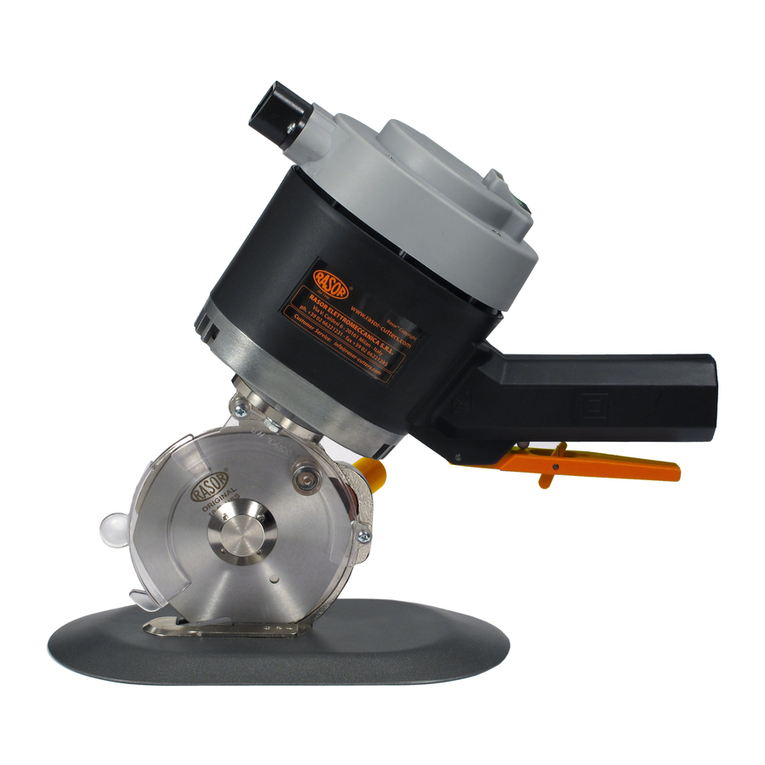
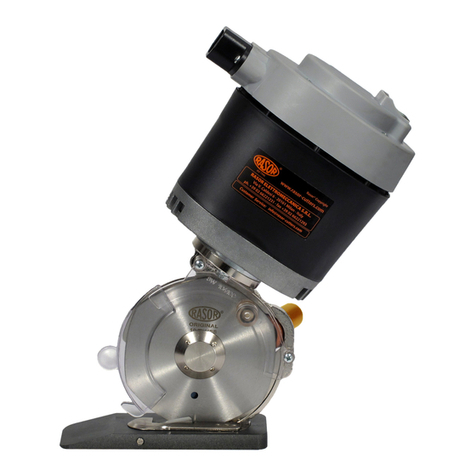
RASOR FORZA Operation instructions

CORDLESS ELECTRIC CUTTER
FORZA
USE AND MAINTENANCE INSTRUCTIONS
Please read this manual carefully before using the device
and keep it safe with the product.
TRANSLATION OF ORIGINAL AND COMPLETE INSTRUCTIONS

2https://www.rasor-cutters.com
Meaning of warning and
danger symbols
Safety instructions, which must be followed to prevent physical
harm, are identified by the following symbols:
a
CAUTION HAZARD
Indicates operations that can cause generic injuries or
trigger malfunctions or damage to the equipment and/or
materials if not carried out correctly; particular attention
and adequate preparation are therefore required.
f
CAUTION ELECTRICAL HAZARD
Indicates operations that can cause electrical injuries or
trigger malfunctions or damage to the equipment and/or
materials if not carried out correctly; particular attention
and adequate preparation are therefore required.
d
DO NOT
Indicates PROHIBITED operations.
EC - DECLARATION OF
CONFORMITY
PRODUCT MANUFACTURED BY:
RASOR ELETTROMECCANICA S.r.l.
Via Giannetto Mattei, 41/43 - 20044 Arese- (MI) - ITALY
Model: FORZA
Rasor Elettromeccanica S.r.l. declares, under its own re-
sponsibility, that the aforementioned products, to which this
declaration refers, comply with the Directives on the approxi-
mation of the laws of EEC member states relating to:
–Machinery 2006/42/EC;
–Electromagnetic Compatibility 2014/30/EU
–RoHS Directive 2011/65/EU
Milan, 01/06/2022.
Index
SYMBOLS
Mr Lorenzo Spinelli
CEO
1 GENERAL INFORMATION . . . . . . . . . . . . . . . . . . . . . . . . . . . . . . . . . . . . 3
1.1 Important safety information 3
1.1.1 General warnings 3
1.2 Prohibitions 4
1.3 Handling and storage 4
1.4 Limits of use 4
1.5 Technical specifications 4
1.6 Noise 4
1.7 Limitation of liability 4
1.8 Identification data 4
1.9 Package contents 5
1.9.1 Information on batteries 5
1.10 Description of the device 5
2 USE . . . . . . . . . . . . . . . . . . . . . . . . . . . . . . . . . . . . . . . . . . . . . . . . . . . . . 6
2.1 Manual mode 6
2.2 Charging the batteries 6
2.2.1 Check the battery charge level 6
2.2.2 Charging the battery 6
2.2.3 Meaning of LED indicator 8
3 MAINTENANCE . . . . . . . . . . . . . . . . . . . . . . . . . . . . . . . . . . . . . . . . . . . . 8
3.1 Blade sharpening 8
3.2 Lubrication 8
3.3 Replacing the blade 9
3.3.1 Available blades 9
3.4 Problems and possible causes/solutions 10
4 SPARE PARTS . . . . . . . . . . . . . . . . . . . . . . . . . . . . . . . . . . . . . . . . . . . . 10
5 DISPOSAL . . . . . . . . . . . . . . . . . . . . . . . . . . . . . . . . . . . . . . . . . . . . . . . 10
5.1 Disposal at end of life 10
6 WARRANTY . . . . . . . . . . . . . . . . . . . . . . . . . . . . . . . . . . . . . . . . . . . . . . 11

3
https://www.rasor-cutters.com/it/
GENERAL INFORMATION
1 GENERAL INFORMATION
1.1 Important safety information
1.1.1 General warnings
–The product user must store the following instructions ca-
refully and follow them closely, as improper use of the de-
vice can harm people or damage the product or property,
exempting Rasor Elettromeccanica S.r.l. from any liability.
–The following instructions must be kept with the product to
which they refer and be stored in a place where users can
access and view them.
–Reproduction, in whole or in part, of the illustra-
tions or text given in these instructions is prohibited.
Rasor Elettromeccanica S.r.l. reserves the right to amend
the documentation without prior notice.
a
CAUTION HAZARD
–The product must be started and used solely in
compliance with all safety guidelines given in these
instructions.
–Failure to follow these instructions, or any product
alteration not carried out by our authorised technicians,
will void the warranty and relieve the manufacturer of
any liability arising from harm to people, damage to
property or to the product itself.
a
CAUTION HAZARD
–Check that electrical and mechanical parts are in
excellent working order before starting the device.
–Children must not play with the product.
–Cleaning and maintenance intended to be carried out
by the user must not be carried out by unsupervised
children.
–Use only original spare parts supplied by Rasor
Elettromeccanica S.r.l.
–Any required operation (maintenance or repair) must be
carried out by qualified personnel after having cut the
power supply, thus preventing accidental start-up which
could cause harm to people or property. Switching the
product off is not sufficient.
–Users must follow the accident-prevention regulations in
force in their country and must use adequate protection
when using and maintaining the product.
a
CAUTION HAZARD
–It is particularly important to keep the product out of
reach of children and pets.
–The product must be used indoors, away from heat, wet
and humidity.
–The product must be cleaned solely with a dry cloth,
after having disconnected it from the power source.
–During normal work operations, do not wear loose-
fitting clothing or accessories that may be a source of
risk.
–Wear metal mesh safety gloves and safety goggles
during the normal work cycle.
–Materials must be perfectly dry when using the product.
a
CAUTION HAZARD
–The cordless electric cutter also works without a safety
guard. This guard must NEVER be removed.
–Metal parts may be hot after use.

4https://www.rasor-cutters.com
GENERAL INFORMATION
1.2 Prohibitions
d
DO NOT
–The product and its electrical or mechanical connections
MUST NOT be tampered with or modified.
–It is FORBIDDEN to remove parts of the product.
–It is FORBIDDEN to use the product in areas at risk of
explosion and/or fire.
–It is FORBIDDEN to use the product or accessories with
wet hands. Risk of electrocution.
1.3 Handling and storage
The product must be stored in its original packaging and in a
dry, covered location away from heat sources, dirt and humidi-
ty. The product can be stored between 0° and 55°C.
1.4 Limits of use
All Rasor Elettromeccanica S.r.l. products are tested before
being shipped to the customer to guarantee safe and long-la-
sting operation.
The product must be used solely for its intended purpose. Any
other use is forbidden and constitutes a risk.
The product operates at a maximum temperature of 55°C.
The protection rating of the device is IP 65.
1.5 Technical specifications
Model FORZA
Blade diameter 86 mm, with carbide fixed blade
Blade supplied 86THSS, 8 sided, HSS Steel
Blade speed 800-1200 r.p.m., adjustable
Cutting capacity 22 mm
Motor power DC 18 V, 400 W
Battery 18 V Li-Ion®, 6.0 Ah rechargeable with
LED charge indicator
Battery Charge time 45 min
Weight (with battery) 2100 g
Total weight (with packa-
ging) 4200 g
Minimum brightness for use 200 LUX
Start-up vibration < 2.5 m/sec 2
Usage temperature 0 - 55° C
Usage humidity 10%-95% without condensation
1.6 Noise
The maximum sound pressure level emitted is approximately
60 dB (A). Airborne noise was detected in compliance with
EN ISO 15744:2008. The noise levels emitted by the device at
various detection distances (with no soundwave filtration sy-
stem) vary by a few db (A).
1.7 Limitation of liability
The manufacturer declines all liability for any damage and mal-
functions arising from:
–failure to follow the instructions given in this manual
–repairs not carried out in a workmanlike manner (the use of
non-original spare parts and accessories can adversely affect
product operation)
–damage caused by arbitrary changes by the user or by
unauthorised interventions
–failure to carry out maintenance as indicated
–power supply faults
–damage or defects caused by improper use
–use by untrained or unauthorised personnel
–damage or defects caused by failure to follow use and
maintenance instructions.
1.8 Identification data
A nameplate (1) stating the product data is applied to the FOR-
ZA. Ensure the nameplate has been applied to the product;
if not, inform the manufacturer and/or retailer immediately.
Devices without the nameplate must not be used, or the ma-
nufacturer’s liability will be voided.
1
22001
Sample nameplate
5
https://www.rasor-cutters.com/it/
GENERAL INFORMATION
–if not used for a prolonged period, store the battery with
approximately 50% charge remaining at a room temperature
of 5/10°C
–recharge at least every 12 months.
1.10 Description of the device
The FORZA cordless electric cutter has been designed, built
and assembled for cutting fabrics and all kinds of materials –
EXCEPT FOR metals, plastic and wood – using a rotary blade.
The equipment must not be used:
–in environments with explosive atmospheres;
–in the presence of fine dust or corrosive gases;
–for cutting plastic, metal or wood materials.
Any use of the FORZA cordless electric cutter for purpo-
ses other than those indicated above is prohibited and
constitutes a hazard.
710
1
8
6
5
9
11
4
2
3
12
13
1 Switch
2 Li-ion 18V battery
3 Plastic motor housing
4 Steel base
5 Polygonal steel blade
6 Greaser
7 Emery wheel
8 Sharpener button
9 Blade protection case
10 Motor support
11 Carbide fixed blade
12 Rear protection
13 Speed adjuster
1.9 Package contents
The cutter is supplied with batteries and a charger in a plastic
case (A). The product code and serial number are specified on
the outer packaging.
A
The following accessories are also included:
2
1
6
4
3
5
1 Butterfly key for removing blade nut
2 Blade assembly/disassembly punch
3 8-sided blade
4 18 V Li-Ion®, 6.0 Ah rechargeable with LED charge indicator
5 Charger with European or American plug
6 Tube of grease
1.9.1 Information on batteries
Following a few simple guidelines extends the lifespan of the
batteries supplied:
–charge the battery fully before using it for the first time
–recharge when it is almost flat (approximately 10-20%
charge remaining). The battery cells can be recharged up to
200 times
–avoid letting the battery go completely flat or overcharging
it
–recharge at room temperature (+18/21°C)
–do not leave the battery in direct sunlight

6https://www.rasor-cutters.com
USE
2 USE
2.1 Manual mode
To use the cordless electric cutter manually:
–Disconnect the battery from the charger (if charged) as de-
scribed in section 2.2;
–Attach the battery to the motor, fitting it as indicated on the
battery itself;
–Lay out the material on a table;
–Position the material above the cutting base;
–Push the button on top of the handle to start the cutter;
–Push the cordless electric cutter in the direction of the requi-
red cut, while keeping the material taut to avoid it curling up
in the front part of the cutter.
–To cut neatly along a pre-marked line, we recommend using
the tip (1) as a guide.
1
l
WARNINGS
Apply pressure uniformly to the cordless electric cutter.
2.2 Charging the batteries
a
CAUTION
Always check the charger voltage against the mains
voltage for the country of use.
2.2.1 Check the battery charge level
On pressing the button (A) the LEDs switch on indicating the
battery charge level (B).
A
B
2.2.2 Charging the battery
When the battery is flat, recharge it using solely the charger
supplied with the device.
–Release the battery (1) from the motor by pressing the oran-
ge button (2) on the top.
–Connect the battery charger to the socket without the re-
chargeable battery. The green LED indicator switches on, si-
gnalling it is available for use.
–Insert the rechargeable battery (1) into the charger (3).
–A green light flashes while the battery is charging.
–The green light becomes steady when the battery is fully
charged.
–Fast charging starts automatically as soon as the battery tem-
perature is within the charging range of 5°C to 45°C.
–Once rechargeable lithium-ion batteries are charged, the
charger automatically switches off.
a
CAUTION
Repeated charging of a charged battery causes an
overcharge and impairs battery life.

7
https://www.rasor-cutters.com/it/
USE
2
1
1
3
a
CAUTION
Never use batteries other than the one supplied (18 V Li-
Ion®, 6.0 Ah rechargeable with LED charge indicator).
Only ever use the charger supplied.
a
CAUTION
If battery performance drops after a short time despite
proper recharging, the battery is worn out.

8https://www.rasor-cutters.com
MAINTENANCE
2.2.3 Meaning of LED indicator
2
3
1
4
5
1 Charge indicator
2 Fault signal LED
3 USB socket for charging small electrical devices
4 Temperature signal LED
5 Power LED
LED indicator Meaning
STEADY GREEN LIGHT
The battery charger is ready for use, mains volta-
ge is available
STEADY YELLOW LIGHT
The battery temperature is outside the charging
range of 5°C to +45°C. Fast charging will begin as
soon as the battery reaches a temperature within
the admissible charging range.
STEADY RED LIGHT
The battery cannot be charged. Possible causes
include:
-Dirty contacts. Procedure: clean the contacts
by inserting and removing the battery several
times.
-Faulty battery. Procedure: replace the battery!
LED indicator Meaning
Charging steady green light
Flashing LED
Fast charging is starting
Fast charging is active
Rechargeable battery charge level ≤ 25%
Fast charging is active
Rechargeable battery charge level ≤ 50%
Fast charging is active
Rechargeable battery charge level ≤ 75%
Fast charging has finished
Rechargeable battery charge level ≥ 75%
LED permanently OFF with rechargeable battery
inserted:
-Fast charging has finished
-The rechargeable battery has been fully
charged for over 1 hour in the battery charger
3 MAINTENANCE
3.1 Blade sharpening
After several hours of continuous use, or if the cutter is no lon-
ger cutting as it should, sharpen the blade.
To sharpen the blade, start the cutter then press and hold the
sharpening button (1) for 3-4 seconds.
Repeat 2-3 times.
If sharpening the blade is not effective, check the emery wheel
(2) for wear.
If the emery wheel (2) is excessively worn or dirty, replace the
wheel. To do this, first remove the blade using the appropriate
tool.
1
2
3.2 Lubrication
Lubricate the pair of gears every 2-3 days of use.
To do this, remove the protective cap (1) on the cutter head
and fill with grease (supplied).
Turn the cap (1) a few times to screw it back on.
Tighten the cap (1) by a few turns every day the cutter is used.
1
a
CAUTION
The blade must never be dirty with grease or oil.

9
https://www.rasor-cutters.com/it/
MAINTENANCE
3.3 Replacing the blade
If the blade no longer cuts the material (even after repeated
sharpening), replace it.
To do this you need the butterfly key (1) and blade-locking
punch (2).
1
2
To replace the blade:
1 Disconnect the battery from the tool;
2 Wear protective gloves in accordance with Italian Legisla-
tive Decree 81/08;
3 Unscrew the screw (3) and remove the rear protection (A);
4 Unscrew the screw (4) and remove the blade protection
case (B);
4
3
B
A
5 Insert the punch (2) in the hole (C) to lock the blade;
6 Position the butterfly key (1) on the blade fixed ring nut (6),
unscrew the ring nut and remove the blade (7);
2
7
C
6
1
7 Replace the worn blade with a new one (8) of the same
size and with the same specifications. Make sure the blade
is centred on the gear in the correct position. Fit the blade
with the sharp side (the side with the word Rasor on it)
facing outwards away from the cutter;
8
8 Refit all parts and test both cutting and sharpening.
3.3.1 Available blades
CODE DESCRIPTION
86THSS Ø 86 mm 8-sided HSS steel blade.
Suitable for all types of material.
86PHSS
Ø 86 mm 5-sided HSS steel blade.
Suitable for cutting technical textiles and particularly
tough materials.
86PHSSTF
Ø 86 mm 5-sided HSS steel blade with non-stick Teflon®
coating.
Suitable for cutting materials with glue or adhesive and
rubber-backed carpets.
86THSSTF
Ø 86 mm 8-sided HSS steel blade with non-stick Teflon®
coating.
Suitable for cutting materials with glue or adhesive.
86TMD
Ø 86 mm 8-sided solid carbide blade (Widia®). Extremely
hard blade for cutting abrasive and composite materials
such as glass fibre, Kevlar and carbon fibre.
86THSSTN
Ø 86 mm 8-sided HSS steel blade with Titanium Carbo-Ni-
tride coating (TiCN).
TiCN coating makes the surface of the blade particularly
hard and resistant to abrasive and adhesive wear.
Technical data are indicative and subject to change without
notice.

10 https://www.rasor-cutters.com
SPARE PARTS
3.4 Problems and possible causes/solutions
ANOMALY SOLUTION
The textile is not cut or
gets stuck between the
blade and the fixed blade
Check that the blade and fixed blade are
touching and that there is no residual material
on the fixed blade
Check that the fixed blade is integral
Check the type of textile
Sharpen the blade
Check the textile thickness
Check compatibility between the blade and
the fabric
Check the motor turns correctly
Check the battery charge level
Reduce the speed
The cutter is noisy
Lubricate
Dismantle the blade and remove residual
material
The cutter is slow to start,
works on and off, or does
not start
Check the batteries are inserted correctly
Check the plastic joint is integral
Check the battery charge level
l
WARNINGS
Contact the retailer for problems not included in this table
4 SPARE PARTS
l
WARNINGS
Use only original spare parts to replace faulty components.
When requesting spare parts, always state the exact model
name and the device’s serial number.
d
DO NOT
Use unsuitable spare parts. They can cause anomalous
operation and harm people or property.
l
WARNINGS
For an exploded diagram of spare parts with item
codes, visit www.rasor-cutters.com
5 DISPOSAL
5.1 Disposal at end of life
a
CAUTION
Some parts of the product may contain polluting or
hazardous substances that, if leaked, could harm the
environment and human health.
PRODUCT CONFORMING TO EU DIRECTIVE 2012/19/EU on wa-
ste electrical and electronic equipment (WEEE).
The crossed out wheeled bin symbol on the
equipment or its packaging indicates that
the product must be collected separately
from other waste at the end of its life.
As such, the user must take the product at
the end of its life to a suitable centre for recycling electrical and
electronic waste.
Separate collection enables the decommissioned equipment
to be properly recycled, treated and disposed of whilst preven-
ting harm to the environment and to health and facilitating the
reuse and/or recycling of the device’s component materials.
Spent batteries must be disposed of according to current re-
gulations.
a
CAUTION
Existing local regulations may impose heavy penalties for
improper disposal of this product.

11
https://www.rasor-cutters.com/it/
WARRANTY
6 WARRANTY
Rasor Elettromeccanica S.r.l., with registered offices at via
G. Mattei 41/43, 20044, Arese (hereinafter “Rasor”), declares
and guarantees that the products it markets have been ma-
nufactured in full compliance with the applicable national and
international regulations, and that they have been thoroughly
tested and have undergone stringent inspections by Rasor
quality control.
For information on the start date and duration of Rasor’s war-
ranty, reference should be made to the provisions of the sel-
ler’s warranty regulations applicable at the time of sale of the
products by Rasor. In particular, the relevant provisions of law
are expressly confirmed, according to which the warranty shall
be valid for twelve (12) months from the date of product deli-
very, as shown on the purchase tax document, if the purchaser
purchases the product for purposes related to his/her business,
commercial and professional activity (without prejudice to the
right of the purchaser to forfeit the warranty entitlement pur-
suant to art. 1495 of the Italian Civil Code in the event of failure
to report the defect within eight (8) days).
However, it is understood that, without prejudice to the pro-
visions of mandatory provisions of law, for warranty purposes,
Rasor shall not consider the following as flaws/defects in the
sold item:
–any damage (scratches, dents or similar) to the item caused
during carriage;
–damage or malfunctions caused by improper or incorrect
use of the product by the purchaser that deviates from or is
in conflict with the usage instructions given in the instruction
manual for the purchased product;
–product damage or malfunctions caused by or originating
from insufficient or inadequate electrical or compressed air
supply systems belonging to the purchaser, or in the event
of alterations resulting from environmental, climatic or other
conditions;
–damage or malfunctions caused by tampering, disassembly,
or repairs carried out by unauthorised personnel;
–product failures or malfunctions where the product has alre-
ady been fully and/or partially disassembled by unauthori-
sed personnel and/or facilities;
–failures or malfunctions following incorrect product installa-
tion;
–damage or malfunctions resulting from the use of non-origi-
nal accessories or spare parts;
–normal product deterioration or wear;
–normal wear and tear of consumable parts.
If returning the product for repair, the customer must always
send the complete equipment to Rasor. Individual defective
parts will not be accepted for repair under warranty. The custo-
mer must send the tool carriage paid; once repaired, the device
will be returned to the customer carriage forward.
In the light of the above, routine product maintenance i.e. pe-
riodic servicing and replacement of parts subject to wear shall
not be deemed work under warranty.

FORZA_EN_00_01/23
FOLLOW US:FOLLOW US:
RASOR ELETTROMECCANICA SRL
Via Giannetto Mattei 41/43
20044 Arese (MI) ∙ Italy
ph. +39 02 66 22 12 31
www.rasor-cutters.com
Table of contents
Other RASOR Cutter manuals

RASOR
RASOR GRT12SM Mounting instructions

RASOR
RASOR GRT12M User manual

RASOR
RASOR GRT-MINI Mounting instructions

RASOR
RASOR FP861V2 Mounting instructions

RASOR
RASOR GRT86 Quick setup guide

RASOR
RASOR FP100L User manual

RASOR
RASOR SW12SM Mounting instructions

RASOR
RASOR DD120 User manual

RASOR
RASOR NERAPRO Operation instructions

RASOR
RASOR GRT12SX User manual

RASOR
RASOR FP861A2 Mounting instructions

RASOR
RASOR FP861/A1 Mounting instructions

RASOR
RASOR FP120DT Mounting instructions

RASOR
RASOR GRT10L Mounting instructions

RASOR
RASOR DD120R User manual

RASOR
RASOR SW100SL User manual

RASOR
RASOR D 86PS User manual

RASOR
RASOR SW12SSM User manual

RASOR
RASOR GRT12 User manual

RASOR
RASOR DD120LC User manual