manuals.online logo
Brands
  1. Home
  2. •
  3. Brands
  4. •
  5. Rath
  6. •
  7. Emergency Phone
  8. •
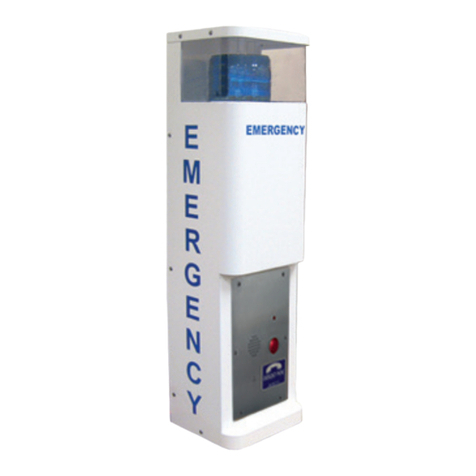
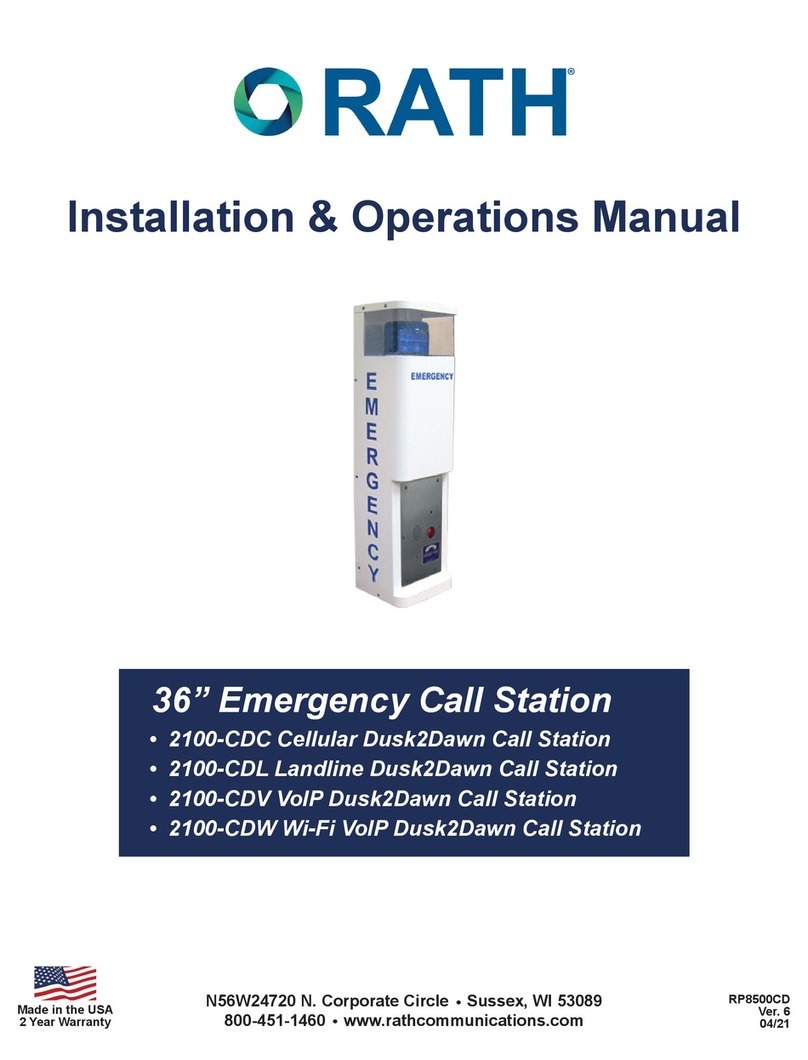
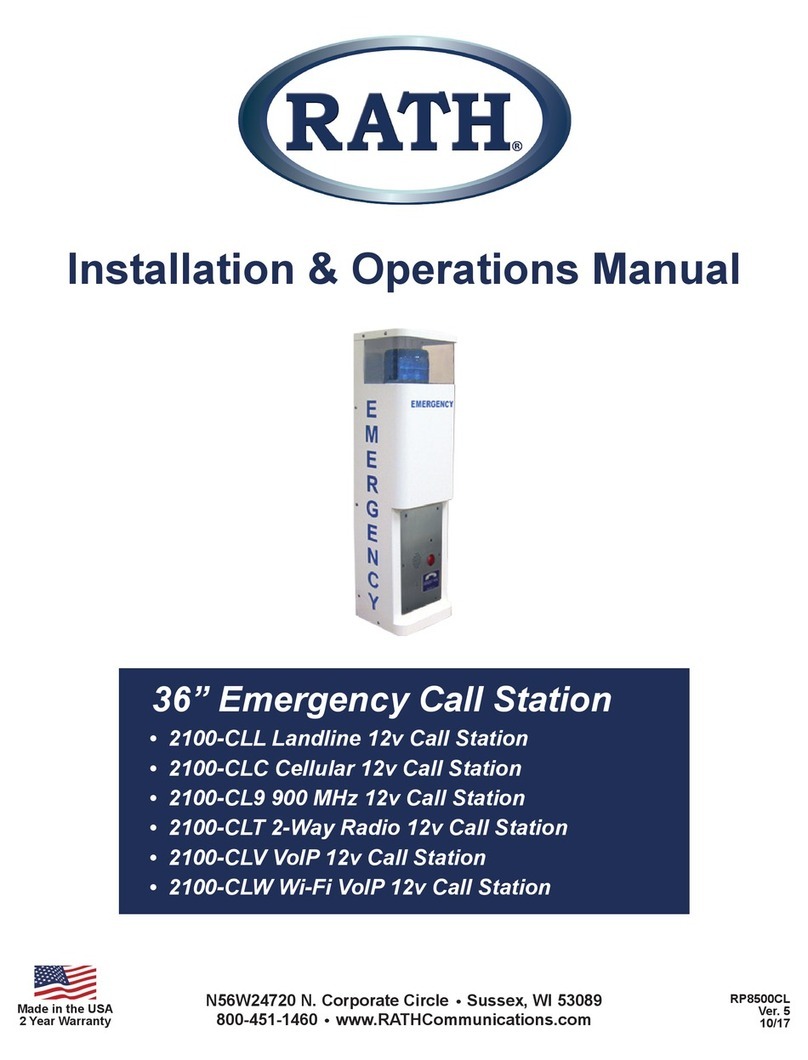
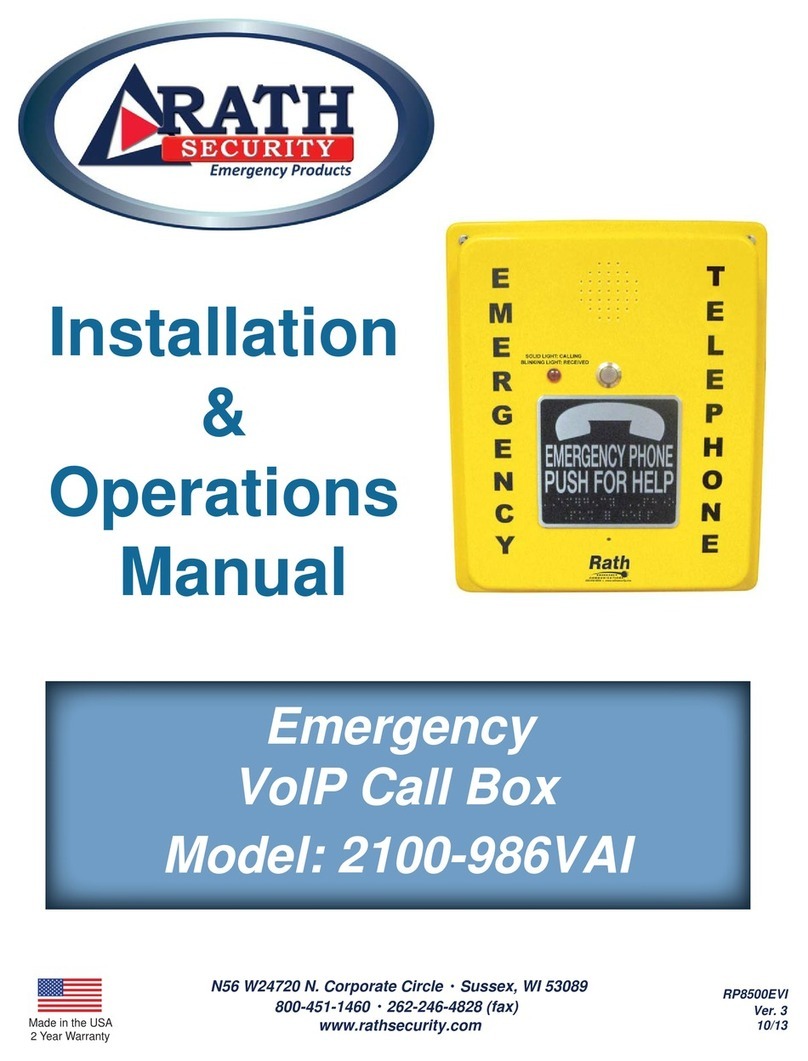
  9. Rath 2100-986GSM User manual

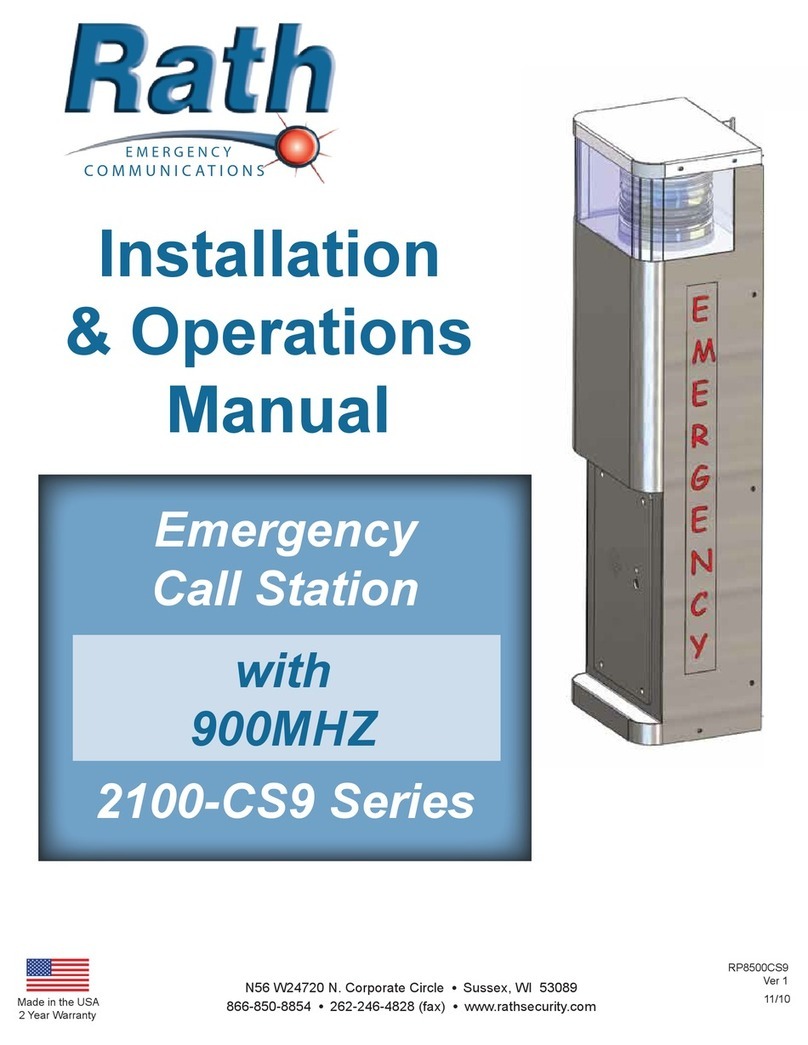
Rath 2100-986GSM User manual

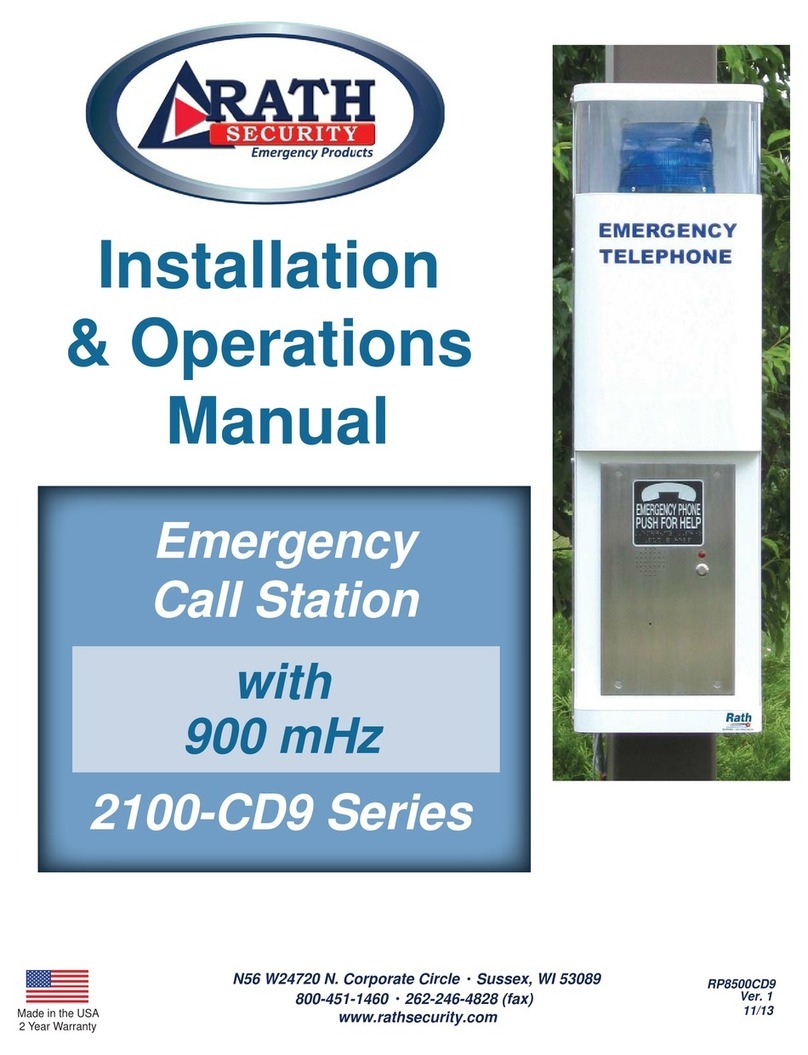
Installation & Operations Manual
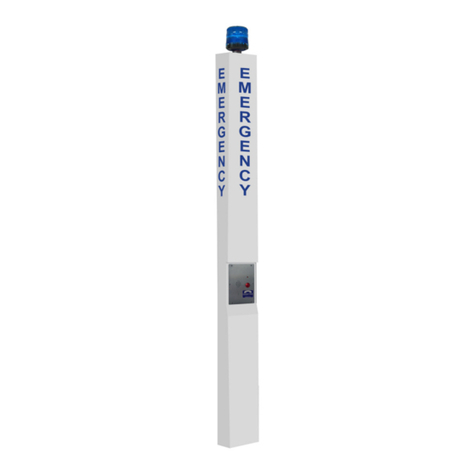
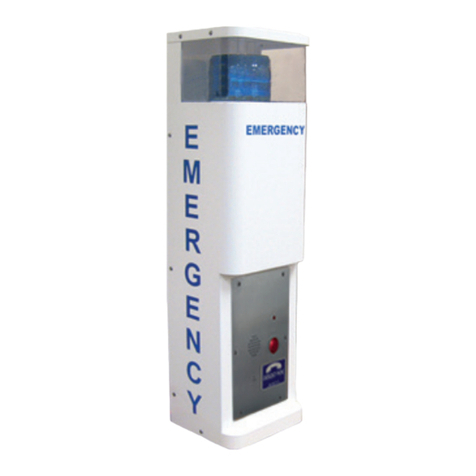
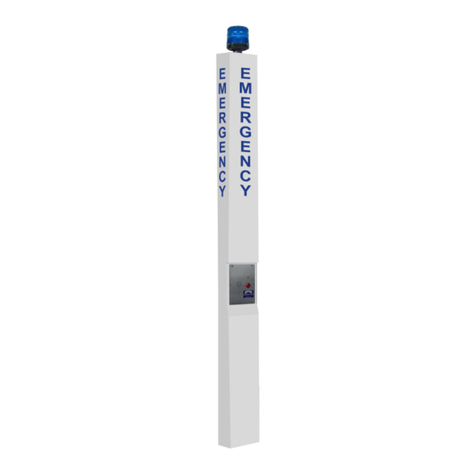
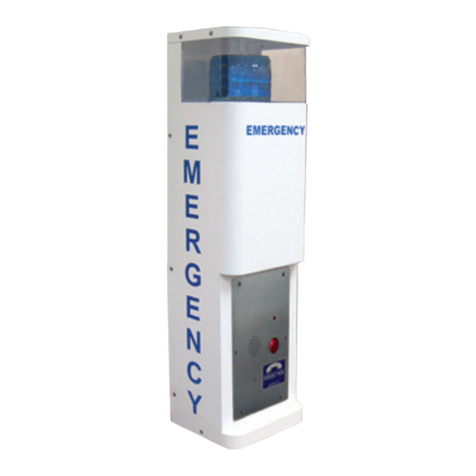
Cellular Emergency Phone
N56W24720 N. Corporate Circle Sussex, WI 53089
800-451-1460 www.rathcommunications.com
RP8500986GSM
Ver. 3
09/16
Made in the USA
2 Year Warranty
Thank you for purchasing RATH’s 2500-PWR24U Power Supply. We are the largest Emergency
Communication Manufacturer in North America and have been in business for over 35 years.
We take great pride in our products, service, and support. Our Emergency Products are of the highest
quality. Our experienced customer support teams are available to remotely assist with site preparation,
installation, and maintenance. It is our sincere hope that your experience with us has and will continue
to surpass your expectations.
Thank you for your business,
®
N56W24720 N. Corporate Circle Sussex, WI 53089
800-451-1460 www.rathcommunications.com
Table of Contents
Item Listing . . . . . . . . . . . . . . . . . . . . . . . . . . . . . . . . . .
Installation . . . . . . . . . . . . . . . . . . . . . . . . . . . . . . . . . .
Wiring . . . . . . . . . . . . . . . . . . . . . . . . . . . . . . . . . . . . . .
Phone Programming . . .. . . . . . . . . . . . . . . . . . . . . . .
Phone Volume . . . . . . . . . . . . . . . . . . . . . . . . . . . . . . .
Troubleshooting . . . . . . . . . . . . . . . . . . . . . . . . . . . . .
Page 2
Page 2
Page 3
Page 3-4
Page 4
Page 5
Item Listing
Installation
• Emergency phone
• Snake eye security screw bit
• GSM or CDMA cellular unit and antenna
Installations Where Antenna Cable is Externally Mounted:
1. Mount phone to the wall or pole using anchor screws.
2. Mount the antenna bracket to the wall using appropriate anchor screws. Antenna should be mounted
at least two feet from the phone.
3. Drill hole in appropriate location in the box for electrical power and antenna.
4. Attach conduit to the phone if appropriate for the install.
5. Attach the antenna cable to the cellular unit and screw into port labeled “Antenna”.
6. Run the 110/120vac electrical wires to the phone and attach to the power supply wiring using
appropriate wire nuts.
7. Turn on the electrical power.
8. Remove power from the cellular unit by disconnecting the barrel connector on the side.
9. Locate SIM Card Slot on cellular unit, press yellow button to remove holder, insert Sim Card
as shown on the unit, and reapply power (not required for CDMA).
GSM: Wait for lights on unit to be as follows: Power: Lit and Solid Rdy: Lit and Solid NW: Slow Blinking
FXS: Off (will light when button is pressed on phone)
CDMA: Wait for power light to be lit solid and at least one signal strength light to be lit
Items Needed (Provided by RATH®):
Page 2
• Anchor screws for mounting
• Electrical conduit for 110/120vac power
• Sim Card for GSM Cellular Unit (CDMA will
be pre-congured at factory)
• 1/4” driver for snake eye security screw bit
• Wire nuts for connecting AC
Items Needed (Not Provided):
Installations Where Antenna is Mounted to Phone Enclosure:
1. Mount phone to the wall or pole using anchor screws.
2. Drill a hole in an appropriate location in the box for connecting electrical power to the phone.
3. Attach conduit to the phone if appropriate for the install.
4. Run the 110/120vac electrical wires to the phone and attach to the power supply cables using
appropriate wire nuts.
5. Turn on the electrical power.
6. Remove power from the cellular unit by disconnecting the barrel connector on the side.
7. Locate SIM Card Slot on cellular unit, press yellow button to remove holder, insert Sim Card
as shown on the unit, and reapply power (not required for CDMA).
GSM: Wait for lights on unit to be as follows: Power: Lit and Solid Rdy: Lit and Solid NW: Slow Blinking
FXS: Off (will light when button is pressed on phone)
CDMA: Wait for power light to be lit solid and at least one signal strength light to be lit
Wiring
Page 3
Note: Phones are already programmed to dial 911.
To program an alternate number, remove the 4 security screws in each corner and either remove front
cover or inside plate to access the phone circuit board. Follow the directions on page 4:
Programming the Phone
Page 4
Speaker Phone Programming
Handset Phone Programming:

Step 1: To Begin Program Mode
A. Press Enter
Step 2: To Program Emergency Number
A. Press 1, Enter, (phone number), Stop
Step 3: To Exit Program Mode
A. Press Stop for 3 seconds
Step 1: Plug phone line cord into an active analog phone jack
Step 2: Press and hold the Program button, lift handset off hook, then release Program button
Step 3: Press the # key 10 times (you will hear conrmation tones)
Note: When programming, ignore messages or busy tones from the phone system.
Step 4: Press 3, then #, then the phone number you wish to dial
Step 5: Press *then #to exit Programming Mode
Keypad
Program Button
Adjusting the Volume
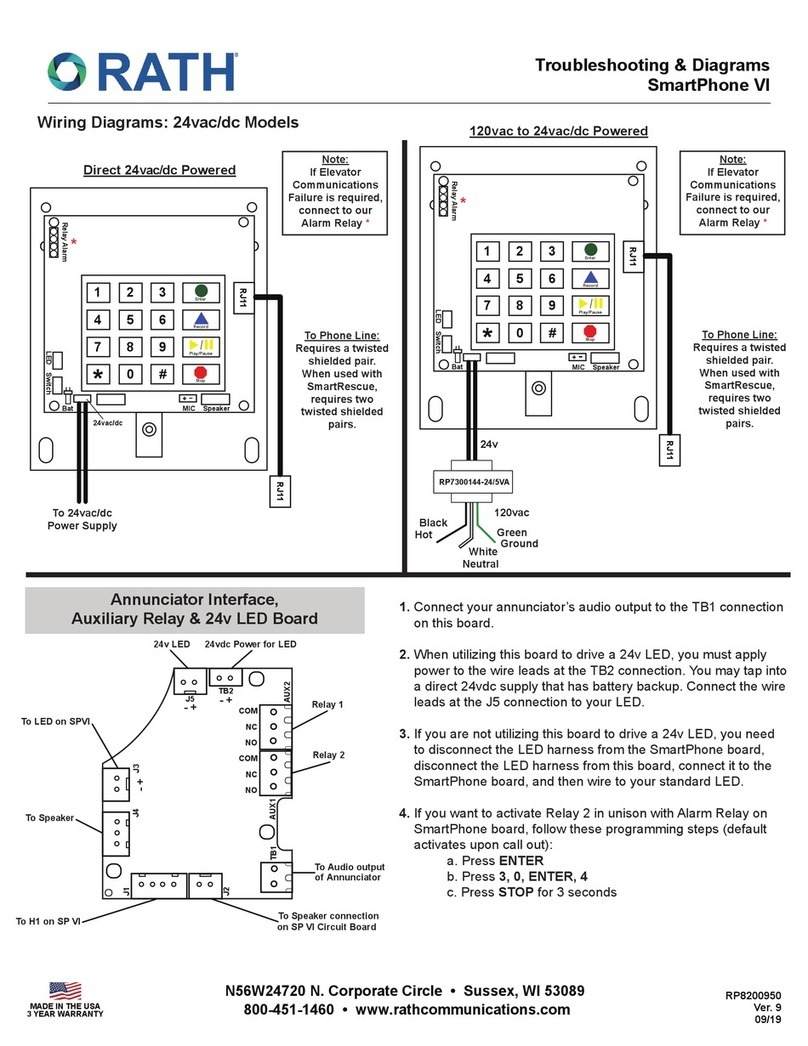
Volume Adjust VR1
Mic Sensitivity VR2
If the volume is too low or high, adjust it by referring to the diagram and instructions below.
Adjusting the Microphone:
If the person you are calling reports your voice is not loud enough, increase the Microphone
Sensitivity by adjusting VR2 a 1/4 turn clockwise (requires a small Phillips screwdriver).
Adjusting the Speaker:
If the voice of the person you call is not loud enough in the phone speaker, increase the volume
by adjusting VR1 a 1/4 turn clockwise.
RATH® SmartPhone
Page 5
Troubleshooting
Problem Possible Cause & Solutions
No dial tone when the
button is pushed:
• Check to make sure the phone line is connected to the SmartPhone
board.
• Verify SIM Card is seeded correctly in cellular unit and all lights on
front are appropriately lit.
Audio is low from the
speaker:
• Speaker control needs to be adjusted. Go to “Speaker Adjustment”
on page 4.
• Make sure the speaker holes are not blocked.
Audio is distorted from the
speaker:
• Speaker control needs to be adjusted. Go to “Speaker Adjustment”
on page 4.
• Make sure there are no items touching the speaker inside the
enclosure.
When called party hangs
up, call does not
disconnect:
• Cellular unit does not have the proper disconnect signal. Contact
your service provider and ask for a CPC or Open-Loop Disconnect
signal.
Phone appears non-
functional. Light does
not ash and no audio is
heard from speaker when
buton is pushed:
• Check to make sure the phone line is connected to the SmartPhone.
• Verify that there are 12v coming out of the transformer to cellular
unit and SmartPhone.
• Push button may be non-functional. Short connector and see if call
is placed.

Other Rath Emergency Phone manuals

Rath 2100-PLL Landline 12v Pedestal User manual

Rath

Rath 2100-PLL Landline 12v Pedestal User manual

Rath 2100-TL9 User manual

Rath

Rath 2100-TL9 User manual

Rath 2100-PL9 900 MHz 12v Pedestal User manual

Rath

Rath 2100-PL9 900 MHz 12v Pedestal User manual

Rath 2100-CD9 User manual

Rath

Rath 2100-CD9 User manual

Rath Dusk2Dawn 2100-CD9 Series User manual

Rath

Rath Dusk2Dawn 2100-CD9 Series User manual

Rath SmartRescue 5 User manual

Rath

Rath SmartRescue 5 User manual

Rath 2100-EPV2 VoIP User manual

Rath

Rath 2100-EPV2 VoIP User manual

Rath 2100-CS9 User manual

Rath

Rath 2100-CS9 User manual

Rath 2100-CSL User manual

Rath

Rath 2100-CSL User manual

Rath 2100-CDC User manual

Rath

Rath 2100-CDC User manual

Rath 2100-CPL User manual

Rath

Rath 2100-CPL User manual

Rath 2100-CP9 User manual

Rath

Rath 2100-CP9 User manual

Rath 2100-CL9 User manual

Rath

Rath 2100-CL9 User manual

Rath 2100-PPL User manual

Rath

Rath 2100-PPL User manual

Rath 2100-986DA User manual

Rath

Rath 2100-986DA User manual

Rath 2100-ELL2 User manual

Rath

Rath 2100-ELL2 User manual

Rath 2100-TPL Landline 120v Tower User manual

Rath

Rath 2100-TPL Landline 120v Tower User manual

Rath 2500-205D User manual

Rath

Rath 2500-205D User manual

Rath 2100-986VAI User manual

Rath

Rath 2100-986VAI User manual

Rath 2100-CPV User manual

Rath

Rath 2100-CPV User manual

Rath 2100-TLL Landline 12v Tower User manual

Rath

Rath 2100-TLL Landline 12v Tower User manual

Rath 2100-CPL User manual

Rath

Rath 2100-CPL User manual

Rath SmartRescue 5 User manual

Rath

Rath SmartRescue 5 User manual

Rath SmartPhone VI Quick start guide

Rath

Rath SmartPhone VI Quick start guide

Popular Emergency Phone manuals by other brands

Viking E-1600A series Technical practice

Viking

Viking E-1600A series Technical practice

Wafer Microelectronics GSM-HELP Quick user manual

Wafer Microelectronics

Wafer Microelectronics GSM-HELP Quick user manual

Hubbell GAI-TRONICS 711-102 manual

Hubbell

Hubbell GAI-TRONICS 711-102 manual

ANEP S-BOX manual

ANEP

ANEP S-BOX manual

Linear PERS-2400 PERSONAL EMERGENCY REPORTING SYSTEM... installation instructions

Linear

Linear PERS-2400 PERSONAL EMERGENCY REPORTING SYSTEM... installation instructions

TeleCare PERS user guide

TeleCare

TeleCare PERS user guide

Tunstall Connect America  CEL450 Connection Guide & User Manual

Tunstall

Tunstall Connect America CEL450 Connection Guide & User Manual

Eaton VoCALL CFVCCM9 compact master Installation, commissioning and maintenance manual

Eaton

Eaton VoCALL CFVCCM9 compact master Installation, commissioning and maintenance manual

SmarLink MEDI-MINDER installation manual

SmarLink

SmarLink MEDI-MINDER installation manual

ClearSounds CSC600ER user manual

ClearSounds

ClearSounds CSC600ER user manual

Talkaphone VOIP-500 Series Quick installation guide

Talkaphone

Talkaphone VOIP-500 Series Quick installation guide

HD ADA 100 installation guide

HD

HD ADA 100 installation guide

My Alert Center MyIndependance quick guide

My Alert Center

My Alert Center MyIndependance quick guide

Paso PA8506-V Instructions for use

Paso

Paso PA8506-V Instructions for use

manuals.online logo
manuals.online logoBrands
  • About & Mission
  • Contact us
  • Privacy Policy
  • Terms and Conditions

Copyright 2025 Manuals.Online. All Rights Reserved.