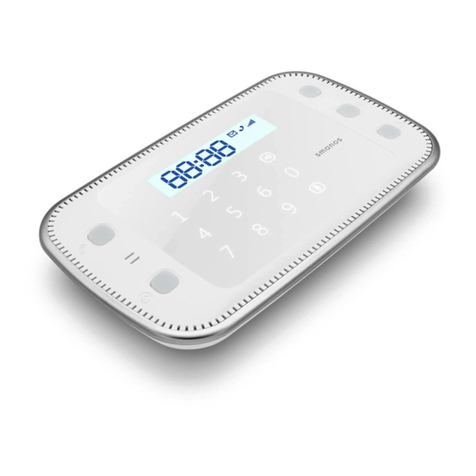
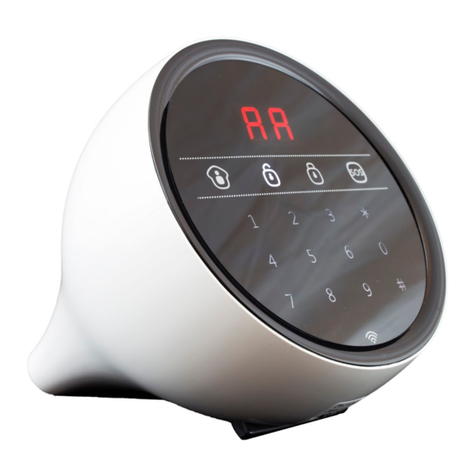
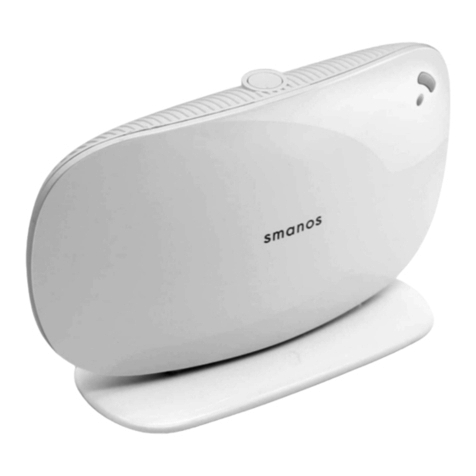
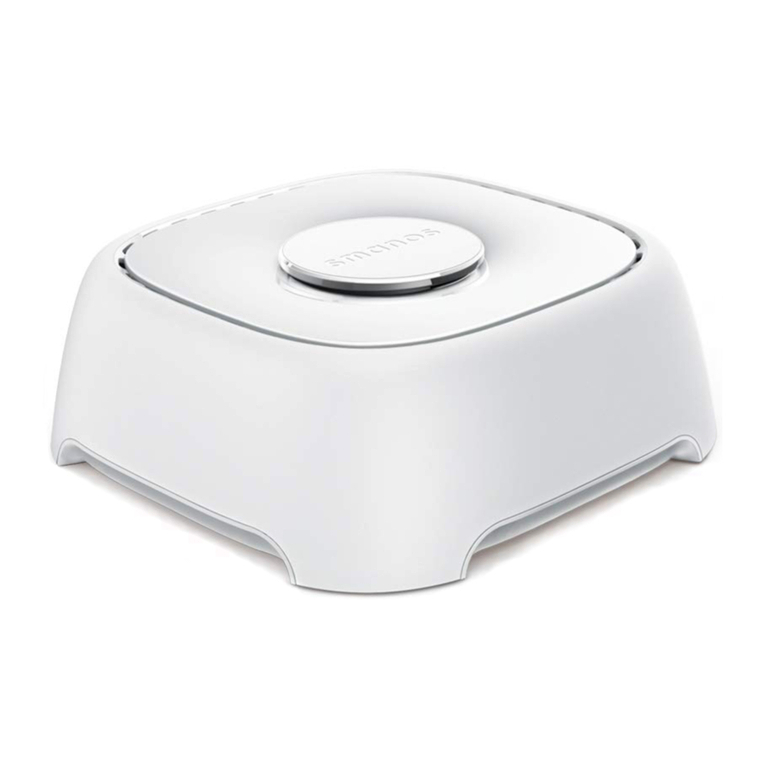
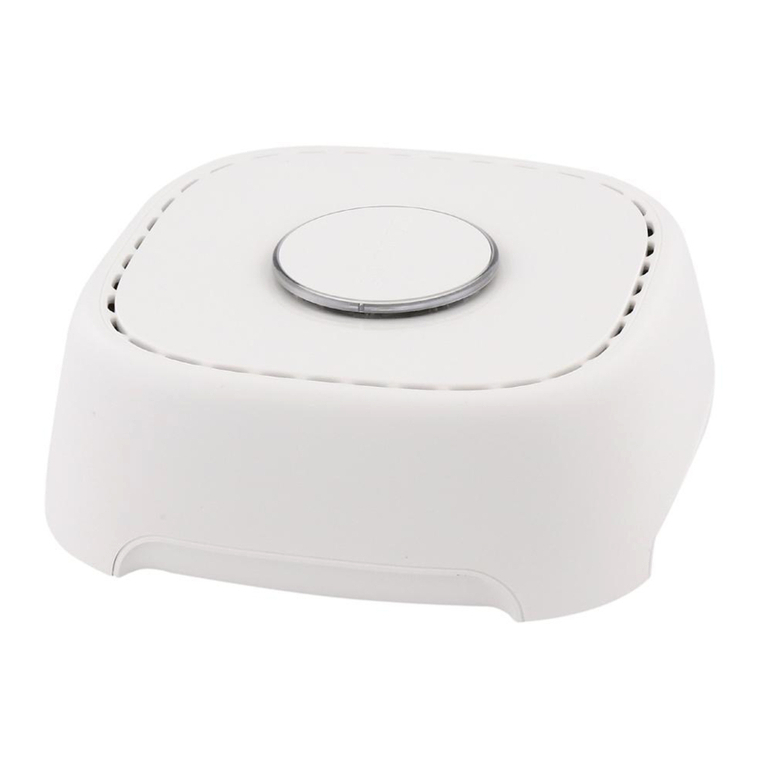
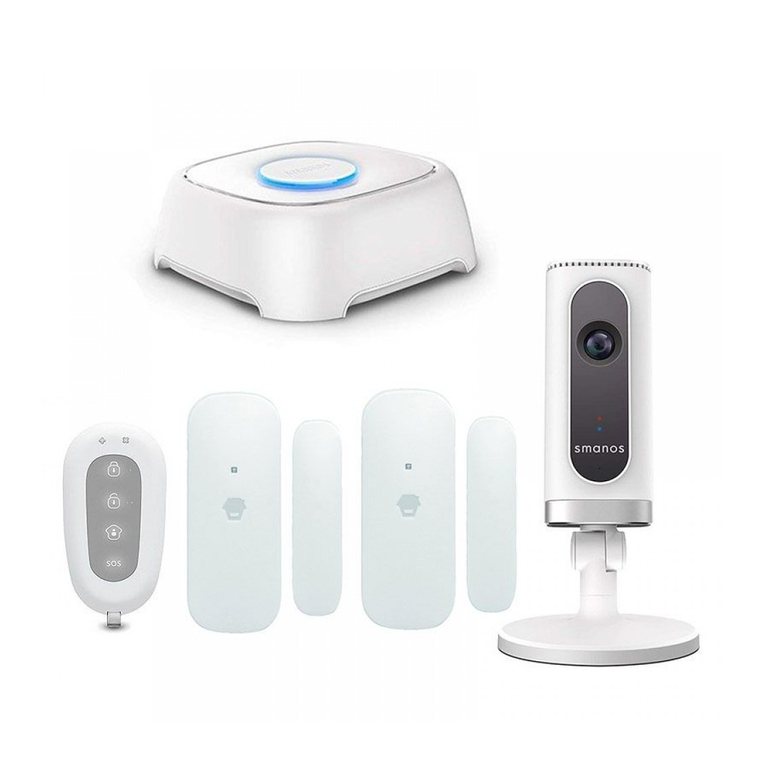
Smanos W020 User manual

EN NO SE PL
Printed in China
PA: W020-UM-EN-NO-SE-PT-V1.0
© 2017 SMANOS HOLDING LTD. All Rights Reserved.
W020
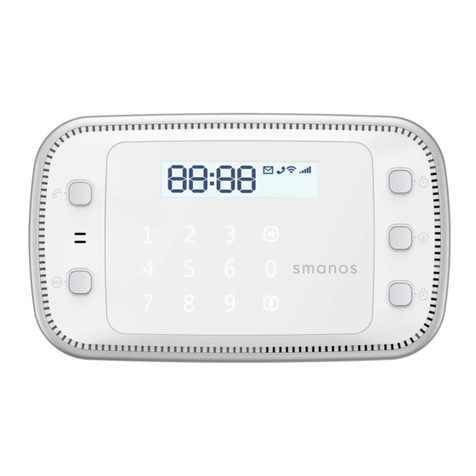
WiFi Alarm System
MULTILINGUAL
USER MANUAL
MULTILINGUAL
USER MANUAL

04 05
Table of Contents
Please read this user manual carefully.
Be sure to keep this user manual handy for future reference.
Introduction ������������������������������������������������������������������������������������������������01
Features ��������������������������������������������������������������������������������������������������������01
In the Box���������������������������������������������������������������������������������������������02~03
How It Works����������������������������������������������������������������������������������������������04
Overview�������������������������������������������������������������������������������������������������������05
Accessories ������������������������������������������������������������������������������������������06~09
Remote Control..................................................................................... 06
Zone modes........................................................................................... 07
Door/Window Contact ....................................................................... 08
APP Operation������������������������������������������������������������������������������������10~14
Apple and Android App...................................................................... 10
Managing Your Alarm System ........................................................... 11
Pairing/Deleting Accessory�����������������������������������������������������������15~16
Pairing New Remote Control and Sensor....................................... 15
Deleting Sensors and Remote Controls.......................................... 16
Pairing New Wireless Siren................................................................. 16
Deleting Wireless Siren........................................................................ 16
Reload the Batteries of Accessories���������������������������������������������������17
Restoring to Factory Setting�����������������������������������������������������������������18
Trouble Shooting���������������������������������������������������������������������������������������19
Maintenance ���������������������������������������������������������������������������������������20~21
Specications��������������������������������������������������������������������������������������22~23
W020 Control Panel ............................................................................ 22
RE2300 Remote Control...................................................................... 23
DS2300 Door/Window Contact ........................................................ 23
Disclaimer�����������������������������������������������������������������������������������������������������24
Industry Canada Notice
This device complies with Industry Canada licence-exempt RSS standard(s).
1. Operation is subject to the following two conditions:
(1) this device may not cause interference, and
(2) this device must accept any interference, including interference that
may cause undesired operation of the device.
2. Changes or modifications not expressly approved by the party
responsible for compliance could void the user’s authority to operate
the equipment.
Video
ENEN

01 02
Introduction
Congratulations in buying the W020 alarm system. This product
is a totally D.I.Y. home security solution. It features automatic
connection to various accessories, putting your home under all-
round protection.
To experience this wonderful product, please follow the
instructions in the user manual. If there is any problem when using
the product, please contact us for help.
Features
1. Easy to operate
Connect network quickly
Interact by APP
Support entry and exit delay
Two groups of timing arm and disarm
2. High reliability
Built-in 1,000,000 RF codes combination
Built-in 105dB siren, deterring intruders
3. User-oriented
Standby over 60 hours
Support 10 remote controls, 30 wireless detectors
In the Box
Please check whether the package includes the following items. If
not, please contact the distributor/ retailer.
W020 Control Panel x 1 Battery of Control
Panel x 4
DS2300 Door/Window
Contact x 2
RE2300 Remote
Control x 1
ENEN

03 04
SA-A12 Adapter x 1 Reset Pin x 1
User Manual x 1 Warranty Card x 1
How It Works
Paired Door/Window Contact
Door or window is opened
Managed by remote
control / phone
Panel sounds / Sends a
push notication to users
Users
ENEN

05 06
Overview
Front
+
_
+
_
_
+
_
+
Status Indicator
Rear
+
_
+
_
_
+
_
+
Reset Button
Battery
Side
+
_
+
_
_
+
_
+
Network conguration buttonAdapter Jack
Accessories
Remote Control
Overview
LED Indicator
Guide Point For The Blind
Arm
Disarm
Stay
SOS
Metal Ring
Note: If you press any button, the LED indicator is dusky and lights off after
ashing twice quickly, means the remote control battery is exhausted.
Button System Status
Press once to arm the system. The siren beeps once and the
red indicator will light on to conrm the system is armed.
Press once to disarm the system. The siren beeps twice and the
green indicator will light on to conrm the system is disarmed.
Note: System will alarm immediately if 24-hour zone detector
or tamper switch of sensor is triggered.
Press once to home arm the system, the siren beeps once after
3 seconds and the blue indicator will light on to conrm the
system is in home mode.
Note: System stops handling signal from home mode zone
detector, which enable users to move freely at home.
ENEN

07 08
The control panel will hoot on-site with indicator ashing, users
will receive an emergency message from App.
Press the [stay ] button, the indicator on the remote control
blinks once, and then press [Arm ] button within 3 seconds
to mutely arm the system.
Press the [stay ] button, the indicator on the remote
control blinks once, and then press [Disarm ] button within
3 seconds to mutely disarm the system.
Zone modes
There are three zone modes available for the sensors.
Normal zone: In arm or home arm state, the detectors set to
normal zone work normally. Once intrusion is detected, the
detectors trigger an alarm.
Home mode zone: When system is in home arm state, the
detectors set to home mode zone are disarmed. The detectors set
to other zones are armed. That is, partial arm.
24-H zone: The detector set to 24-H zone trigger an alarm
immediately when detecting intrusion, no matter the system is
armed or disarmed.
Sensors in This Kit Zone Mode (Default Setting)
DS2300 Door/Window Contact Normal Zone (can be changed through
App)
Note: The zone mode of 24-hour zone sensor can not be changed.
Door/Window Contact
The contact contains a transmitter and a magnet, which can be
mounted on a door, window or any objects that can be opened
or closed. When the transmitter and magnet are separated over
2 cm, the contact will send a signal to the control panel to trigger
an alarm.
Overview
LED Indicator
Transmitter
Front Side Back Side
Magnet
Tamper Switch
LED Indication
Blinks once: Door/window open detected.
Blinks once per 3 seconds after triggered: Low battery. Push
notication will be sent to App. Please change battery as soon as
possible.
Note: When tamper switch is pressed, system will alarm immediately.
ENEN

09 10
Installation
Make sure the contacts work properly before installation.
Step 1: Choose a suitable installation location
It can be installed on doors,
windows or any other objects that
can be opened or closed. If it is
applied to metal doors, please
place spacer under the transmitter
and magnet.
Step 2: Secure the contacts with double-sided tapes
Make sure the triangle marks on
the side of transmitter and magnet
are closed to each other and within
the range of 1cm. As long as the
space between them is over 2cm,
the LED on the transmitter will blink
once.
>2cm
APP Operation
Apple and Android App
Download App from App Store or Google Play by searching
keywords “W020 Alarm”.
W020 Alarm
The App can be bound with the alarm system through smart
phones. And this alarm system can be controlled by multiple
users.
Special Tips (For Iphone Only)
Tap “OK” to allow receiving notications
from “W020 Alarm”.Forbidden to
receive notications may result in an
application running failure, please re-
install and allow it to send notication
to you in case of alarm.
ENEN

11 12
Managing Your Alarm System
Power on
Connect the control panel with a power socket.
Note: The control panel will be disconnected with network if only powered
by batteries.
Network setup
It enters into the network setup interface. There are two ways to
connect the control panel with Wi-Fi:
Important: W020 does not support WiFi of 5GHz band, If dual-
band(5GHz and2.4GHz) router is used, make sure to connect with
the 2.4GHz WiFi instead of the 5GHz’s.
Option 1� One-click setup
1. Click the network conguration button (refer to page 5) on the
control panel once, you’ll hear a beep from the control panel.
then the red and blue status indicators blink alternately.
2. Input the Wi-Fi’s password on the App, then tap [Start],
when the indicator stops blinking but keeps on instead, the
conguration is successful.
Option 2. Manual conguration
1. Hold the network conguration button on the control panel
until the control panel beeps once, then the red and blue status
indicators blink alternately, means the control panel has entered
into a manual conguration state.
2. Find and choose the Wi-Fi named W020 in your phone’s Wi-Fi
list.
3. Choose manual conguration in the one-click setup interface of
W020 App.
4. Input the local Wi-Fi name and its password, click [Start].
When the status LED indicator stops blinking but keeps on instead,
it means the conguration is successful.
Note: One control panel can be controlled by multi users.
Remote control your alarm system
Arm
Pull-down to Refresh
Network Reconnection
Disarm
Home Arm
ENEN

13 14
System settings
① Edit Accessory
10 remote controls and 30 sensors could be extended and the
names of sensors are editable.
This function aims at guiding user to identify the invasion location
quickly by changing the sensor name. Their sequence in naming
follows pairing order, for example, the rst paired sensor is by
default assigned to zone 1, the second paired sensor is by default
assigned to zone 2, etc. In case of emergency, this control panel
will push notication with zone number (or new name) to user.
Meanwhile, you can change the working mode of accessory
(Except the 24-hour zone sensor) by tapping the [ ] or [ ],
please refer to the detail of “zone mode” on page 7.
② Wireless Siren
If wireless siren is purchased, you can setup on the app to turn on/
off the alarm function and arm/disarm tone, etc.
③ Exit Delay Time & Entry Delay Time
If you don’t want to carry along remote controls, you can set the
exit or entry delay.
Suppose entry delay is set at 30 seconds, the system will allow you
30 seconds to disarm the system before alarming. Suppose exit
delay is set at 35 seconds, the system will allow you 35 seconds to
leave before the system is armed. The “beep” is heard in every 2
seconds to remind you to leave. The pace of reminding sound will
speed up in the last 15 seconds. Thus leaves you enough time to
leave home without triggering the system.
④ User Deletion
Input the ID No. (on the back side of the control panel) to delete
all the users.
ENEN

15 16
Pairing/Deleting Accessory
The included accessories have been paired with the control panel
by default, if you want to pair new accessories, please follow these
instructions:
Pairing New Remote Control and Sensor
Ta p [+] on the accessory interface to send out pairing signal, and
then trigger the accessory by following the illustration.
Important: Please don't trigger the tamper switch of sensor when
pairing, otherwise the system will recognize the sensor as a 24-hour
zone sensor.
Press any button on the
remote control
Press the test button
more than twice(Purchase
separately)
Separate the transmitter
and the magnet
When a beep is heard from the control panel means the sensor
is paired successfully. If two beeps are heard, it means the sensor
has already been paired.
Note: To pair other sensors, please refer to the related user manuals.
Deleting Sensors and Remote Controls
Use the supplied reset pin to press the reset button for about
3 seconds, the control panel will beep once to indicate all the
sensors and remote controls have been deleted.
Pairing New Wireless Siren
Wireless siren is sold separately.
1. Siren enters pairing state (please refer to its user manual).
2. Arm or disarm the control panel on App to send out pairing
signal to the siren.
When a beep is heard from the siren means the siren is paired
successfully. If two beeps are heard means the siren has already
been paired.
Deleting Wireless Siren
Press and hold the pair button of the wireless siren, the deletion
is succeeded when one beep is heard from the wireless siren.
ENEN

17 18
Restoring to Factory Setting
Please read the steps below carefully before restoring to
factory setting�
Use the supplied reset pin to press the reset button ( refer to
page 5) for about 7 seconds, during the time, you will hear a beep
in the rst 3 seconds, do not loose it until another beep is heard.
After that, the control panel is restored to factory setting.
Note: The accessories will not be deleted after restoring to factory setting.
Reload the Batteries of Accessories
RE2300 Remote Control
Remove the rubber item Loose the screw
Open the case and change the battery
DS2300 Door/Window Contact
Open the case and change the batteries
ENEN

19 20
Maintenance
The alarm system features unique and brilliant design and
craftwork. Please use it with caution. The following suggestions
will help prolong the service life of the system.
1. Keep this product and accessories out of children’s reach.
2. Keep the product and accessories dry. Rainwater, moisture and
liquids are likely to contain minerals that will corrode electronic
circuits.
3. Do not use or store the alarm system in dusty or dirty places;
otherwise it may damage the electronic components.
4. Do not expose the alarm system to high temperature. High
temperatures can shorten the life of electronic components,
damage batteries, and cause melting and deformation of
plastic parts.
5. Do not store the alarm system in cold areas. Otherwise, when
the temperature of the alarm system rises to the normal level,
moisture appears inside, damaging PCB.
6. Test the alarm system regularly and perform troubleshooting in
time.
Trouble Shooting
If the alarm system cannot work properly, please rst check the
following sheet.
Problems Reason/Solution
The control panel does
not respond to App
operation
Check whether the local network is
working
Make sure the control panel is powered by
adapter
Remote control does not
work
Check if the remote control has been
paired to the control panel successfully
The distance between the control panel
and the remote control is too far away
Door/window contact is
triggered but the control
panel does not alarm
Check whether the system is in armed
state
Check if the door/window contact
has been paired to the control panel
successfully
Check if the door/window contact is far
away from the control panel
No sound when alarming
Check if the volume of the control panel is
set to mute; Reset alarm ring volume on
App
ENEN

21 22
Specifications
W020 Control Panel
Power Supply DC 12V 500mA
Battery AA 1.5V LR 6 x 4pcs
Standby Current <30 uA
Alarm Current <200 mA
Internal Siren 105dB
Expandable Accessories 10 remote controls, 30 sensors
WiFi IEEE 802.11b/g/n
Radio Frequency 868MHz (±75 KHz)
Housing Material ABS plastic
Operating Condition Temperature 0°C~+55°C
Relative humidity <80%
(non-condensing)
Dismensions 117 x 118.5 x 40.5 mm (L x W x H)
7. Check the built-in batteries of accessories regularly. If the
batteries are low, replace with new ones.
8. The alarm system requires uninterrupted power supply for
working or standby. Therefore, you need to connect the AC
adapter to a reliable power outlet.
9. Avoid placing the control panel and sirens in bedrooms or
ofces, so as not to disturb your rest or work.
10. It is recommended to cut off the power if the system is not
used for long time.
11. If the alarm system is covered with dirt, wipe off the dirt with
soft cloth or tissue. For stains, apply diluted alkaline detergent
to soft cloth, wring the cloth out and wipe the product. Then,
dry the product with dry absorbent cloth.
Please carefully read and strictly follow the previous suggestions.
If the product remains faulty, you can send it to the place of
purchase or authorized maintenance center for maintenance. We
will provide help as soon as possible.
ENEN

23 24
Disclaimer
Dear users,
We have reviewed this manual thoroughly in order to ensure
it’s clear and easy for you to operate the system. All statements,
technical information, recommendations in this manual are
reliable, but the accuracy and completeness are not guaranteed
or warranted.
The specications and information regarding the products in this
document are subject to change without notice.
Photocopy, copy, reproduction, translation to any language,
modication, storage in a retrieval system or retransmission, in
any form or by any means, electronic, mechanical or otherwise, is
strictly prohibited without prior written permission.
In no event we are liable for any indirect, special, incidental, or
consequential damages, including, without limitation, lost prots
or loss or damage to data arising out of the use or inability to
use this document, even if the product has been advised of the
possibility of such damages.
RE2300 Remote Control
Power Supply DC 3V (CR2032 lithium cell battery x 1)
Transmitting Current <10 mA
Transmitting Distance <80 m (open area/no interference)
Radio Frequency 868MHz (±75 KHz)
Housing Material PC+ABS plastic
Operating Condition Temperature 0°C~+55°C
Relative humidity <80%
(non-condensing)
Dimensions 71 x 38 x 12 mm (L x W x H)
DS2300 Door/Window Contact
Power Supply DC 3V (CR2032 lithium cell battery x 2)
Static Current <2 uA
Alarm Current <22 mA
Transmitting Distance <80 m (open area/no interference)
Radio Frequency 868MHz (±75 KHz)
Housing Material ABS plastic
Operating Condition Temperature 0°C~+55°C
Relative humidity <80%
(non-condensing)
Transmitter Dimensions 72.5 x 28 x 10 mm (L x W x H)
Magnet Dimensions 58 x 14 x 9.5 mm (L x W x H)
ENEN

02 03
Innholdsfortegnelse
Les denne brukerveiledningen nøye.
Ta vare på denne brukerhåndboken til fremtidig referanse.
Introduksjon������������������������������������������������������������������������������������������������01
Funksjoner ���������������������������������������������������������������������������������������������������01
Innholdet i esken�������������������������������������������������������������������������������02~03
Slik fungerer det����������������������������������������������������������������������������������������04
Oversikt���������������������������������������������������������������������������������������������������������05
Tilbehør�������������������������������������������������������������������������������������������������06~09
Fjernkontroll ........................................................................................... 06
Sonemoduser......................................................................................... 07
Dør-/vindukontakt ............................................................................... 08
Bruk via app ����������������������������������������������������������������������������������������10~14
Apple- og Android-app...................................................................... 10
Slik kontrollerer du alarmsystemet ................................................... 11
Tilkobling/sletting av tilbehør������������������������������������������������������15~16
Koble til ny fjernkontroll og sensor................................................... 15
Slette detektorer og fjernkontroller.................................................. 16
Koble til en ny trådløs sirene.............................................................. 16
Slette en trådløs sirene........................................................................ 16
Sett inn batteriene i tilbehørene om igjen��������������������������������������17
Tilbakestille til fabrikkinnstillingene���������������������������������������������������18
Feilsøking �����������������������������������������������������������������������������������������������������19
Vedlikehold������������������������������������������������������������������������������������������20~21
Spesikasjoner �����������������������������������������������������������������������������������22~23
W020 kontrollpanel ............................................................................. 22
RE2300 fjernkontroll............................................................................. 23
DS2300 dør-/vindukontakt ................................................................. 23
Ansvarsfraskrivelse������������������������������������������������������������������������������������24
Video
NONO

01 02
Introduksjon
Gratulerer med kjøpet av dette W020-alarmsystemet. Dette
produktet er en sikkerhetsløsning for hjemmet som du kan
installere på egen hånd. Den tillater trådløs tilkobling til diverse
tilbehør, og tilbyr en komplett sikkerhetsløsning for hjemmet ditt.
Vennligst følg instruksjonene i brukerhåndboken når du bruker
dette flotte produktet. Hvis du opplever problemer med bruken av
produktet, kan du kontakte oss for å få hjelp.
Funksjoner
1. Lett å bruke
Koble til nettverk raskt
Kontroller med app
Støtte for inngangs- og utgangsforsinkelse
To grupper med tidsprogrammert armering og desarmering
2. Svært pålitelig
1 000 000 innebyggede RF-kodekombinasjoner
Innebygget sirene på 105 dB for å avskrekke inntrengere
3. Brukervennlig
Over 60 timer standbytid
Støtter 10 fjernkontroller og 30 trådløse detektorer
Innholdet i esken
Kontroller at pakken inneholder følgende ting. Hvis ikke, må du
kontakte forhandleren/distributøren.
W020 kontrollpanel x 1 Kontrollpanelbatteri x 4
DS2300 dør-/vindukontakt x 2 RE2300 fjernkontroll x 1
NONO

03 04
SA-A12-adapter x 1 Nullstillingsnål x 1
Brukerveiledning x 1 Garantikort x 1
Slik fungerer det
Paret dør-/vindukontakt
Dør eller vindu blir åpnet
Kontrollert via
fjernkontroll / telefon
Panelet avgir lyd og
sender varselmeldinger til
brukerne
Brukere
NONO

05 06
Oversikt
Foran
+
_
+
_
_
+
_
+
Statusindikator
Bak
+
_
+
_
_
+
_
+
Nullstillingsknapp
Batteri
Side
+
_
+
_
_
+
_
+
NettverkskongureringstastAdapterplugg
Tilbehør
Fjernkontroll
Oversikt
LED-indikator
Guidepunkt for blinde
Armer
Desarmer
Inne
SOS
Metallring
Merk: Hvis du trykker på en knapp, og LED-indikatoren lyser svakt og skrus
av etter to raske blink, betyr det at batteriet i fjernkontrollen er tomt.
Knapp Systemstatus
Trykk én gang for å armere systemet. Sirenen piper én gang og
den røde indikatoren tennes for å indikere at systemet er armert.
Trykk én gang for å desarmere systemet. Sirenen piper to ganger
og den grønne indikatoren tennes for å indikere at systemet er
desarmert.
Merk: Systemet går øyeblikkelig i alarm hvis en detektor i
24-timerssonen eller sabotasjebryteren på en av detektorene utløses.
NONO

07 08
Trykk én gang for å hjemmearmere systemet. Sirenen piper
én gang etter 3 sekunder, og den blå indikatoren tennes for å
indikere at systemet er i hjemmemodus.
Merk: Systemet slutter å håndtere signalet fra hjemmemodussone-
detektorer. Dette lar brukere bevege seg fritt hjemme.
Kontrollpanelet avgir varsellyd på stedet og indikatoren blinker.
Brukerne mottar en nødmelding fra appen.
Trykk på [Inne ]-knappen. LED-indikatoren på fjernkontrollen
blinker én gang. Trykk så på [Armer ]-knappen innen
3 sekunder for å armere systemet lydløst.
Trykk på [Inne ]-knappen. LED-indikatoren på fjernkontrollen
blinker én gang. Trykk så på [Desarmer ]-knappen innen
3 sekunder for å desarmere systemet lydløst.
Sonemoduser
Det nnes tre forskjellige sonemoduser for detektorene.
Normalsone: I armert status eller hjemmearmert status fungerer
detektorene som er stilt til normalsone som vanlig. Når en
inntrenger blir oppdaget, utløser detektoren en alarm.
Hjemmemodus-sone: Når systemet er i hjemmearmert status,
desarmeres detektorene som er stilt til hjemmemodus-sone.
Detektorene som er stilt til andre soner, forblir armert. Dette kalles
delvis armering.
24-timerssone: Detektorer som er stilt til 24-timerssone utløser en
alarm øyeblikkelig når de oppdager en inntrenger, uavhengig om
systemet er armert eller desarmert.
Detektorer i dette settet Sonemodus (Standard innstilling)
DS2300 dør-/vindukontakt Normalsone (kan endres via appen)
Merk: Man kan ikke endre sonemodus for detektorer i 24-timerssonen.
Dør-/vindukontakt
Kontakten inneholder en sender og en magnet som kan monteres
på dører, vinduer eller andre ting som kan åpnes eller lukkes. Når
senderen og magneten skilles mer enn 2 cm fra hverandre, sender
kontakten et signal til kontrollpanelet og ber det utløse en alarm.
Oversikt
LED-indikator
Sender
Forside Bakside
Magnet
Sabotasjebryter
LED-indikering
Blinker én gang: Åpent vindu/dør oppdaget.
Blinker én gang hvert 3. sekund: Lavt batteri. En varselmelding blir
sendt ut til appen. Skift ut batteriet så snart som mulig.
Merk: Når sabotasjebryteren trykkes inn, avgir sirenen alarm øyeblikkelig.
NONO

09 10
Installasjon
Sørg for at kontakten fungerer riktig før du installerer den.
Steg 1: Velg et passende sted å montere den
Den kan monteres på dører,
vinduer eller andre ting som kan
åpnes eller lukkes. Hvis produktet
installeres på en metalldør, må det
plasseres et mellomlegg under
senderen og magneten.
Steg 2: Fest kontakten med dobbeltsidig teip
Sørg for at trekantmerkene på
siden av senderen og magneten
monteres nærmere hverandre enn
1 cm. Så lenge avstanden mellom
senderen og magneten er over
2 cm, vil LED-lyset på senderen
blinke én gang.
>2 cm
Bruk via app
Apple- og Android-app
Last ned appen fra App Store eller Google play ved å søke etter
søkeordet «W020 Alarm».
W020 Alarm
Appen kan knyttes til alarmsystemet via smarttelefoner. Dette
alarmsystemet kan kontrolleres av ere brukere.
Spesialtips (kun for iPhone)
Trykk «OK» for å akseptere at du mottar
varsler fra «W020 Alarm». Hvis du
nekter å motta varsler, kan det føre
til at appen ikke fungerer som den
skal. Installer den om igjen og gi den
tillatelse til å sende deg varselmeldinger
når alarmen går.
NONO
Other manuals for W020
4
Table of contents
Languages:
Other Smanos Security System manuals
Popular Security System manuals by other brands

FM Systems
FM Systems VSA-10 Instruction book

SECO-LARM
SECO-LARM ENFORCER SH-532BQ manual

Johnson Controls
Johnson Controls METASYS PS12ADA Series manual

Hexagon
Hexagon HxGN MineProtect OAS-LV 202 User's reference manual

Challenger
Challenger AT60 user guide

Fortress Technologies
Fortress Technologies ES820 Hardware guide

Husky
Husky BJE 007 Recommended Installation, Maintenance and Inspection Instructions

Monitor
Monitor TAD-260 Installation instructions & operating manual

Interlogix
Interlogix ZeroWire Quick user guide

Aiphone
Aiphone MY-1AD instructions

Prismatibro
Prismatibro Prisma Daps 2000 installation manual

Wolf
Wolf ICON Q instruction manual