manuals.online logo
Brands
  1. Home
  2. •
  3. Brands
  4. •
  5. Steelcase
  6. •
  7. Indoor Furnishing
  8. •
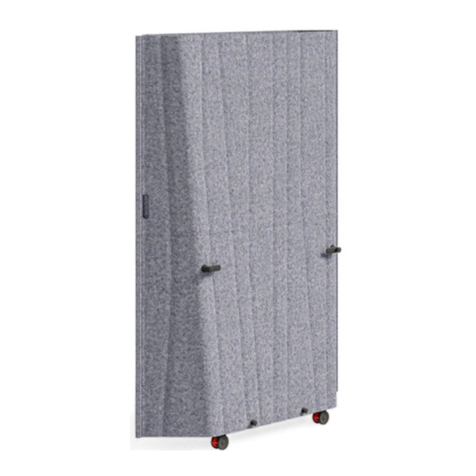
  9. Steelcase Slatwall Skin User manual

Steelcase Slatwall Skin User manual

Other Steelcase Indoor Furnishing manuals
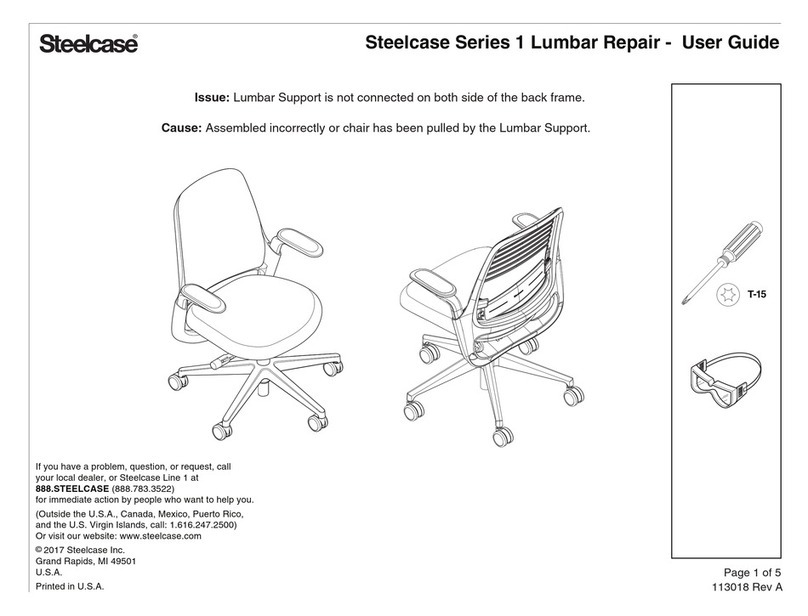
Steelcase Surround User manual

Steelcase

Steelcase Surround User manual

Steelcase Karman User manual

Steelcase

Steelcase Karman User manual

Steelcase Monarch Firmware update

Steelcase

Steelcase Monarch Firmware update

Steelcase Lumbar 1 Series User manual
Steelcase

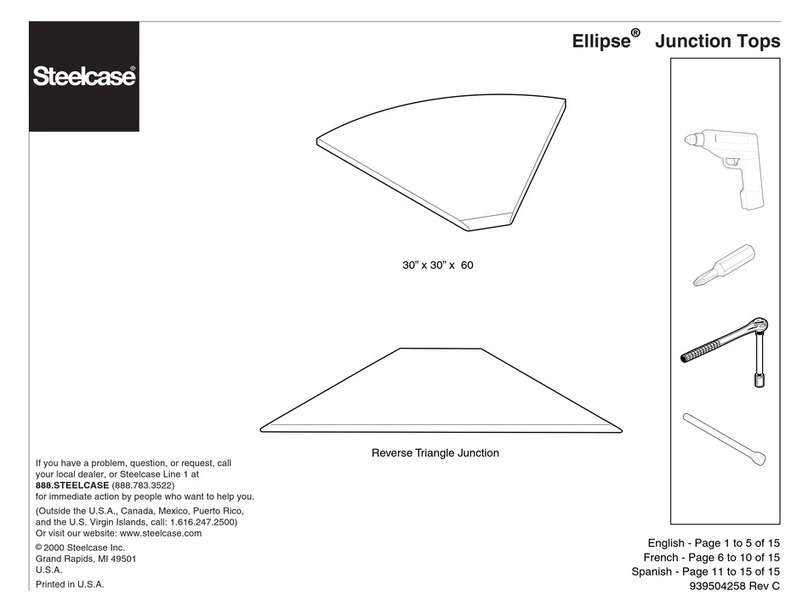
Steelcase Lumbar 1 Series User manual

Steelcase 2 Series User manual

Steelcase

Steelcase 2 Series User manual

Steelcase FrameOne User manual

Steelcase

Steelcase FrameOne User manual

Steelcase CHEVRON User manual

Steelcase

Steelcase CHEVRON User manual

Steelcase Player 475 Firmware update

Steelcase

Steelcase Player 475 Firmware update

Steelcase Regard Media Cabinet User manual

Steelcase

Steelcase Regard Media Cabinet User manual

Steelcase Monarch Firmware update

Steelcase

Steelcase Monarch Firmware update

Steelcase 1-Hi User manual

Steelcase

Steelcase 1-Hi User manual

Steelcase Flex Series User manual

Steelcase

Steelcase Flex Series User manual

Steelcase 2 Series User manual

Steelcase

Steelcase 2 Series User manual

Steelcase Spine User manual

Steelcase

Steelcase Spine User manual

Steelcase Migration SE User manual

Steelcase

Steelcase Migration SE User manual
Steelcase Tour Cabinet User manual

Steelcase

Steelcase Tour Cabinet User manual

Steelcase Empath User manual

Steelcase

Steelcase Empath User manual

Steelcase 458 Sensor User manual

Steelcase

Steelcase 458 Sensor User manual

Steelcase Divisio User manual

Steelcase

Steelcase Divisio User manual

Steelcase Flex collection User manual

Steelcase

Steelcase Flex collection User manual

Steelcase Ellipse Conference Top User manual

Steelcase

Steelcase Ellipse Conference Top User manual

Steelcase Slim Leg User manual

Steelcase

Steelcase Slim Leg User manual

Steelcase Cavatina Operating instructions

Steelcase

Steelcase Cavatina Operating instructions

Steelcase 3200 Series User manual

Steelcase

Steelcase 3200 Series User manual

Popular Indoor Furnishing manuals by other brands

Regency LWMS3015 Assembly instructions

Regency

Regency LWMS3015 Assembly instructions

Furniture of America CM7751C Assembly instructions

Furniture of America

Furniture of America CM7751C Assembly instructions

Safavieh Furniture Estella CNS5731 manual

Safavieh Furniture

Safavieh Furniture Estella CNS5731 manual

PLACES OF STYLE Ovalfuss Assembly instruction

PLACES OF STYLE

PLACES OF STYLE Ovalfuss Assembly instruction

Trasman 1138 Bo1 Assembly manual

Trasman

Trasman 1138 Bo1 Assembly manual

Costway JV10856 manual

Costway

Costway JV10856 manual

moss DESIGN Caisson Credenza Assembly instructions

moss DESIGN

moss DESIGN Caisson Credenza Assembly instructions

Aquaglide FULL DECK 15.0 owner's manual

Aquaglide

Aquaglide FULL DECK 15.0 owner's manual

AREBOS AR-HE-SW30 user manual

AREBOS

AREBOS AR-HE-SW30 user manual

Till-Hilft Fulda 87005.330 Assembly instructions

Till-Hilft

Till-Hilft Fulda 87005.330 Assembly instructions

Twoey Outside 2010 quick start guide

Twoey Outside

Twoey Outside 2010 quick start guide

Hettich Easys 200 operating instructions

Hettich

Hettich Easys 200 operating instructions

The bedboss RELAX 404 Series owner's manual

The bedboss

The bedboss RELAX 404 Series owner's manual

Oeseder Möbelindustrie Bern 991 720 Assembly instructions

Oeseder Möbelindustrie

Oeseder Möbelindustrie Bern 991 720 Assembly instructions

Costway HW68469 user manual

Costway

Costway HW68469 user manual

Next ALIX A27743 Assembly instructions

Next

Next ALIX A27743 Assembly instructions

BROSA Hans Assembly guide

BROSA

BROSA Hans Assembly guide

Prodigg MINIKA PBA015T-FUR installation manual

Prodigg

Prodigg MINIKA PBA015T-FUR installation manual

manuals.online logo
manuals.online logoBrands
  • About & Mission
  • Contact us
  • Privacy Policy
  • Terms and Conditions

Copyright 2025 Manuals.Online. All Rights Reserved.

Page 1 of 4
939504576 Rev H
Slatwall Skin
®
If you have a problem, question, or request, call
your local dealer, or Steelcase Line 1 at
888.STEELCASE (888.783.3522)
for immediate action by people who want to help you.
(Outside the U.S.A., Canada, Mexico, Puerto Rico,
and the U.S. Virgin Islands, call: 1.616.247.2500)
Or visit our website: www.steelcase.com
©2003 Steelcase Inc.
Grand Rapids, MI 49501
U.S.A.
Printed in U.S.A.
100 lb. maximum load limit
applies to all Slatwall Skins
P2
Page 2 of 4
939504576 Rev H
3" or 9"
Pop rivets
(step 4)
Skin
Attachment
Slots
3/8" long screws
(Step 1)
3/8" long self-drilling
screws (step 2)
Bracket (step 1)
Dual Lock Pads (Step 3)
3/16" long screws (Step 3)
Illustration #2
Illustration #3
Illustration #1
1. Install brackets with 3/8" long screw, 3" in from the
end of the frame, two places. Note: If your frame has no
hole 3" in from the end, look for the next hole at 9". Then
move the dual lock on the Slatwall Skin over 9" from the
end. See illustration #2.
2. Use the self-drilling screw to provide a second
attachment point for the bracket. See illustration #2.
3. Attach dual lock pads to brackets with 3/16"long
screws. See illustration #2.
4. Position the Slatwall Skin with the hinge open, (90o)
so that the holes align. Rivet into place using the holes
in the frame. Lower series of holes on the hinge used
only when installing slatwall on the uppermost rail of a
2" Segment. See illustration #1.
Notes:
1. Make sure that the hinge on the slatwall skin does not
cross over the off-module slots in the frame when riveted.
2. Support channels on the back of the "A" skin may need
to be repositioned to miss hardwire (electrical) comp-
onents when installed in the upper beltway zone.
Page 3 of 4
939504576 Rev H
Right Side
Step 6 Unlocked
Position
Step 7 Locked
Position
1/16"
step 7 Locked
step 7 push
step 6 Unlocked
step 6 Unlocked
step 7
Locked
Slide
Slide
INWARD
OUTWARDS
1/16"
Left Side
Step 6 Unlocked
Position
Step 7 Locked
Position
INWARD
OUTWARDS
Illustration #5
(back of skin)
Middle
Attachment
Bracket
Adjustment
Lever
Illustration #4
step 7 push
6. Only for "C" Slatwall Skin.
5. "A" size go to Step #11
Rotate the Slatwall Skin down. From the front of the skin
slide the middle attachment bracket towards the center
of the skin until the bracket is engaged into the skin
attachment slot in the frame. This is the unlocked position.
See illustration #3 & #4.
NOTE:
1. Use a non-marring tool to slide the bracket.
(See modified plastic packaging corner from 2" or 4"
segment frame on page 4.)
2. AVOID USING FORCE to engage bracket. Refer
to Steps 9 and 10.
7. Once the bracket is engaged into the frame, slide
the middle attachment bracket towards the outside edge
of the skin while forcing the skin flat against the frame
rail until the bracket slot and the skin slot are within
approximately 1/16" as shown. This is the locked
position. See illustration #4.
8. Check to make sure that the bracket is engaged into
the slot in the frame by pulling in the center of the skin.
maximum bow allowed is approximately 1/16".
9. If the bracket does not engage into the slot in the
frame, an adjustment to the lever on the back of the
skin may be necessary. See illustration #5.
10. Manually lift or lower the adjustment lever into a
position that the bracket will engage into the slot in the
frame. See illustration #5.
NOTE: Adjustments cannot be made except by using
the lever. The fasteners that hold the bracket and lever
in place must not be tightened or unfastened at any
time. See illustration #5.
step 10
Page 4 of 4
939504576 Rev H
11. Rotate the Slatwall Skin down and engage the
dual locks by pushing in the area of the dual locks 2-4"
up from the bottom. See illustration #6.
12. To gain access to inside of frame (for utilities) use
a skin removal tool at the bottom of the skin. On "C"
skin unlock the middle attachment.
NOTE: If a Datum cover is attached directly below the
slatwall, it should be removed before attempting to
disengage slatwall.
13. Disassembly: a) refer to step 6, 7, and 12.
b) drill out rivets that are attached
to the frame
Illustration #6
step 11 push
step 11 push
2"- 4"
Packaging
1/4"
1/4"
5/8"
1/2" (2 places)