manuals.online logo
Brands
  1. Home
  2. •
  3. Brands
  4. •
  5. Steelcase
  6. •
  7. Office Equipment
  8. •
  9. Steelcase Power Panel Supply System User manual

Steelcase Power Panel Supply System User manual

Steelcase, Inc.
Grand Rapids, MI 49501
U.S.A.
1-888-783-3522
Tools
Assembly Directions Printed In U.S.A.
REV
93-9500856 A
Page 1 of 14
Power Panel Supply System
IMPORTANT: All electrical installations should be done
by a qualified electrician in accordance with codes and
regulations applicable at the installation site.
3/8” DRILL BIT
Assembly Directions
93-9500856 REV APage
2 of 14
Factory Installed Outlet Box Package
For models PPB-24-X thru PPB-48-X non-branching
and models PPB-24B-X thru PPB-48B-X branching
For assembly directions see page 4
Field Installed Outlet Box Package
For models F-PPB-24-X thru F-PPB-48-X non-branching
and models F-PPB-24B-X thru F-PPB-48B-X branching
For assembly directions see page 12
OUTLET BOX
OUTLET BOX (non-branching)
OUTLET BOX (branching)
BASE
COVERS
RECEPTACLE OUTLET
COVER PLATES
POWER
PANEL
ASSEMBLY
BASE
COVER
RECEPTACLE OUTLET
COVER PLATE
Assembly Directions
93-9500856 REV APage
3 of 14
Pass-Thru Power Distribution Cables
Models PDC-18 thru PDC-72
For installation directions see page 7 & 8
Adjacent Panel Power Distribution Cables
Model PDC-A
One size connects any two adjacent power panels
For installation directions see page 6 & 8
Power Source Box
Model PSB-1
For installation directions see page 11
Power Source Cable
Models PSC-36, PSC-72, & PSC-144
For installation directions see page 9
Installing Telephone Cable
For installation directions see page 14
Assembly Directions
93-9500856 REV APage
4 of 14
Before proceeding with the installation of your power panels included with factory installed outlet boxes, check your
space plan or floor layout diagram. Proper location of the pre-wired and pass-thru panels within the workstation is
important to the success of your installation. Be aware of the location of your building power and telephone cable
sources. A typical work station is shown below.
Important: Do not exceed the maximum allowable number of outlets on a circuit. Consult your local electrical
code requirements.
A-Panel outlet box
B-Pass-thru power distribution cable (PDC-30)
C-Adjacent panel power distribution cable (PDC-A)
D-Power source electrical
E-Telephone source
A
BC
DE
Assembly Directions
93-9500856 REV APage
5 of 14
1.
Preparing Your Panel Assembly For Wiring Components
Remove tape from both ends of panel assembly. 2. Remove both base covers by pulling outward at the
bottom extreme ends (in area of glides) and lifting
straight up. Remove and retain receptacle outlet
cover plates for assembly at a later step.
3. Remove base end cap knock-out by placing
pliers at the bottom forcing it to break free from
base end cap.
4. Care should be taken not to damage base end caps.
PANEL
ASSEMBLY
TAPE
BASE END CAP
BASE COVERS
RECEPTACLE
OUTLET COVER PLATE
BASE END CAP
BASE END CAP
KNOCK-OUT
BASE END CAP
Assembly Directions
93-9500856 REV APage
6 of 14
Attaching Adjacent Panel Power Distribution Cables
CAUTION: Do not make or break electrical connections under load.
NOTE: One size distribution cable fits any two adjacent power panels.
When connecting the outlet box in one panel to the outlet box in an adjacent panel use power distribution cable model
PDC-A (approximately 20” long). Insert cable head into either of the two modules in one outlet box. Be sure cable
head is inserted until grippers securely engage lip of modules. Cable head should snap in place when correctly inserted.
Connect the opposite end of cable to either of the two modules of outlet box in adjacent panel. Untwist tag-wire and
remove hex nut from ground wire. Place the end of ground wire onto bolt threads and secure with hex nut. For panels
positioned at angles refer to Steelcase Direction 93-9500732-P for installation of corner covers. See page 10 of these
directions when replacing base covers.
HEX NUT
OUTLET BOX
MODULES
POWER DISTRIBUTION CABLE
GROUND
WIRE
GRIPPERS
CABLE HEAD
GRIPPERS
OUTLET BOX
MODULESMODULES
OUTLET BOX
HEX NUT
TAG-WIRE
OUTLET BOX
CABLE HEAD
HEX NUT
POWER DISTRIBUTION CABLE
GROUND
WIRE
Assembly Directions
93-9500856 REV APage
7 of 14
Attaching Adjacent Panel Power Distribution Cables
CAUTION: Do not make or break electrical connections under load.
NOTE: One size distribution cable fits any two adjacent power panels.
When connecting the outlet box in one panel to the outlet box in another panel with one or more panels between the
two without power, a pass-thru power distribution cable of proper size is used. Insert cable head into either of the two
modules in one outlet box. Be sure cable head is inserted until grippers securely engage lip of modules. Cable head
should snap in place when correctly inserted. Lay cable into the non-powered panels and connect the opposite end
of cable into either of the two modules of outlet box in the next powered panel in your system. Untwist tag-wire and
remove hex nut from ground wire. Place the end of ground wire onto bolt threads and secure with hex nut. See page
10 of these directions to replace base cover.
OUTLET
BOX
CABLE HEAD GRIPPERS
POWER DISTRIBUTION CABLE
HEX NUT
HEX NUT
TAG-WIRE
MODULES OUTLET BOX
This chart illustrates the power distribution cable model used for
various (width) size panels or a combination of various sized panels.
MODEL NO. FOR PASSING THRU FOR PASSING THRU MORE THAN (1) PANEL
PDC-18 18” wide panel
PDC-24 24” wide panel
PDC-30 30” wide panel
PDC-36 36” wide panel (2) 18” wide panels
PDC-42 42” wide panel (1) 18” plus (1) 24” wide panels
PDC-48 48” wide panel (2) 24” or (1) 18” plus (1) 30” wide panels
PDC-54 (1) 24” plus (1) 30” or (1) 18” plus (1) 36” wide panels
PDC-60 (2) 30” or (1) 24” plus (1) 36” or (2) 18” plus (1) 24” wide panels
PDC-66 (2) 24” plus (1) 18” or (1) 36” plus 30” or (1) 30” plus (2) 18” wide panels
PDC-72 (2) 36” or (2) 18” plus (1) 36” or (3) 24” or (1) 48” plus (1) 24” wide panels
Assembly Directions
93-9500856 REV APage
8 of 14
Branching
CAUTION: Do not make or break electrical connections under load.
NOTE: When installing power panels consult your local electrical code requirements as a guide for the maximum
allowable numerous outlet boxes for a branch circuit. Outlet boxes and power distribution cables shown below are one
of the following models PDC-A or PDC-18 thru PDC-72.
Insert cable head into either of the two modules in outlet box. Be sure cable head is inserted until grippers securely
engage lip of modules. Cable head should snap in place when correctly inserted. Connect the opposite end of cable
in the same manner. Untwist tag-wire and remove hex nut from ground wire. Place the end of ground wire onto bolt
threads and secure with hex nut. Replace base covers. For installation of corner covers see Steelcase Direction
93-9500732-P.
Installation of power distribution cables
OUTLET BOX
MODULE
CABLE HEAD
CABLE HEAD
GROUND WIRE
POWER DISTRIBUTION
CABLE (TYPICAL)
HEX NUT
TAG-WIRE
GRIPPERS
HEX NUT
OUTLET BOX
MODULE
CABLE HEAD
CABLE HEAD
GROUND WIRE
POWER DISTRIBUTION
CABLE (TYPICAL)
GRIPPERS
HEX NUT
HEX NUT
TAG-WIRE
Assembly Directions
93-9500856 REV APage
9 of 14
1.
Branching
CAUTION: Do not make or break electrical connections under load.
Remove base cover.
2. Locate conduit clamp and secure with (1) 1/4-20 phillips head screw.
3. Insert cable head into the top module in outlet box. Be sure cable head is inserted until grippers securely engage
lip of module. Cable head should snap in place when correctly inserted. Place cable into conduit clamp and secure
with (1) 10-24 phillips head screw and (1) 10-24 nut. Replace base covers.
SCREW 1/4-20
CONDUIT CLAMP
CABLE
NUT 10-24
SCREW 10-24
CABLE HEAD
OUTLET BOXGRIPPER
OUTLET BOX
Assembly Directions
93-9500856 REV APage
10 of 14
Branching
Place notches of electrical base cover over spring retainers and snap top flange into place making sure the cutout in
the base cover is aligned with receptacle (part of outlet box). Remove screw from receptacle and secure receptacle
outlet cover in place.
SPRING RETAINER
RECEPTACLE (PART OF OUTLET BOX)
NOTCHES
BASE COVER
RECEPTACLE OUTLET COVER
SCREW
Assembly Directions
93-9500856 REV APage
11 of 14
1.
Optional Method For Connecting Powered Panels To Building Supply
The power supply box is for installations which may require an attachment other than the method recommended on
page 9 of these directions. CAUTION: Do not make or break electrical connections under load.
Remove and retain (2) screws. Attach connecting
hardware to power supply box cover. Connect wiring
and replace cover to power box. Secure with same
screws just removed.
2. Position and secure power box to panel assembly with
(2) 1/4-20 screws. Insert cable head into module of
outlet box. Be sure cable head is inserted until
grippers securely engage lip of module. Cable head
should snap in place when correctly inserted.
NOTE: It may be necessary to adjust conduit hardware on
power box to allow retainer screw to point downward for
clearance to panel frame.
3. The power supply box is provided with knock-out holes
for various conditions. If the side knock-outs are used,
it will be necessary to modify the panel base cover to clear
fittings and conduit.
SCREW
TWIST
CONNECTORS
POWER SUPPLY BOX
CONNECTING
HARDWARE
SCREW 1/4-20 POWER SUPPLY BOX
RETAINER SCREW CABLE HEAD
GRIPPER
OUTLET BOX
CONDUIT FITTINGS
CONDUIT
MODIFIED BASE COVER
Assembly Directions
93-9500856 REV APage
12 of 14
1.
Field Installation Package Directions
The following directions are provided to aid you when installing the power supply
field assembly package into the base of a Steelcase power panel.
Remove base covers by pulling outward at the bottom
extreme ends (in area of glides) and lifting straight up.
Retain one base cover as this may be required to
complete the installation depending upon the type of
outlet box assembly being used.
2.Check panel bottom frame for 3/8” dia. holes. If the
frame does not include these holes, remove (2) bolts
and frame from panel. Drill (2) 3/8” dia. holes (1)
each end.
BASE END CAP BASE COVER
PANEL BOTTOM FRAME
3/8” DIA. HOLES
3/8” DIA. HOLE
PANEL BOTTOM FRAME
11/16”
5-5/8”
Assembly Directions
93-9500856 REV APage
13 of 14
3.Remove base end cap knock-out.
4.Place outlet box onto panel bottom frame and secure with (2) 1/4-20 hex nuts. Replace panel bottom frame with
outlet box attached, into panel assembly. Reposition spring clips and secure with the same (2) bolts removed in
step 2. NOTE: Refer to page 6 of these directions when attaching power distribution cables and page 9 and 11 for
power source installation. For branching circuits see page 8 of these directions.
5.Install base covers and receptacle outlet cover.
OUTLET BOX
HEX NUTS 1/4-20
PANEL BOTTOM FRAME
BOLT
SPRING CLIP
Assembly Directions
93-9500856 REV APage
14 of 14
1.
Installing Telephone Cable
Remove base cover knock-out by placing pliers at the
edge forcing it to break free from base cover.
2. Lay telephone cable into panel system.
3. Replace base covers with telephone cable extending
out thru knock-out hole. Install base covers.
BASE COVER
BASE COVER
KNOCK-OUT
PANEL SYSTEM
TELEPHONE CABLE
BASE COVER BASE COVER KNOCK-OUT HOLE
CORNER COVER
(REFER TO STEELCASE
DIRECTION 93-9500732-P)

Other Steelcase Office Equipment manuals

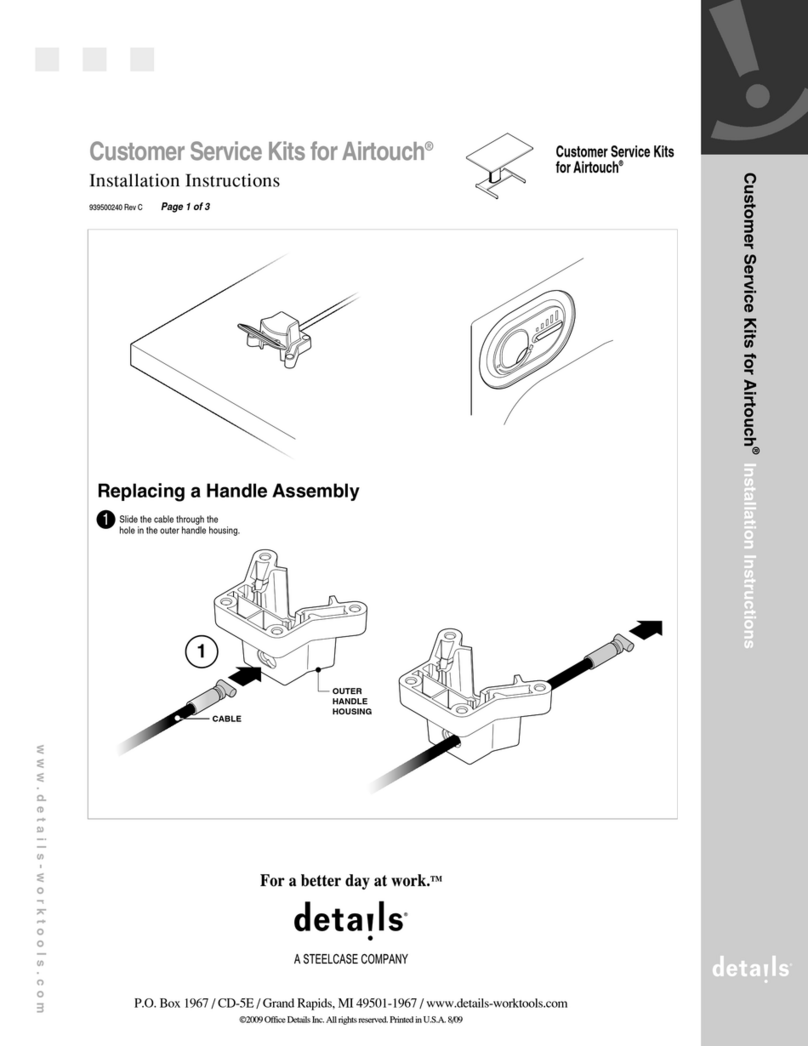
Steelcase Details Airtouch User manual

Steelcase

Steelcase Details Airtouch User manual

Steelcase Wood Selections Worksurface Firmware update

Steelcase

Steelcase Wood Selections Worksurface Firmware update

Steelcase V.I.A. FEIJA2V User manual

Steelcase

Steelcase V.I.A. FEIJA2V User manual

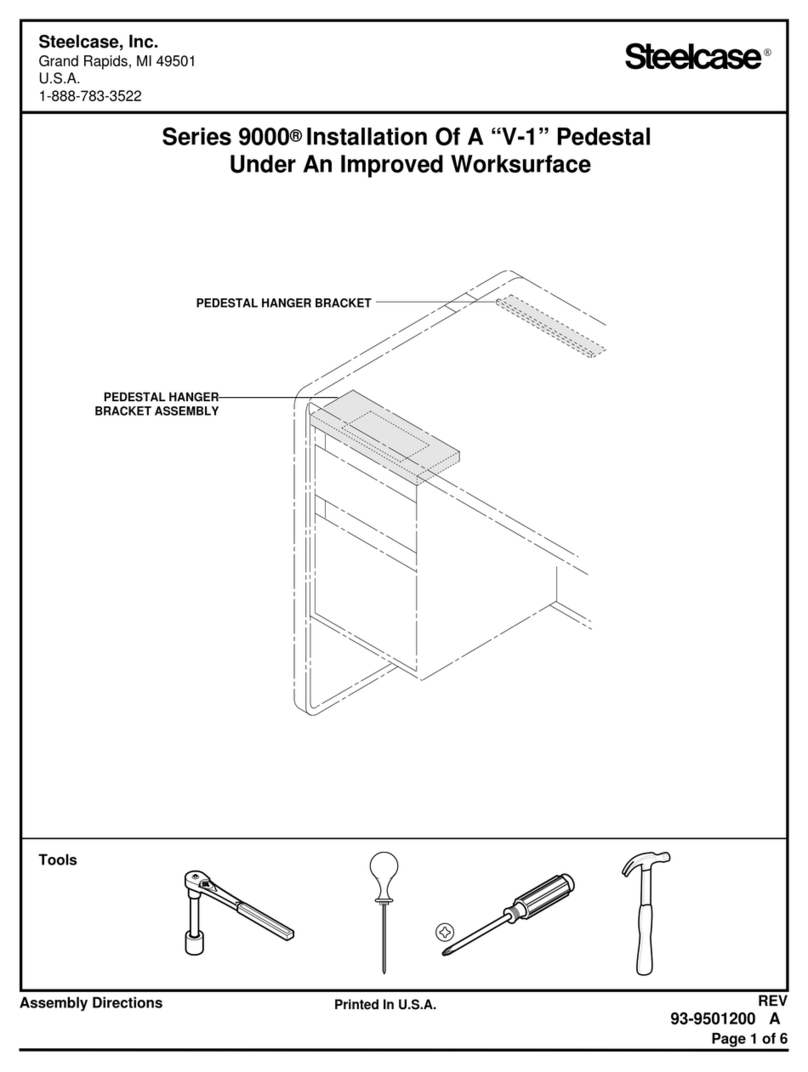
Steelcase 9000 Series User manual

Steelcase

Steelcase 9000 Series User manual

Steelcase Avenir Storage Bin Firmware update

Steelcase

Steelcase Avenir Storage Bin Firmware update

Steelcase Series 5 User manual

Steelcase

Steelcase Series 5 User manual

Steelcase Context Firmware update

Steelcase

Steelcase Context Firmware update

Steelcase FlipTop Twin User manual

Steelcase

Steelcase FlipTop Twin User manual

Steelcase RoomWizard II User guide

Steelcase

Steelcase RoomWizard II User guide

Steelcase Specific Solution for Answer Curved Corner... User manual

Steelcase

Steelcase Specific Solution for Answer Curved Corner... User manual

Steelcase UAW60 User manual

Steelcase

Steelcase UAW60 User manual

Steelcase Elective Elements Fixed Modesty Panel User manual

Steelcase

Steelcase Elective Elements Fixed Modesty Panel User manual

Steelcase Elective Elements Freestanding Corner... User manual

Steelcase

Steelcase Elective Elements Freestanding Corner... User manual

Steelcase Avenir PAB-3 User manual

Steelcase

Steelcase Avenir PAB-3 User manual

Steelcase Criterion User manual

Steelcase

Steelcase Criterion User manual

Steelcase Avenir PAB-4 Joining Panel User manual

Steelcase

Steelcase Avenir PAB-4 Joining Panel User manual

Steelcase Turnstone Smoke User manual

Steelcase

Steelcase Turnstone Smoke User manual
Steelcase Pathways Privacy Screen Infill User manual

Steelcase

Steelcase Pathways Privacy Screen Infill User manual

Steelcase TS Series User manual

Steelcase

Steelcase TS Series User manual

Steelcase Avenir Panel User manual

Steelcase

Steelcase Avenir Panel User manual

Steelcase Sync User manual

Steelcase

Steelcase Sync User manual
Steelcase Turnstone Small Office Solution Set User manual

Steelcase

Steelcase Turnstone Small Office Solution Set User manual

Steelcase Migration LTD User manual

Steelcase

Steelcase Migration LTD User manual

Steelcase Activa Lift 2 User manual

Steelcase

Steelcase Activa Lift 2 User manual
Popular Office Equipment manuals by other brands

hushoffice hushtwin HUS-BX-019 Maintenance and safety manual

hushoffice

hushoffice hushtwin HUS-BX-019 Maintenance and safety manual

silen Space 2 Assembly manual

silen

silen Space 2 Assembly manual

Middle Atlantic Products LD Series instruction sheet

Middle Atlantic Products

Middle Atlantic Products LD Series instruction sheet

SHFL DECK MATE BLACKJACK Service manual

SHFL

SHFL DECK MATE BLACKJACK Service manual

VITRA Stefan Hürlemann Dancing Wall Assembly instructions

VITRA

VITRA Stefan Hürlemann Dancing Wall Assembly instructions

BISLEY Glide V2 Assembly instructions

BISLEY

BISLEY Glide V2 Assembly instructions

fully Haven Assembly instructions

fully

fully Haven Assembly instructions

NanaWall CSW75 owner's manual

NanaWall

NanaWall CSW75 owner's manual

Vivo DESK V000C instruction manual

Vivo

Vivo DESK V000C instruction manual

PolyVision Flow installation guide

PolyVision

PolyVision Flow installation guide

Siemens HIPATH 2000 user guide

Siemens

Siemens HIPATH 2000 user guide

ABB 2TKA002145G1 Installation instruction

ABB

ABB 2TKA002145G1 Installation instruction

DROMEAS LINE operating instructions

DROMEAS

DROMEAS LINE operating instructions

Openplan DSH-L Assembly guide

Openplan

Openplan DSH-L Assembly guide

OCEE DESIGN SASS-0100 quick start guide

OCEE DESIGN

OCEE DESIGN SASS-0100 quick start guide

Levira FALDON Assembly instructions

Levira

Levira FALDON Assembly instructions

Renz RENZ DTP 340A Specifications

Renz

Renz RENZ DTP 340A Specifications

Motorola SB1 Integrator guide

Motorola

Motorola SB1 Integrator guide

manuals.online logo
manuals.online logoBrands
  • About & Mission
  • Contact us
  • Privacy Policy
  • Terms and Conditions

Copyright 2025 Manuals.Online. All Rights Reserved.