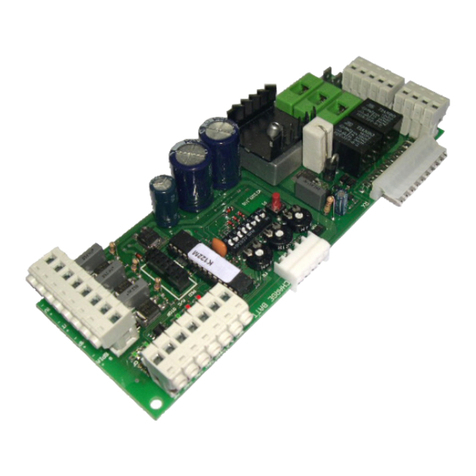
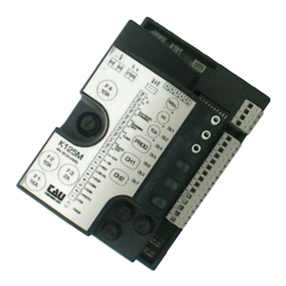
manuals.online logo
Brands
  1. Home
  2. •
  3. Brands
  4. •
  5. tau
  6. •
  7. Control Panel
  8. •
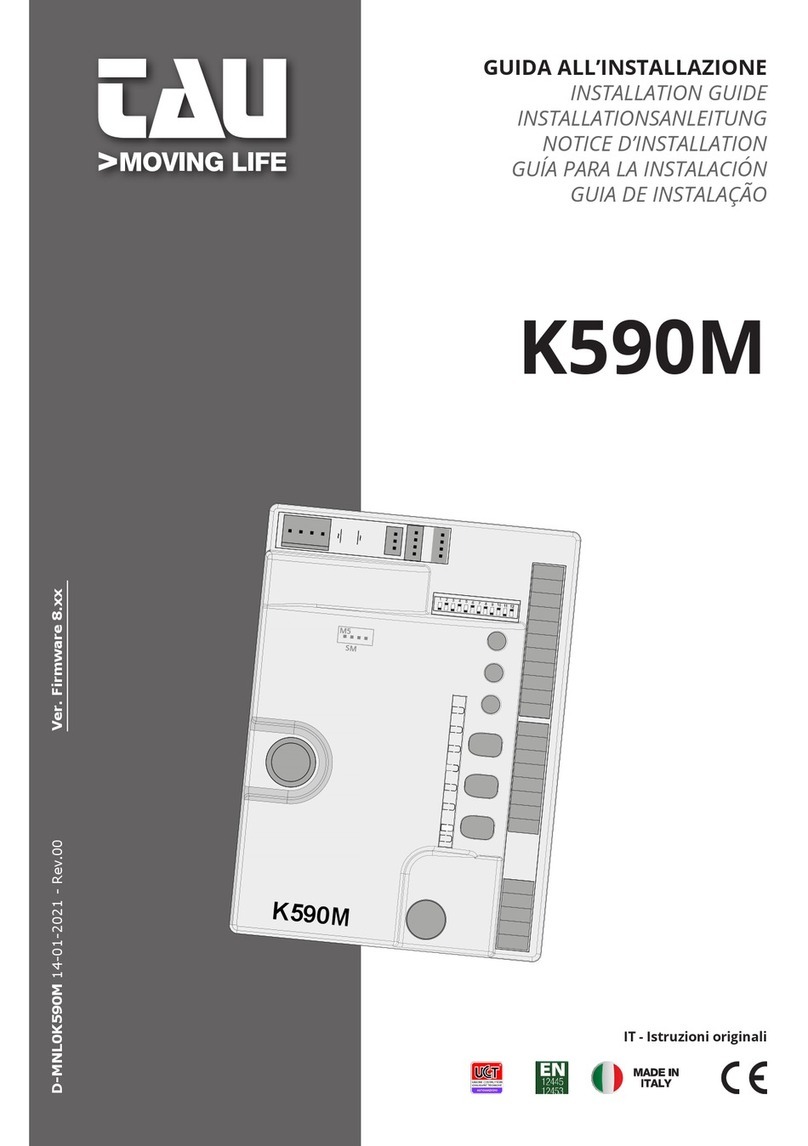
  9. tau K100M User manual

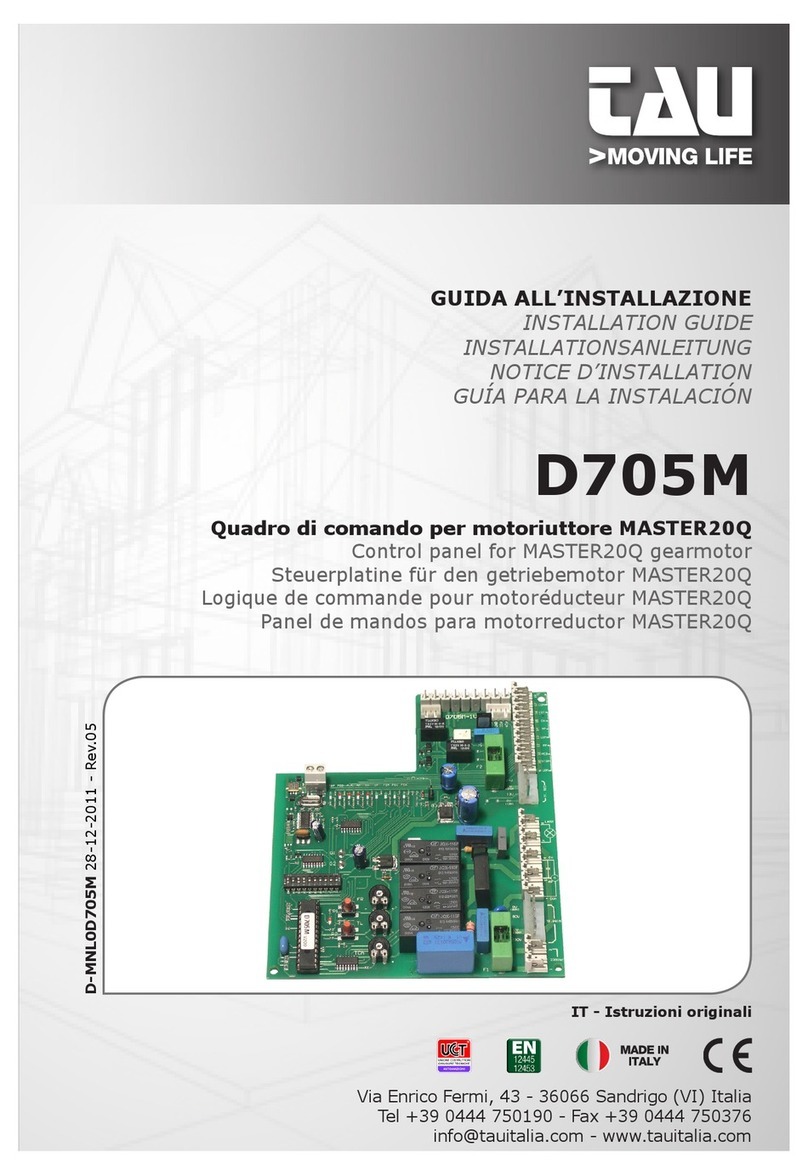
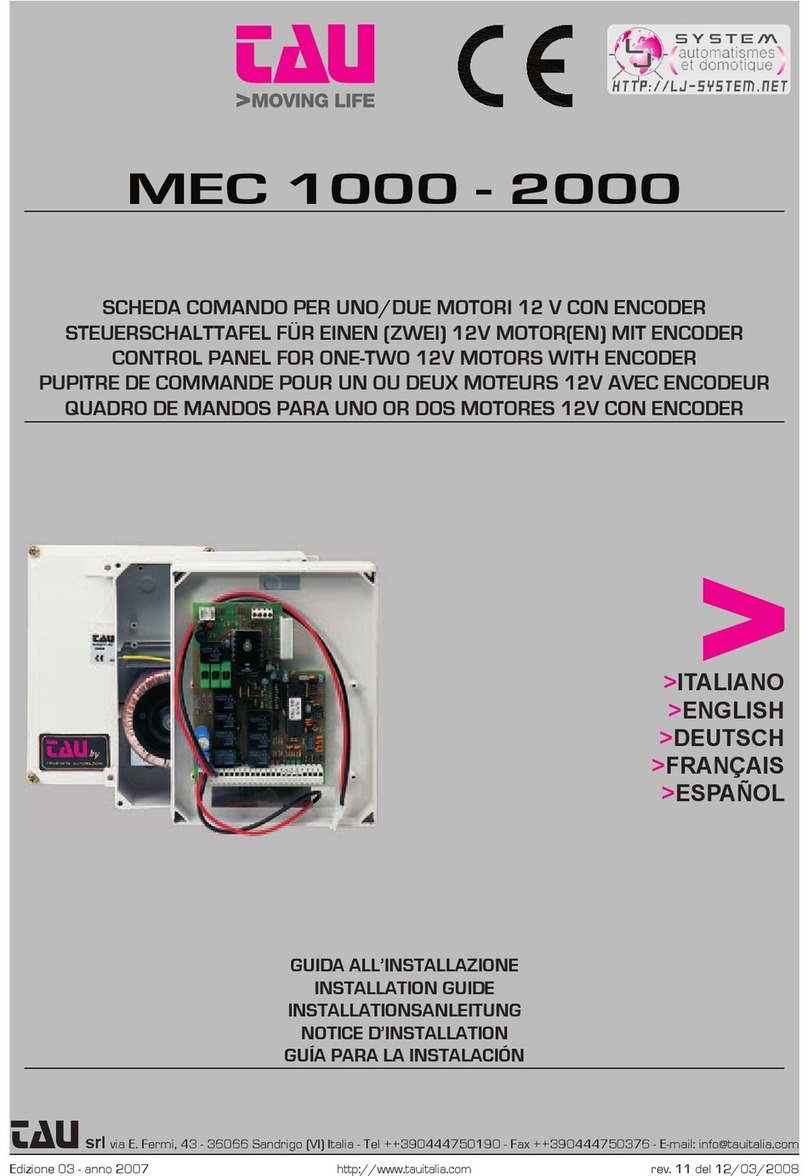
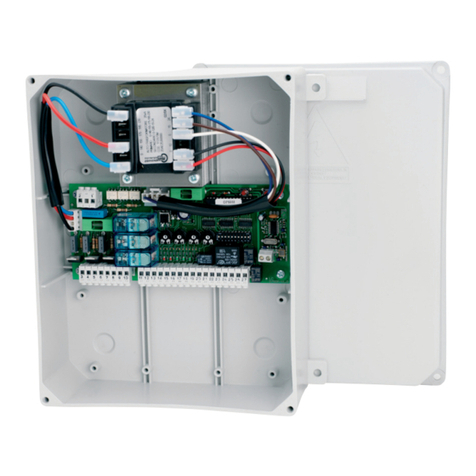
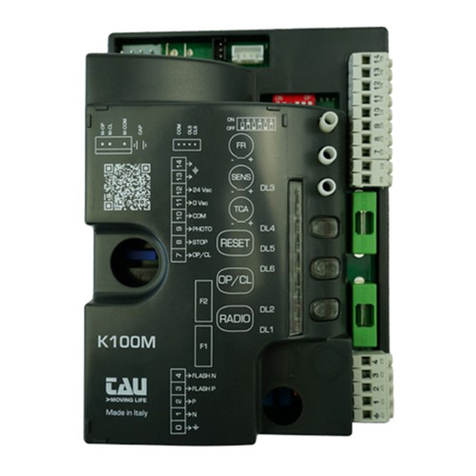
tau K100M User manual

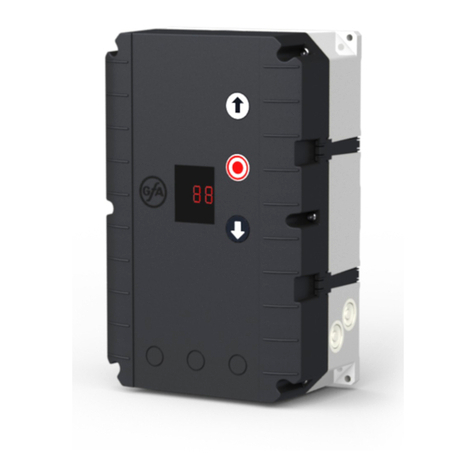
INSTALLATION GUIDE
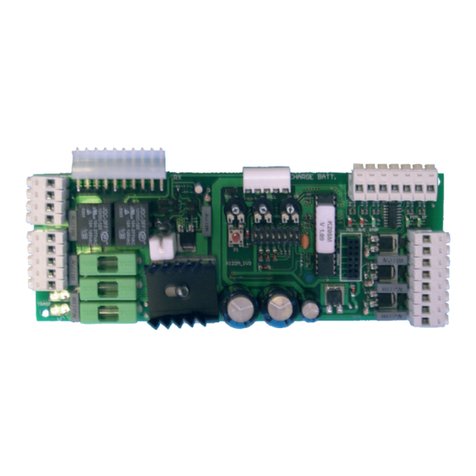
K100M
Control panel for T-ONE5E gearmotor
D_MNL0K100M 05-06-2012 - Rev.02


service the controls.







INSTALLATION
Make sure the gate has been properly installed and slides freely in both directions. Repair or replace all worn or damaged gate hardware prior
to installation. A freely moving gate will require less force to operate and will enhance the performance of the operator and safety devices used
with the system.
Also check that the gate operator assembly has been installed according to the instructions.

ATTENTION:
 
- do not reuse pre-existing electric wire.
-
 

CONTROL PANEL FOR ONE 230 V AC MOTOR
 
 
 
 
 
 
 
 
 
TESTING

 -

 -

TECHNICAL CHARACTERISTICS
 
 
 
 
 
 
 
 
DIAGNOSTICS LED
 
 
 
 
 
 
English
FR
SENS
TCA
F2
F1
7
8
9
10
11
12
13
14
1
2
3
Neutral
230 V AC
Power supply
Phase
M-OP
CLS
OLS
COM
FS1
FS2
M-COM
M-CL
4
1CH
OP/CL
DL3
DL4
DL5
DL6
DL2
DL1
1 2 3 4
1234
Flashing
light
230 V AC
max. 50W
Open/Close
Stop
Antenna
K100M
Dip-switches
ON
M2
M3
DL3
DL4
DL5
DL6
DL2
DL1
PHOTO
CLOSE LIMIT SWITCH
OPEN LIMIT SWITCH
STOP
OPEN/CLOSE
RADIO CONTROLS
TCA
+-
SENS
+-
FR
+-
Photocells
Common
Photocell
RX
12345
TX
1 2
0 V AC
Photocell - 24 V AC
GB - Translation of original instructions
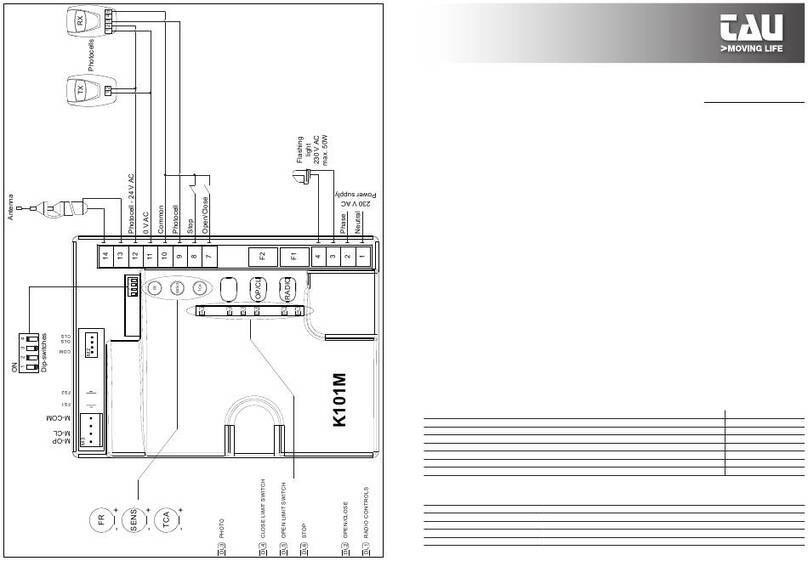
TERMINAL BOARD CONNECTIONS
1 + 2 (Power supply) 
3 + 4 (Flashing light) -

7 + 10 (Open/Close) 
8 + 10 (Stop) 
9 + 10 (Photocell) 
IN SERIES
11 + 12 (Photocell - 24 V AC) 
13 + 14 (Antenna) 
M2 
(CLS)(OLS)(COM);
FS1 + FS2 
M3 (M-COM);
(M-CL)(M-OP)
LOGIC ADJUSTMENTS

FR. Turning the trimmer clockwise (+) the torque will be increased; Turning the trimmer counterclockwise (-) the torque
will be decreased.

SENS. Turning the trimmer clockwise (+) the sensitivity will be increased; Turning the trimmer counterclockwise (-) the
sensitivity will be decreased.

T.C.A. Turning the trimmer clockwise (+) time will be increased; Turning the trimmer counterclockwise (-) the time
will be decreased.
Note: The time values can be set between 1 and 120 seconds.
Dip switch
1 on:

2 on:

3on:

4 on: 
 








K100M FEATURES


  
  
  
Contact Technical Service;
  
Make sure the gate slides smoothly and without obstacles in both directions;
  
Perform learning procedure.
  
Check wiring - Make sure the motor can rotate freely;



ADVANCED FUNCTIONS
Clock function: 


433.92 MHz BUILT-IN RADIO RECEIVER







st

nd








 -
risation.












be cancelled.
TROUBLESHOOTING GUIDE
1- Operator does not run
 
 

c-  
 
2- The radio control has little range
 
 
 
 
3- The gate opens the wrong way

SELF INSTALL - NEED TECHNICAL
ASSISTANCE?
OPTION 1: DIRECT WITH THE SERVICE DESK – QUICKEST AND MOST EFFECTIVE METHOD
Submit your enquiry direct with the service desk at – service@automaticsolutions.com.au
The service desk has the most experienced staff in Australia to help with your problem but they need your help.
Describe your problem in detail and as clearly as possible. Don’t forget to include a telephone number.
Be certain to detail which model or models of you are working with.
Send photos of the installation – they love photos. The people at the service desk are good but they are
even better when they can see the installation. Send photos of the overall scene so they can see the
entire installation. Also send photos of the wiring to the control board and any other part of the
installation you think is relevant.
Send video if appropriate. Smartphone’s these days take remarkably good video in small file sizes which
can be emailed in a moment. If your problem needs a video to show the issue please feel free to send it.
NOTE: THIS IS BY FAR THE FASTEST AND MOST SUCCESFUL WAY TO SOLVE YOUR PROBLEM
PHOTOS AND VIDEOS ARE THE NEXT BEST THING TO BEING THERE
OPTION 2: LODGE YOUR ENQUIRY LOCALLY - SLOWER BUT CAN STILL BE EFFECTIVE
Make contact with the store of purchase. Branch staffs are typically not technicians and dependent on their length
of service will have varying degrees of technical knowledge. If they cannot help however they will certainly either
source help locally from their technicians or make contact with the service technicians on your behalf.
OPTION 3: SERVICE CALL WITH AUTOMATIC SOLUTIONS TECHNICIAN – SLOWEST METHOD
If you fall within the local branch service area it may be possible to book a local technician to look at your
installation. Wait times will vary dependent on local workloads. The cost is a service fee which includes the first
half hour and the hourly rate thereafter. If any Automatic Solutions provided parts are found to be defective and
within warranty these will be provided free of charge.
(NOTE: If you suspect that any parts are defective and within warranty you may wish to consider option 4)
A note on this option: If you decide on this option you will be asked to sign an “authorisation to proceed” which
will provide legal authority and payment security. This form has three options available of which only the first two
are available to you. The third option is for warranty repairs only for full install customers. Self install customers
requiring warranty only service need to refer to option four below.
IMPORTANT: IN SHORT THIS OPTION WILL INCUR CHARGES
OPTION 4: RETURN THE PRODUCT IF BELIEVED TO BE FAULTY
As a self install customer who has purchased product if you believe the product to be faulty rather than an
installation or site problem you have the option of returning the product for evaluation and to exercise your right
to a replacement, repair or refund as applicable. All returned product is forwarded immediately to the service
technicians for evaluation and response. There are two main methods available to return product –
Direct to the service centre – this is the quickest method as it cuts out the branch delay
Via the branch of purchase – slower because of the delay at the branch
When choosing this option you need to complete a product return form. This form gives you all the information
on procedure involved and where to send to. These are available at the branch of purchase, can be emailed to
you (contact your branch), or available here - http://automaticsolutions.com.au/page/warranty.php

Other manuals for K100M

3

Other tau Control Panel manuals

tau K101M Setup guide

tau

tau K101M Setup guide

tau D705M User manual

tau

tau D705M User manual

tau MEC 1000 User manual

tau

tau MEC 1000 User manual

tau K205M User manual

tau

tau K205M User manual

tau K125M Operating and maintenance instructions

tau

tau K125M Operating and maintenance instructions

tau D749MA User manual

tau

tau D749MA User manual

tau K898M User manual

tau

tau K898M User manual

tau K590M User manual

tau

tau K590M User manual

tau K120M User manual

tau

tau K120M User manual

tau K128MA User manual

tau

tau K128MA User manual

tau K100M Setup guide

tau

tau K100M Setup guide

tau K100M User manual

tau

tau K100M User manual

tau D760M User manual

tau

tau D760M User manual

tau K122M User manual

tau

tau K122M User manual

tau K100M User manual

tau

tau K100M User manual

tau K580M User manual

tau

tau K580M User manual

tau D750M User manual

tau

tau D750M User manual

tau K125M User manual

tau

tau K125M User manual

tau D703 User manual

tau

tau D703 User manual

tau D751M User manual

tau

tau D751M User manual

tau D747M User manual

tau

tau D747M User manual

tau K126MA User manual

tau

tau K126MA User manual

tau K996M User manual

tau

tau K996M User manual

tau D703M Manual

tau

tau D703M Manual

Popular Control Panel manuals by other brands

quiko QK-CE220RL4 user manual

quiko

quiko QK-CE220RL4 user manual

Plymovent CONTROLPRO instructions

Plymovent

Plymovent CONTROLPRO instructions

Kramer K-NET RC-53D user manual

Kramer

Kramer K-NET RC-53D user manual

Simon M-SHEV-10-AP operating manual

Simon

Simon M-SHEV-10-AP operating manual

NAPCO Magnum Alert 2600 operating guide

NAPCO

NAPCO Magnum Alert 2600 operating guide

ABS CP114 Installation and operating instructions

ABS

ABS CP114 Installation and operating instructions

Spectron BM55-2U operating manual

Spectron

Spectron BM55-2U operating manual

Notifier NFS-640 installation manual

Notifier

Notifier NFS-640 installation manual

Elentek EXPRESS user manual

Elentek

Elentek EXPRESS user manual

CAME S0001 quick start guide

CAME

CAME S0001 quick start guide

Protector Alarms Mx4100 user manual
Protector Alarms

Protector Alarms Mx4100 user manual
Seada SDCP10 user manual
Seada

Seada SDCP10 user manual
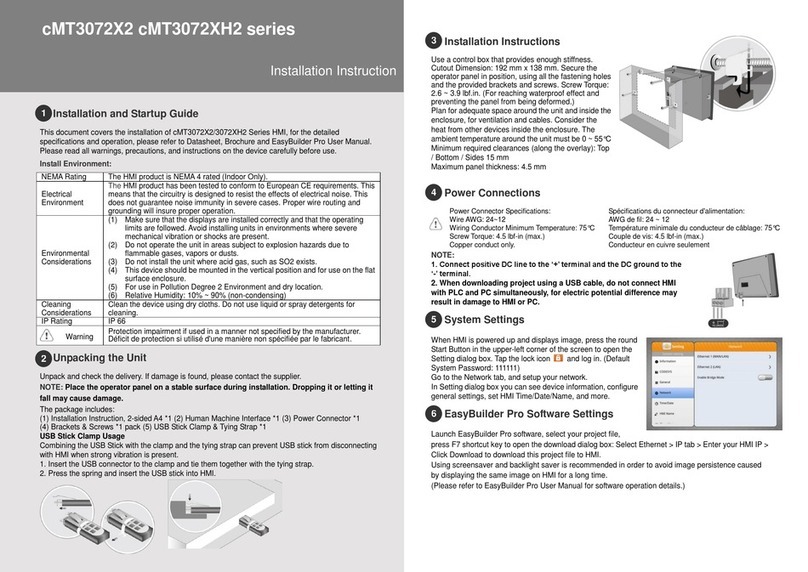
PAW SC5.14 manual

PAW

PAW SC5.14 manual

Maxsys PC4020 installation manual

Maxsys

Maxsys PC4020 installation manual

UTC Fire and Security ZP1-X3E Series installation manual

UTC Fire and Security

UTC Fire and Security ZP1-X3E Series installation manual

S&G SG-0007C user manual

S&G

S&G SG-0007C user manual

Jupiter Avionics JCP3-N01 Installation and operating manual
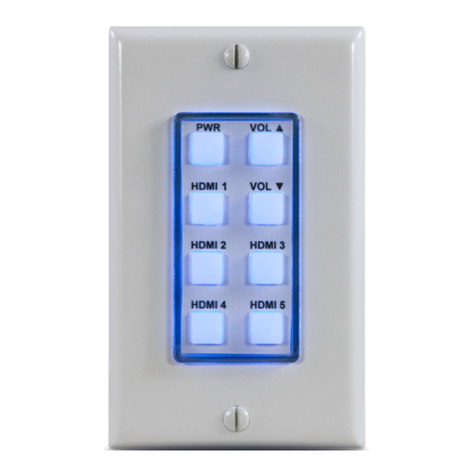
Jupiter Avionics

Jupiter Avionics JCP3-N01 Installation and operating manual
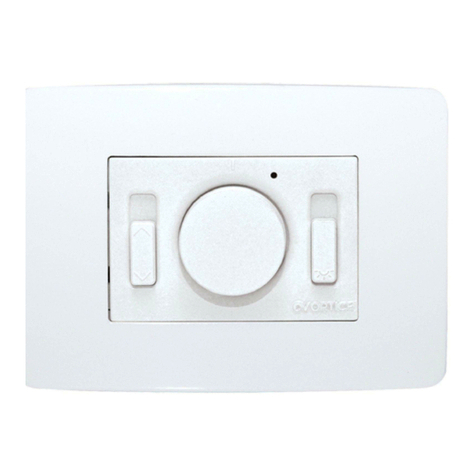
Ross TouchDrive Guide

Ross

Ross TouchDrive Guide

manuals.online logo
manuals.online logoBrands
  • About & Mission
  • Contact us
  • Privacy Policy
  • Terms and Conditions

Copyright 2025 Manuals.Online. All Rights Reserved.