manuals.online logo
Brands
  1. Home
  2. •
  3. Brands
  4. •
  5. Teknik
  6. •
  7. Indoor Furnishing
  8. •
  9. Teknik 5425655 User manual

Teknik 5425655 User manual

NOTE: THIS INSTRUCTION
BOOKLET CONTAINS IMPORTANT
SAFETY INFORMATION.
PLEASE READ AND KEEP FOR
FUTURE REFERENCE.
Accent Storage Cabinet
City Center Collection | Model 5425655
For things 'n such.
Teknik
www.teknikoffice.co.uk
Part Identification
Hardware Identification
Assembly Steps
Safety Hammer
Not actual size
No. 2 Phillips Screwdriver
Tip Shown Actual Size
Table of Contents Assembly Tools Required
3
4
5-19
20
Page 2
Part Identification
åWhile not all parts are labeled, some of the parts will have a label or an inked letter on the edge
to help distinguish similar parts from each other. Use this part identification to help identify similar parts.
Now you know
our ABCs.
A LEFT END (1)
B RIGHT END (1)
C UPRIGHT (1)
D ADJUSTABLE SHELF (2)
E GLASS TOP (1)
F BOTTOM (1)
G LEG (2)
H FOOT (1)
J FRAME (2)
K GLASS FRAME (1)
L DOOR (1)
M BACK (2)
N SHELF (1)
Page 3
A
B
C
D
E
F
G
H
J
K
L
M
N
J
D
M
G
Hardware Identification
åScrews are shown actual size. You may receive extra hardware with your unit.
Page 4
CAM SCREW -6
1HIDDEN CAM - 6
2WOOD DOWEL - 6
3
1-3/8" FLAT HEAD SCREW - 6
7 8 13/16" HEX HEAD SCREW - 12
APPLIQUE CARD - 1
4L-WRENCH - 1
5BACK
CONNECTOR - 6
6
1/2" PAN HEAD SCREW - 4
95/8" FLAT HEAD SCREW - 6
10
SHELF PIN - 8
11
Hardware Usage Guide
HOW TO USE A HIDDEN CAM & CAM SCREW OR CAM DOWEL
NOTE: Various CAM SCREWS or a CAM DOWEL may be used.
Cam Screws Cam Dowel
Turn the CAM SCREW or
gently tap the CAM DOWEL
until the shoulder is against
the surface of the part.
1.
Hidden CamHidden Cam
Arrow
Push a HIDDEN CAM into
the part. The arrow in the
HIDDEN CAM must point
toward the hole in the
edge of the board.
Hole
2.
3.
1
2
Insert the CAM SCREW or CAM DOWEL into the
HIDDEN CAM. Tighten the HIDDEN CAM.
Page 5
Step 1
å Assemble your unit on a carpeted floor or on the
empty carton to avoid scratching your unit or the floor.
å Push six HIDDEN CAMS (2) into the ENDS (A and B)
and UPRIGHT (C).
Page 6
2
Arrow
A
C
Just think. The sooner
you do this, the sooner
you do something else.
B
Page 7
å NOTE: Pay close attention to the position of the BOTTOM (F) in this step.
å Insert three WOOD DOWELS (3) into the ENDS (A and B) and UPRIGHT (C).
å Fasten the BOTTOM (F) to the ENDS (A and B) and UPRIGHT (C). Use six
1-3/8" FLAT HEAD SCREWS (7).
å NOTE: You should start each SCREW a few turns before completely
tightening any of them.
å NOTE: Be sure the WOOD DOWELS in the ENDS and UPRIGHT insert into
the BOTTOM.
Step 2
3
B
C
A
F
1-3/8" FLAT HEAD SCREW
(6 used in this step)
7
Smaller groove
å Fasten the LEGS (G) to the BOTTOM (F). Tighten four
13/16" HEX HEAD SCREWS (8) using the L-WRENCH (5).
Step 3
FG
G
5
13/16" HEX HEAD SCREW
(4 used in this step)
8
Page 8
Step 4
å Fasten the FOOT (H) to the BOTTOM (F) exactly as
shown. Use four 1/2" PAN HEAD SCREWS (9).
F
H
1/2" PAN HEAD SCREW
(4 used in this step)
9
Page 9
å Carefully stand your unit upright.
å Insert the BACKS (M) into the grooves in the
ENDS (A and B) and BOTTOM (F).
Step 5
Page 10
Don't worry. It isn't
Rome. This can be built
in a day.
F
M
M
B
A
Step 6
Page 11
å Fasten the FRAMES (J) to the GLASS FRAME (K). Tighten
four 13/16" HEX HEAD SCREWS (8) using the L-WRENCH (5).
5
K
J
J
13/16" HEX HEAD SCREW
(4 used in this step)
8
Step 7
å Turn six CAM SCREWS (1) into the SHELF (N).
N
1
Page 12
å Fasten the SHELF (N) to the FRAMES (J). Tighten four
13/16" HEX HEAD SCREWS (8) using the L-WRENCH (5).
Step 8
5
13/16" HEX HEAD SCREW
(4 used in this step)
8
J
N
J
Page 13
Step 9
Page 14
å Insert the SHELF PINS (11) into the hole locations of your
choice in the ENDS (A and B) and UPRIGHT (C). Set the
ADJUSTABLE SHELVES (D) onto the SHELF PINS.
A
B
C
D
D
11
11
(8 used)
Step 10
å Insert the DOOR (L) into the track in the BOTTOM (F).
L
F
Page 15
å Insert three WOOD DOWELS (3) into the ENDS (A and B) and UPRIGHT (C).
å Fasten the SHELF (N) to the ENDS (A and B) and UPRIGHT (C). Tighten six
HIDDEN CAMS.
å NOTE: Be sure the WOOD DOWELS in the ENDS and UPRIGHT insert into
the SHELF.
å NOTE: Be sure the BACKS insert into the smaller groove in the SHELF, and
the DOOR inserts into the track in the SHELF.
Step 11
Page 16
3
B
C
A
Smaller groove
N
Step 12
Page 17
å Insert the lip of each BACK CONNECTOR (6) into the
grooves in the BOTTOM (F) and SHELF (N) as shown.
You may need to gently tap them in with your hammer.
å Fasten the BACK CONNECTORS (6) to the BOTTOM (F)
and SHELF (N). Use six 5/8" FLAT HEAD SCREWS (10).
If you're doing this to
help a friend, don't
leave without a bite.
M
M
6
6
Lip
F
N
Lip
5/8" FLAT HEAD SCREW
(6 used in this step)
10
å Carefully set the GLASS TOP (E) onto the
GLASS FRAME (K).
Step 13
Tempered safety glass is used. It is stronger than normal glass, and it will not break into long, sharp, knife-like
shards. However, safety glass can break. When safety glass breaks, it instantly fractures into small, bead-like
pieces. These small pieces may have sharp edges.
For your safety, follow these precautions when you assemble your product:
• Wear safety glasses or other eye protection.
• Do not try to drill into or cut safety glass. It will instantly break into small pieces.
• Do not force the glass into position.
• If the glass breaks, be careful when you pick up the pieces. They may have sharp edges.
Caution
Page 18
E
K
Step 14
Page 19
å Peel APPLIQUES from the APPLIQUE CARDS (4) and stick them onto each visible HIDDEN CAM.
å NOTE: Please read the back pages of the instruction booklet for important safety information.
å This completes assembly. Clean with a damp cloth. Wipe dry.
To cover HIDDEN CAMS
4
35 lbs.
25 lbs.
Adjustable shelf - 25 lbs. each
35 lbs.
total
WARNING
Please use your furniture correctly and safely. Improper use can cause safety hazards,
or damage to your furniture or household items. Carefully read the following chart.
Look out for: What can happen: How to avoid the problem:
• Overloaded shelves. • Risk of injury.
• Top-heavy furniture can tip over.
• Overloaded shelves can break.
• Never exceed the weight limits shown in
the instructions.
• Work from bottom to top when loading
shelves. Place the heavier items on the
lower shelves.
• Placing TVs on furniture items that are not
designed to support a television is
hazardous.
• Risk of injury or death. TVs can be very
heavy. Plus the weight and location of the
picture tube tends to make TVs unbalanced
and prone to tipping forward.
• This product is not designed to support a
television.
Page 20

Other Teknik Indoor Furnishing manuals

Teknik 5427415 User manual

Teknik

Teknik 5427415 User manual

Teknik 5421120 User manual

Teknik

Teknik 5421120 User manual

Teknik Hampstead Park 5420834 User manual

Teknik

Teknik Hampstead Park 5420834 User manual

Teknik Hudson Elm Finish 5427424 User manual

Teknik

Teknik Hudson Elm Finish 5427424 User manual

Teknik Craft 5423412 User manual

Teknik

Teknik Craft 5423412 User manual

Teknik 5425907 User manual

Teknik

Teknik 5425907 User manual

Teknik 5426484 User manual

Teknik

Teknik 5426484 User manual

Teknik Boulevard Cafe 5420650 User manual

Teknik

Teknik Boulevard Cafe 5420650 User manual

Teknik Home Study 5426055 User manual

Teknik

Teknik Home Study 5426055 User manual

Teknik Office Affiliate 5427468 User manual

Teknik

Teknik Office Affiliate 5427468 User manual

Teknik Boulevard Cafe 5421950 User manual

Teknik

Teknik Boulevard Cafe 5421950 User manual

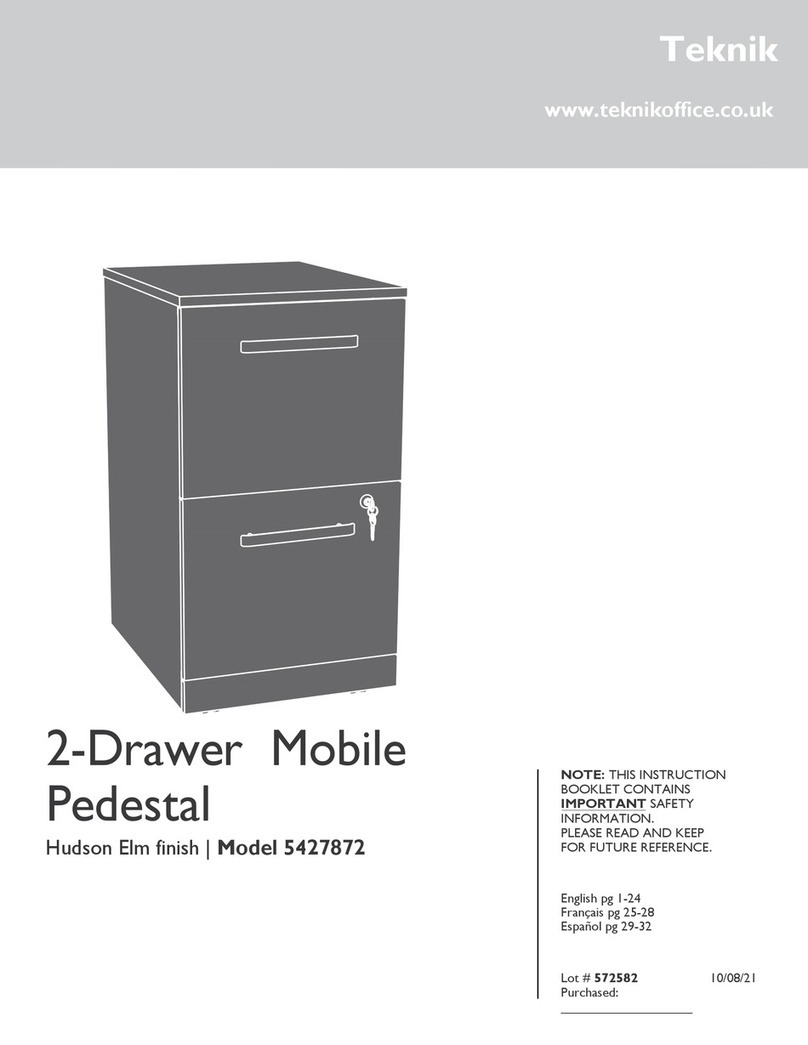
Teknik 5427872 User manual

Teknik

Teknik 5427872 User manual

Teknik Craft 5421416 User manual

Teknik

Teknik Craft 5421416 User manual

Teknik Hythe 5426437 User manual

Teknik

Teknik Hythe 5426437 User manual

Teknik 5421405 User manual

Teknik

Teknik 5421405 User manual

Teknik 5402174 User manual

Teknik

Teknik 5402174 User manual

Teknik Denver Swivel Recliner User manual

Teknik

Teknik Denver Swivel Recliner User manual

Teknik 5431262 User manual

Teknik

Teknik 5431262 User manual

Teknik Wide Bookcase 5420282 User manual

Teknik

Teknik Wide Bookcase 5420282 User manual

Teknik 5420277 User manual

Teknik

Teknik 5420277 User manual

Teknik 5420276 User manual

Teknik

Teknik 5420276 User manual
Teknik Barrister Home 5418705 User manual

Teknik

Teknik Barrister Home 5418705 User manual

Teknik Canal Heights 5419231 User manual

Teknik

Teknik Canal Heights 5419231 User manual

Teknik 5426436 User manual

Teknik

Teknik 5426436 User manual

Popular Indoor Furnishing manuals by other brands

J D Williams 023 9433 Series Assembly instructions

J D Williams

J D Williams 023 9433 Series Assembly instructions

home star LEGACY HOME FURNISHINGS & DECOR C1930030 Assembly instructions

home star

home star LEGACY HOME FURNISHINGS & DECOR C1930030 Assembly instructions

EUROSTYLE BALLARD L Assembly instructions

EUROSTYLE

EUROSTYLE BALLARD L Assembly instructions

LOWE'S Crescent Hill Assembly instructions

LOWE'S

LOWE'S Crescent Hill Assembly instructions

HAMPTON BAY WHITFIELD 3022-CM4-SW Use and care guide

HAMPTON BAY

HAMPTON BAY WHITFIELD 3022-CM4-SW Use and care guide

LuxenHome WHIF961 instruction manual

LuxenHome

LuxenHome WHIF961 instruction manual

Crown Mark Bardstown 2152S Assembly instruction

Crown Mark

Crown Mark Bardstown 2152S Assembly instruction

3-form Dello SimpleSpec 200.86 installation manual

3-form

3-form Dello SimpleSpec 200.86 installation manual

Open Plan Systems OPS-B14 IMPACT user guide

Open Plan Systems

Open Plan Systems OPS-B14 IMPACT user guide

Midwest Etalex S Series installation manual

Midwest

Midwest Etalex S Series installation manual

Omnimount AB2 installation instructions

Omnimount

Omnimount AB2 installation instructions

Herman Miller Repeat Single Desk Assembly instructions

Herman Miller

Herman Miller Repeat Single Desk Assembly instructions

HOMEDEPOT WF188268AAA Assembly manual

HOMEDEPOT

HOMEDEPOT WF188268AAA Assembly manual

Home Styles Ottoman 2000-08-FB02 quick start guide

Home Styles

Home Styles Ottoman 2000-08-FB02 quick start guide

easymaxx 00312 instructions

easymaxx

easymaxx 00312 instructions

Konig + Neurath ACTA.PLUS Assembly instructions

Konig + Neurath

Konig + Neurath ACTA.PLUS Assembly instructions

WOODCO Akupanel install guide

WOODCO

WOODCO Akupanel install guide

icklebubba TENBY manual

icklebubba

icklebubba TENBY manual

manuals.online logo
manuals.online logoBrands
  • About & Mission
  • Contact us
  • Privacy Policy
  • Terms and Conditions

Copyright 2025 Manuals.Online. All Rights Reserved.