manuals.online logo
Brands
  1. Home
  2. •
  3. Brands
  4. •
  5. Toro
  6. •
  7. Paint Sprayer
  8. •
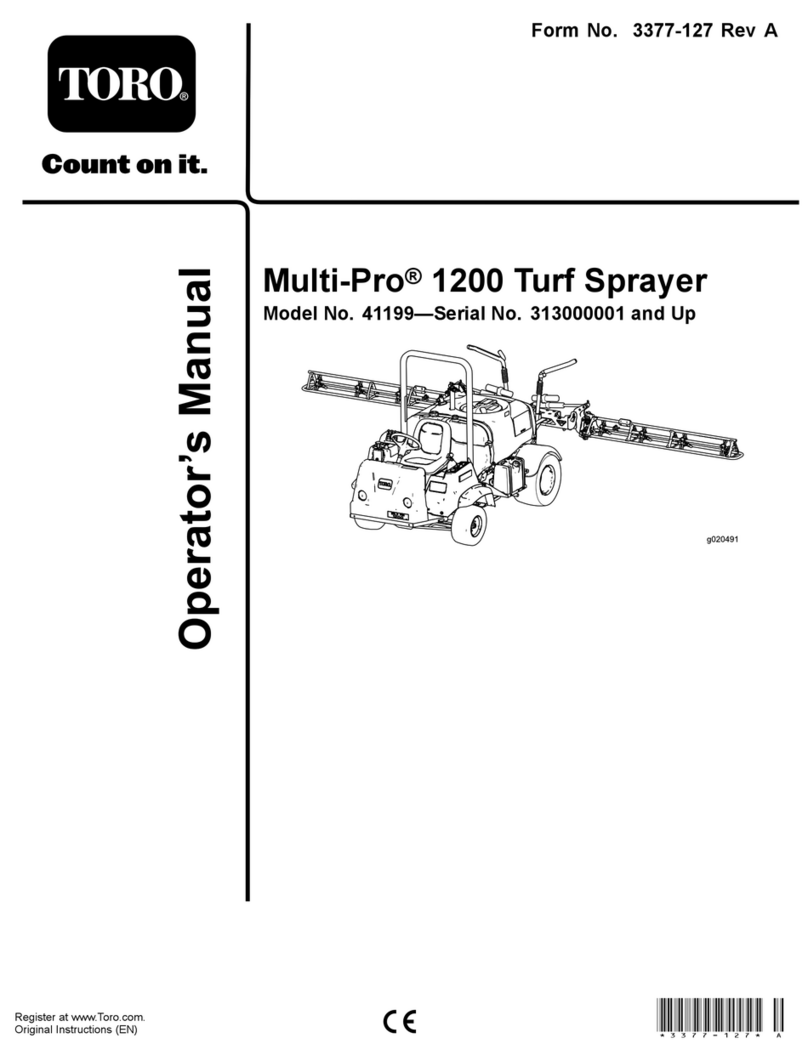
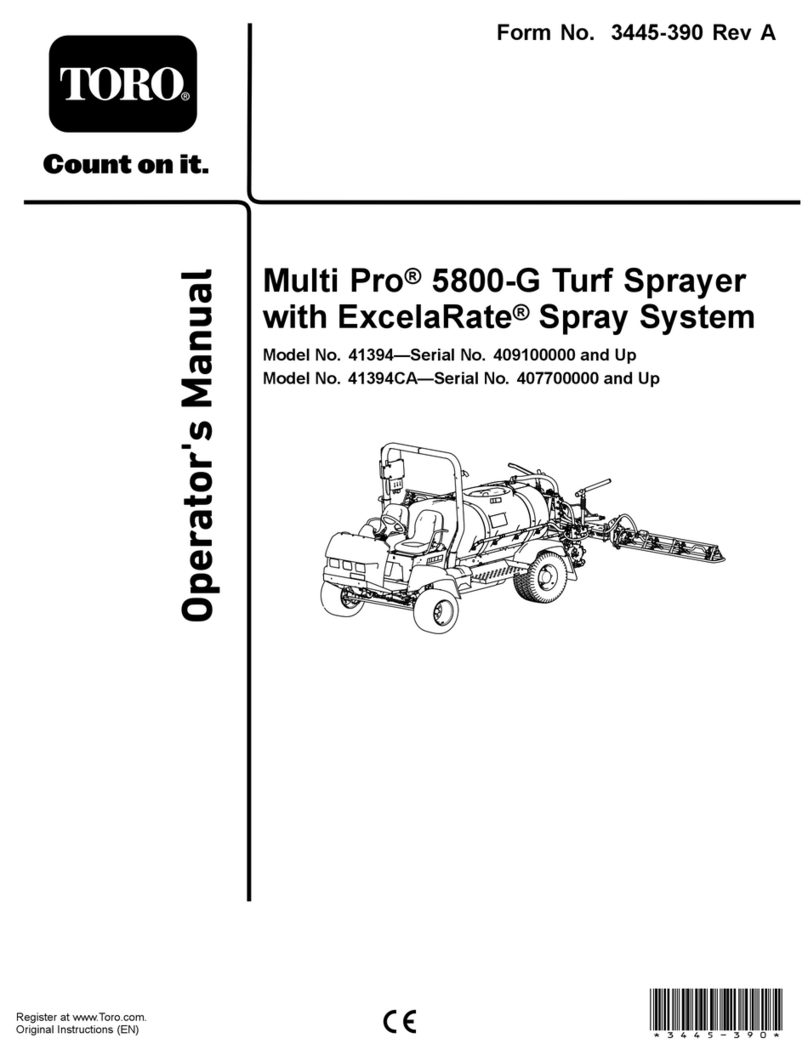
  9. Toro Spray Master 34235 Manual

Toro Spray Master 34235 Manual

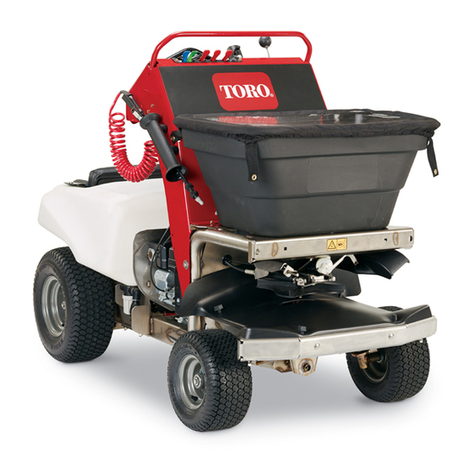
36IN,46IN,AND52INSPREADER/SPRAYER
SetupInstructions
LooseParts
Usethechartbelowtoverifythatallpartshavebeenshipped.Partnumbersnotshownareavailableonthedealer
extranet.
DealerPack
PartNo.DescriptionQty.Use
—10W-50engineoilserviceclassication
SJorhigher
as
requiredServicetheengine.
—15W-50hydraulicuidAPIrating
CI-4/CF
as
requiredServicethehydraulicoil.
LiteraturePack
Manual,Operator's
Manual,EngineOwner
CheckingTirePressure
1.Checkthetirepressureinalltires.Properination
is18psi(124kPa).
2.Adjustifnecessary.
ServicingtheBattery
Important:Themachineisshippedwithalled
leadacidbattery.
DANGER
Chargingorjumpstartingthebatterymayproduce
explosivegases.Batterygasescanexplodecausing
seriousinjury.
•Keepsparks,ames,orcigarettesawayfrom
battery.
•Ventilatewhenchargingorusingbatteryinan
enclosedspace.
•Makesureventingpathofbatteryisalwaysopen
oncebatteryislledwithacid.
•Alwaysshieldeyesandfacefrombattery.
DANGER
Batteryelectrolytecontainssulfuricacid,whichis
poisonousandcancausesevereburns.Swallowing
electrolytecanbefatalorifittouchesskincan
causesevereburns.
•Wearsafetyglassestoshieldeyes,andrubber
glovestoprotectskinandclothingwhen
handlingelectrolyte.
•DoNotswallowelectrolyte.
•Intheeventofanaccident,ushwithwaterand
calladoctorimmediately.
1.Checkthevoltageofthebatterywithadigital
voltmeter.Locatethevoltagereadingofthebattery
inthetablebelowandchargethebatteryforthe
recommendedtimeintervaltobringthechargeup
toafullchargeof12.6voltsorgreater.
Important:Makesurethenegativebattery
cableisdisconnectedandthebatterycharger
usedforchargingthebatteryshouldhave
anoutputof16voltsand7ampsorlessto
avoiddamagingthebattery(seechartfor
recommendedchargersettings).
©2019—PartNo.3432-141Rev.A
PrintedintheUSA
AllRightsReserved*3432-141*A
Voltage
Reading
Percent
Charge
Maximum
Charger
Settings
Charging
Interval
12.6or
greater
100%16volts/7
amps
NoCharging
Required
12.4–12.675–100%16volts/7
amps
30Minutes
12.2–12.450–75%16volts/7
amps
1Hour
12.0–12.225–50%14.4volts/4
amps
2Hours
11.7–12.00–25%14.4volts/4
amps
3Hours
11.7orless0%14.4volts/2
amps
6Hoursor
More
CAUTION
Iftheignitionisinthe“ON”positionthere
ispotentialforsparksandengagementof
components.Sparkscouldcauseanexplosionor
movingpartscouldaccidentallyengagecausing
personalinjury.
Besureignitionswitchisinthe“OFF”position
beforechargingthebattery.
2.Connectthenegativebatterycable.
Note:Ifthepositivecableisalsodisconnected,
connectthepositive(red)cabletothepositive
batteryterminalrst,thenthenegative(black)cable
tothenegativebatteryterminal.Slipinsulatorboot
overthepositiveterminal.
Note:Iftimedoesnotpermitchargingthebattery,
orifchargingequipmentisnotavailable,connect
thenegativebatterycableandrunthevehicle
continuouslyfor20to30minutestosufciently
chargethebattery.
ServicingtheEngine
Theengineisshippedwithoil;checkoillevelandif
necessarylltotheappropriatelevel.10W-50engineoil
isrecommended;refertotheEngineOwner'smanual
foranappropriateAPIratingandviscosity.
ServicingtheHydraulicOil
Themachineisshippedwithhydraulicoilinthe
reservoir.
1.Runthemachineforapproximately15minutesto
allowanyextraairtopurgeoutofthehydraulic
system.
2.Checkhydraulicreservoirandifnecessaryllthe
reservoirtotheappropriatelevelwith15W-50API
ratingCI-4/CFhydraulicuid(seetheOperator’s
manual).
3.Replacehydraulicreservoircapandtightenuntil
snug.DoNotovertighten.
LoweringAnti-TipBrackets
(IfApplicable)
Theleftandrightanti-tipbracketsneedtoberotated
intopositionandsecured.Removethelowerboltsand
loosenthetopboltssothebracketscanrotatedowninto
thecorrectposition.Installthelowerboltsthroughthe
bracketandframeandtightenallfourbolts.
g271767
Figure1
1.Rotateleftandright
brackets
2.Lowerbolt
RemovingZipTieonHandSpray
Gun
Somemachinesmaybeshippedwiththehandspraygun
zip-tiedtothehose.Removetheziptiebeforeuse.
2
InstallingtheCable/DisplayMount
Somemachinesmaybeshippedwiththecable/display
mountrotatedtotheside.
1.Removeandretainthebottombolt
g285170
Figure2
1.Cable/displaymount3.Topbolt
2.Rotate4.Bottombolt
2.Loosenthetopboltenoughtorotatethe
cable/displaymountupward.
3.Lineupthemountwiththeholeintheconsole.
4.Installthebottomboltthroughthemountandinto
theconsole.
5.Tightenthetopandbottombolt.
FillingOuttheProduct
Registration
Fillouttheonlinewarrantyregistrationform.
3

This manual suits for next models

3

Other Toro Paint Sprayer manuals

Toro MultiPro 1200 User manual

Toro

Toro MultiPro 1200 User manual

Toro Multi Pro 1200 User manual

Toro

Toro Multi Pro 1200 User manual

Toro 41593 User manual

Toro

Toro 41593 User manual

Toro 41593 User manual

Toro

Toro 41593 User manual

Toro 41228 User manual

Toro

Toro 41228 User manual

Toro Ultra Sonic Boom 41218 User manual

Toro

Toro Ultra Sonic Boom 41218 User manual

Toro Multi Pro 5800 41623 User manual

Toro

Toro Multi Pro 5800 41623 User manual

Toro Ultra Sonic Boom 130-8229 User manual

Toro

Toro Ultra Sonic Boom 130-8229 User manual

Toro Multi-Pro 5800 User manual

Toro

Toro Multi-Pro 5800 User manual
Toro SprayMaster 34246 User manual

Toro

Toro SprayMaster 34246 User manual

Toro 41582 User manual

Toro

Toro 41582 User manual

Toro Multi Pro 5800-D User manual

Toro

Toro Multi Pro 5800-D User manual
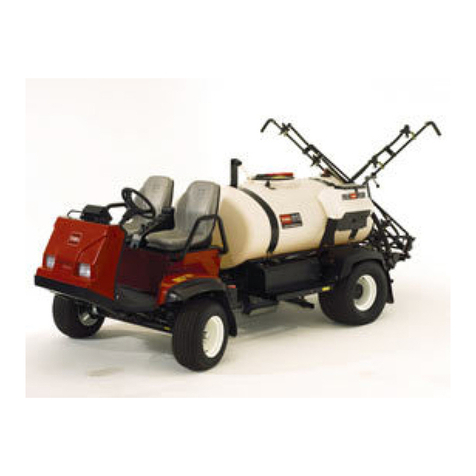
Toro Spray Master User manual

Toro

Toro Spray Master User manual

Toro Multi-Pro 5800 User manual

Toro

Toro Multi-Pro 5800 User manual

Toro 41605 User manual

Toro

Toro 41605 User manual

Toro MultiPro 1750 User manual

Toro

Toro MultiPro 1750 User manual

Toro 41229 User manual

Toro

Toro 41229 User manual

Toro 41235 User manual

Toro

Toro 41235 User manual

Toro Multi-Pro 5800 User manual

Toro

Toro Multi-Pro 5800 User manual

Toro Multi Pro 5800 User manual

Toro

Toro Multi Pro 5800 User manual
Toro 34230 User manual

Toro

Toro 34230 User manual

Toro Multi Pro 5800 User manual

Toro

Toro Multi Pro 5800 User manual

Toro GeoLink CL-55 User manual

Toro

Toro GeoLink CL-55 User manual

Toro Multi-Pro 5800 User manual

Toro

Toro Multi-Pro 5800 User manual
Popular Paint Sprayer manuals by other brands

SATA SATAjet 1000 A RP operating instructions

SATA

SATA SATAjet 1000 A RP operating instructions

SAMES KREMLIN FPRO LOCK P LP Translation from original manual

SAMES KREMLIN

SAMES KREMLIN FPRO LOCK P LP Translation from original manual

Solo 425 Classic instruction manual

Solo

Solo 425 Classic instruction manual

Echo BACKPACK MS-40BD use and care manual

Echo

Echo BACKPACK MS-40BD use and care manual

Mesto 3585 Series Instructions for use

Mesto

Mesto 3585 Series Instructions for use

Graco TexSpray GTX Repair parts manual

Graco

Graco TexSpray GTX Repair parts manual

Workhorse LG40SSS Assembly / operation instructions / parts

Workhorse

Workhorse LG40SSS Assembly / operation instructions / parts

Parkside PFS 280 A1 user guide

Parkside

Parkside PFS 280 A1 user guide

WAGNER Optimus owner's manual

WAGNER

WAGNER Optimus owner's manual

Storch Airless SL 1600 HD manual

Storch

Storch Airless SL 1600 HD manual

CAMPAGNOLA GSM 60 Use and maintenance manual

CAMPAGNOLA

CAMPAGNOLA GSM 60 Use and maintenance manual

WAGNER Control Pro 130 owner's manual

WAGNER

WAGNER Control Pro 130 owner's manual

Nordson A7A Customer product manual

Nordson

Nordson A7A Customer product manual

Duralast HVLP operating instructions

Duralast

Duralast HVLP operating instructions

Campbell Hausfeld Speedaire 2Z363F Repair parts manual

Campbell Hausfeld

Campbell Hausfeld Speedaire 2Z363F Repair parts manual

Daewoo DASP500 user manual

Daewoo

Daewoo DASP500 user manual

Powr-Flite PP200-Q02-U Operation and maintenance manual

Powr-Flite

Powr-Flite PP200-Q02-U Operation and maintenance manual

RIMROCK 410 manual

RIMROCK

RIMROCK 410 manual

manuals.online logo
manuals.online logoBrands
  • About & Mission
  • Contact us
  • Privacy Policy
  • Terms and Conditions

Copyright 2025 Manuals.Online. All Rights Reserved.