manuals.online logo
Brands
  1. Home
  2. •
  3. Brands
  4. •
  5. Wren Kitchens
  6. •
  7. Indoor Furnishing
  8. •
  9. Wren Kitchens TOWER UNIT Built-in 2070 x 600 Tall User manual

Wren Kitchens TOWER UNIT Built-in 2070 x 600 Tall User manual

TOWER UNIT
600 Feature unit, Open Shelf, Wine Rack, Plate Rack Assembly Guide
For Internal Use: FI.WR.INS.093_WKIN00220_TOWER_Feature_Aperture_Assembly_Rev4
Built-in 2070 x 600 Tall
Built-in 2250 x 600 Tall
Page 1
TOWER UNIT
600 Feature unit, Open Shelf, Wine Rack, Plate Rack Assembly Guide
Mid Unit (B)
Size example ONLY
x1
Base Unit (A)
Size example ONLY
x1
Feature unit tting pack may vary in Feature unit tting pack may vary in
accordance to customer specic kitchen plan.accordance to customer specic kitchen plan.
Base unit tting pack contents may vary in Base unit tting pack contents may vary in
accordance to customer specic kitchen accordance to customer specic kitchen plan.plan.
Prior to installation, xtures including doors, drawers and loose shelves should be removed to
ensure a safe installation. Use Wren provided Door Safe for temporary storage.
(L) x16
15mm
Screw
(K) x4
30mm
Screw
(ZZ) x8
Metal Shelf
Pegs
Door Safe
Supplied
With:
Supplied
With:
x1
Space Plug
(N) x1
Door
Buer
(K) x7
30mm
Screw
(L) x28
15mm
Screw
(M) x4
Cover
Cap
x5
Legs
BEFORE YOU START
INSTALLATION
SHOULD BE PERFORMED
BY A COMPETENT PERSON
ONLY.
THIS PRODUCT COULD
BE DANGEROUS IF
INCORRECTLY INSTALLED
Required Tools:
Top Unit (C)
Size example ONLY
x1
Hanging Bracket
x2 Inc Screws
Hanging Bracket Plate
x2 (Screws NOT included)
Hinge Mounting Plate
x2 Inc Screws
Corner
Gusset
x2
Hanging Bracket
Cover Cap
x2
(L) x8
15mm
Screw
(S) x4
20mm
Screw
(K) x4
30mm
Screw
(M) x6
Cover
Caps
(ZZ) x8
Metal Shelf
Pegs
Supplied
With:
(N) x2
Door
Buer
Page 2
For Internal Use: FI.WR.INS.093_WKIN00220_TOWER_Feature_Aperture_Assembly_Rev4
Step 2.
Push leg rmly down into leg base.
Adjust legs to 155mm before turning unit
upright. Once in situ level accordingly.
Step 1.
Secure each of the legs into place with
4 x 15mm screws (L) per leg. Ensure legs
are rotated as shown so that part of it is
supporting the end panels.
Leg position diagram
Front Front
Base Unit A
Front legs should have at edge to the front
Page 3
TOWER UNIT
600 Feature unit, Open Shelf, Wine Rack, Plate Rack Assembly Guide
Step 5.
Position feature unit (B) onto secured base (A)
with an 18mm overhang, as shown.
Step 6.
Using 2 x 30mm screws (K) screw up through the
front rail of base unit (A) to secure both units
base (A) & feature unit (B) together. Screws
should be equally spaced, as shown.
18mm
K
K
Step 3.
Screw into any side units using the 30mm screws (K) provided to secure to the unit.
Screw just to the rear of the hinge mounting plate at the top and bottom of both
sides of the unit, place a cover cap (M) on the heads to conceal them.
Step 4.
Secure base unit (A) to the wall using space plugs. Drill 2 pilot holes through the
back rail of the unit into the wall. Unwind the Space Plugs until they contact both
surfaces, insert and tighten an appropriately sized screw through the back of the
unit and the Space Plugs into the wall.
Screws for attaching to walls are not provided as these vary depending on
your wall material and construction. Ensure appropriate xings for
wall construction are used.
Mid Unit
B
Base Unit
A
Front
18mm
View from underside
Detail A
Detail A
K
Page 4
For Internal Use: FI.WR.INS.093_WKIN00220_TOWER_Feature_Aperture_Assembly_Rev4
Step 7.
Hanging brackets steps a,b & c to be carried out on both
sides of top unit (C) as shown.
Step 8.
Secure corner gussets to the bottom and
side of the rear wall unit using 4 x 15mm
screws (L) per plate.
L
L
L
L
Detail C
Step 9.
Drill a small pilot hole through the centre of the corner gussets. Use this hole
at the end of the process to screw through and into the wall. Cover the screw
heads using the cover caps (M) provided.
Screws for xing to walls are not provided as these vary depending on
your wall material and construction. Ensure appropriate xings for wall
constructions are used.
Pilot
hole
M
Detail C
View through
back panel
Care to be taken. Hanging procedure
is necessary for a safe installation.
Top Unit
C
Step a
Insert hanging
bracket into pre-drilled holes.
Step c
Secure with provided
2 x 20mm screws (S) per bracket.
Step b
Rotate locking
lever 180 degrees.
Detail B Detail B
S
S
Detail B
Detail B
Detail C
Page 5
TOWER UNIT
600 Feature unit, Open Shelf, Wine Rack, Plate Rack Assembly Guide
Step 10.
Measure appropriately and attach the 2 x hanging bracket plates onto the wall
screwing through the provided holes into your wall.
Screws for xing to walls are not provided as these vary depending on
your wall material and construction. Ensure appropriate xings for wall
construction are used.
Step11.
Hang the unit using the brackets
to hook onto the plate as shown.
Hanging bracket plate
Step 12.
Using points a, b & c adjust the unit to suit. Step a
Rotate the screw
clockwise to move the
unit up.
Anti-clockwise for down.
Step b
Adjust the depth using
centre screw.
Step c
Screw the red screw until
it touches the plate to lock
in position.
b
c
Hanging
Bracket viewed
though
Back Panel
c
a
b
C
Step 13.
Place a hanging bracket cover cap inside the Unit (C)
a
Hanging bracket
cover cap
Page 6
For Internal Use: FI.WR.INS.093_WKIN00220_TOWER_Feature_Aperture_Assembly_Rev4
Step 14.
Screw into any side units using the provided 2 x 30mm screws (K) to
secure the unit. Screw just to the rear of the hinge plate then place a cover
cap on the head to conceal it.
Step 15.
Using 2 x 30mm screws (K) screw up through
the top of feature unit (B) to secure it in place
with top unit (C), as shown.
Screws should be equally spaced, as shown.
K
K
K
18mm
Base Unit
A
Mid Unit
B
Top Unit
C
Front
18mm
Top View
Detail C
Detail D
Detail D
Page 7
TOWER UNIT
600 Feature unit, Open Shelf, Wine Rack, Plate Rack Assembly Guide
Fit cover caps
View from Inside of unit
To adjust hinge using
a screw driver, tighten
or loosen as required at
points 1& 2.
Point 1 - In - Out
Point 2 - Left - Right
1
2
FRONTAL
HINGE
ADJUSTMENT
To Release door
pull catch as shown,
to release hinge
from the hinge
plate.
To Move the
hinge up/down,
loosen screws
A + B,
manoeuvre
the door, then
re-tighten the
screws
A
B
Hinge dowels
The top and bottom
hinges MUST be
adjusted to the SAME
STRENGTH.
Secure hinge
Softclose adjustment
Step 19.
Adjust hinge to suit. As
shown on the left.
Step 20.
Fit cover caps to hinge.
Adjust softclose to suit.
Step 17.
Secure hinges with the 2 x screws already
located in the hinges.
Step 18.
Attach the door to unit,
clip hinge onto hinge
plate and click to secure.
Step 16.
Insert hinges into hinge holes provided, in
accordance with customer specic kitchen plan.
Hinge cover caps
Hinge plate
Page 8
For Internal Use: FI.WR.INS.093_WKIN00220_TOWER_Feature_Aperture_Assembly_Rev4
Drawer Adjustment (where applicable)
Innity + / Innity
Screw point 1 as shown to adjust drawer
frontal right & left.
Screw point 2a as shown to adjust drawer
frontal up & down.
Tighten 2b once in position.
Releasing xing clip.
Screw point 3 whilst applying downward
pressure as shown to release.
Drawer frontal adjustment
12b 2a
3
Deep Glass Drawer
View of drawer side
12b 2a
3
View of drawer side
Standard Drawer & Deep Drawer
Drawers supplied in accordance to customer Drawers supplied in accordance to customer
specic kitchen plan.specic kitchen plan.
Secure hinge
Fit drawer cover caps over drawer side
adjustment.
Drawer Cover Cap

This manual suits for next models

1

Other Wren Kitchens Indoor Furnishing manuals
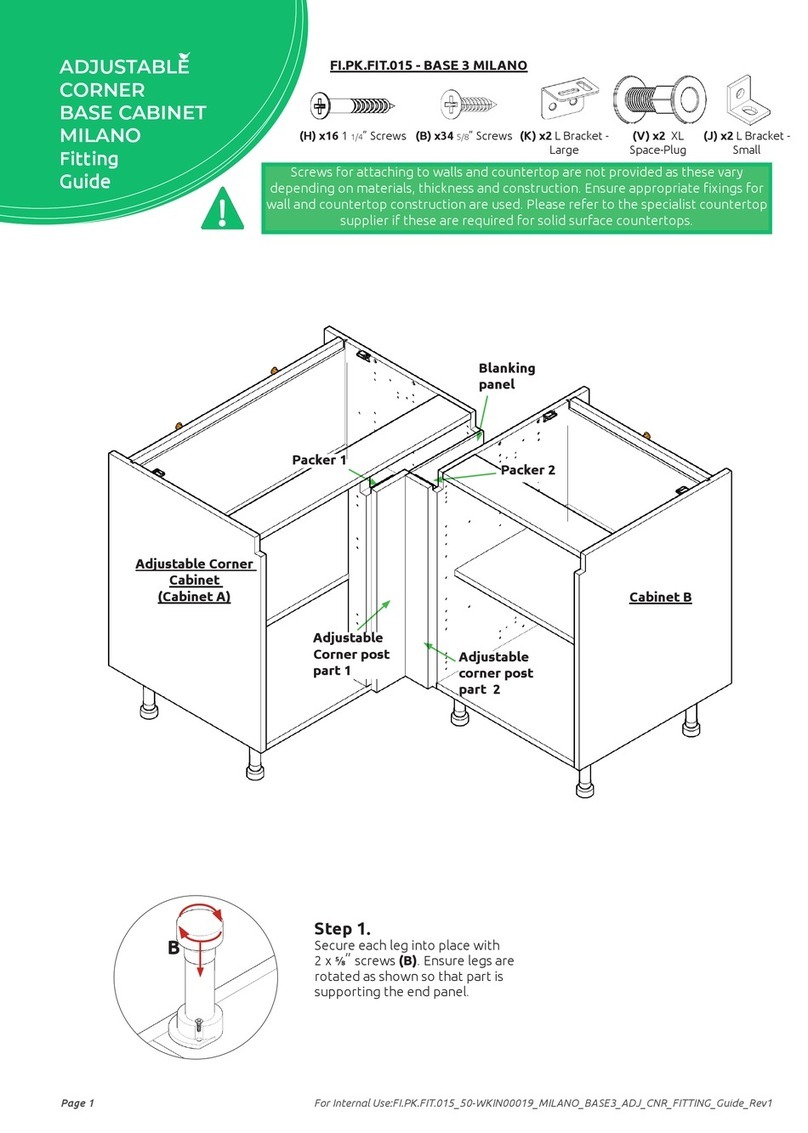
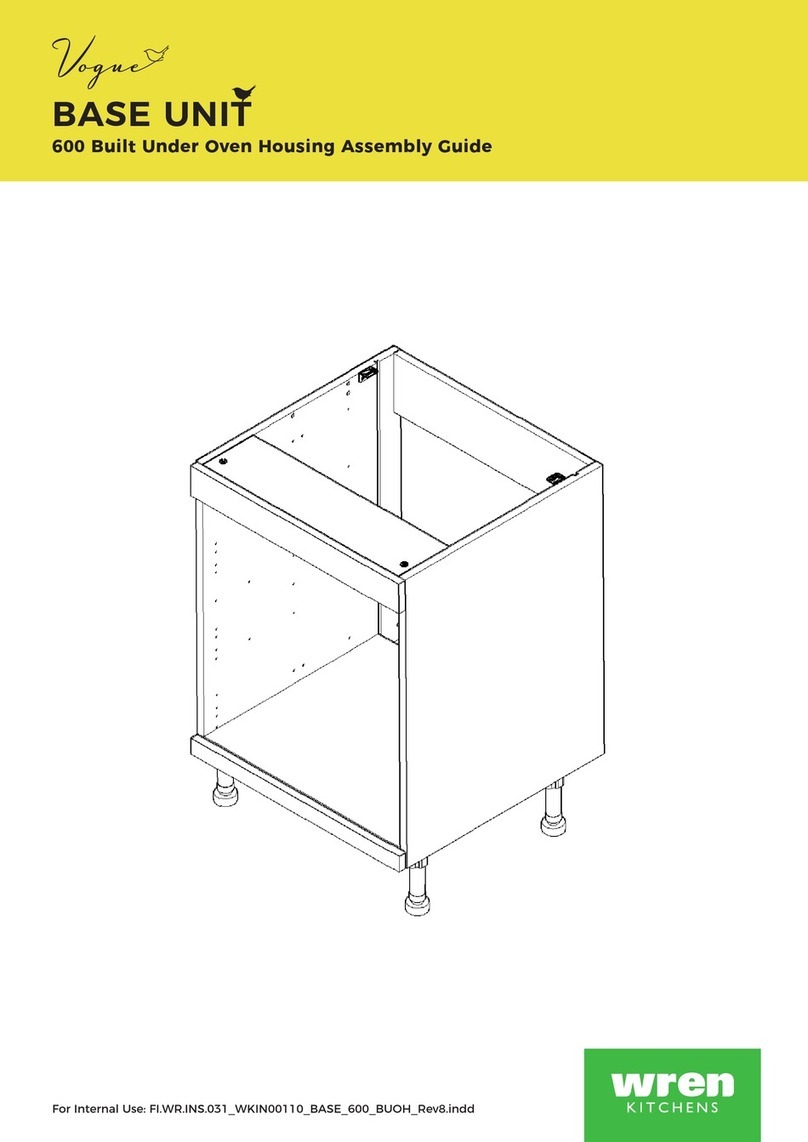
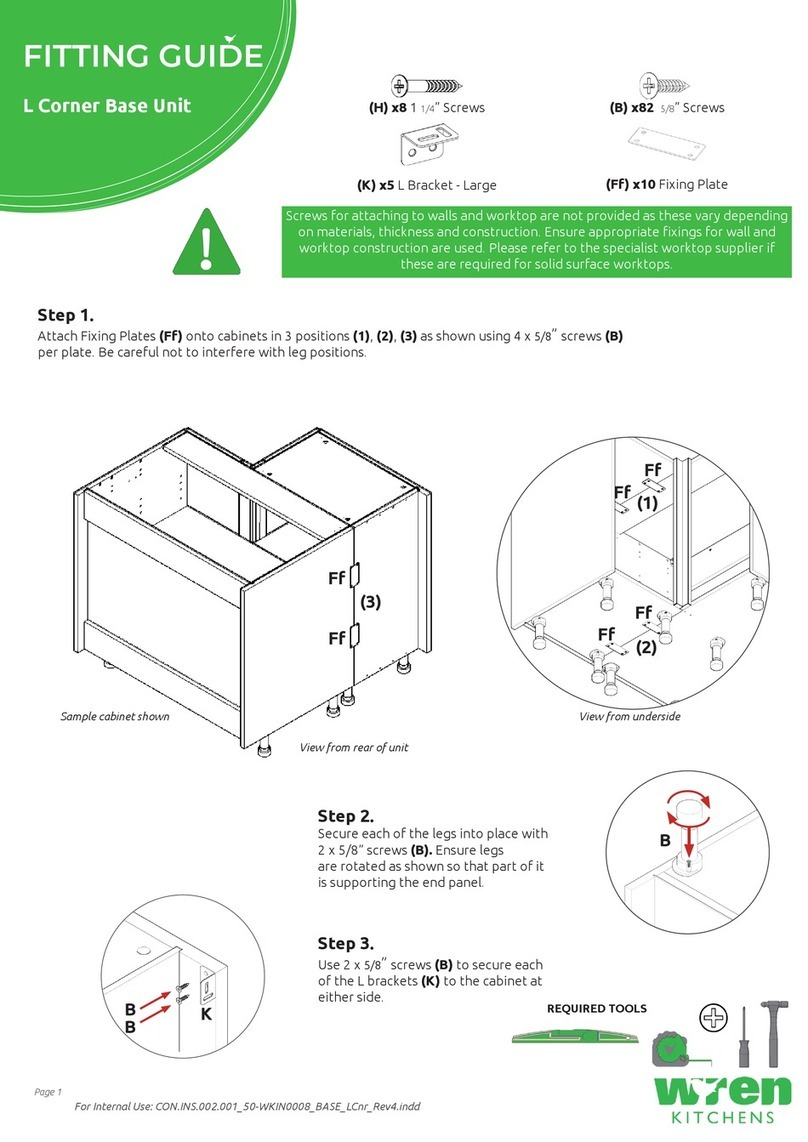
Wren Kitchens FI.PK.FIT.004 User manual

Wren Kitchens

Wren Kitchens FI.PK.FIT.004 User manual

Wren Kitchens BASE UNIT 600 User manual

Wren Kitchens

Wren Kitchens BASE UNIT 600 User manual

Wren Kitchens Vogue BASE UNIT 500 3 Drawer User manual

Wren Kitchens

Wren Kitchens Vogue BASE UNIT 500 3 Drawer User manual

Wren Kitchens WALL UNIT 672 L Corner User manual

Wren Kitchens

Wren Kitchens WALL UNIT 672 L Corner User manual

Wren Kitchens TOWER UNIT User manual

Wren Kitchens

Wren Kitchens TOWER UNIT User manual

Wren Kitchens Vogue WALL UNIT 700 Tall 2 Door User manual

Wren Kitchens

Wren Kitchens Vogue WALL UNIT 700 Tall 2 Door User manual

Wren Kitchens BASE UNIT 600 User manual

Wren Kitchens

Wren Kitchens BASE UNIT 600 User manual

Wren Kitchens Vogue 150 Tall User manual

Wren Kitchens

Wren Kitchens Vogue 150 Tall User manual

Wren Kitchens Vogue BASE UNIT 150 WALL User manual

Wren Kitchens

Wren Kitchens Vogue BASE UNIT 150 WALL User manual

Wren Kitchens WALL UNIT 360 x 1000 User manual

Wren Kitchens

Wren Kitchens WALL UNIT 360 x 1000 User manual

Wren Kitchens INFINITY PLUS Standard Drawer User manual

Wren Kitchens

Wren Kitchens INFINITY PLUS Standard Drawer User manual

Wren Kitchens Industrial Island User manual

Wren Kitchens

Wren Kitchens Industrial Island User manual

Wren Kitchens VOID CORNER POST Assembly instructions

Wren Kitchens

Wren Kitchens VOID CORNER POST Assembly instructions

Wren Kitchens BASE 3 MILANO Assembly instructions

Wren Kitchens

Wren Kitchens BASE 3 MILANO Assembly instructions

Wren Kitchens 2070 User manual

Wren Kitchens

Wren Kitchens 2070 User manual

Wren Kitchens BASE 2 MILANO User manual

Wren Kitchens

Wren Kitchens BASE 2 MILANO User manual

Wren Kitchens Adjustable Corner Base Unit Assembly instructions

Wren Kitchens

Wren Kitchens Adjustable Corner Base Unit Assembly instructions

Wren Kitchens Vogue BASE UNIT 600 2 Drawer User manual

Wren Kitchens

Wren Kitchens Vogue BASE UNIT 600 2 Drawer User manual

Wren Kitchens WALL UNIT 672 L Corner User manual

Wren Kitchens

Wren Kitchens WALL UNIT 672 L Corner User manual

Wren Kitchens BASE UNIT 600 User manual

Wren Kitchens

Wren Kitchens BASE UNIT 600 User manual

Wren Kitchens BASE UNIT 1000 User manual
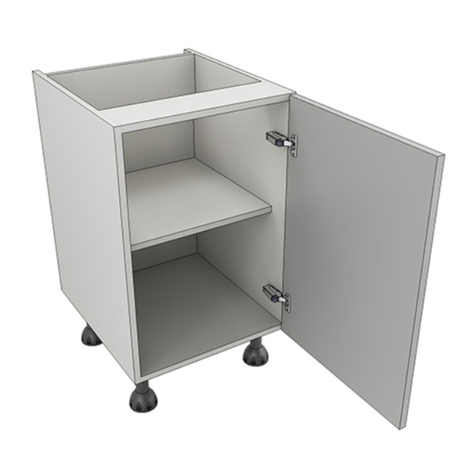
Wren Kitchens

Wren Kitchens BASE UNIT 1000 User manual

Wren Kitchens BASE UNIT 600 User manual

Wren Kitchens

Wren Kitchens BASE UNIT 600 User manual

Wren Kitchens Vogue 600 User manual

Wren Kitchens

Wren Kitchens Vogue 600 User manual

Wren Kitchens Vogue TOWER UNIT Boiler Housing User manual

Wren Kitchens

Wren Kitchens Vogue TOWER UNIT Boiler Housing User manual

Popular Indoor Furnishing manuals by other brands

spaceslide TOWER UNIT 3 DRAWERS 450mm Assembly instructions

spaceslide

spaceslide TOWER UNIT 3 DRAWERS 450mm Assembly instructions

Teknion HTNB installation guide

Teknion

Teknion HTNB installation guide

Safavieh Furniture Ryder CNS5719 quick start guide

Safavieh Furniture

Safavieh Furniture Ryder CNS5719 quick start guide

Radius MUSE Mounting instructions

Radius

Radius MUSE Mounting instructions

Triarch Indoor Lighting 31454 Assembly instructions

Triarch

Triarch Indoor Lighting 31454 Assembly instructions

Onespace Essential 50-LD01GO manual

Onespace

Onespace Essential 50-LD01GO manual

homechoice Jesca Assembly instruction

homechoice

homechoice Jesca Assembly instruction

Forte OZLS723X9 Assembling Instruction

Forte

Forte OZLS723X9 Assembling Instruction

Flash Furniture NAN-JN-2824S-GG Assembly instructions

Flash Furniture

Flash Furniture NAN-JN-2824S-GG Assembly instructions

Skil RAS800 Operating/safety instructions

Skil

Skil RAS800 Operating/safety instructions

Furniture of America Bianca CM7734EK Assembly instructions

Furniture of America

Furniture of America Bianca CM7734EK Assembly instructions

Monarch Specialties I 4508 Assembly instructions

Monarch Specialties

Monarch Specialties I 4508 Assembly instructions

Monarch Specialties I 2695 Assembly instructions

Monarch Specialties

Monarch Specialties I 2695 Assembly instructions

Salamander Designs SYNERGY QUAD UNIT manual

Salamander Designs

Salamander Designs SYNERGY QUAD UNIT manual

TIMBER ART DESIGN Sen 02 Assembly instructions

TIMBER ART DESIGN

TIMBER ART DESIGN Sen 02 Assembly instructions

Ameriwood TYLER TOY STORAGE BOOKCASE Assembly instructions

Ameriwood

Ameriwood TYLER TOY STORAGE BOOKCASE Assembly instructions

Core Products Corona Assembly instructions

Core Products

Core Products Corona Assembly instructions

Style selections LWUSTCD quick start guide

Style selections

Style selections LWUSTCD quick start guide

manuals.online logo
manuals.online logoBrands
  • About & Mission
  • Contact us
  • Privacy Policy
  • Terms and Conditions

Copyright 2025 Manuals.Online. All Rights Reserved.