manuals.online logo
Brands
  1. Home
  2. •
  3. Brands
  4. •
  5. Yealink
  6. •
  7. IP Phone
  8. •
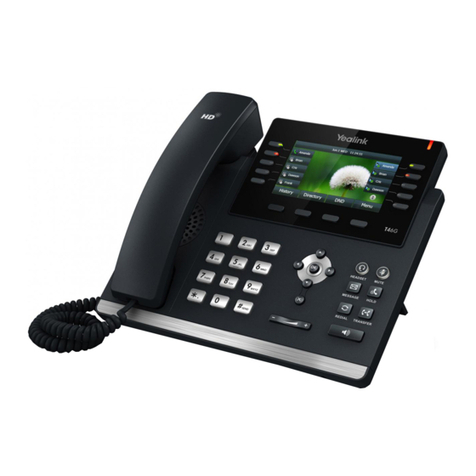
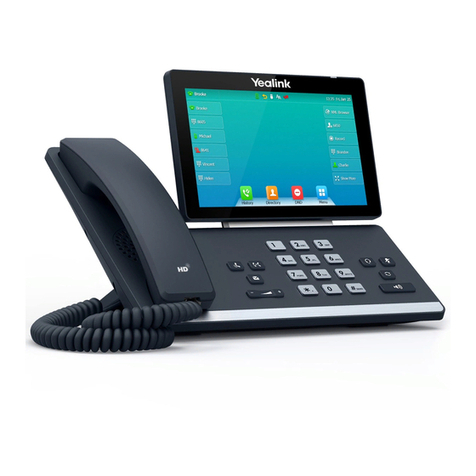
  9. Yealink T42G Operator's manual

Yealink T42G Operator's manual

Other manuals for T42G

11

This manual suits for next models

1

Other Yealink IP Phone manuals

Yealink SIP- T28P User manual

Yealink

Yealink SIP- T28P User manual

Yealink VP530 User manual

Yealink

Yealink VP530 User manual

Yealink Yealink SIP-T41P User manual

Yealink

Yealink Yealink SIP-T41P User manual

Yealink SIP VP-T49G User manual

Yealink

Yealink SIP VP-T49G User manual

Yealink W60P Telesystem User manual

Yealink

Yealink W60P Telesystem User manual

Yealink W52 User manual

Yealink

Yealink W52 User manual

Yealink Yealink SIP-T48G User manual

Yealink

Yealink Yealink SIP-T48G User manual

Yealink T21 User manual

Yealink

Yealink T21 User manual

Yealink SIP-T27P User manual

Yealink

Yealink SIP-T27P User manual

Yealink SIP-T54W User manual

Yealink

Yealink SIP-T54W User manual

Yealink T42 User manual

Yealink

Yealink T42 User manual

Yealink T19P User manual

Yealink

Yealink T19P User manual

Yealink SIP-T29G User manual

Yealink

Yealink SIP-T29G User manual

Yealink SIP-T38G Service manual

Yealink

Yealink SIP-T38G Service manual

Yealink Yealink SIP-T46G User manual

Yealink

Yealink Yealink SIP-T46G User manual

Yealink Yealink SIP-T26P User manual

Yealink

Yealink Yealink SIP-T26P User manual

Yealink Yealink SIP-T46G User manual

Yealink

Yealink Yealink SIP-T46G User manual

Yealink Yealink SIP-T41P User manual

Yealink

Yealink Yealink SIP-T41P User manual

Yealink SIP-T48U User manual

Yealink

Yealink SIP-T48U User manual

Yealink Yealink T28P User manual

Yealink

Yealink Yealink T28P User manual

Yealink SIP- T28P User manual

Yealink

Yealink SIP- T28P User manual

Yealink T43U Troubleshooting guide

Yealink

Yealink T43U Troubleshooting guide

Yealink SIP VP-T49G User manual

Yealink

Yealink SIP VP-T49G User manual

Yealink WP52P User manual

Yealink

Yealink WP52P User manual

Popular IP Phone manuals by other brands

Cortelco C62 VoIP Phone user guide

Cortelco

Cortelco C62 VoIP Phone user guide

VanillaIP Polycom IP300 user manual

VanillaIP

VanillaIP Polycom IP300 user manual

Viking SR-IP product manual

Viking

Viking SR-IP product manual

Panasonic KX-UT133-B Administrator's guide

Panasonic

Panasonic KX-UT133-B Administrator's guide

Avaya one-X 9600 Series overview

Avaya

Avaya one-X 9600 Series overview

AVA Enterprises B179 Installation and administration guide

AVA Enterprises

AVA Enterprises B179 Installation and administration guide

Cisco Unified 7900 Series System guide

Cisco

Cisco Unified 7900 Series System guide

Polycom SoundPoint IP 450 datasheet

Polycom

Polycom SoundPoint IP 450 datasheet

Cisco SPA-500 Series user guide

Cisco

Cisco SPA-500 Series user guide

IPitomy IP290 user manual

IPitomy

IPitomy IP290 user manual

Polycom SoundPoint IP 650 user guide

Polycom

Polycom SoundPoint IP 650 user guide

Proximus Maestro 3016 IP quick start guide

Proximus

Proximus Maestro 3016 IP quick start guide

Polycom IP 450 user guide

Polycom

Polycom IP 450 user guide

Fanvil X4 user manual

Fanvil

Fanvil X4 user manual

Snom 320 quick start guide

Snom

Snom 320 quick start guide

Avaya Integral 5 R3.0 user guide

Avaya

Avaya Integral 5 R3.0 user guide

Nortel 1140E Getting started

Nortel

Nortel 1140E Getting started

Nexotek NT-P500 user manual

Nexotek

Nexotek NT-P500 user manual

manuals.online logo
manuals.online logoBrands
  • About & Mission
  • Contact us
  • Privacy Policy
  • Terms and Conditions

Copyright 2025 Manuals.Online. All Rights Reserved.

minder Virtual PABX:Your Quick Startup
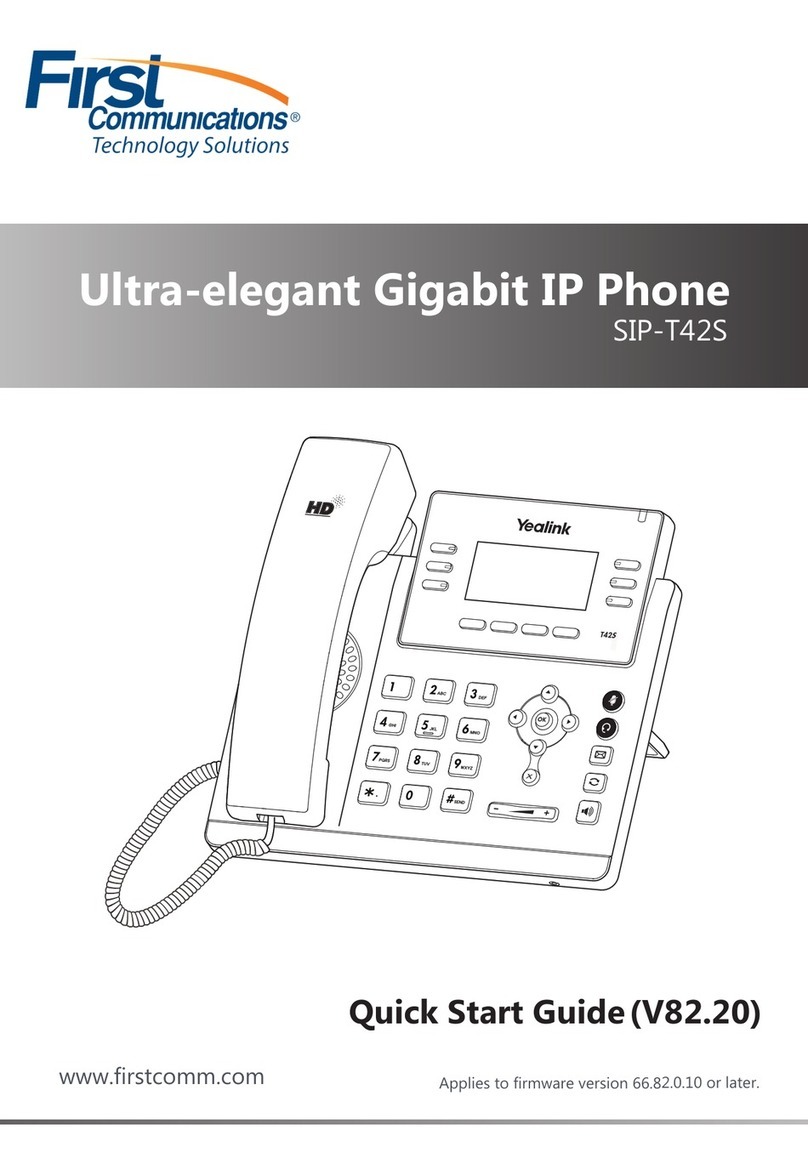
What is included in your T42G/S Package:
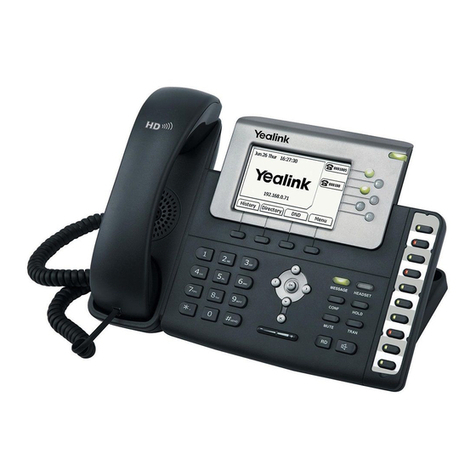
IP PHONE T42G/S
www.mindercloud.com.au
How to assemble your IP PHONE T42G/S:
1. Attached the stand, as shown below.
2. Connect your handset and optional
headset, as shown below.
NOTE: Headsets are purchased seperately.
3. Connect your network and power, as
shown below.
To Startup your IP PHONE T42G/S:
After the IP Phone is connected to the network and supplied
with power, it automatically begins the initialisation process.
After Startup, your IP Phone is ready to use (pre-configured).
NOTE: You have 2 Power Options - AC and PoE.
If PoE is provided, you do not need to connect the
Power Adapter.
For more information email us at enquiries@mindercloud.com.au
HANDSET SETTINGS: BASIC CALL FEATURES:
Add a Contact
> Press the Directory soft key when the phone is
idle, and then select the desired group.
> Press the Add soft key to add a contact.
> Enter a unique contact name in the Name field
and contact numbers in the corresponding
fields.
> Press the Add soft key to accept the change.
Delete a Contact
> Press the Directory soft key when the phone is
idle, and then select the desired group.
> Press or to highlight the desired
entry.
> Press the Options soft key, and then select
Delete to delete the selected entry.
> Press the Ok soft key when the LCD screen
prompts “Delete Selected Items?”
Assign a Speed Dial Number
> Press the Menu soft key when the phone is idle,
and then select Features -> DSS Keys.
> Select the desired DSS Keys and then press
the Enter soft key.
> Select Speed Dial from the Type field, select
the desired line from the Account ID field ,
enter a label in Label field and enter a number
in Value field.
> Press the Save soft key to accept the change.
Volume Adjustment
> Press during a call to adjust
the receiver volume of handset / speakerphone
/ headset.
> Press when the handset is
idle to adjust the ringer volume.
Placing Calls
Using the Handset:
Pickup the handset, enter the number and press the Send
soft key.
Using the Speakerphone:
With the handset on-hook, press , enter the number
and press the Send soft key.
Using the Headset:
With the headset connected, press to activate the
headset mode, enter the number and press the Send soft
key.
Placing Calls using the Speed Dial Key.
Press the Speed Dial key to dial out the preset number.
Placing Calls from Call History
>Press the History soft key when the phone is idle, and
press or to scroll through the list.
>Select an entry from the list and press the Send soft
key to call the entry.
Answering Calls
Using the Handset: Pickup the handset.
Using the Speakerphone: Press ...
Using the Headset: Press
Ending Calls
Using the Handset:
Hang up the handset and press the End Call soft key.
Using the Speakerphone:
Press or the End Call soft key.
Using the Headset:
Press the End Call soft key.
Call Hold
Press the Hold soft key during an active call.
Call Resume
>If there is only a call on hold, press the Resume soft
key.
>If there are two calls on hold, press or
to select the desired call , and then press the Resume
soft key.
Call Transfer – Blind Transfer
>Press the Transfer soft key during an active call. The
call is placed on hold.
>Enter the number you want to transfer the call to.
>Press the Transfer soft key.
Call Transfer – Attended Transfer
>Press the Transfer soft key during an active call. The
call is placed on hold.
> Enter the number you want to transfer the call to, and
then press .
> Press the Transfer soft key when the second party
answers.
Call Forward
> Press the Menu soft key when the phone is idle, then
select Features -> Call Forward.
> Select the desired Forward Type:
Always Forward – incoming calls are forwarded
unconditionally.
Busy Forward – incoming calls are forwarded when
the phone is busy.
No Answer Forward – incoming calls are forwarded
when there it is not answered after a period of time.
> Enter the Phone Number you want to forward to. For
No Answer Forward, press or to select the
desired ring time to wait before forwarding from the
After Ring Time field.
> Press the Save soft key to accept the change.