manuals.online logo
Brands
  1. Home
  2. •
  3. Brands
  4. •
  5. Yealink
  6. •
  7. IP Phone
  8. •
  9. Yealink Telkom W52P User manual

Yealink Telkom W52P User manual

Applies to firmware version 25.73.0.10 or later.
(V73.10)
IP DECT Phone
W52P & W52H
Quick Start Guide
English
The following items are included in your W52P package:
Packaging Contents
1. Connect the network and power for the base station in one of the
following ways, as shown below:
Assembling the Phone
Handset Base Station Charger Cradle Two Power Adapters
Belt Clip Two Rechargeable
Batteries
Quick Start Guide
Ethernet Cable
a. AC Power Option
The following items are included in your W52H package:
Charger Cradle Power Adapter Two Rechargeable
Batteries
Belt Clip
Handset
(Optional)
1
2. Connect the charger cradle, as shown below:
3. Insert the batteries into the handset, as shown below:
4. Charge the handset, as shown below:
Note: The charging status of the handset is indicated in the top right-hand corner of the LCD screen.
b. PoE (Power over Ethernet) Option
IEEE 802.3af compliant
PoE Hub/Switch
2
Network Settings
Getting Started
DHCP: By default, the base station attempts to contact a DHCP server in your network to
obtain the valid network settings, e.g., IP address, subnet mask, gateway address
and DNS address.
Static: If the base station cannot contact a DHCP server for any reason, you need
to configure the IP address, subnet mask, gateway address, primary DNS address
and secondary DNS address for the base station manually.
You can configure the base station to obtain network settings in one of the following ways:
3
To configure the network parameters for the base station manually:
1. Press the OK key to enter the main menu, and then select Settings->System Settings->
Network.
3. Select desired type from the IP Address Type field.
2. Enter the system PIN (default: 0000), and then press the Done soft key.
4. Make the desired changes.
Note: Wrong network settings may result in inaccessibility of your phone and may have an impact
on the network performance. For more information on these parameters, contact your system
administrator.
Shortcuts
The handset in the W52P package is pre-registered to the base station. Internal handset
number and name display on the idle screen after turning the handset on. If your handset
is not pre-registered to the base station, do one of the followings to register it manually:
Handset Registration
This helps you get quick access to features by pressing the shortcut keys directly without
having to scroll through the menu.You can press the following predefined shortcuts to
access some frequently used features of your handset when the handset is idle:
Press to access the call history.
Press to check the line status.
Press to place an internal call.
Press to access the directory.
Press to decrease the ringer volume.
5. Press the Save soft key to accept the change.
Press to increase the ringer volume.
If the handset LCD screen prompts “Searching for Base”, long press on the base
station till the registration LED flashes. Then press the OK key to enter the main menu,
and then select Settings->Registration->Register Handset to register the handset.
If the handset LCD screen prompts “Press base page 2s then press OK”, long press
on the base station till the registration LED flashes. Then press the OK soft key on the
handset.
PPPoE: If you are using an xDSL modem, you can connect your phone to the Internet via
PPPoE mode. Contact the ITSP for the account and password.
Basic Operations
Turning Handset On/Off
To turn the handset on, do one of the following:
Long press until the LCD screen lights up.
Place the handset in the charger cradle. The handset will be turned on automatically.
To turn the handset off:
Long press again to turn the handset off.
Locking/Unlocking Keypad
Handset Settings
Handset Name
1. Press the OK key to enter the main menu, and then select Settings->Handset Name.
2. Edit the value in the Rename field.
3. Press the Save soft key to accept the change.
Ring Tones
1. Press the OK key to enter the main menu, and then select Settings->Audio->Ring Tones->
3. Press or to select the desired ring tone.
2. Press or to highlight the Intercom Call option or the desired line.
4. Press the Save soft key to accept the change.
Melodies.
Volume Adjustment
Press or during a call to adjust the volume of the currently used audio device.
Press or when the handset is idle to adjust the ringer volume.
Long press when the phone is idle to lock the keypad.
Long press again when the phone is idle to unlock the keypad.
Switching Silent Mode On/Off
Long press to switch the silent mode on.
Long press again to switch the silent mode off.
Local Directory
To add a contact:
1. Press the OK key to enter the main menu, and then select Directory.
3. Enter the desired values in the Name, Number and Mobile fields.
2. Press the Options soft key, and then select New Contact.
4. Press the Save soft key to accept the change.
To edit a contact:
1. Press the OK key to enter the main menu, and then select Directory.
2. Press or to highlight the desired entry.
To rename the handset:
4
3. Press the Options soft key, and then select Edit.
4. Edit the values in the Name, Number and Mobile fields.
5. Press the Save soft key to accept the change.
To delete a contact:
1. Press the OK key to enter the main menu, and then select Directory.
3. Press the Options soft key, and then select Delete to delete the selected entry.
2. Press or to highlight the desired entry.
Basic Call Features
Placing Calls
To place a call from the local directory:
To place a call from the call history:
To place a call from the redial number list:
1. Press when the handset is idle.
2. Press or to highlight the desired entry, and then press .
To assign a speed dial number:
1. Press the OK key to enter the main menu, and then select Settings->Telephony->Speed Dial.
2. Press or to highlight the desired speed dial key, and then press the Assign soft key.
If both the office number and mobile numbe are stored, press or to highlight
the desired number, and then press the OK soft key again.
1. Press the History soft key, and then select the desired call history list.
2. Press or to highlight the desired entry, and then press .
To place a call directly:
Enter the desired number when the handset is idle, and then press .
To place a call using the speed dial key:
Long press the speed dial key to place a call to the number assigned to it.
1. Press when the handset is idle.
2. Press or to highlight the desired entry, and then press .
Answering Calls
To answer a call, do one of the following:
Press the Accept soft key.
Press .
Press .
Note: You can ignore an incoming call by pressing the Silence soft key or reject an incoming call by
pressing .
Ending Calls
Press .
If both the office number and mobile number are stored, press or to highlight
the desired number, and then press again.
3. Press or to highlight the desired entry, and then press the OK soft key.
5
Call Hold and Resume
To place a call on hold:
To resume a call, do one of the following:
If there is only a call on hold, press the Resume soft key.
Press the Options soft key during a call, and then select Hold.
If there are two calls on hold, press the Resume soft key to resume the current call,
press the Swap soft key to swap between calls.
Semi-Attended Transfer
Attended Transfer
Call Forward
Blind Transfer
Call Transfer
You can transfer a call in the following ways:
1. Press the Options soft key during a call, and then select Transfer.
2. Enter the number you want to transfer the call to.
3. Press to dial out.
To enable the call forward feature on a specific line:
Always----Incoming calls are forwarded immediately.
Busy----Incoming calls are forwarded when the line is busy.
No Answer----Incoming calls are forwarded if not answered after a period of time.
1. Press the OK key to enter the main menu, and then select Call Features->Call Forward.
3. Press or to highlight the desired forwarding type, and then press the OK soft key.
5. Enter the number you want to forward the incoming calls to in the Target field.
7. Press the Save soft key to accept the change.
2. Enter the number you want to transfer the call to.
4. Press the Transfer soft key when you hear the ring-back tone.
3. Press the Transfer soft key.
2. Enter the number you want to transfer the call to.
3. Press to dial out.
4. Press the Transfer soft key after the call is answered.
2. Press or to highlight the desired line, and then press the OK soft key.
4. Select Enabled from the Status field.
6. Press or to select the desired ring time to wait before forwarding (only for No
Answer Forward) in the After Ring Time field.
Call Mute
Press during a call to mute the call.
Press again to un-mute the call.
6

Other manuals for Telkom W52P

60

This manual suits for next models

1

Other Yealink IP Phone manuals

Yealink SIP-T43U User manual

Yealink

Yealink SIP-T43U User manual

Yealink Yealink SIP-T41P User manual

Yealink

Yealink Yealink SIP-T41P User manual

Yealink Yealink SIP-T46G User manual

Yealink

Yealink Yealink SIP-T46G User manual

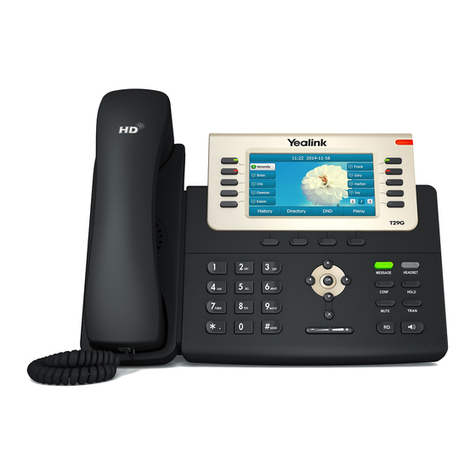
Yealink SIP-T29G User manual

Yealink

Yealink SIP-T29G User manual

Yealink T43U User manual

Yealink

Yealink T43U User manual

Yealink Verizon One Talk W60B User manual

Yealink

Yealink Verizon One Talk W60B User manual

Yealink SIP-T20 User manual

Yealink

Yealink SIP-T20 User manual

Yealink T48S Skype For Business Edition Operator's manual

Yealink

Yealink T48S Skype For Business Edition Operator's manual

Yealink Yealink SIP-T46G User manual

Yealink

Yealink Yealink SIP-T46G User manual

Yealink T20P User manual

Yealink

Yealink T20P User manual

Yealink Yealink SIP-T26P User manual

Yealink

Yealink Yealink SIP-T26P User manual

Yealink T33G User manual

Yealink

Yealink T33G User manual

Yealink Yealink SIP-T46G User manual

Yealink

Yealink Yealink SIP-T46G User manual

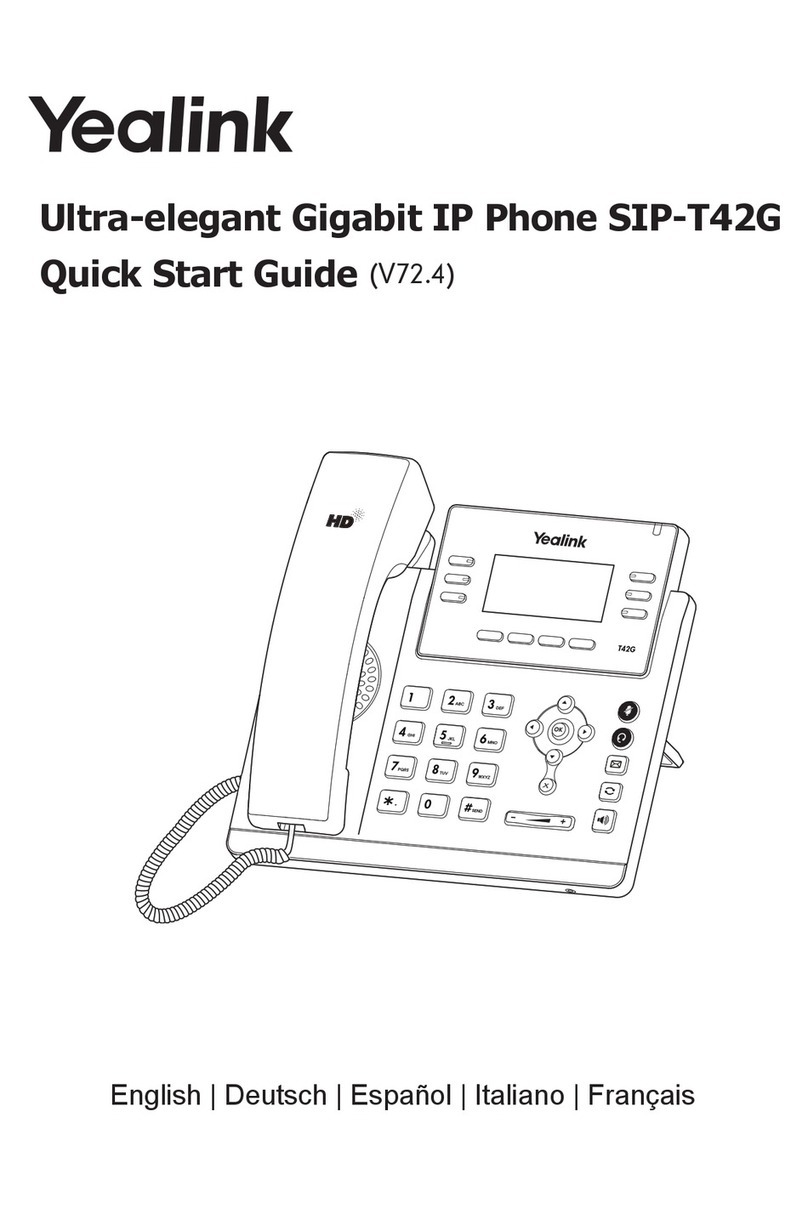
Yealink T42G User manual

Yealink

Yealink T42G User manual

Yealink T42 User manual

Yealink

Yealink T42 User manual

Yealink SIP-T19 E2 T4 Series User manual

Yealink

Yealink SIP-T19 E2 T4 Series User manual

Yealink SIP-T33P/G User manual

Yealink

Yealink SIP-T33P/G User manual

Yealink SIP-T27P User manual

Yealink

Yealink SIP-T27P User manual

Yealink Yealink SIP-T22P User manual

Yealink

Yealink Yealink SIP-T22P User manual

Yealink SIP-T46S User manual

Yealink

Yealink SIP-T46S User manual

Yealink SIP-T2XP Service manual

Yealink

Yealink SIP-T2XP Service manual

Yealink T42S User manual

Yealink

Yealink T42S User manual

Yealink Telkom W52P User manual

Yealink

Yealink Telkom W52P User manual

Yealink T21-E2 Instruction manual

Yealink

Yealink T21-E2 Instruction manual

Popular IP Phone manuals by other brands

Nortel M3905 user guide

Nortel

Nortel M3905 user guide

Polycom VVX 600 series quick start guide

Polycom

Polycom VVX 600 series quick start guide

Akuvox R55P user manual

Akuvox

Akuvox R55P user manual

Unify OpenScape SL5 user manual

Unify

Unify OpenScape SL5 user manual

Aastra VentureIP 480i How-to

Aastra

Aastra VentureIP 480i How-to

Escene ES29X quick start guide

Escene

Escene ES29X quick start guide

Polycom SoundPoint IP 300 Frequently asked questions

Polycom

Polycom SoundPoint IP 300 Frequently asked questions

Cisco 7821 user guide

Cisco

Cisco 7821 user guide

Planet Networking & Communication VIP-362WT Quick installation guide

Planet Networking & Communication

Planet Networking & Communication VIP-362WT Quick installation guide

3Com VCX 3105 Telephone guide

3Com

3Com VCX 3105 Telephone guide

Avaya 1408 Quick reference guide

Avaya

Avaya 1408 Quick reference guide

Mitel 5320 user guide

Mitel

Mitel 5320 user guide

Grandstream Networks GXP2110 user manual

Grandstream Networks

Grandstream Networks GXP2110 user manual

Altigen Alti-IP 600 Administration manual

Altigen

Altigen Alti-IP 600 Administration manual

Mitel 5201 user guide

Mitel

Mitel 5201 user guide

Mitel 5215 user guide

Mitel

Mitel 5215 user guide

quickphones QuickPhones QA-341 user manual

quickphones

quickphones QuickPhones QA-341 user manual

Mitel 5220 user guide

Mitel

Mitel 5220 user guide

manuals.online logo
manuals.online logoBrands
  • About & Mission
  • Contact us
  • Privacy Policy
  • Terms and Conditions

Copyright 2025 Manuals.Online. All Rights Reserved.