manuals.online logo
Brands
  1. Home
  2. •
  3. Brands
  4. •
  5. 2N
  6. •
  7. Gateway
  8. •
  9. 2N EasyGate Pro User manual

2N EasyGate Pro User manual

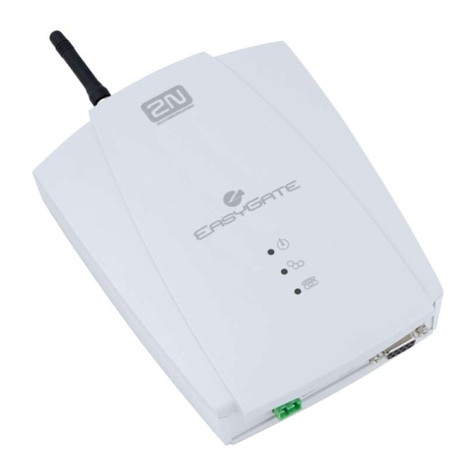
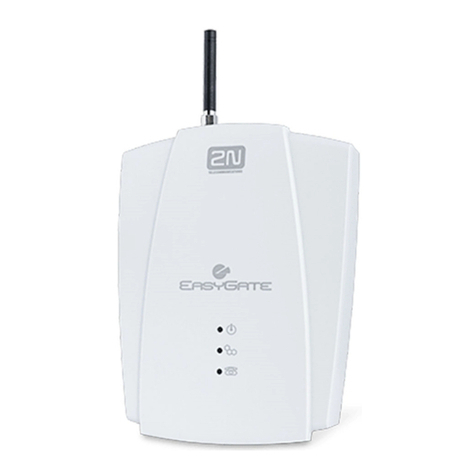
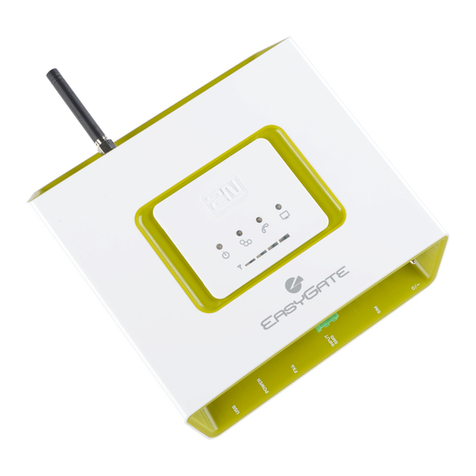
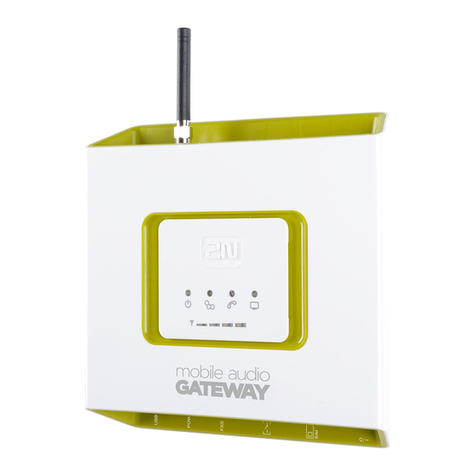
2N®EasyGate Pro UMTS Quick Start
Basic Functions
•The primary purpose of 2N®EasyGate Pro UMTS
(from now only ‘Easy Gate’) is to transmit voice
between a UMTS or GSM network and an
attached analogue communication device
connected to the FXS interface on the EasyGate.
•You can establish data connection and
send/receive SMS in combination with a PC.
•You can send an SMS to a pre-programmed
number using the SMS sending input.
•The battery backed-up EasyGate version
allows you to maintain your traffic even in the
event of power outage.
Read the User Manual carefully to get familiar with all system functions at
wiki.2n.com.
EasyGate supports HSPA, UMTS, EDGE, GPRS and CSD technology for data
connection. The connection speed and quality depend on the mobile network
provider, accessible services, signal coverage and network status.
2N®EasyGate Pro UMTS Installation and Connection
•Proper Location
-Install EasyGate with respect to a good
mobile network signal strength.
-Place EasyGate out of range of sensitive
devices and human bodies for
electromagnetic interference reasons.
-EasyGate is designed for indoor use. Do not
place it near heat sources and on direct
solar radiation. It may not be exposed to
rain, flowing water and moisture,
aggressive gas, solvents etc.
•External Antenna Connection
Screw the antenna cord into the SMA
antenna connector. Tighten the antenna
connector gently with your hand, never
use a wrench!
•SIM Card Installation
Slot for SIM card is placed on the
connector panel. Insert the SIM card to
the slot according to the picture and make
sure that the card is locked properly.
Select the required GSM provider and SIM
card services, such as call forwarding, call
barring, preferred networks, SMS centre,
etc. using your mobile phone before
inserting your SIM card into EasyGate.
•Telephone Line Connection EasyGate
can be connected to any FXO-interface
equipment (standard telephone set,
answering machine, PBX CO line etc.).
EasyGate is equipped with identification of
calling party (CLIP) via FSK and so it is
advantageous to connect a terminal that is
able to display the CLI.
•Battery installation (battery backup
type)
Insert four pieces of rechargeable battery
NiMh size AA into the covered
compartment on the back side of the
gateway. Refer to the compartment label
for proper battery placement and polarity.
Use mentioned type of batteries only!
•Mains Supply Connection and Switch
On
EasyGate is 12 V DC voltage powered.
Connect the attached power adapter
(12 V / 1 A DC) to the power supply
connector. After connection, switch on
EasyGate with the power switch on the
right-hand side of connector panel (on
battery version only).
Do not activate the power supply until the antenna is connected to
EasyGate to avoid the UMTS module damage.
2N®EasyGate Pro UMTS Connection Layout
Detailed description is in manual at wiki.2n.com
PIN Secured SIM Card
1. Hook off the telephone and hear the PIN
tone:
2. Enter the PIN using DTMF and press
for confirmation. Hang up the line to
cancel a wrong PIN.
3. If you hear the busy tone after a while (a
few seconds), the PIN has been entered
correctly. This PIN will be entered
automatically upon every power up.
4. If you hear the PIN tone again after a
while, the PIN has not been entered
correctly. Re-enter the PIN.
By entering three wrong PINs you block the SIM card. Enter the PUK code
into your mobile phone to unblock the SIM card.
Indication LEDs
Power
supply
Blue light –mains supply
Yellow light –battery supply
Mobile
Network
Blue flashes –logged out
Blue light –logged in
Phone
line
No light –standby
Yellow flashes quickly –ringing
–line off-hook
Yellow light –call
Data
Green light –PC connected
Signal,
battery
indicator
Signal strength indicator
After hook off before start of dialing
–battery state
Power adapter
IN: 110 V / 240 V AC
OUT: 12 V / 1 A DC
Analog phone
(FXO interface device)
SIM
PC (USB)
SMS
input
Switch ON/OFF
(Backed-up version only)
Outgoing call
•Suppose that the SIM card has been
inserted, the PIN entered or not required,
and EasyGate is registered to the network –
the LED Mobile network is permanently on.
•Hook off the telephone, you can hear the
dial tone and the Line LED starts flashing.
•Dial the subscriber number. EasyGate
receives tone dialing (DTMF) by default. If
your telephone transmits pulse dialing only,
program EasyGate to receive pulse dialing.
When you make a delay in your dialing
longer than 5s (programmable), the
connection is established.
•If the called subscriber is available, you can
hear the ringing tone. If not, you can hear
the busy tone or any of the mobile network
provider’s messages.
•When the called subscriber answers the call,
the call is established. The Line LED is
permanently on during the call.
•Hang up to terminate the call. The Line LED
goes off. If the called subscriber is the first
to hang up, you can hear the busy tone, you
have to hang up.
Incoming call
•An incoming call is signaled by ringing. The
Line LED flashes during ringing.
•Hook off the phone to establish the call. The
Line LED is permanently on during the call.
•For call termination see the Outgoing call
section.
Configuration over USB
•For PC configuration of EasyGate is
necessary to install PCManager UNI.
Connect EasyGate to PC using USB cable.
•Virtual serial port(USB serial port FTDI) is
created immediately after linking PC and
EasyGate. This port is used by PCManager to
communicate with EasyGate. When the port
isn’t activated automatically use driver at
www2n.com.
•The COM port number of virtual serial port
has to be set in PCManager.
•Detailed description is in the product manual
at wiki.2n.com.
Data connection over USB
•Easy Gate can be used for high speed
connection to internet (up to 3,6 Mbps
download).
•You have to install USB drivers for UMTS
module. Drivers are at www.2n.com. You
have to select 32 bit drivers or 64 bit drivers
according to your system.
•For internet connection you must set the
APN. Use PCManager, select GSM&SIM
menu and set APN to the APN name of your
mobile internet provider.
•You have to set phone connection in your PC
using Network connection setting. Select
modem ‘SimTech HS-USB Modem 9000’ for
this connection. Set the connection
parameters (Username, Password, Dial
number) according to information from your
mobile provider (obviously Username
‘internet’, Keyword is empty an Dial number
*99***1#).
•Finally use button ‘Dial’ to establish
connection to internet.
In the GSM network data transfer is suspended during voice calls and do
not continue until the voice call is finished. UMTS network is able to
transfer data concurently with voice.
ECDeclarationofConformity
Hereby,2N TELEKOMUNIKACEa.s.declaresthattheradioequipmenttype2N®EasyGateis in compliancewith
directives2014/53/EUand2011/65/EU.Thefull textoftheEUdeclarationofconformityisavailableattheinternet
addresswww.2n.com.
2N TELEKOMUNIKACE a.s. –Modřanská 621, Prague 4, 143 01 2018v2.22

Other manuals for EasyGate Pro

6

Other 2N Gateway manuals

2N SmartGate User manual

2N

2N SmartGate User manual

2N BRI Lite User manual

2N

2N BRI Lite User manual

2N ATEUS 501106E User manual

2N

2N ATEUS 501106E User manual

2N EasyGate Pro User manual

2N

2N EasyGate Pro User manual

2N EASYGATE UMTS User manual

2N

2N EASYGATE UMTS User manual

2N VoiceBlue MAX User manual

2N

2N VoiceBlue MAX User manual

2N EasyGate User manual

2N

2N EasyGate User manual

2N EasyRoute User manual

2N

2N EasyRoute User manual

2N VoiceBlue MAX User manual

2N

2N VoiceBlue MAX User manual

2N stargate User manual

2N

2N stargate User manual

2N EasyGate IP User manual

2N

2N EasyGate IP User manual

2N ISDN BRI GSM Enterprise User manual

2N

2N ISDN BRI GSM Enterprise User manual

2N ATEUS User manual

2N

2N ATEUS User manual

2N BRI Lite User manual

2N

2N BRI Lite User manual

2N VoiceBlue Lite User manual

2N

2N VoiceBlue Lite User manual

2N SmartGate User manual

2N

2N SmartGate User manual

2N SpeedRoute User manual

2N

2N SpeedRoute User manual

2N ATEUS 501101E User manual

2N

2N ATEUS 501101E User manual

2N EasyGate IP User manual

2N

2N EasyGate IP User manual

2N EasyGate Pro User manual

2N

2N EasyGate Pro User manual

2N VoiceBlue Next User manual

2N

2N VoiceBlue Next User manual

2N BRI-VoIP-GSM User manual

2N

2N BRI-VoIP-GSM User manual

2N Ateus-EasyGate User manual

2N

2N Ateus-EasyGate User manual

2N VoiceBlue Lite User manual

2N

2N VoiceBlue Lite User manual

Popular Gateway manuals by other brands

Comnet CNFE3TX2CXMSU quick start guide

Comnet

Comnet CNFE3TX2CXMSU quick start guide

Media5 Mediatrix LP Series Installation

Media5

Media5 Mediatrix LP Series Installation

Valcom PagePro VIP-201 user guide

Valcom

Valcom PagePro VIP-201 user guide

ZyXEL Communications VSG1435-B101 quick start guide

ZyXEL Communications

ZyXEL Communications VSG1435-B101 quick start guide

Pepperl+Fuchs VBG-CCL-G4F manual

Pepperl+Fuchs

Pepperl+Fuchs VBG-CCL-G4F manual

RTA 460BM-NNA1 Product user guide

RTA

RTA 460BM-NNA1 Product user guide

Bosch FWI-270 installation guide

Bosch

Bosch FWI-270 installation guide

TELUS Actiontec Series Quick install guide

TELUS

TELUS Actiontec Series Quick install guide

ZyXEL Communications P-660H-T1 v3s user guide

ZyXEL Communications

ZyXEL Communications P-660H-T1 v3s user guide

RAKwireless WisDevice RAK7243 user manual

RAKwireless

RAKwireless WisDevice RAK7243 user manual

Samsung MIM-B17 user manual

Samsung

Samsung MIM-B17 user manual

esera ECO 110 PRO quick guide

esera

esera ECO 110 PRO quick guide

NETGEAR CG3300CMR user manual

NETGEAR

NETGEAR CG3300CMR user manual

Cisco VG202 quick start guide

Cisco

Cisco VG202 quick start guide

Zycoo X10 user guide

Zycoo

Zycoo X10 user guide

ZyXEL Communications Prestige 314 PLUS user guide

ZyXEL Communications

ZyXEL Communications Prestige 314 PLUS user guide

B+B SmartWorx SmartSwarm 342 Quick start guides

B+B SmartWorx

B+B SmartWorx SmartSwarm 342 Quick start guides

ASTRO U 261 user guide

ASTRO

ASTRO U 261 user guide

manuals.online logo
manuals.online logoBrands
  • About & Mission
  • Contact us
  • Privacy Policy
  • Terms and Conditions

Copyright 2025 Manuals.Online. All Rights Reserved.