manuals.online logo
Brands
  1. Home
  2. •
  3. Brands
  4. •
  5. Assa Abloy
  6. •
  7. Door Lock
  8. •
  9. Assa Abloy PADDE Series User manual

Assa Abloy PADDE Series User manual

This manual suits for next models

2

Other Assa Abloy Door Lock manuals

Assa Abloy effeff ANYKEY 496 User manual
Assa Abloy

Assa Abloy effeff ANYKEY 496 User manual

Assa Abloy effeff 843ZY-1 Q41 Series User manual

Assa Abloy

Assa Abloy effeff 843ZY-1 Q41 Series User manual

Assa Abloy Corbin Russwin BLSS ML2000 Series User manual

Assa Abloy

Assa Abloy Corbin Russwin BLSS ML2000 Series User manual

Assa Abloy Sargent IN220 User manual

Assa Abloy

Assa Abloy Sargent IN220 User manual

Assa Abloy Yale Doorman User manual

Assa Abloy

Assa Abloy Yale Doorman User manual

Assa Abloy LE932 User manual

Assa Abloy

Assa Abloy LE932 User manual

Assa Abloy Yale Pro SL Technical specifications

Assa Abloy

Assa Abloy Yale Pro SL Technical specifications

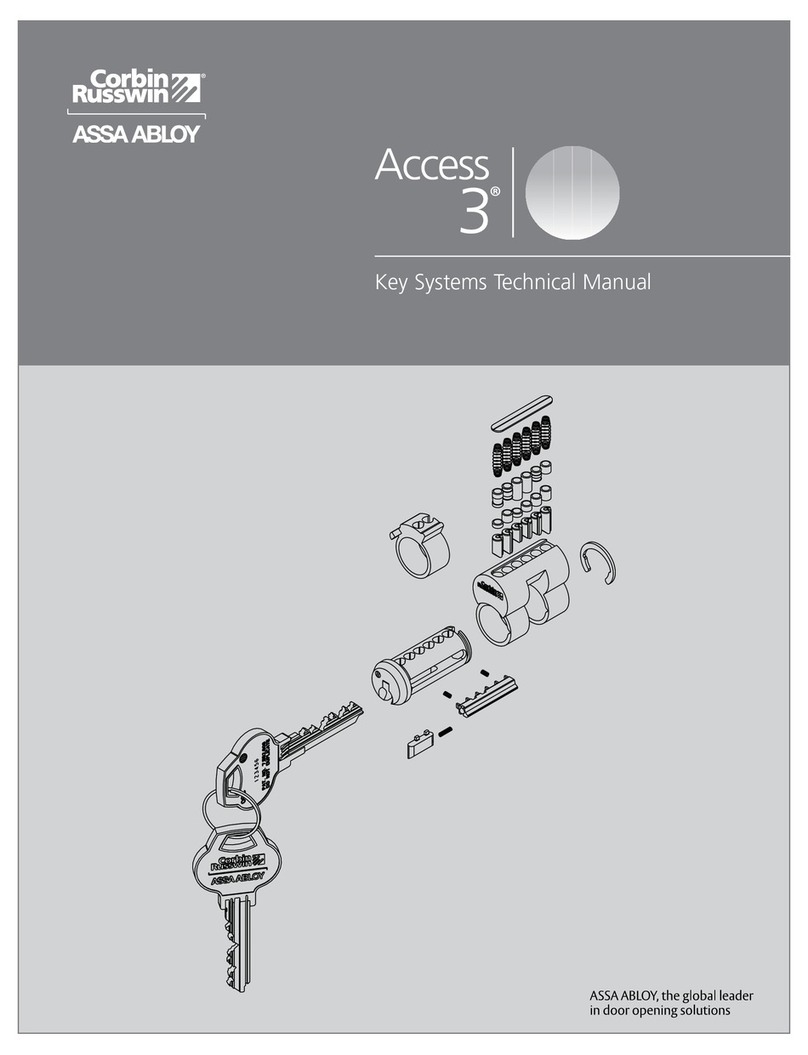
Assa Abloy Access 3 User manual

Assa Abloy

Assa Abloy Access 3 User manual

Assa Abloy Corbin Russwin SE LP10 CL3360 User manual

Assa Abloy

Assa Abloy Corbin Russwin SE LP10 CL3360 User manual

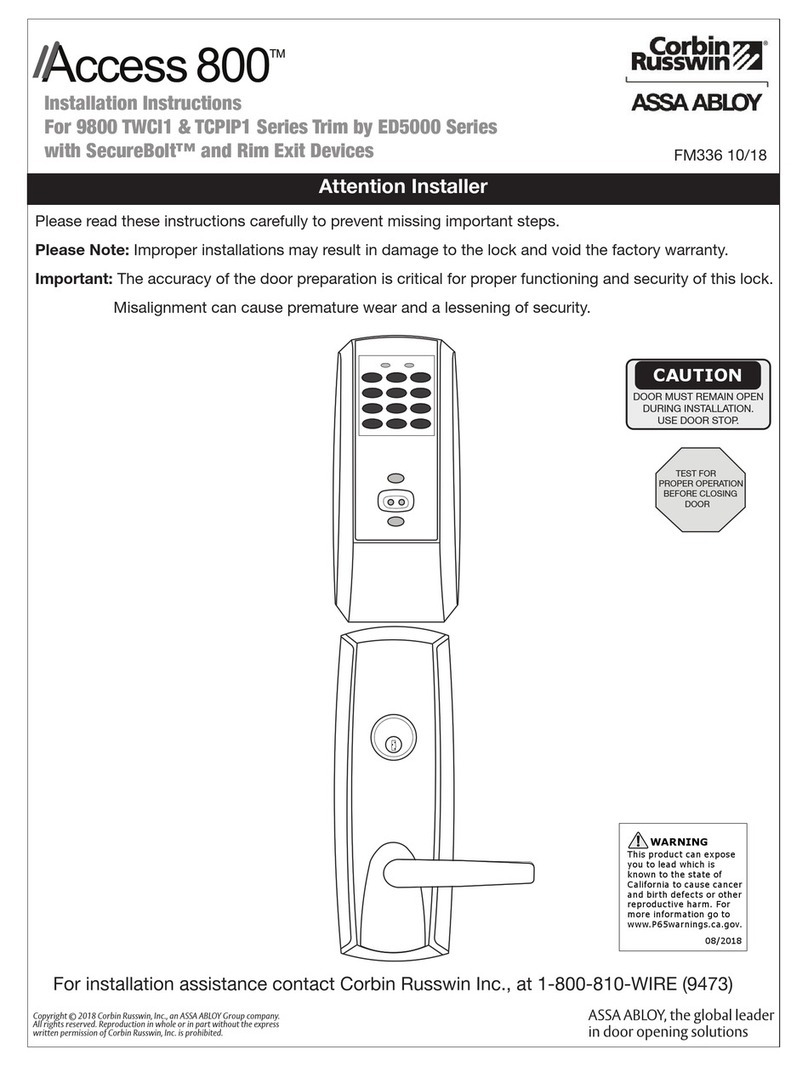
Assa Abloy Corbin Russwin Access 800 9800 TCWI1 Series User manual
Assa Abloy

Assa Abloy Corbin Russwin Access 800 9800 TCWI1 Series User manual

Assa Abloy Yale Doorman Troubleshooting guide

Assa Abloy

Assa Abloy Yale Doorman Troubleshooting guide

Assa Abloy Sargent Profile G1 Series User manual

Assa Abloy

Assa Abloy Sargent Profile G1 Series User manual

Assa Abloy E100 User manual

Assa Abloy

Assa Abloy E100 User manual

Assa Abloy SARGENT7800 Series User manual

Assa Abloy

Assa Abloy SARGENT7800 Series User manual

Assa Abloy effeff 843 User manual

Assa Abloy

Assa Abloy effeff 843 User manual

Assa Abloy Yale Assure Lock YRC256-ZW3 Technical specifications

Assa Abloy

Assa Abloy Yale Assure Lock YRC256-ZW3 Technical specifications

Assa Abloy HES 9400 Operating instructions

Assa Abloy

Assa Abloy HES 9400 Operating instructions

Assa Abloy MSL sFlipLock check User manual

Assa Abloy

Assa Abloy MSL sFlipLock check User manual

Assa Abloy effef 118 User manual

Assa Abloy

Assa Abloy effef 118 User manual

Assa Abloy Liscio User manual

Assa Abloy

Assa Abloy Liscio User manual

Assa Abloy DC423.2 User manual

Assa Abloy

Assa Abloy DC423.2 User manual

Assa Abloy Sargent BHL 8200 Series User manual

Assa Abloy

Assa Abloy Sargent BHL 8200 Series User manual

Assa Abloy ASSA 88x Series User manual

Assa Abloy

Assa Abloy ASSA 88x Series User manual

Assa Abloy ML22HPH User manual

Assa Abloy

Assa Abloy ML22HPH User manual

Popular Door Lock manuals by other brands

Dorma MUNDUS PREMIUM US 10 Mounting instruction

Dorma

Dorma MUNDUS PREMIUM US 10 Mounting instruction

Defiant LG600BRA4BGT Instructions for installation

Defiant

Defiant LG600BRA4BGT Instructions for installation

TRU-BOLT M1740024 manual

TRU-BOLT

TRU-BOLT M1740024 manual

Opera ARCA SLIDE installation instructions

Opera

Opera ARCA SLIDE installation instructions

tell CODELOCK CL5500 Series installation instructions

tell

tell CODELOCK CL5500 Series installation instructions

ABH LR6000 installation instructions

ABH

ABH LR6000 installation instructions

Iseo MA1A installation guide

Iseo

Iseo MA1A installation guide

ID Lock 150 user manual

ID Lock

ID Lock 150 user manual

Lockly ACCESS TOUCH PRO user manual

Lockly

Lockly ACCESS TOUCH PRO user manual

iLoq G50S user guide

iLoq

iLoq G50S user guide

SDC Z7835 installation instructions

SDC

SDC Z7835 installation instructions

ilco 452 Installation

ilco

ilco 452 Installation

Samsung shs-h705 user guide

Samsung

Samsung shs-h705 user guide

TRU-BOLT 08102017 user manual

TRU-BOLT

TRU-BOLT 08102017 user manual

CDVI 500-LADJ quick start guide

CDVI

CDVI 500-LADJ quick start guide

Igloohome Deadbolt 2S Metal Grey Installer/user guide

Igloohome

Igloohome Deadbolt 2S Metal Grey Installer/user guide

eSSL FL-300 user manual

eSSL

eSSL FL-300 user manual

Dorma MUNDUS PREMIUM GK 50 Mounting instruction

Dorma

Dorma MUNDUS PREMIUM GK 50 Mounting instruction

manuals.online logo
manuals.online logoBrands
  • About & Mission
  • Contact us
  • Privacy Policy
  • Terms and Conditions

Copyright 2025 Manuals.Online. All Rights Reserved.

24
Hole ‘B’ for
timber frame
Hole ‘A’ for
metal frame
Part No. ES3100/ES310 - 121 - 0515
Solenoid
Plunger
Solenoid Leads
Strike Body
Locking Pins
(Long - Short - Short)
Pin Chamber
Fig.1 (Fail Secure)
Locking Pins
(Short - Short - Long)
Solenoid
Plunger
Solenoid Leads
Strike Body
Pin Chamber
Fig.2 (Fail Safe)
To change the electric strike’s mode of lock operation, remove the back
cover and the two screws securing the solenoid.
Remove solenoid from strike housing, and invert the strike. This will release
three locking pins from the strike and keeper chambers.
Re-insert the pins as shown in the diagrams for desired mode of lock
operation (Fail Secure/PTO: See Fig 1; (Fail Safe/PTL: See Fig 2).
Place solenoid back in strike housing, and secure with solenoid screws.
Press strike back cover into position.
CAUTION! When removing solenoid, please be mindful to keep the
plunger in the solenoid as it is not secured, and may be easily misplaced.
• Peel backing off adhesive template and centrally locate in the
marked position, lining up both the mark for the door latch front
face (Line 1) and the centre mark of the latch (Line 2).
• For the metal door drill two Ø5mm holes (A) 22mm above and
below the “X” mark on the template, f or a timber door drill
two Ø3mm holes (B).
• Ensure secondary bolt is not within the strike cavity.
• Using the template as a guide, mortice out the door frame to the
required size.
• Countersink holes in metal frame to accept screws.
• For wider framed doors, an Extension Lip may be required.
Mark centre of Door
latch on frame
(Line 2).
Door Latch
Door
Frame
Frame
• To enable the Electric strike to be located in the door frame, first
mark the position of the Door Latch front face on the door frame
with the door in the closed position, (”X”mm).
• Mark where centre of latch meets door frame:
- For new installations, mark frame where front of latch touches
the door frame at the midpoint of the latch bolt.
- For retrofit installations, remove existing strike plate and ensure
the latch fits into and is centred in existing hole.
ES3100 ES310 SERIES ELECTRIC STRIKE
INSTALLATION INSTRUCTIONS
Mark centre of Door
latch on frame
(Line 2).
POSITIONING OF STRIKEMARKING OF STRIKE POSITION
MORTICING REBATE CHANGING MODE OF LOCK OPERATION
CAUTION! Incorrect supply voltage may cause damage not covered by warranty.
Please check supply voltage with a suitable meter to ensure it is within 10-13.8V DC.
Current required is 250mA @ 12V DC
DO NOT OIL OR LUBRICATE.
(10-13.8V DC)
250mA
Fig. 3 - Electrical Schematic
Red
Power (+)
Ground (-)
The installation of a Latch guard is recommended on outward opening
external doors.
ASSA ABLOY Australia Pty Limited, 235 Huntingdale Rd, Oakleigh, VIC 3166 ABN 90 086 451 907 ©2015
An ASSA ABLOY Group brand
• For metal door frames, fit door mounting brackets.
• Once door frame preparation is complete, temporarily fit strike into
door frame to check for interference. Check that the door closes
smoothly and that the latch extends fully past the strike keeper.
• When strike operates correctly with latch, remove strike from
mortice and connect wiring.
Door mounting bracket
• Refit strike and secure, making sure no wires are being crushed.
• Check both mechanical and electronic operation works correctly.
TUBULAR LATCH OPERATION
To ensure deadlatching, ensure
that the deadlatching pin is
depresed by the edge of the
keeper when the door is closed.
Keeper
edge
Deadlatching
pin
ASSEMBLING STRIKE
ELECTRICAL SPECIFICATION
CHECKING FUNCTION
Metal Door Frame
Timber Door Frame