manuals.online logo
Brands
  1. Home
  2. •
  3. Brands
  4. •
  5. Belson Outdoors
  6. •
  7. Outdoor Furnishing
  8. •
  9. Belson Outdoors PARK MASTER PMB-WF User manual

Belson Outdoors PARK MASTER PMB-WF User manual

This manual suits for next models

1

Other Belson Outdoors Outdoor Furnishing manuals
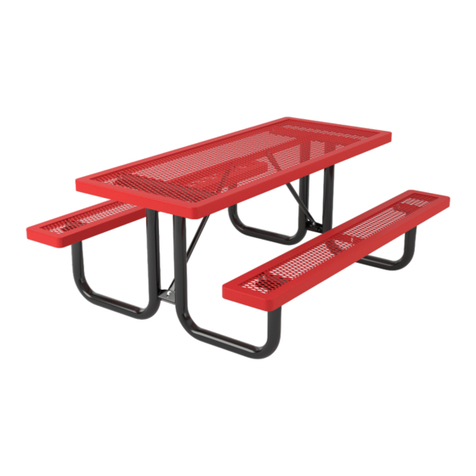
Belson Outdoors R6-P User manual

Belson Outdoors

Belson Outdoors R6-P User manual
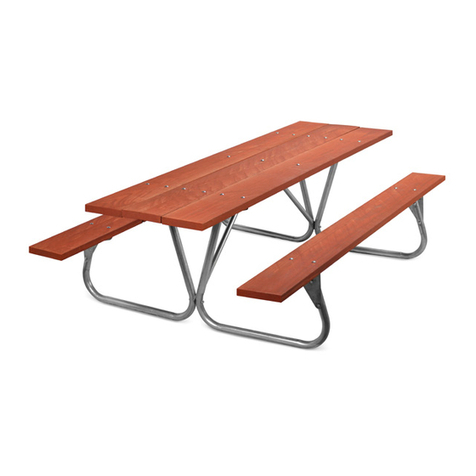
Belson Outdoors PARK RANGER User manual
Belson Outdoors

Belson Outdoors PARK RANGER User manual

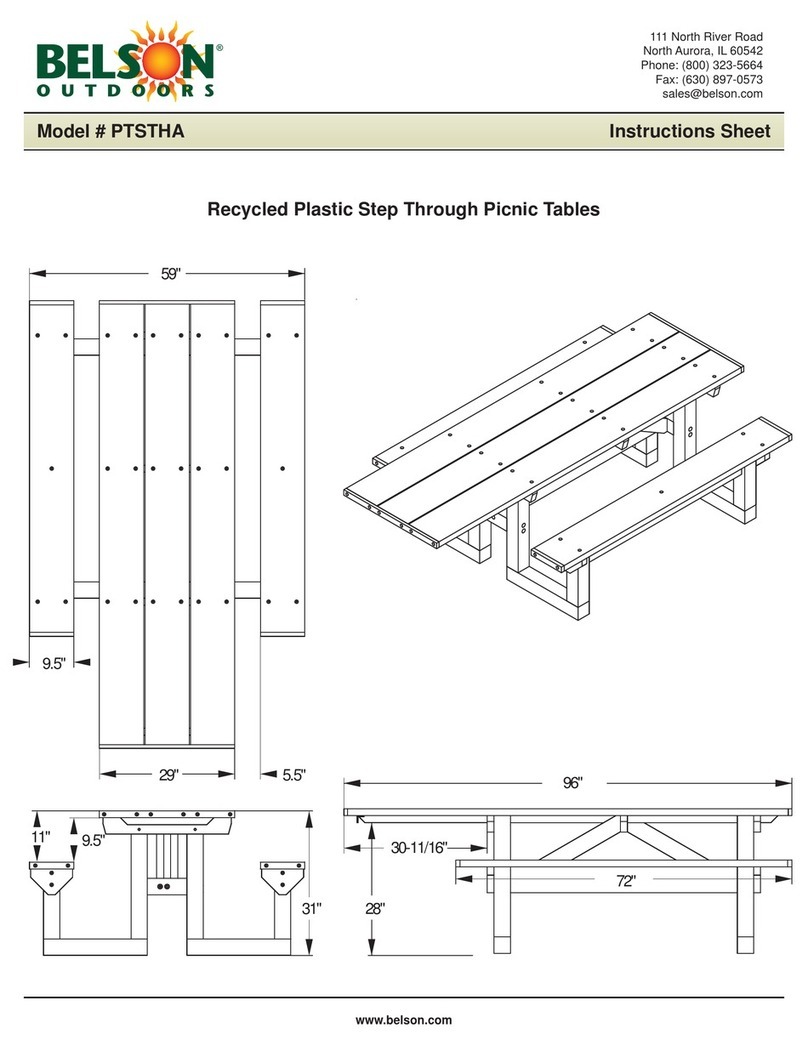
Belson Outdoors PTSTHA User manual

Belson Outdoors

Belson Outdoors PTSTHA User manual

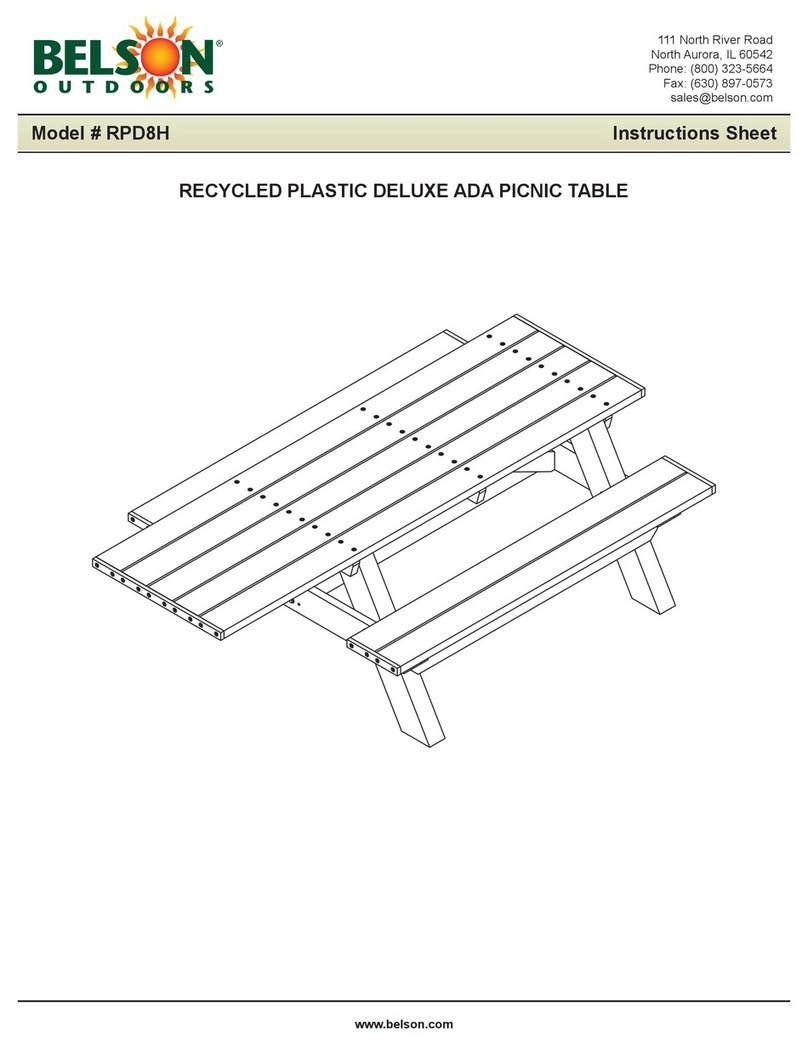
Belson Outdoors PARK MASTER PMB-AF User manual
Belson Outdoors

Belson Outdoors PARK MASTER PMB-AF User manual

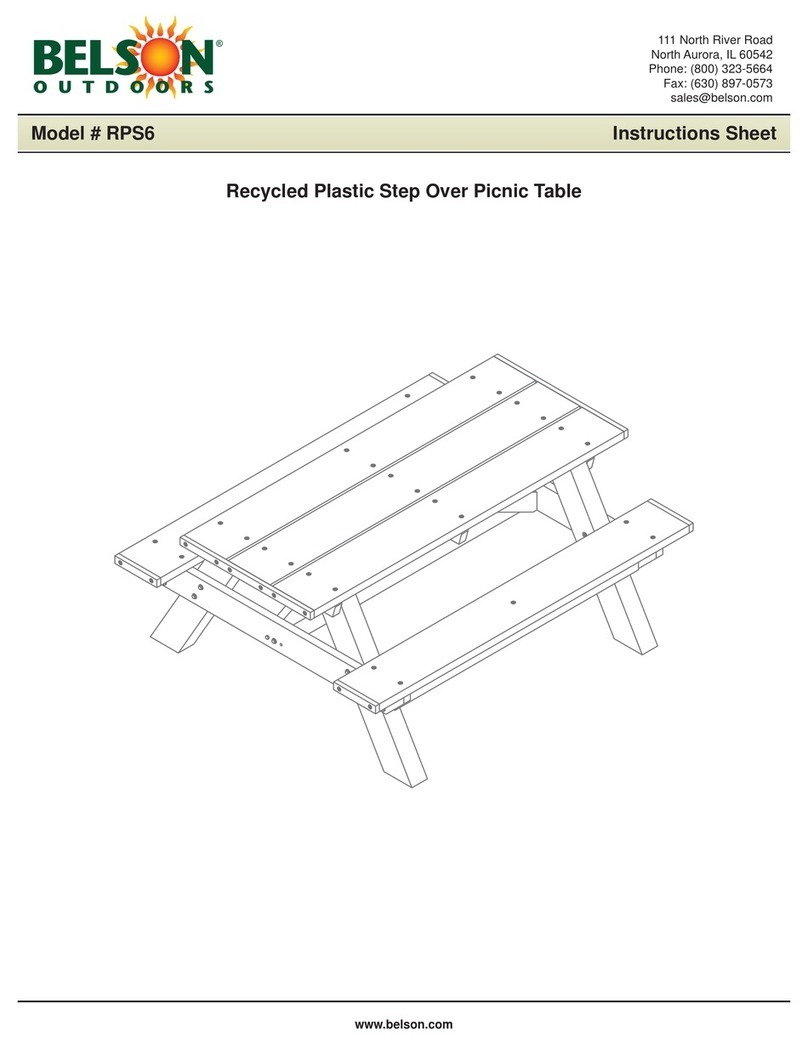
Belson Outdoors DELUXE ADA PICNIC TABLE RPD8H User manual
Belson Outdoors

Belson Outdoors DELUXE ADA PICNIC TABLE RPD8H User manual

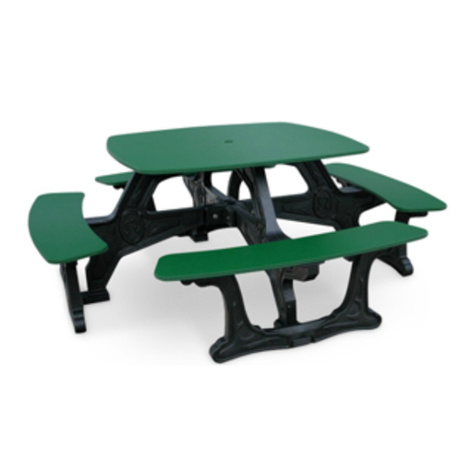
Belson Outdoors Picnic Table RP6S User manual
Belson Outdoors

Belson Outdoors Picnic Table RP6S User manual

Belson Outdoors BST-01 User manual

Belson Outdoors

Belson Outdoors BST-01 User manual

Belson Outdoors LB6WB-P User manual

Belson Outdoors

Belson Outdoors LB6WB-P User manual
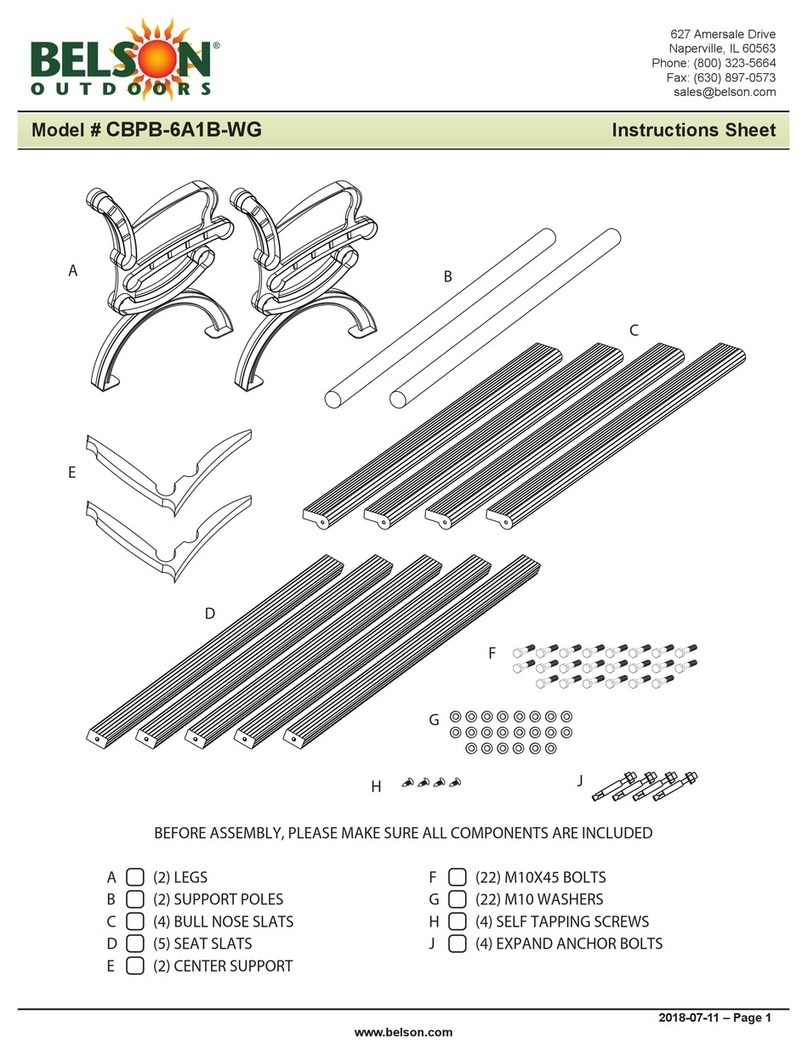
Belson Outdoors CBPB-6A1B-WG User manual
Belson Outdoors

Belson Outdoors CBPB-6A1B-WG User manual

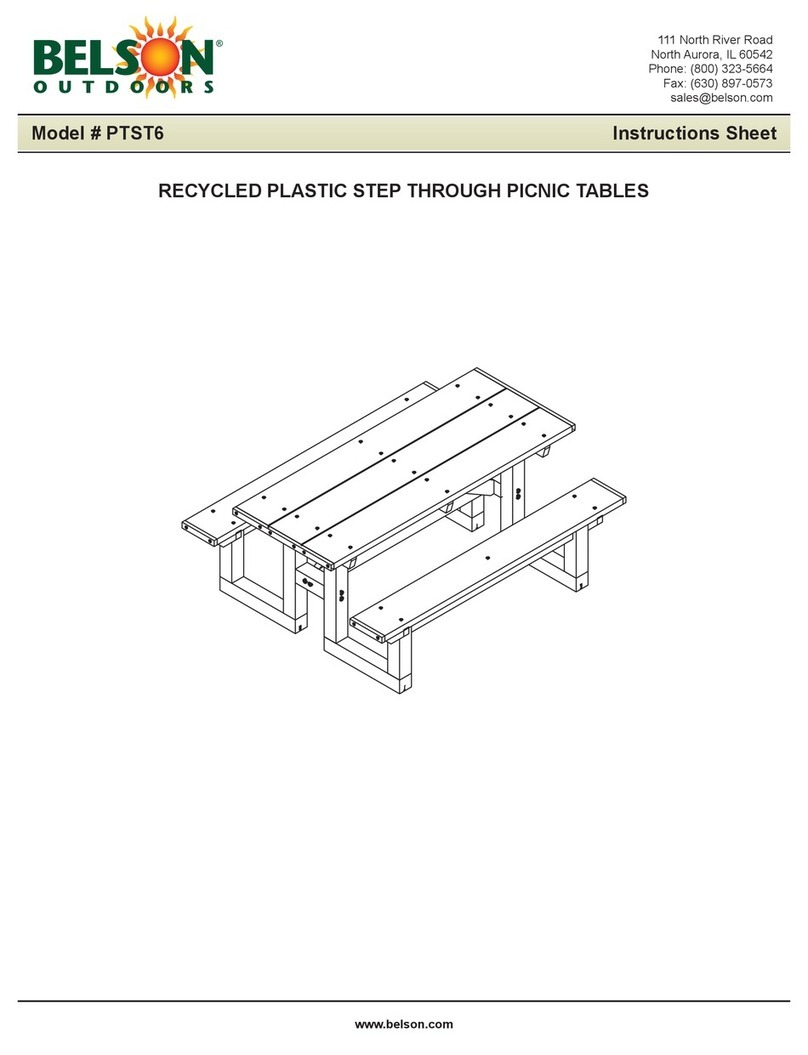
Belson Outdoors PTST6 User manual

Belson Outdoors

Belson Outdoors PTST6 User manual
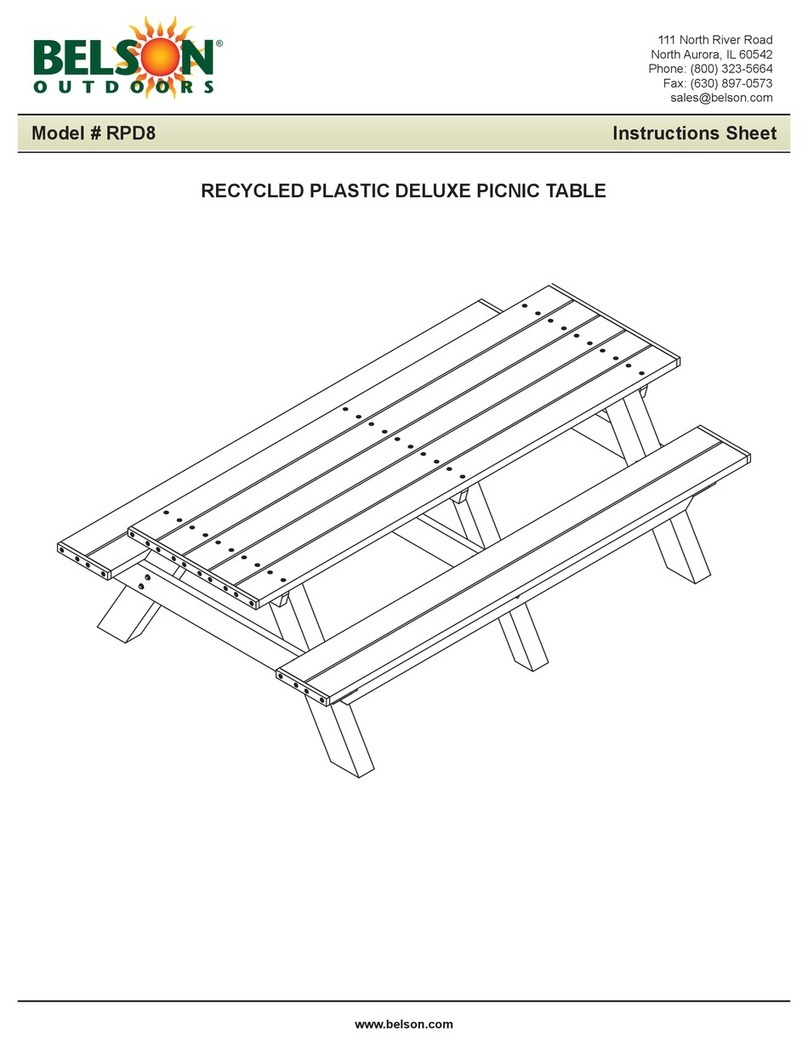
Belson Outdoors RPD8 User manual

Belson Outdoors

Belson Outdoors RPD8 User manual

Belson Outdoors CBPB-6A1B-BK User manual
Belson Outdoors

Belson Outdoors CBPB-6A1B-BK User manual

Belson Outdoors PL6NB-P User manual

Belson Outdoors

Belson Outdoors PL6NB-P User manual
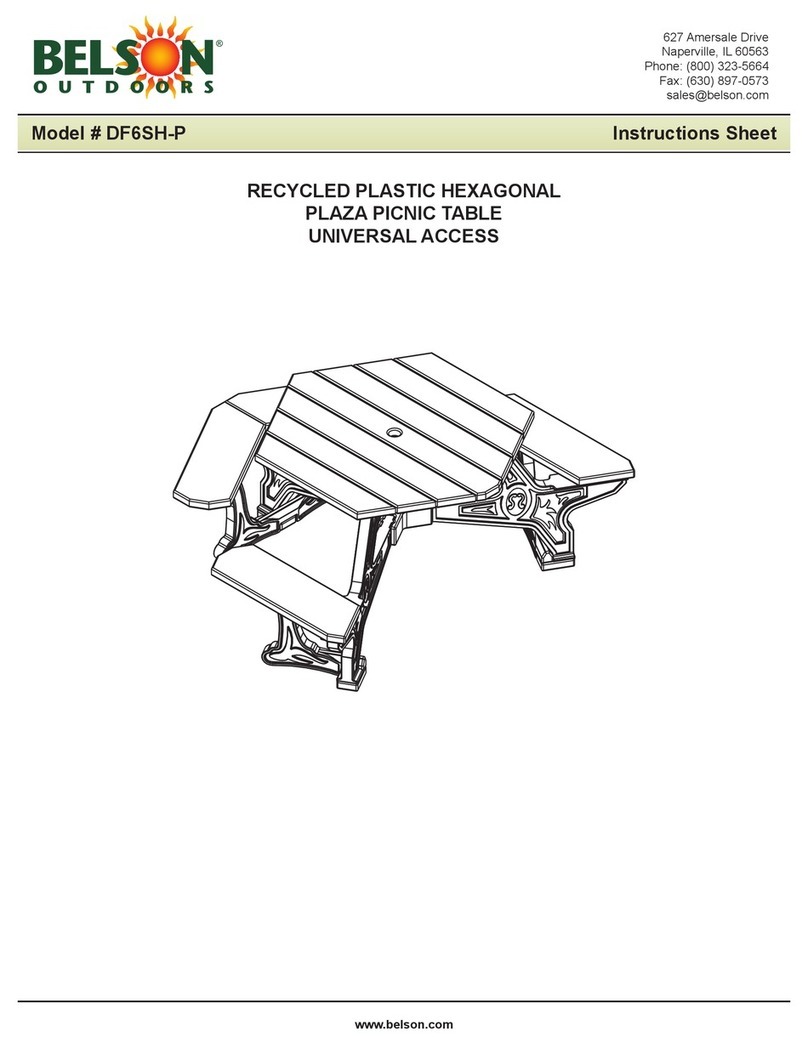
Belson Outdoors DF6SH-P User manual

Belson Outdoors

Belson Outdoors DF6SH-P User manual
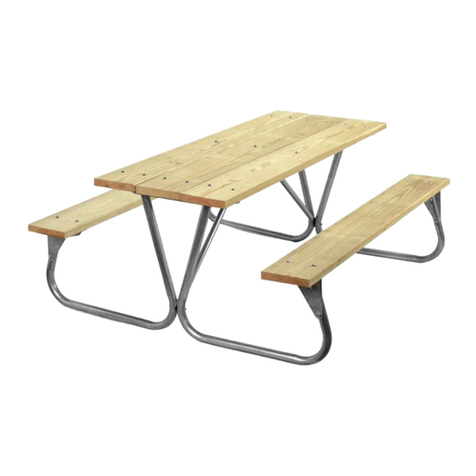
Belson Outdoors Park King User manual

Belson Outdoors

Belson Outdoors Park King User manual
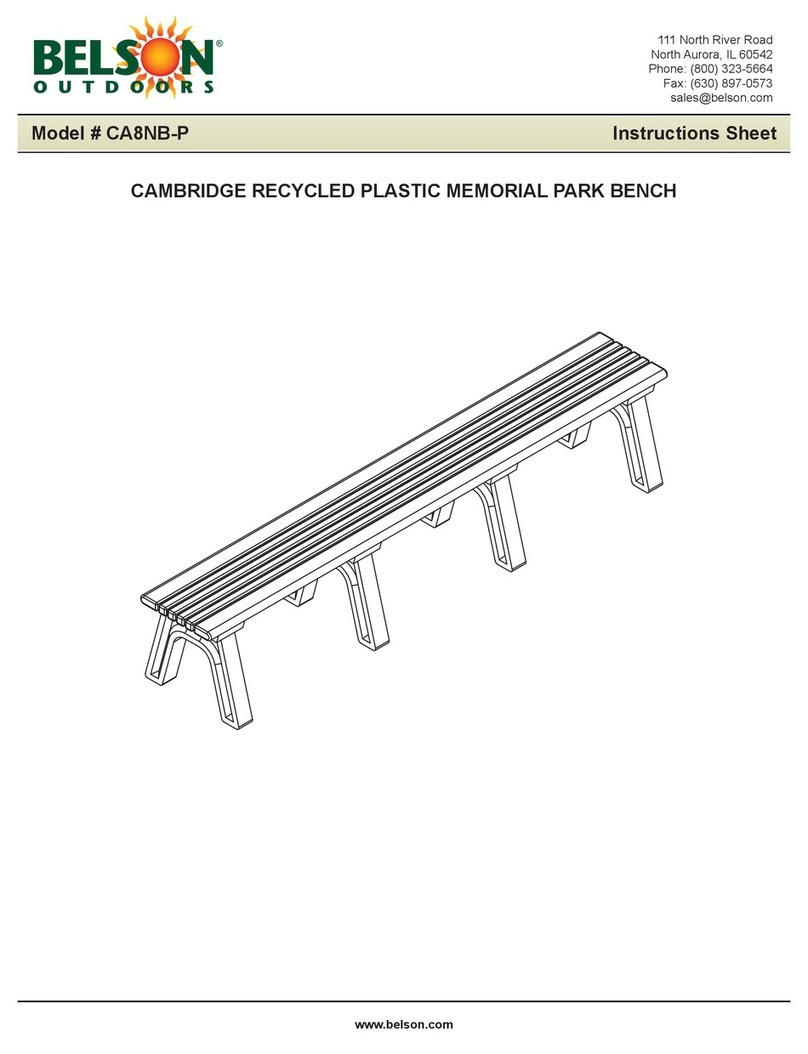
Belson Outdoors CAMBRIDGE CA8NB-P User manual

Belson Outdoors

Belson Outdoors CAMBRIDGE CA8NB-P User manual

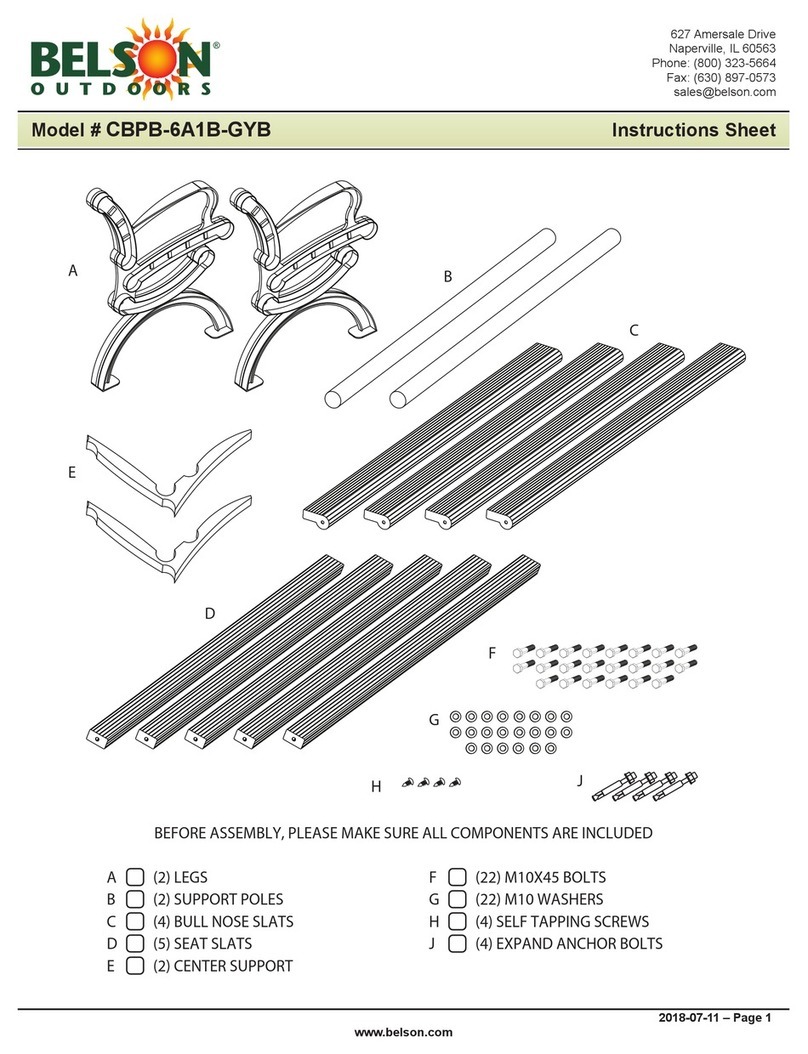
Belson Outdoors DELUXE PLD8NB-P User manual
Belson Outdoors

Belson Outdoors DELUXE PLD8NB-P User manual

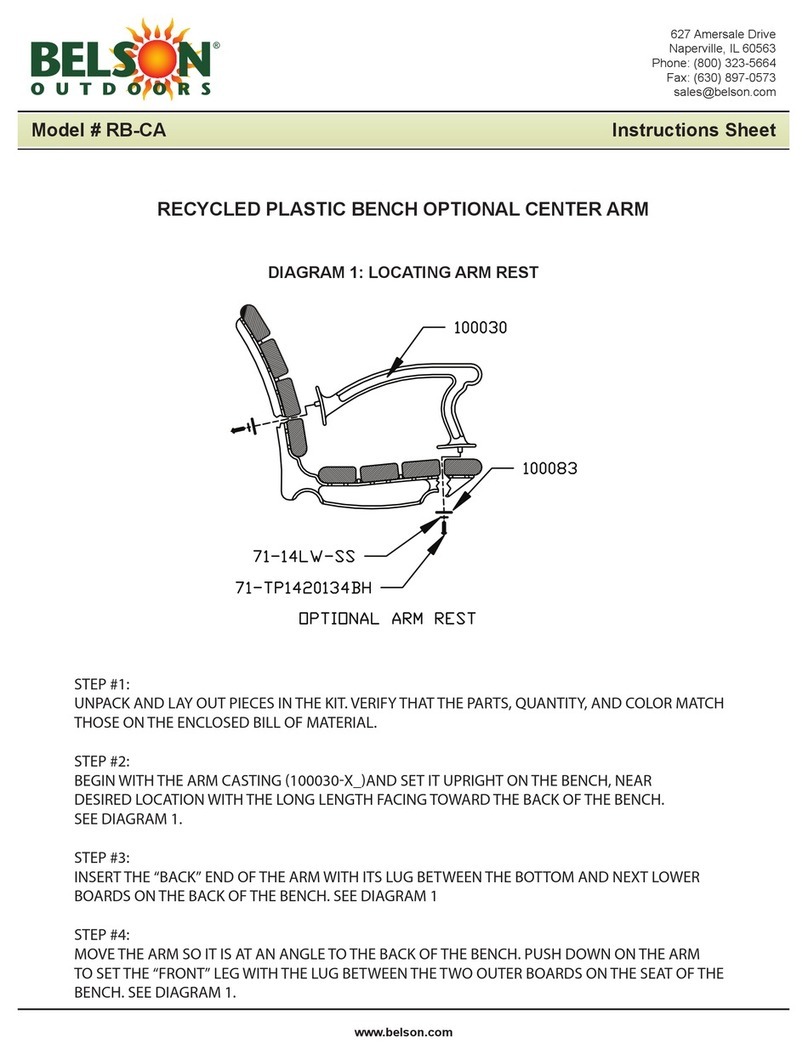
Belson Outdoors CBPB-6A1B-GYB User manual
Belson Outdoors

Belson Outdoors CBPB-6A1B-GYB User manual

Belson Outdoors RB-CA User manual

Belson Outdoors

Belson Outdoors RB-CA User manual
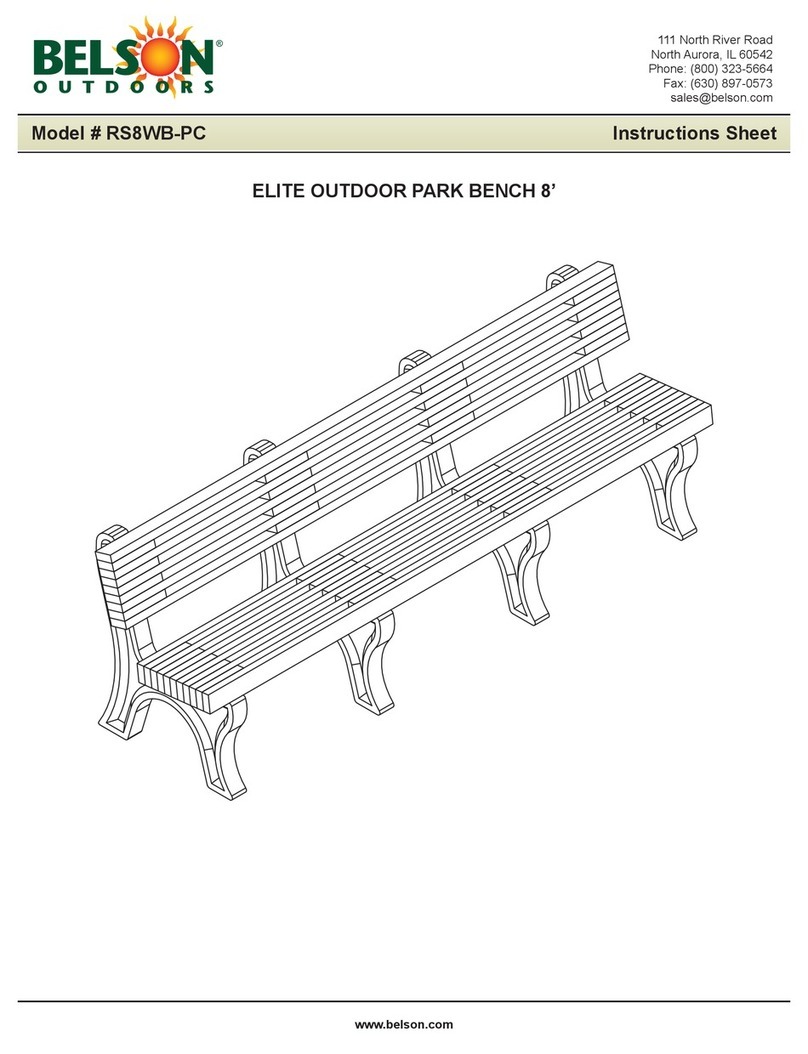
Belson Outdoors RS8WB-PC User manual

Belson Outdoors

Belson Outdoors RS8WB-PC User manual

Belson Outdoors CBPB-6A1NB-BK User manual

Belson Outdoors

Belson Outdoors CBPB-6A1NB-BK User manual

Belson Outdoors CBPB-6A1B-SL User manual

Belson Outdoors

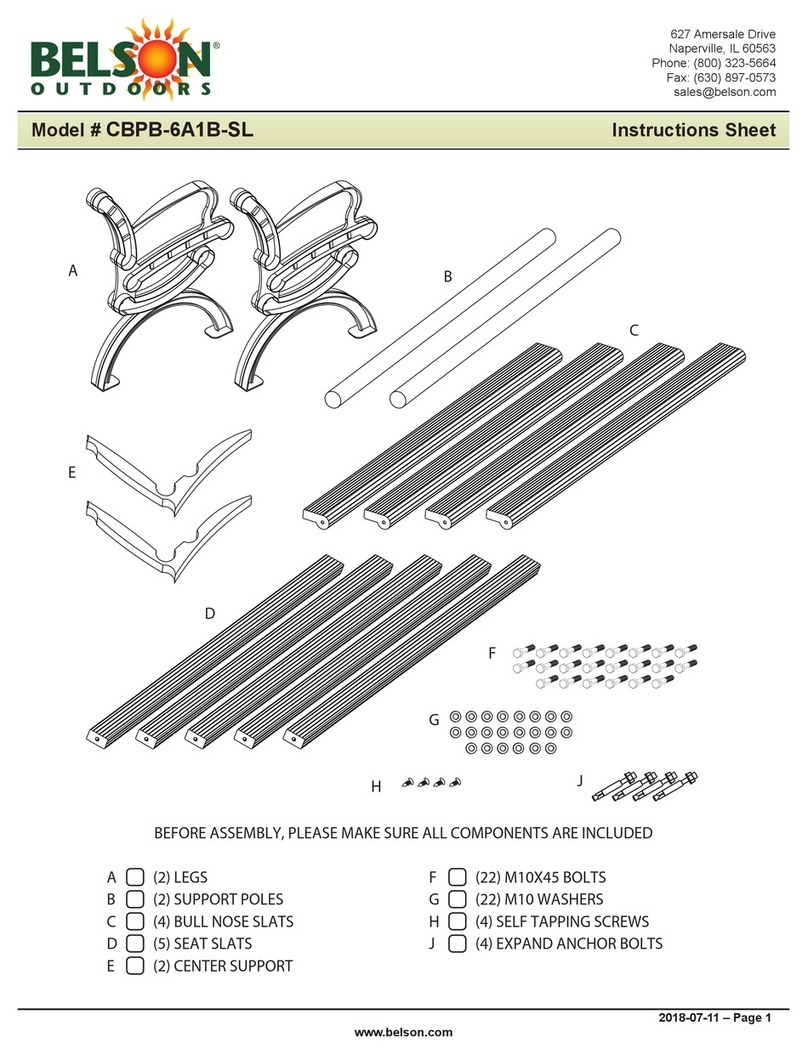
Belson Outdoors CBPB-6A1B-SL User manual

Belson Outdoors T40-02 User manual

Belson Outdoors

Belson Outdoors T40-02 User manual

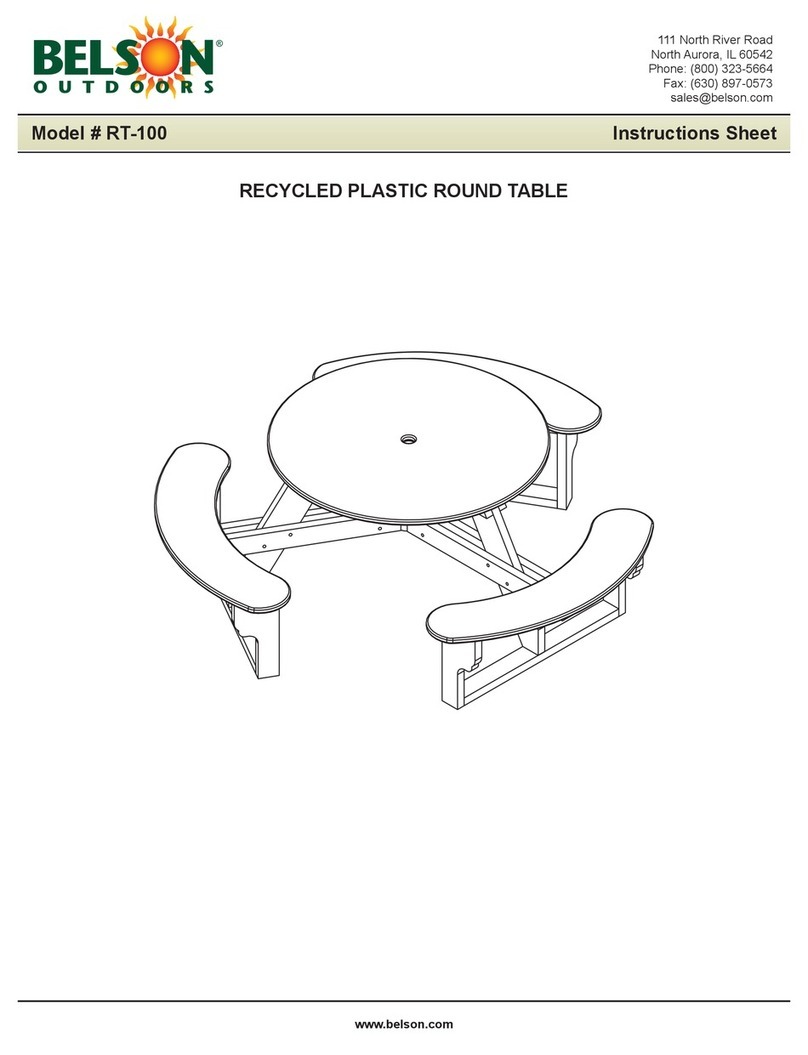
Belson Outdoors RECYCLED PLASTIC ROUND TABLE RT-100 User manual

Belson Outdoors

Belson Outdoors RECYCLED PLASTIC ROUND TABLE RT-100 User manual

Popular Outdoor Furnishing manuals by other brands

felton industries FELEPG5T6 Assembly instruction

felton industries

felton industries FELEPG5T6 Assembly instruction

Dreamo OTF-503S quick start guide

Dreamo

Dreamo OTF-503S quick start guide

Garden Furniture Direct Borrowdale Assembly instructions

Garden Furniture Direct

Garden Furniture Direct Borrowdale Assembly instructions

Rowlinson Clarendon Assembly instructions

Rowlinson

Rowlinson Clarendon Assembly instructions

Garden Treasures 8201268 Assembly instructions

Garden Treasures

Garden Treasures 8201268 Assembly instructions

Safavieh Outdoor Marson PAT7062 quick start guide

Safavieh Outdoor

Safavieh Outdoor Marson PAT7062 quick start guide

SSC-LUXon 990070716 Assembly & operating instructions

SSC-LUXon

SSC-LUXon 990070716 Assembly & operating instructions

supremo LEISURE 2-Seat Stool 110*40cm Assembly instruction

supremo LEISURE

supremo LEISURE 2-Seat Stool 110*40cm Assembly instruction

Hatteras Hammocks DCA1-K-HH instructions

Hatteras Hammocks

Hatteras Hammocks DCA1-K-HH instructions

Lemeks Palmako PA120-5959 Assembly, installation and maintenance manual

Lemeks

Lemeks Palmako PA120-5959 Assembly, installation and maintenance manual

OLT 24 Assembly manual

OLT

OLT 24 Assembly manual

forest-style HACIENDA 2354 Building instructions

forest-style

forest-style HACIENDA 2354 Building instructions

Courtyard Creations RUS0188-WM Assembly instructions

Courtyard Creations

Courtyard Creations RUS0188-WM Assembly instructions

kingsley-bate MC-55 Assembly instructions

kingsley-bate

kingsley-bate MC-55 Assembly instructions

Weltevree Carrier product manual

Weltevree

Weltevree Carrier product manual

Grange Fencing Elite Arch Assembly instructions

Grange Fencing

Grange Fencing Elite Arch Assembly instructions

Grosfillex AUVENT YR14 Assembly instructions

Grosfillex

Grosfillex AUVENT YR14 Assembly instructions

X-METAL EAGLE 33511 Assembly instructions
X-METAL

X-METAL EAGLE 33511 Assembly instructions
manuals.online logo
manuals.online logoBrands
  • About & Mission
  • Contact us
  • Privacy Policy
  • Terms and Conditions

Copyright 2025 Manuals.Online. All Rights Reserved.

(2) PARK MASTER
LEG
708202 BLACK
708203 GALVANIZED
(1) CENTER
CHANNEL
700063
(1) CENTER BRACKET
700043
www.belson.comWeb Site:North Aurora, IL 60542-0207 1-630-897-0573Fax:P.O. Box 207 1-630-897-8489Phone:111 North River Road 1-800-323-5664Toll Free:Principal Plant and General Offices
(2) SUPPORT BRACE
700083 BLACK
700082 GALVANIZED (1) HARDWARE BAG
702301
PARK MASTER
PMB-WF or PMG-WF FRAME KIT CONTENTS:
Thank you for buying a BELSON OUTDOORS quality product.
Please read and follow assembly instructions. Refer to appropriate page depending on the table you
wish to put together. If the lumber is not provided by Belson, follow drilling instructions on page (2).
RECYCLED PLASTIC TABLE ASSEMBLY INST.5)LUMBER CONTENTS AND WOOD DRILLING INST.2)
WOOD TABLE 8’ ASSEMBLY INSTRUCTIONS4)FRAME KIT CONTENTS1)
INDEX
OUTER HOLES
MID RANGE
HOLES
CENTER HOLE
TOP HOLE
RECYCLED PLASTIC TABLE (CONTINUED)6)WOOD TABLE 6’ & ADA ASSEMBLY INST.3)
1
700301
WOOD PICNIC TABLE DRILL PATTERN
RECOMMENDED LUMBER: 2” x 10” Nominal (1-1/2” thick by 9-1/4” wide).
1.-Make sure all 5 boards are of consistent length, roughly 6’ or 8’ (two 6’ and three 8’ for ADA models).
2.-Lay all 5 boards on a flat surface that will not damage the wood with the best side down.
3.-Draw centered Vertical and Horizontal Lines, then two Lateral Lines 29-1/2” from Vertical
Center Line on all boards (this will be your reference for hole locations).
4.-Drill 3/8” diameter holes in boards per drill pattern and notes indicated above.
5.-If desired, cut miters as per top of page lumber kit details and paint or seal before assembly.
6’ OR 8’
59”
VERTICAL CENTER LINE
29-1/2” 29-1/2”
DRILL
DRILL
HORIZONTAL
DRILL
DRILL
CENTER LINE
DRILL
DRILL CENTER HOLE
ON 3 TOP BOARDS ONLY
LAT. LINE
LAT. LINE
2-1/2”
2-1/2” 2-1/2”
2-1/2”
TOOLS NEEDED: drill, 3/8” drill bit, pencil and tape measure or ruler.
BELSON PRE CUT & PRE DRILLED LUMBER KIT (OPTIONAL)
LUMBER KIT CONTENTS:
THE SIZE OF THE BOARDS DEPENDS ON TABLE/KIT MODEL, EITHER 6’ OR 8’ SEE INSTRUCTIONS FOR ASSEMBLY.
CENTER (1) NO MITERED CORNERS, 5 HOLES
SIDE (2) 2 MITERED CORNERS, 5 HOLES
SEAT (2) 4 MITERED CORNERS, 4 HOLES
(5th HOLE FOR PLASTIC MODELS ONLY)
NATURAL
REDWOOD
ACQ CEDAR WEATHER GRAY
S.Y.PINE STAINED TREATED PLASTIC PLASTIC PLASTIC
6' 700111 700112 700113 700114 700115 700116
8' 700101 700102 700103 700104 700105 700106
6' 700131 700132 700133 700134 700135 700136
8' 700121 700122 700123 700124 700125 700126
6' 700151 700152 700153 700154 700155 700156
8' 700141 700142 700143 700144 700145 700146
SEAT
SIDE
CENTER
2
700301
6’ & ADA WOOD PARK MASTER ASSEMBLY INSTRUCTIONS
1.- Insert carriage bolts through 3 Top Boards best face and lay (Side with 2 miters facing out -
Center no miters - Side with 2 miters facing out ) on a non-abrasive flat surface that will not
damage the lumber with the best side facing down.
2.- Align Top Boards and space them about 1/8” apart.
TOOLS REQUIRED: 9/16” wrench and hammer.
6.- Attach Brace to angle on Leg
using 1” bolts/nuts. Hand fasten nut.
7.- Attach loose end
of Brace to Center Bracket center hole using 1” bolt/nut.
Note: Do not fully tighten
any of the nuts from steps
6-7 until step 10 below.
SIDE
SIDE
CENTER
3.- Place Legs with Top “L” Brackets as shown and hand
tighten nuts.
4.- Place the Center Channel with the legs up as shown and
hand tighten the 2 outer nuts. Attach Center Bracket’s
center hole to the center bolt and hand tighten nut.
5.- Make sure Top Boards are aligned and spaced. Then
tighten all 15 nuts.
9.- Insert carriage bolts through Seat
Boards best face and attach to frame as
shown. Tighten nuts firmly.
700301
8.- Flip the partial table assembly into
an upright position.
10.- Tighten all nuts firmly,
including assembled parts in steps
6 and 7.
11.- The Picnic Table is finished.
3
8’ WOOD PARK MASTER
ASSEMBLY INSTRUCTIONS
1.- Insert carriage bolts through 3 Top Boards best face and lay (Side with 2 miters facing out - Center
no miters - Side with 2 miters facing out ) on a non-abrasive flat surface that will not damage the
lumber with the best side facing down.
TOOLS REQUIRED: 9/16” wrench and hammer.
6.- Attach Brace to
angle on Leg using
1” bolts/nuts.
Hand fasten nut.
7.- Attach loose end
of Brace to Center Bracket outer holes using 1” bolts/nuts.
Note: Do not fully
tighten any of the
nuts from steps 6-7
until step 10 below.
SIDE
SIDE
CENTER
2.- Align Top Boards and space them about 1/8” apart.
3.- Place Legs with Top “L” Brackets as shown and hand tighten
nuts.
4.- Place the Center Channel with the legs up as shown and hand
tighten the 2 outer nuts. Attach Center Bracket’s center hole to the
center bolt and hand tighten nut.
5.- Make sure Top Boards are aligned and spaced. Then tighten
all 15 nuts.
9.- Insert carriage bolts through Seat
Board’s best face and attach to frame as
4
700301
8.- Flip the partial table
assembly into an upright position.
10.- Tighten all nuts firmly, including
assembled parts in steps 6 and 7.
11.- The Picnic Table is finished.
shown. Tighten nuts firmly.
Center
Bracket
Center
Channel
RECYCLED PLASTIC PARK MASTER ASSEMBLY INSTRUCTIONS
TOOLS REQUIRED: 9/16” wrench, hammer, powered screw driver or drill with Phillips tip No. 2.
CONTINUE ON PAGE (6)… 5
SIDE
CENTER
SIDE
700301
1.- Insert 2-1/4” carriage bolts through 3 Top Boards best face. Use 2-3/4” carriage bolt for Center Board’s center hole (carriage
bolts can be found in the Super Structure hardware package).
2.- Lay (Side with 2 miters facing out - Center no miters - Side with 2 miters facing out) on a non-abrasive flat surface with the
best side facing down.
3.- Align and space 1/8”.
4.- Place 2 Side Spacers and attach Center Spacer using 1-1/4” screw.
1-1/4” Screw
Center Board center hole
5.- Align Leg/Top “L” Bracket’s second hole from outside with Rail hole sliding into place as shown.
6.- Slide Center Channel into Rail’s middle slots. Align outside holes with Rail’s middle holes.
7.- Place partial assembly from step 5 and 6 on top of boards aligning holes and carriage bolts as shown. Hand tighten nuts.
8.- Attach Center Bracket’s center hole to the center bolt
and hand tighten nut.
9.- Make sure Top Boards are aligned and spaced.
Then tighten all nuts firmly.
6
700301
RECYCLED PLASTIC PARK MASTER ASSEMBLY
INSTRUCTIONS (CONTINUED)
10.- Attach Brace to angle on Leg
using 1” bolts/nuts. Hand fasten nut.
11.- Attach loose end
of Brace to Center Bracket center hole using 1” bolt/nut.
Note: Do not fully tighten
any of the nuts from steps
10-11 until step 16 below.
12.- Flip the partial table assembly into an upright position.
13.- Slide Back Rail onto Seat Bracket aligning holes with Seat Brackets back holes. Then slide Front Rail onto Seat Bracket
aligning holes with Seat Bracket front holes. Angled edges should butt up against each other as shown.
14.- Insert 2-1/4” carriage bolts through Seat Boards (boards with 4 miters) best face. Then attach Seat Boards to frame as shown.
15.- Bolt Back and Front Rails together using 3/4” bolts / nuts (4 places). Tighten 1-1/4” screws in place as shown.
16.- Tighten all nuts firmly, including assembled parts in steps 10 and 11.
17.- The Picnic Table is finished.
Front
Hole
Front Rail
Short Tab Back Rail
Long Tab
Back
Hole
1-1/4” Screws
Front Rail
Short Tab
Back Rail
Long Tab